Friends now I proceed onwards and here is the working code snippet for how to create multiple language website in Angular 16+?and please use carefully this to avoid the mistakes:
1. Firstly friends we need fresh angular 16 setup and for this we need to run below commands but if you already have angular 16 setup then you can avoid below commands. Secondly we should also have latest node version installed on our system:
npm install -g @angular/cli
ng new angulartranslate //Create new Angular Project
cd angulartranslate // Go inside the Angular Project Folder
ng serve --open // Run and Open the Angular Project
http://localhost:4200/ // Working Angular Project Url
2. Now friends, here we need to run below commands into our project terminal to install bootstrap(for good looks) and ngx-translate modules into our angular application:
npm i bootstrap --save
npm install @ngx-translate/http-loader@6.0.0
npm install @ngx-translate/core@13.0.0
ng serve --o
3. Now friends, here we need to add below into our angular.json file to get modules styles and scripts:
4. Now friends we just need to add below code into src/app/app.module.ts file:
...
import {HttpClientModule, HttpClient} from '@angular/common/http';
import {TranslateModule, TranslateLoader} from '@ngx-translate/core';
import {TranslateHttpLoader} from '@ngx-translate/http-loader';
// required for AOT compilation
export function HttpLoaderFactory(http: HttpClient) {
return new TranslateHttpLoader(http);
}
@NgModule({
...
imports: [
...
// ngx-translate and the loader module
HttpClientModule,
TranslateModule.forRoot({
loader: {
provide: TranslateLoader,
useFactory: HttpLoaderFactory,
deps: [HttpClient]
}
}),
],
...
})
5. Now friends inside src/assets folder create ‘i18n’ folder and now inside ‘i18n’ folder, we need to create two files name ‘en.json’ and ‘fr.json’ and we need to add below code inside these files and for better understanding of files and folder, please check below image:
6. Now friends we just need to add below code into src/app/app.component.ts file:
import {TranslateService} from '@ngx-translate/core';
export class AppComponent {
...
constructor(private translate: TranslateService) {
// the lang to use, if the lang isn't available, it will use the current loader to get them
translate.use('en');
// for default language to be french, you need to use below code
//translate.use('fr');
}
}
7. Now friends we just need to add below code into src/app/app.component.html file to see the output on browser:
Now we are done friends. If you have any kind of query or suggestion or any requirement then feel free to comment below.
Note: Friends, I just tell the basic setup and things, you can change the code according to your requirements. For better understanding must watch video above.
NGX-Translate
ngx-translate
Angular i18n change language dynamically
Angular multi language
best practice Language translation in angular
Multi language support in angular ngx-translate
pipe no pipe found with name ‘translate’
I will appreciate that if you will tell your views for this post. Nothing matters if your views will be good or bad.
Friends now I proceed onwards and here is the working code snippet and please use carefully this to avoid the mistakes:
1. Firstly friends we need fresh angular 16 setup and for this we need to run below commands but if you already have angular 16 setup then you can avoid below commands. Secondly we should also have latest node version installed on our system:
npm install -g @angular/cli
ng new angulardemo //Create new Angular Project
cd angulardemo // Go inside the Angular Project Folder
ng g c api //will create api crud component
ng g s services/recipe //will create services files
ng g i models/recipe //will create interface file
npm i bootstrap
npm i @popperjs/core
2. Now guys we need to add below code inside angulardemo/angular.json files to call bootstrap 5 script and styles:
11. Guys in the end we need to add below code inside src/app/app.component.html file
<app-api></app-api>
Friends in the end must run ng serve command into your terminal to run the angular 17 project(localhost:4200).
Now we are done friends. If you have any kind of query, suggestion and new requirement then feel free to comment below.
Note: Friends, In this post, I just tell the basic setup and things, you can change the code according to your requirements.
I will appreciate that if you will tell your views for this post. Nothing matters if your views will be good or bad because with your views, I will make my next posts more good and helpful.
Friends here is the code snippet for How to upload, preview and save image inside folder in react js? and please use this code snippet carefully to avoid the mistakes:
1. Firstly friends we need fresh reactjs setup and for that we need to run below commands into our terminal and also w should have latest node version installed on our system:
npx create-react-app reactdemo
cd reactdemo
npm i react-router-dom
npm i react-axios
npm i @material-ui/core
npm i json-server
npm start // run the project
2. Now guys create `Components` folder inside src folder and create below files:
15. Guys to run json server please run below command inside your terminal as well:
yarn json-server
Now we are done friends. If you have any kind of query or suggestion or any requirement then feel free to comment below.
Note: Friends, I just tell the basic setup and things, you can change the code according to your requirements. For better understanding must watch video above. I will appreciate that if you will tell your views for this post. Nothing matters if your views will good or bad.
Friends now I proceed onwards and here is the working code snippet and please use carefully this to avoid the mistakes:
1. Firstly friends we need fresh angular 16 setup and for this we need to run below commands but if you already have angular 16 setup then you can avoid below commands. Secondly we should also have latest node version installed on our system:
guys with these commands we will get components as well
npm install -g @angular/cli
ng new angulardemo //Create new Angular Project
cd angulardemo // Go inside the Angular Project Folder
ng g c home //will create home component
ng g c login //will create login component
ng g c register //will create register component
2. Now friends, please download js and styles from this git repo link and please put all the js, css files folders in “src/assets/” folder:
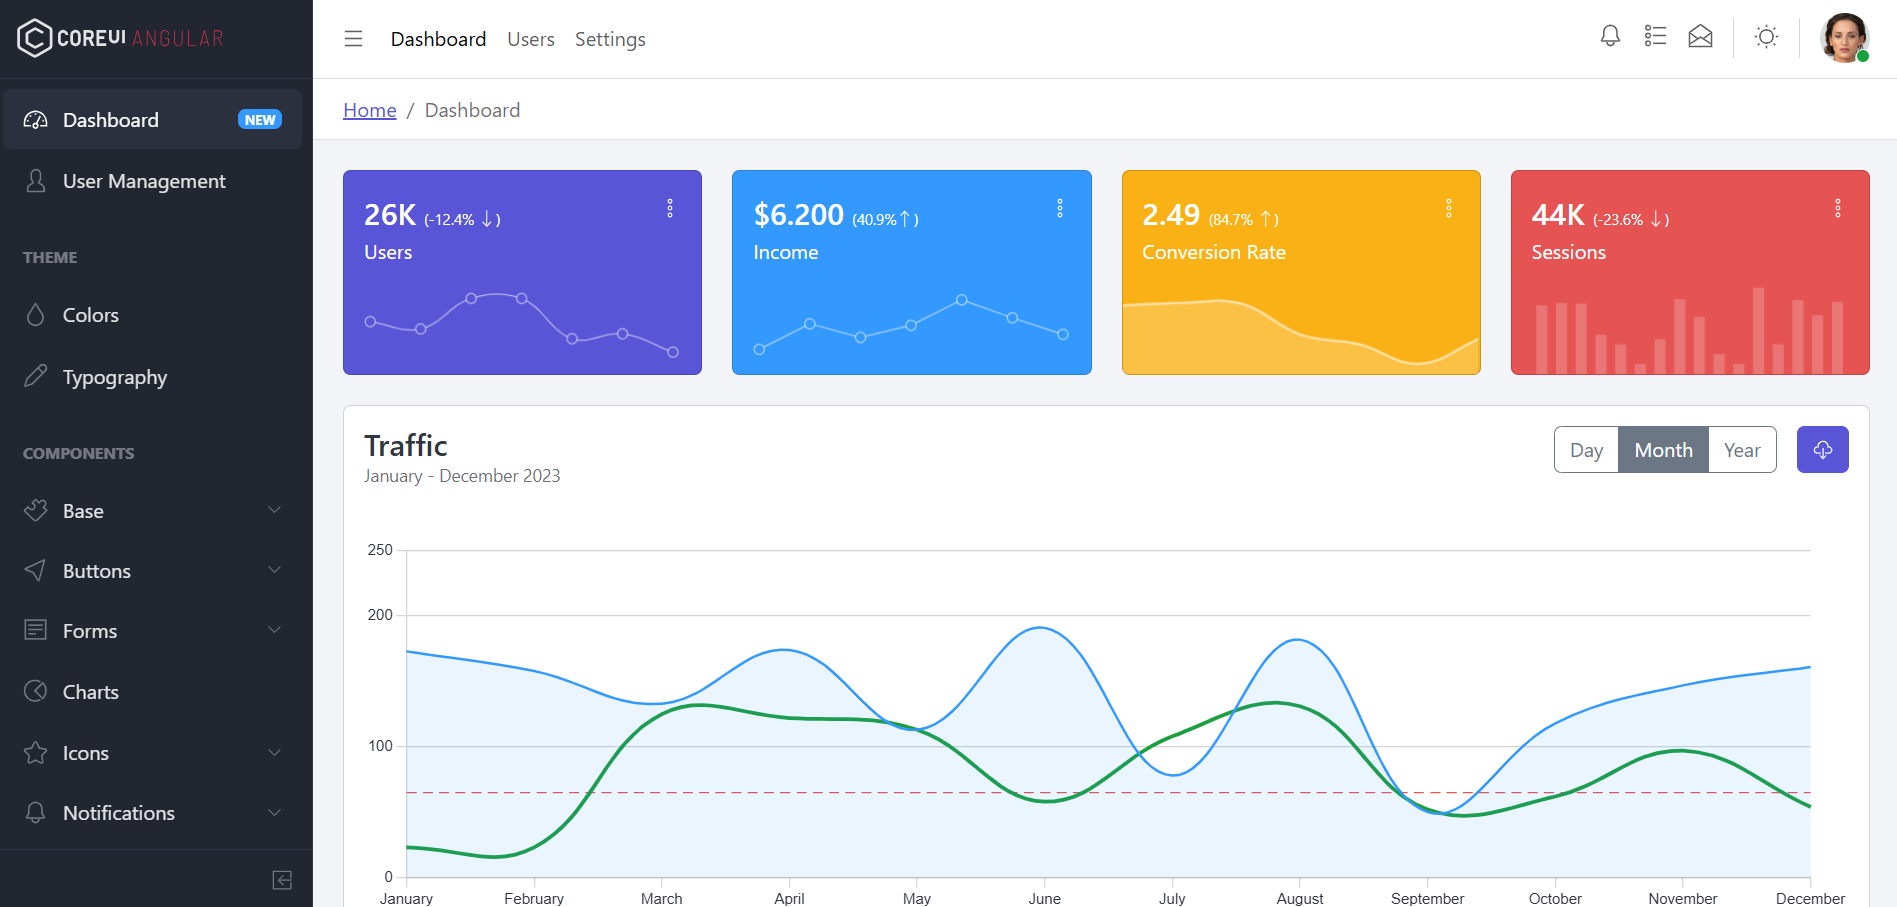
Friends in the end must run ng serve command into your terminal to run the angular 17 adminproject (localhost:4200).
Guys click here to check the Angular 17 Bootstrap 5 Free Templates.
Now we are done friends. If you have any kind of query, suggestion and new requirement then feel free to comment below.
Note: Friends, In this post, I just tell the basic setup and things, you can change the code according to your requirements.
I will appreciate that if you will tell your views for this post. Nothing matters if your views will be good or bad because with your views, I will make my next posts moregood and helpful.
Hello friends, welcome back to my blog. Today this blog post will tell you Build an eCommerce Web Application using React, Redux, Redux-Saga, Firebase and SASS.
Key Features:
React Latest Version
Redux
Redux-Saga
Sass
User Login, Sign Up
Admin Dashboard with manage products(add, edit, delete)
Firebase Authentication
Account creation and edit
Firebase auth provider authentication
For React new comers, please check the below link:
Now we are done friends. If you have any kind of query, suggestion and new requirement then feel free to comment below.
Note: Friends, In this post, I just tell the basic setup and things, you can change the code according to your requirements.
I will appreciate that if you will tell your views for this post. Nothing matters if your views will be good or bad because with your views, I will make my next posts moregood and helpful.
Friends now I proceed onwards and here is the working code snippet and please use carefully this to avoid the mistakes:
1. Firstly friends we need fresh angular 16 setup and for this we need to run below commands but if you already have angular 16 setup then you can avoid below commands. Secondly we should also have latest node version installed on our system:
npm install -g @angular/cli
ng new angulardemo //Create new Angular Project
cd angulardemo // Go inside the Angular Project Folder
ng g c home
ng g c product
ng g c singleproduct
ng g c store
ng g c header
ng g c footer
ng serve
2. Now friends, please download images and styles from this git repo link and please put all the images css files folders in “src/assets/” folder after creating css an images folders inside it:
Friends in the end must run ng serve command into your terminal to run the angular 17 ecommerce project (localhost:4200).
Guys click here to check the Angular 17 Bootstrap 5 Free Templates.
Now we are done friends. If you have any kind of query, suggestion and new requirement then feel free to comment below.
Note: Friends, In this post, I just tell the basic setup and things, you can change the code according to your requirements.
I will appreciate that if you will tell your views for this post. Nothing matters if your views will be good or bad because with your views, I will make my next posts moregood and helpful.
For a profession to advance in the quickly changing information technology (IT) field, one must keep one step ahead of the competition and show proficiency in IT service management. The ITIL certification is helpful in this situation. Information Technology Infrastructure Library (ITIL) is a widely used framework to manage IT services. Having ITIL Qualification is a big step for IT professionals since it shows they know the best methods for managing IT services. In this blog, we will explore ITIL certification’s different advantages and how it might advance your IT career along the lucrative ITIL Certification Path.
Table of contents
Understanding ITIL Certification
Boosting Your IT Career with ITIL Certification
Advantages of Advancing Along the ITIL Certification Path
Conclusion
Understanding ITIL Certification
The ITIL framework provides a comprehensive set of best practices and recommendations for managing IT services and aligning them with the organisation’s needs. It covers various aspects of IT service management, including service strategy, service design, service transition, service operation, and continuous service improvement.
Each level of certification is available through the ITIL Certification Path focuses on a different facet of IT service management. These levels consist of:
ITIL Foundation: A grasp of ITIL vocabulary, ideas, and fundamental principles is provided through this entry-level certification.
ITIL Practitioner: Concentrates on implementing and customising ITIL principles in practical settings to enhance IT service management.
ITIL Intermediate: Consists of several modules, each examining a particular ITIL process or stage in the lifecycle.
ITIL Expert: Exhibits a thorough comprehension of ITIL ideas and the capacity to apply them in challenging circumstances.
ITIL Master: The top qualification, demonstrating knowledge of ITIL concepts and the capacity to use them to meet organisational goals.
Boosting Your IT Career with ITIL Certification
Following are some tips for advancing your IT profession with ITIL certification:
A systematic foundation for comprehending the best practices in IT service management is provided by ITIL certification. It provides experts with a consistent language and method to handle IT services successfully. Certified professionals become more effective by gaining insights into service strategy, design, and ongoing development.
Organisations worldwide have embraced ITIL as the industry standard for IT service management. Your reputation is increased, and you become a sought-after professional on the worldwide job market if you hold an ITIL certification.
If you have an ITIL certification, you can apply for various career possibilities in IT service management jobs. Candidates with ITIL certifications are frequently given preference by employers, which results in more excellent career prospects and employment opportunities.
ITIL ensures that business goals are achieved and services delivered effectively by bringing IT service management in line with industry best practices. ITIL-certified personnel are crucial in advancing this alignment as organisations seek service excellence.
ITIL-certified workers have the skills and tools to improve service delivery and simplify procedures. Organisations may increase their production and efficiency by embracing ITIL practices.
Advantages of Advancing Along the ITIL Certification Path
Let’s explore the advantages of advancing along the ITIL certification path:
Moving up the ITIL certification levels demonstrates your dedication to lifelong learning and growth. It proves both your expanding knowledge of IT service management and your aptitude for handling trickier problems.
Specialisation in ITIL topics, such as Service Design, Service Transition, or Continual Service Improvement, is available at the ITIL Intermediate and Expert levels. These areas of specialisation may lead to specialised job options.
You may be eligible for leadership positions in IT service management if you reach the ITIL Expert or Master level. These credentials demonstrate your organisational leadership and ITIL initiative implementation skills.
You can explore consultancy prospects with an ITIL Master certification, assisting businesses in implementing ITIL best practices and streamlining their IT service management procedures.
Conclusion
The ITIL certification is an effective tool for IT professionals who want to further their careers and demonstrate their expertise in IT service management. Through the ITIL Certification Path, individuals may develop from a fundamental comprehension to mastery of ITIL concepts, making them valuable assets in businesses working to improve the delivery of IT services. The benefits of obtaining an ITIL certification include global recognition, expanded career options, increased efficiency, and the ability to align IT services with company objectives. For more information, check this page out:The Knowledge Academy.
Friends here is the code snippet for How to upload, preview and save image inside folder in react js? and please use this code snippet carefully to avoid the mistakes:
1. Firstly friends we need fresh reactjs setup and for that we need to run below commands into our terminal and also w should have latest node version installed on our system:
npx create-react-app reactdemo
cd reactdemo
npm install js-cookie
npm start // run the project
2. Finally friends we need to add below code into our src/App.js file to get final output on web browser:
import Cookies from "js-cookie";
function App() {
// Method to set data in cookies which will expire in 7 days
const SetCookie = () => {
Cookies.set("token", "eyJhbGciOiJIUzI1NiIsInR5cCI6IkpXVCJ9", {
expires: 7,
});
};
// Method to get data from cookies
const GetCookie = () => {
alert(Cookies.get("token"));
};
// Method to remove data from cookies
const RemoveCookie = () => {
Cookies.remove("token");
};
return (
<div className="container p-5">
<h6>1. Click on Set Cookie to set data in cookies</h6>
<h6>2. Click on Get Cookie to display the data</h6>
<h6>3. Click on Remove Cookie to remove data from cookies</h6>
<button className="btn btn-primary me-2" onClick={SetCookie}>Set Cookie</button>
<button className="btn btn-secondary me-2" onClick={GetCookie}>Get Cookie</button>
<button className="btn btn-danger" onClick={RemoveCookie}>Remove Cookie</button>
</div>
);
}
export default App;
Now we are done friends. If you have any kind of query or suggestion or any requirement then feel free to comment below.
Note: Friends, I just tell the basic setup and things, you can change the code according to your requirements. For better understanding must watch video above. I will appreciate that if you will tell your views for this post.Nothing matters if your views will good or bad.
Hello friends, welcome back to my blog. Today in this blog post, I am going to tell you, Reactjs Nodejs Image Upload Show And Save Inside Folder Working Demo.
Guys this demo is in React Twilio Chat Image Upload and Send
For reactjs new comers, please check the below link:
Friends here is the code snippet for How to upload, preview and save image inside folder in react js? and please use this code snippet carefully to avoid the mistakes:
1. Firstly friends we need fresh reactjs setup and for that we need to run below commands into our terminal and also w should have latest node version installed on our system:
npx create-react-app reactimageupload
cd reactimageupload
npm start // run the project
2. Now we need to run below commands to get bootstrap(for good layout), react image uploading(for image upload ) and axios(to post image request to node) modules into our react js app:
Now we are done friends. If you have any kind of query or suggestion or any requirement then feel free to comment below.
Guys in my next post, I will tell you, how to upload and save multiple images in react js in folder?
Note: Friends, I just tell the basic setup and things, you can change the code according to your requirements. For better understanding must watch video above. I will appreciate that if you will tell your views for this post.Nothing matters if your views will good or bad.
Now we are done friends. If you have any kind of query, suggestion and new requirement then feel free to comment below.
Note: Friends, In this post, I just tell the basic setup and things, you can change the code according to your requirements.
I will appreciate that if you will tell your views for this post. Nothing matters if your views will be good or bad because with your views, I will make my next posts moregood and helpful.