
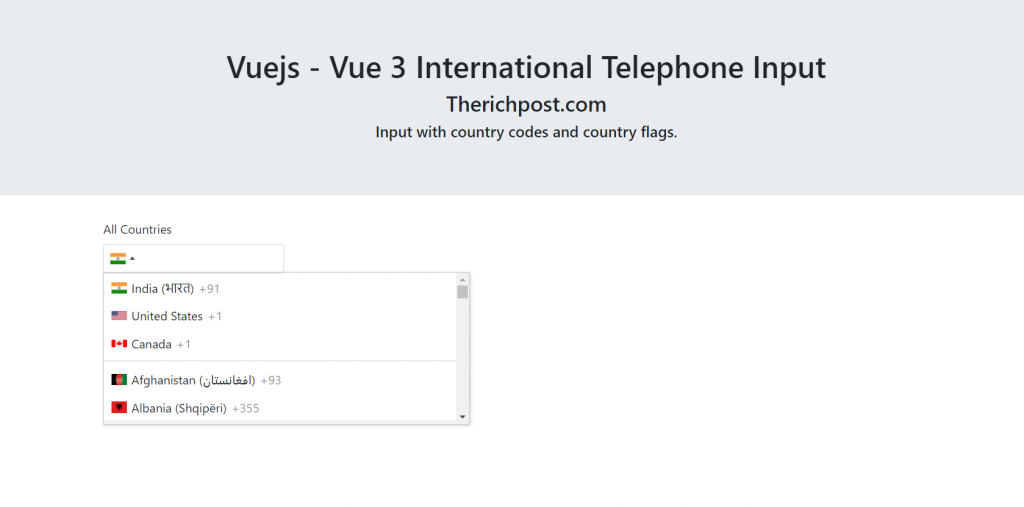
Hello friends, welcome back to my blog. Today in this blog post, I am going to show you, Vuejs International Telephone Input – Vue 3.
Here is working live example:
Reason behind this post:
I was working on my local project and I had requirement for Vue js International telephone input and for that, I searched a lot on web but did not get better result so I made my own code and post it to help others.
Vue 3 came and if you are new then you must check below two link:
Friends now I proceed onwards and here is the working code snippet and use this carefully to avoid the mistakes:
1. Firstly friends we need fresh vue 3 setup and for this we need to run below commands . Secondly we should also have latest node version installed on our system. With below we will have bootstrap and input tel modules in our Vue 3 application:
npm install -g @vue/cli

vue create vueproject

cd vueproject

npm i bootstrap
npm install intl-tel-input --save
npm run serve //http://localhost:8080/
2. Now friends we need to add below code into src/App.vue file to check the final output on browser:
<template>

     <h3>Therichpost.com</h3>
     <div class="form-group">
        <label> All Countries</label> <br>
        <input type="tel" class="form-control" id="telephone">
    </div>

</template>
<script>

import './App.css';
//Bootstrap
import 'bootstrap/dist/css/bootstrap.min.css';

//intlTelInput
import 'intl-tel-input/build/css/intlTelInput.css';
import 'intl-tel-input/build/js/intlTelInput.js';
import intlTelInput from 'intl-tel-input';

export default {
  mounted(){
    const input = document.querySelector("#telephone");
    intlTelInput(input, {
      // any initialisation options go here
          preferredCountries: ["in", "us", "ca"],


    });

  }

}
</script>
Now we are done friends also and If you have any kind of query or suggestion or any requirement then feel free to comment below.
Note: Friends, I just tell the basic setup and things, you can change the code according to your requirements.
I will appreciate that if you will tell your views for this post. Nothing matters if your views will be good or bad.
Jassa
Thanks
Leave a Reply