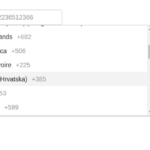
Friends now I proceed onwards and here is the working code snippet and please use carefully this to avoid the mistakes:
1. Firstly friends we need fresh angular 16 setup and for this we need to run below commands but if you already have angular 16 setup then you can avoid below commands. Secondly we should also have latest node version installed on our system:
npm install -g @angular/cli
ng new angulardemo//Create new Angular Project
cd angulardemo // Go inside the Angular Project Folder
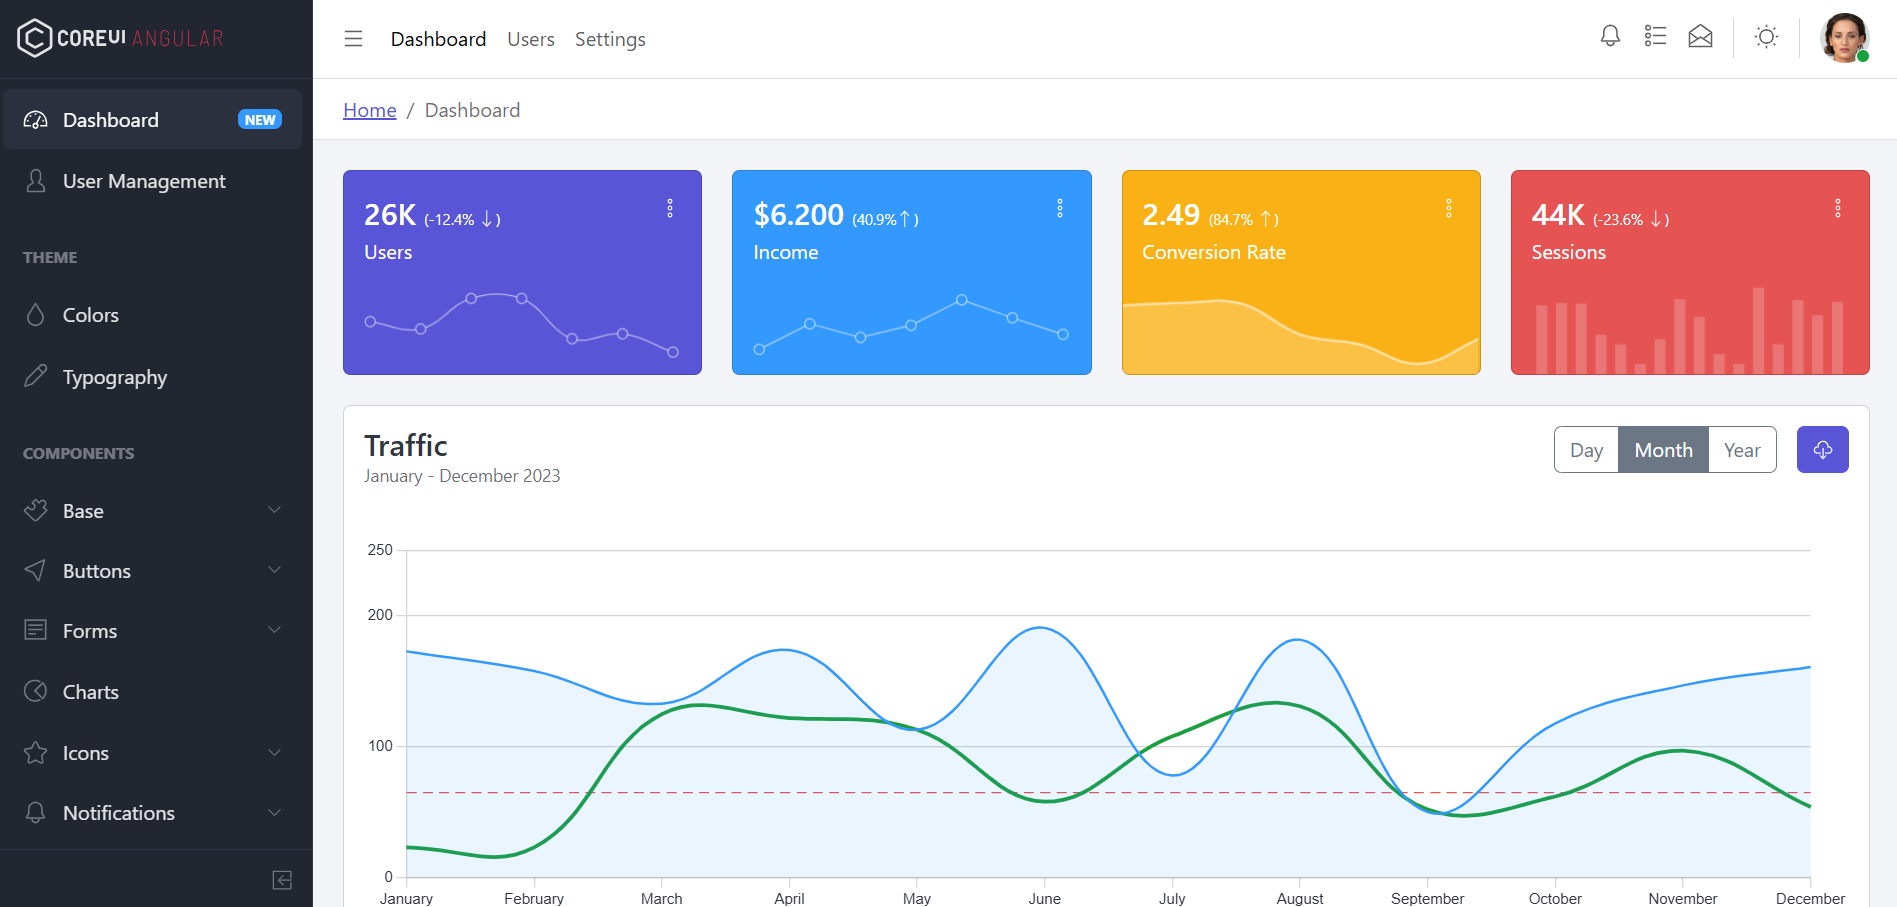
2. Now friends we just need to add below code into angulardemo/src/app/app.component.html file to get final out on the web browser:
Friends in the end must run ng serve command into your terminal to run the angular 16 project.
Now we are done friends. If you have any kind of query, suggestion and new requirement then feel free to comment below.
Note: Friends, In this post, I just tell the basic setup and things, you can change the code according to your requirements.
I will appreciate that if you will tell your views for this post. Nothing matters if your views will be good or bad because with your views, I will make my next posts moregood and helpful.
Friends now I proceed onwards and here is the working code snippet and please use carefully this to avoid the mistakes:
1. Firstly friends we need fresh angular 16 setup and for this we need to run below commands but if you already have angular 16 setup then you can avoid below commands. Secondly we should also have latest node version installed on our system:
npm install -g @angular/cli
ng new angulardemo//Create new Angular Project
cd angulardemo // Go inside the Angular Project Folder
ng add @ionic/angular // for ion icons
2. Now friends we just need to add below code into angulardemo/src/app/app.component.html file to get final out on the web browser:
Friends in the end must run ng serve command into your terminal to run the angular 16 project.
Now we are done friends. If you have any kind of query, suggestion and new requirement then feel free to comment below.
Note: Friends, In this post, I just tell the basic setup and things, you can change the code according to your requirements.
I will appreciate that if you will tell your views for this post. Nothing matters if your views will be good or bad because with your views, I will make my next posts moregood and helpful.
Friends now I proceed onwards and here is the working code snippet and please use carefully this to avoid the mistakes:
1. Firstly friends we need fresh angular 16 setup and for this we need to run below commands but if you already have angular 16 setup then you can avoid below commands. Secondly we should also have latest node version installed on our system:
npm install -g @angular/cli
ng new angulardemo//Create new Angular Project
cd angulardemo // Go inside the Angular Project Folder
2. Now friends we just need to add below code into angulardemo/src/app/app.component.html file to get final out on the web browser:
Friends in the end must run ng serve command into your terminal to run the angular 16 project.
Now we are done friends. If you have any kind of query, suggestion and new requirement then feel free to comment below.
Note: Friends, In this post, I just tell the basic setup and things, you can change the code according to your requirements.
I will appreciate that if you will tell your views for this post. Nothing matters if your views will be good or bad because with your views, I will make my next posts moregood and helpful.
Friends now I proceed onwards and here is the working code snippet for react ecommerce template free and please use this carefully to avoid the mistakes:
1. Firstly, we need fresh reactjs setup and for that, we need to run below commands into out terminal and also we should have latest node version installed on our system:
npx create-react-app reactdemo
cd reactdemo
2. Finally for the main output, we need to add below code into our reactdemo/src/App.js file:
3. Guys now we need to add below code into our reactdemo/public/index.html file:
<!DOCTYPE html>
<html lang="en">
<head>
<meta charset="utf-8" />
<link rel="icon" href="%PUBLIC_URL%/favicon.ico" />
<meta name="viewport" content="width=device-width, initial-scale=1" />
<meta name="theme-color" content="#000000" />
<meta
name="description"
content="Web site created using create-react-app"
/>
<link rel="apple-touch-icon" href="%PUBLIC_URL%/logo192.png" />
<!--
manifest.json provides metadata used when your web app is installed on a
user's mobile device or desktop. See https://developers.google.com/web/fundamentals/web-app-manifest/
-->
<link rel="manifest" href="%PUBLIC_URL%/manifest.json" />
<!--
Notice the use of %PUBLIC_URL% in the tags above.
It will be replaced with the URL of the `public` folder during the build.
Only files inside the `public` folder can be referenced from the HTML.
Unlike "/favicon.ico" or "favicon.ico", "%PUBLIC_URL%/favicon.ico" will
work correctly both with client-side routing and a non-root public URL.
Learn how to configure a non-root public URL by running `npm run build`.
-->
<title>React Food App</title>
<!-- font awesome cdn link -->
<link rel="stylesheet" href="https://cdnjs.cloudflare.com/ajax/libs/font-awesome/5.15.4/css/all.min.css">
<link rel="stylesheet" href="https://unpkg.com/swiper@7/swiper-bundle.min.css" />
<link rel="stylesheet" href="https://cdnjs.cloudflare.com/ajax/libs/lightgallery-js/1.4.0/css/lightgallery.min.css">
<!-- custom css file link -->
<link rel="stylesheet" href="assets/css/style.css">
</head>
<body>
<noscript>You need to enable JavaScript to run this app.</noscript>
<div id="root"></div>
<script src="https://unpkg.com/swiper@7/swiper-bundle.min.js"></script>
<script src="https://cdnjs.cloudflare.com/ajax/libs/lightgallery-js/1.4.0/js/lightgallery.min.js"></script>
<!-- custom js file link -->
<script src="assets/js/script.js"></script>
</body>
</html>
4. Guys here is git repo link and put js and images inside public/assets folder:
please create assets folder inside public folder and copy and paste all the folders form below git repo link
Friends in the end must run npm start command into your terminal to run the react project.
Now we are done friends. If you have any kind of query, suggestion and new requirement then feel free to comment below.
Note: Friends, In this post, I just tell the basic setup and things, you can change the code according to your requirements.
I will appreciate that if you will tell your views for this post. Nothing matters if your views will be good or bad because with your views, I will make my next posts moregood and helpful.
Hello guys welcome back on my blog and today in this blog post I am going to tell you how to Solved – resizeobserver loop completed with undelivered notifications in reactjs?
For React new comers, please check the below link:
Friends now I proceed onwards and here is the working code snippet for react ecommerce template free and please use this carefully to avoid the mistakes:
Here is the solution for esizeobserver loop completed with undelivered notifications in reactjs and you just need to add below style inside your component css file like App.css file:
Now we are done friends. If you have any kind of query, suggestion and new requirement then feel free to comment below.
Note: Friends, In this post, I just tell the basic setup and things, you can change the code according to your requirements.
I will appreciate that if you will tell your views for this post. Nothing matters if your views will be good or bad because with your views, I will make my next posts moregood and helpful.
Friends now I proceed onwards and here is the working code snippet for react ecommerce template free and please use this carefully to avoid the mistakes:
1. Firstly, we need fresh reactjs setup and for that, we need to run below commands into out terminal and also we should have latest node version installed on our system:
Friends in the end must run npm start command into your terminal to run the react project.
Now we are done friends. If you have any kind of query, suggestion and new requirement then feel free to comment below.
Note: Friends, In this post, I just tell the basic setup and things, you can change the code according to your requirements.
I will appreciate that if you will tell your views for this post. Nothing matters if your views will be good or bad because with your views, I will make my next posts moregood and helpful.
Friends now I proceed onwards and here is the working code snippet and please use carefully this to avoid the mistakes:
1. Firstly friends we need fresh angular 16 setup and for this we need to run below commands but if you already have angular 16 setup then you can avoid below commands. Secondly we should also have latest node version installed on our system:
npm install -g @angular/cli
ng new angulardemo//Create new Angular Project
cd angulardemo // Go inside the Angular Project Folder
2. Now friends we just need to add below code into angulardemo/src/app/app.component.html file to get final out on the web browser:
Friends in the end must run ng serve command into your terminal to run the angular 16 project.
Now we are done friends. If you have any kind of query, suggestion and new requirement then feel free to comment below.
Note: Friends, In this post, I just tell the basic setup and things, you can change the code according to your requirements.
I will appreciate that if you will tell your views for this post. Nothing matters if your views will be good or bad because with your views, I will make my next posts moregood and helpful.
Friends now I proceed onwards and here is the working code snippet for react ecommerce template free and please use this carefully to avoid the mistakes:
1. Firstly, we need fresh reactjs setup and for that, we need to run below commands into out terminal and also we should have latest node version installed on our system:
npx create-react-app reactdemo
cd reactdemo
npm install formik --save
2. Finally for the main output, we need to add below code into our reactdemo/src/App.js file:
guys to use bootstrap 5 in reactjs application please see this tutorial : add bootstrap 5 in react
Friends in the end must run npm start command into your terminal to run the react project.
Now we are done friends. If you have any kind of query, suggestion and new requirement then feel free to comment below.
Note: Friends, In this post, I just tell the basic setup and things, you can change the code according to your requirements.
I will appreciate that if you will tell your views for this post. Nothing matters if your views will be good or bad because with your views, I will make my next posts moregood and helpful.
Friends now I proceed onwards and here is the working code snippet and please use carefully this to avoid the mistakes:
1. Firstly friends we need fresh angular 16 setup and for this we need to run below commands but if you already have angular 16 setup then you can avoid below commands. Secondly we should also have latest node version installed on our system:
npm install -g @angular/cli
ng new angulardemo//Create new Angular Project
cd angulardemo // Go inside the Angular Project Folder
2. Now friends we just need to add below code into angulardemo/src/app/app.component.html file to get final out on the web browser:
Friends in the end must run ng serve command into your terminal to run the angular 16 project.
Now we are done friends. If you have any kind of query, suggestion and new requirement then feel free to comment below.
Note: Friends, In this post, I just tell the basic setup and things, you can change the code according to your requirements.
I will appreciate that if you will tell your views for this post. Nothing matters if your views will be good or bad because with your views, I will make my next posts moregood and helpful.