
Hello to all, welcome back to my blog. Today in this blog post, I am going to show you, How to access webcam in Ionic 5?
Ionic5, Angular11 and Bootstrap 5 came and if you are new then you must check below links:
- Angular11 Basic Tutorials
- Ionic 5
- Bootstrap 5
- For more Angular Free Templates click here
Friends now I proceed onwards and here is the working code snippet and use this carefully to avoid the mistakes:
1. Firstly friends we need fresh Ionic 5 angular 11 setup and for this we need to run below commands but if you already have Ionic 5 angular 11 setup then you can avoid below commands. Secondly we should also have latest node version installed on our system:
Guys you can skip this first step if you already have ionic 5 fresh setup:
npm install -g @ionic/cli

ionic start myapp blank

cd myapp
2. Now friends we need to run below commands into our project terminal to install ngx-webcam access modules into our ionic application:
npm i ngx-webcam

ionic serve
3. Now friends we need to add below code into myapp/src/app/app.component.html file:
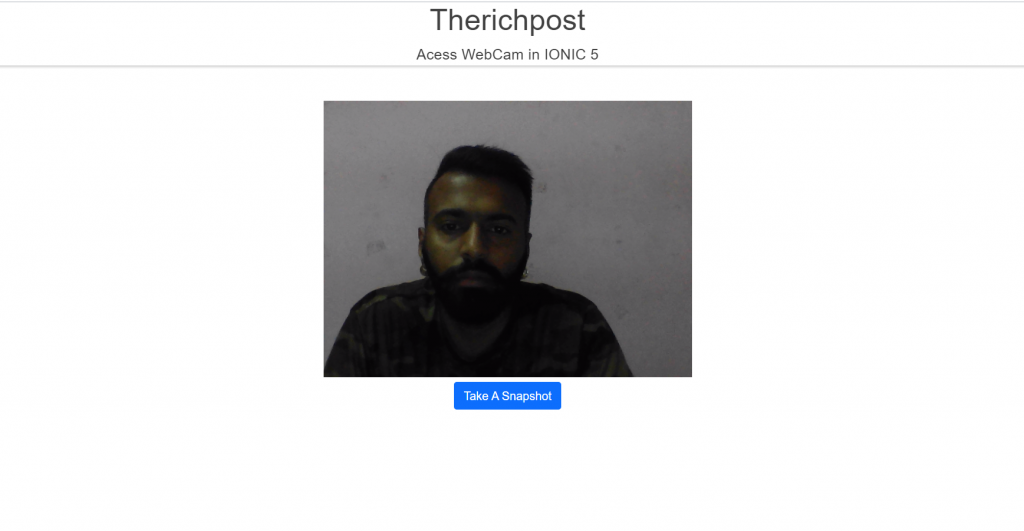
<webcam [height]="500" [width]="500" [trigger]="triggerObservable" (imageCapture)="handleImage($event)"></webcam>

<!-- Button Takes Photo -->
<button class="actionBtn" (click)="triggerSnapshot();">Take A Snapshot</button>

<!-- Snapshot Div where image will be shown -->
<div class="snapshot" *ngIf="webcamImage">
  <h2>Take your image or get another</h2>
  <img [src]="webcamImage.imageAsDataUrl"/>
</div>
4. Now friends we need to add below code into myapp/src/app/app.module.ts file:
...
import {WebcamModule} from 'ngx-webcam';
...
imports: [
    ...
    WebcamModule
]
5. Now friends we need to add below code into myapp/src/app/app.component.ts file:
...
import {WebcamImage} from 'ngx-webcam';
import {Subject, Observable} from 'rxjs';
...
export class AppComponent {
...
   // latest snapshot
   public webcamImage: WebcamImage = null;

   // webcam snapshot trigger
   private trigger: Subject<void> = new Subject<void>();
   triggerSnapshot(): void {
    this.trigger.next();
   }
   handleImage(webcamImage: WebcamImage): void {
    console.info('received webcam image', webcamImage);
    this.webcamImage = webcamImage;
   }

   public get triggerObservable(): Observable<void> {
    return this.trigger.asObservable();
   }
}
Now we are done friends also and If you have any kind of query or suggestion or any requirement then feel free to comment below. In my next post I will come with more Ionic 5 working demos.
Note: Friends, I just tell the basic setup and things, you can change the code according to your requirements. For better understanding must watch video above.
I will appreciate that if you will tell your views for this post. Nothing matters if your views will be good or bad.
Jassa
Thanks
Leave a Reply