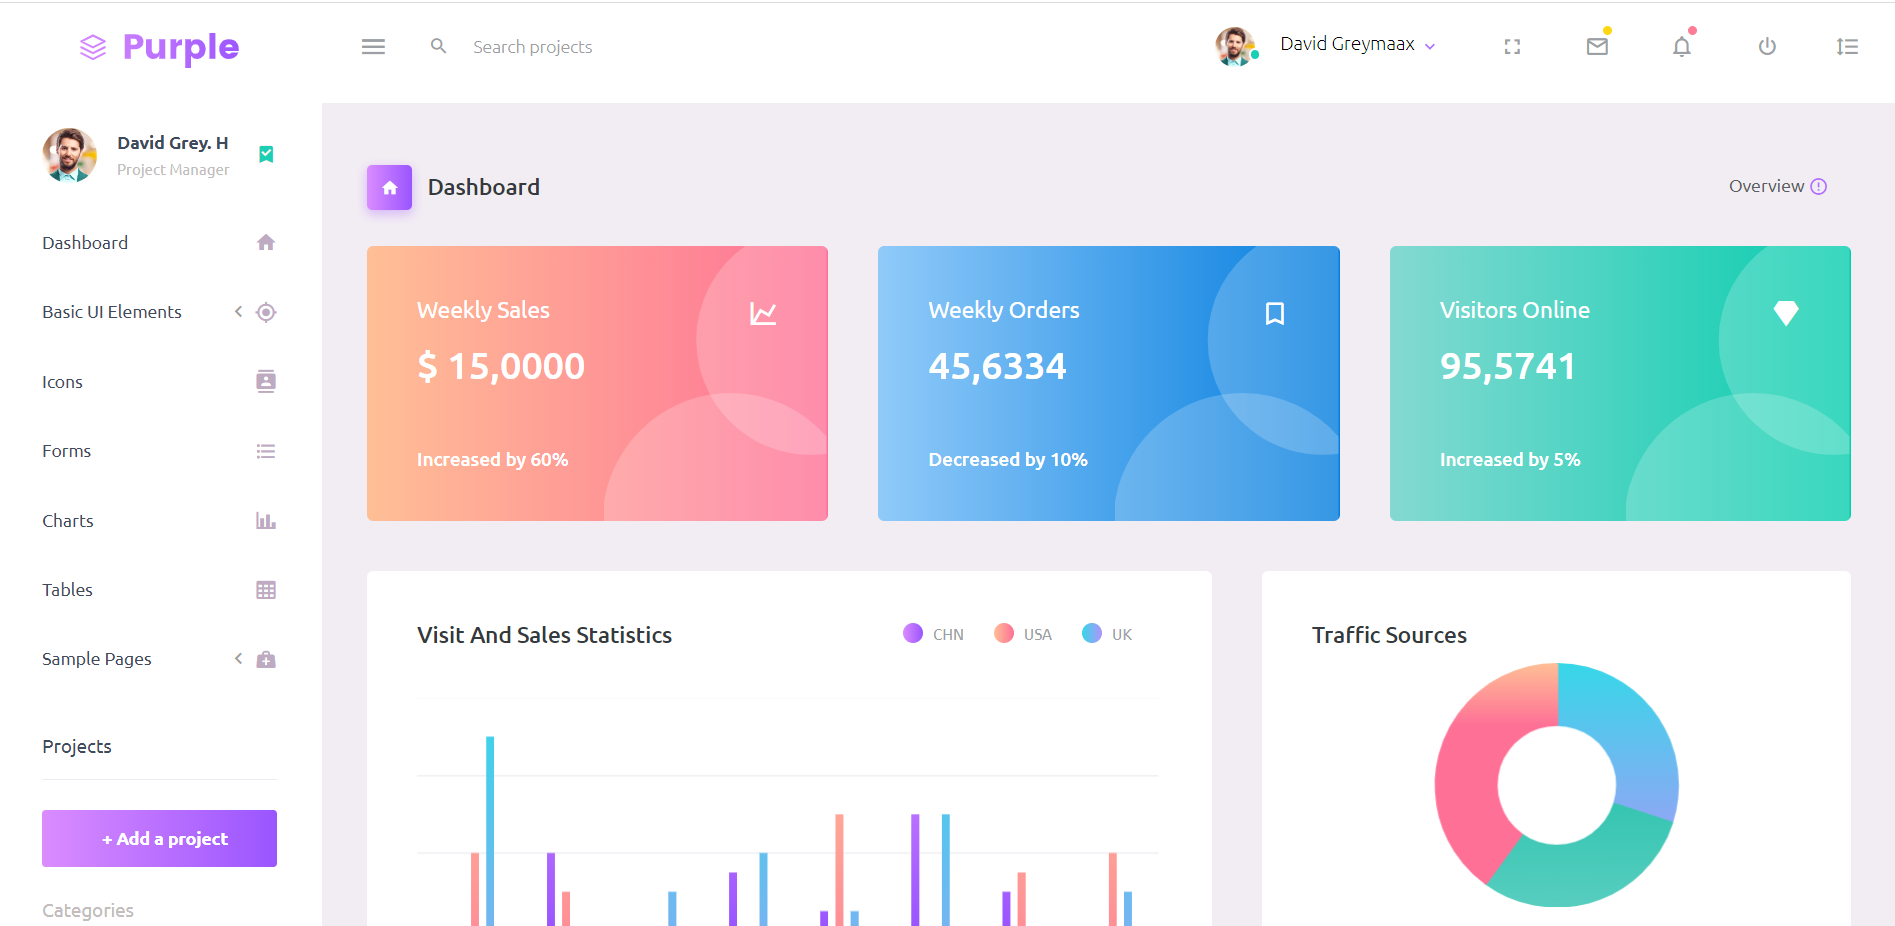
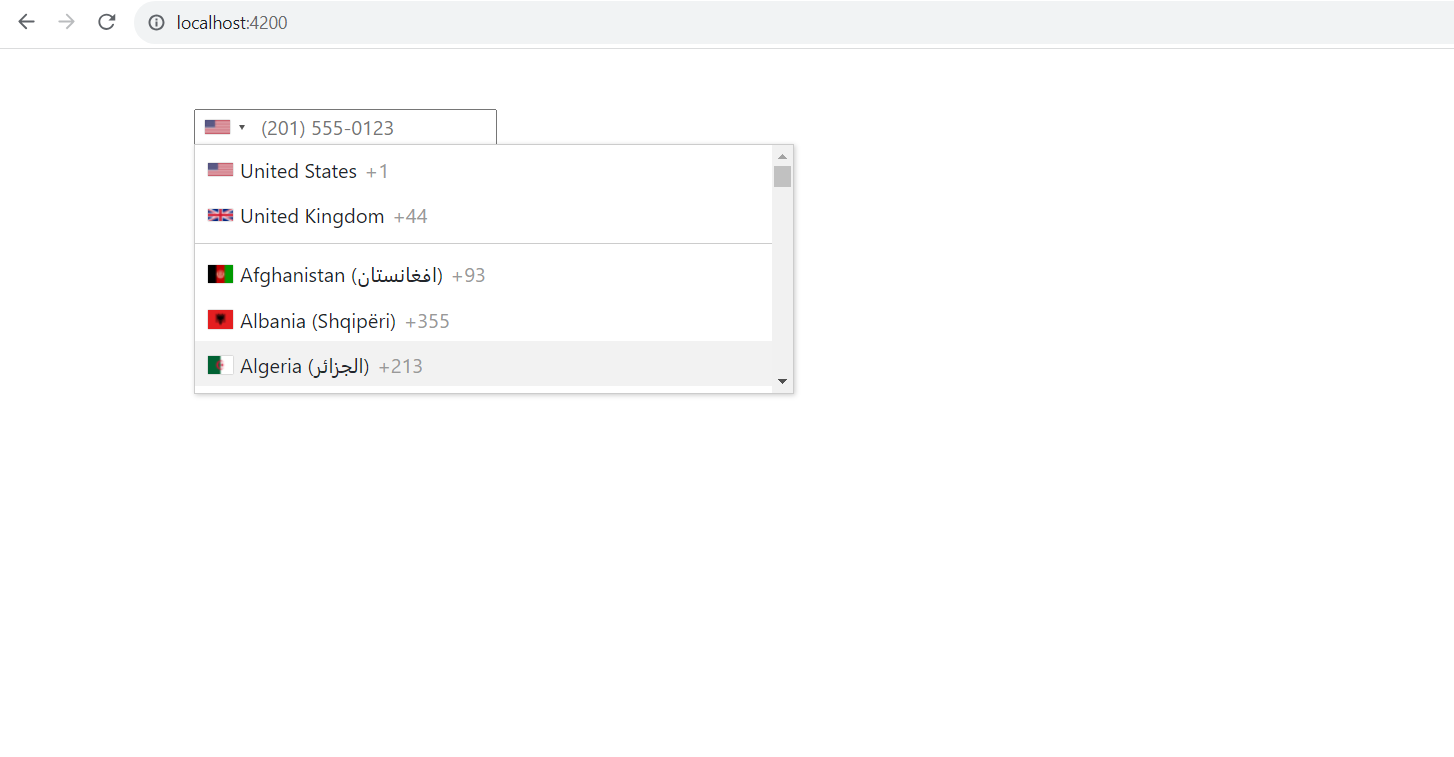
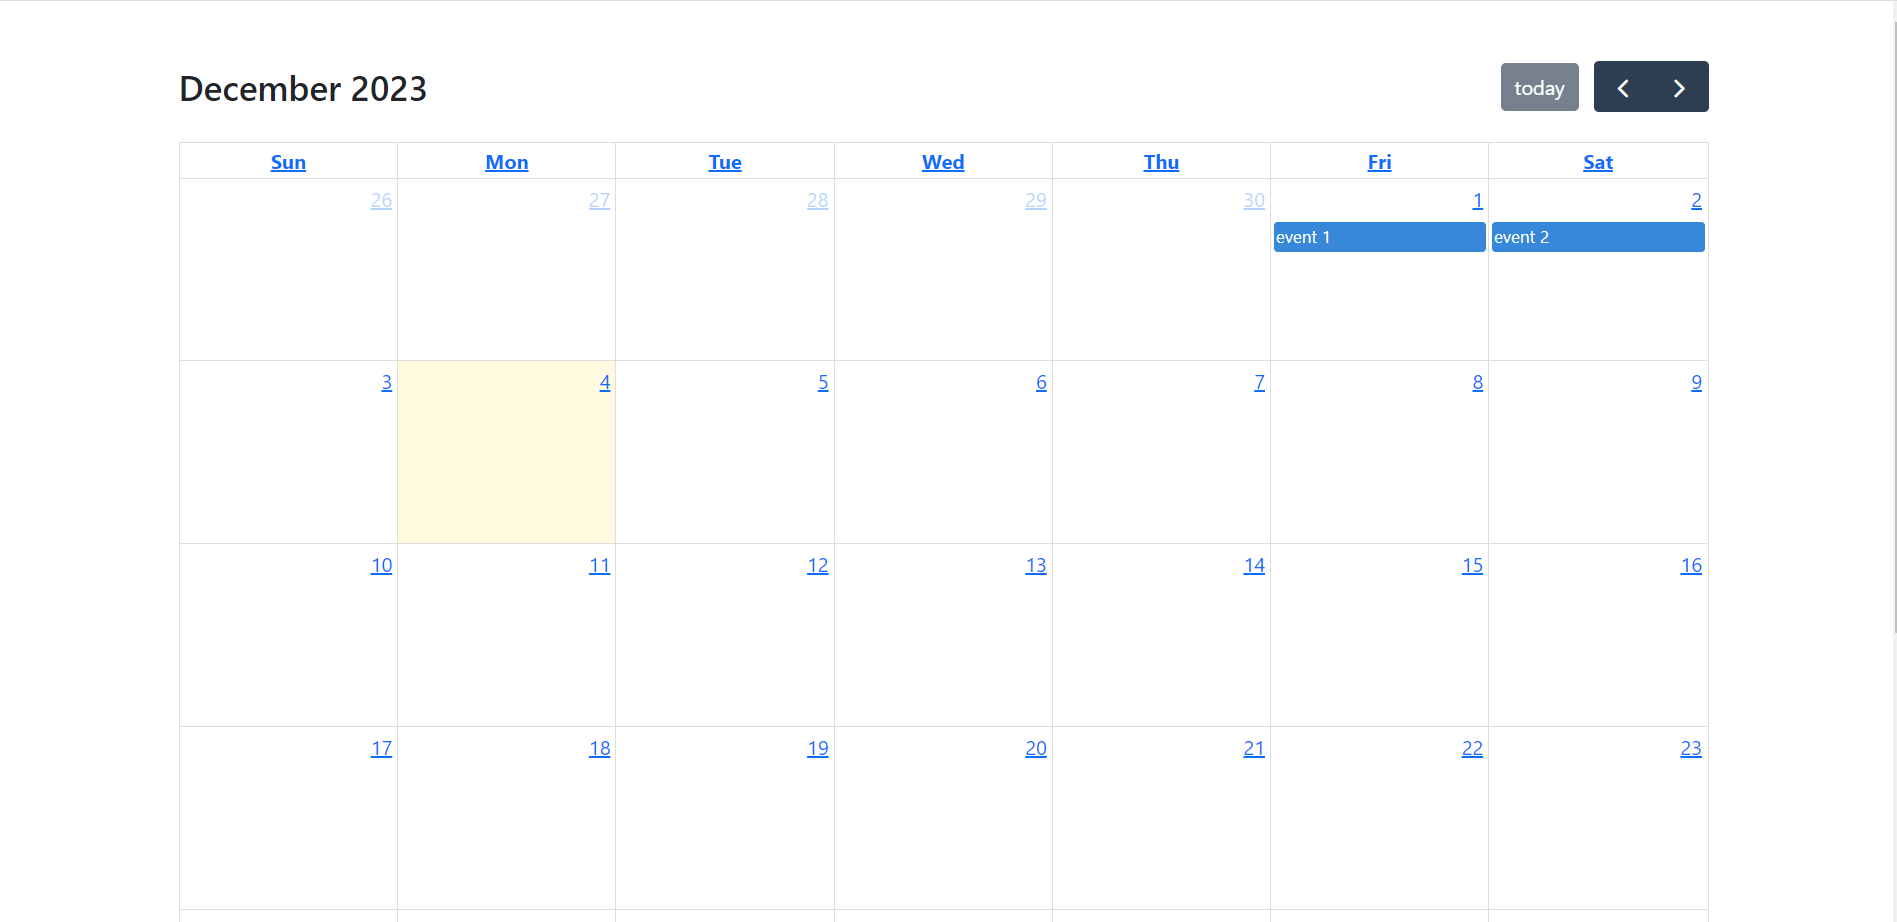
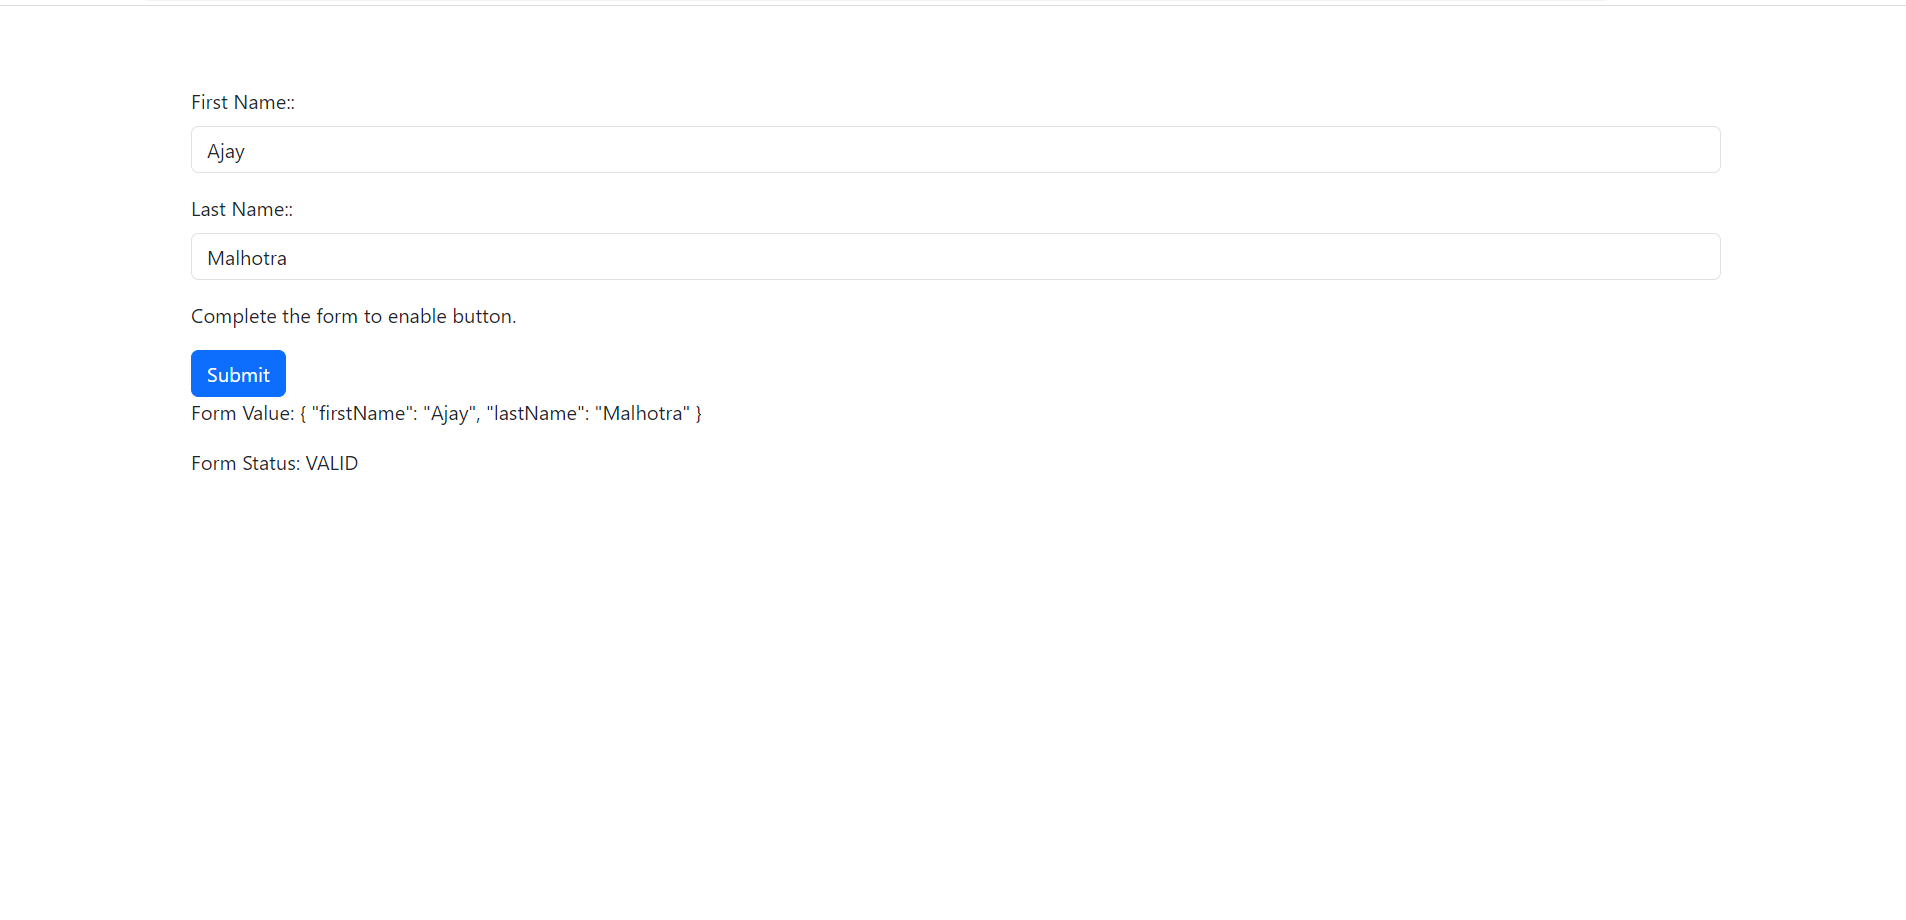
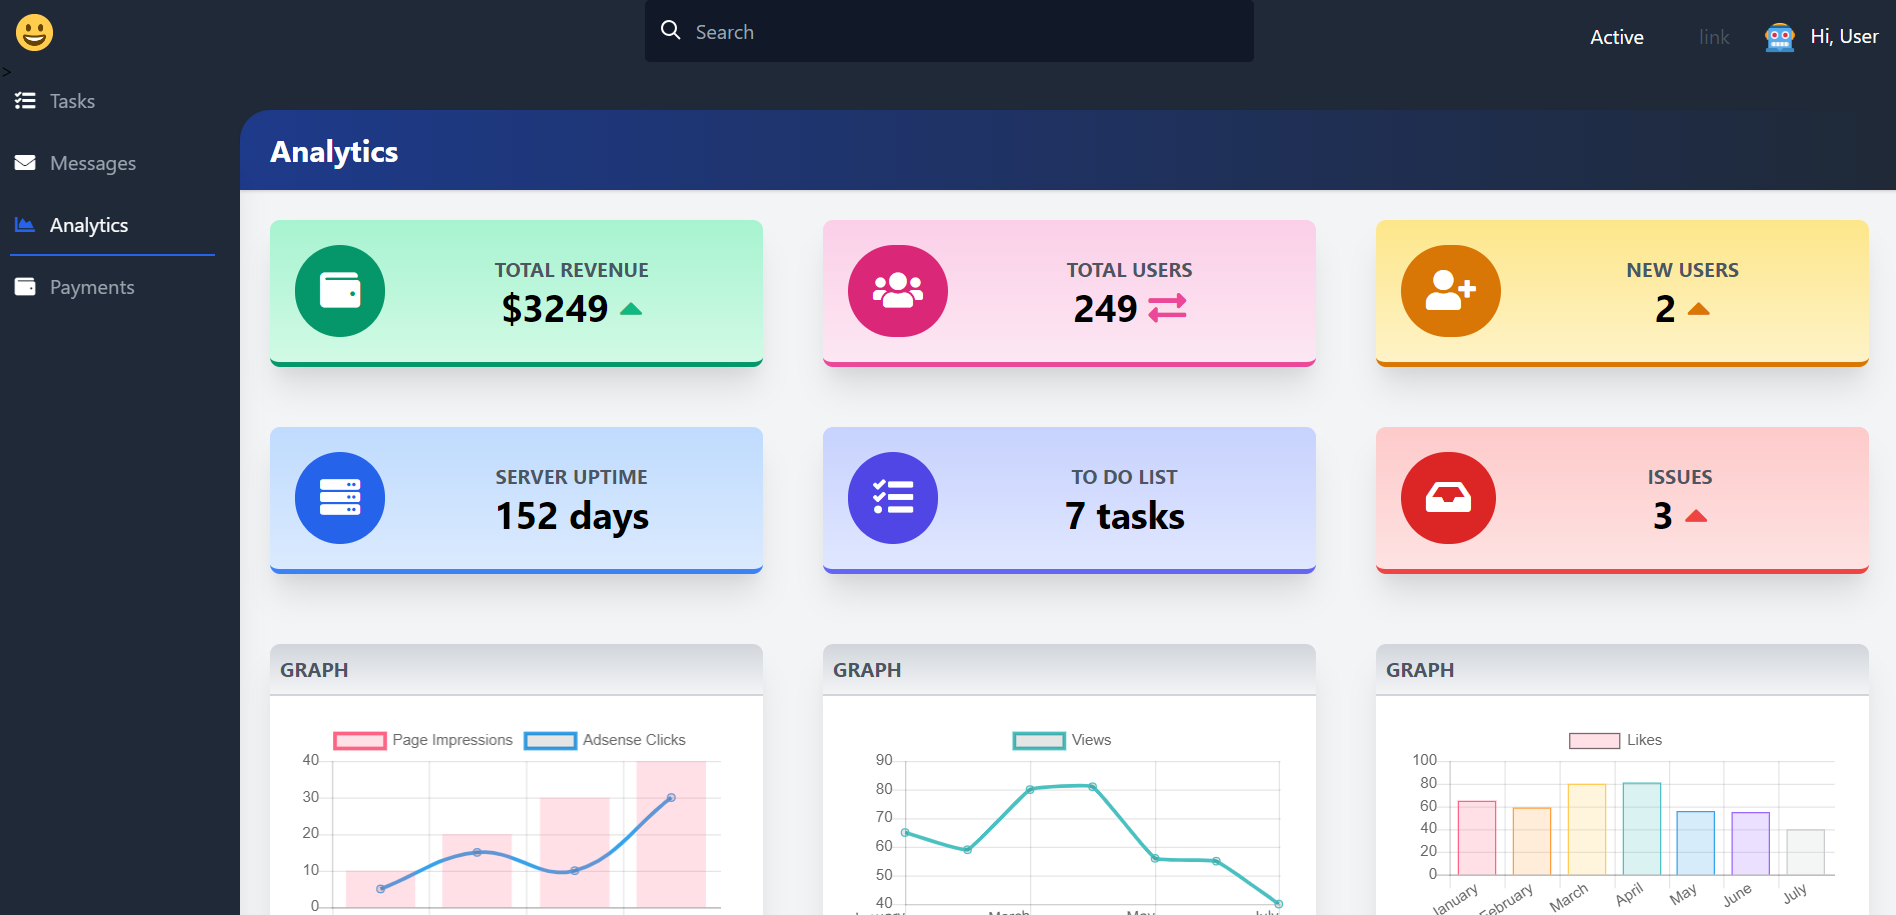
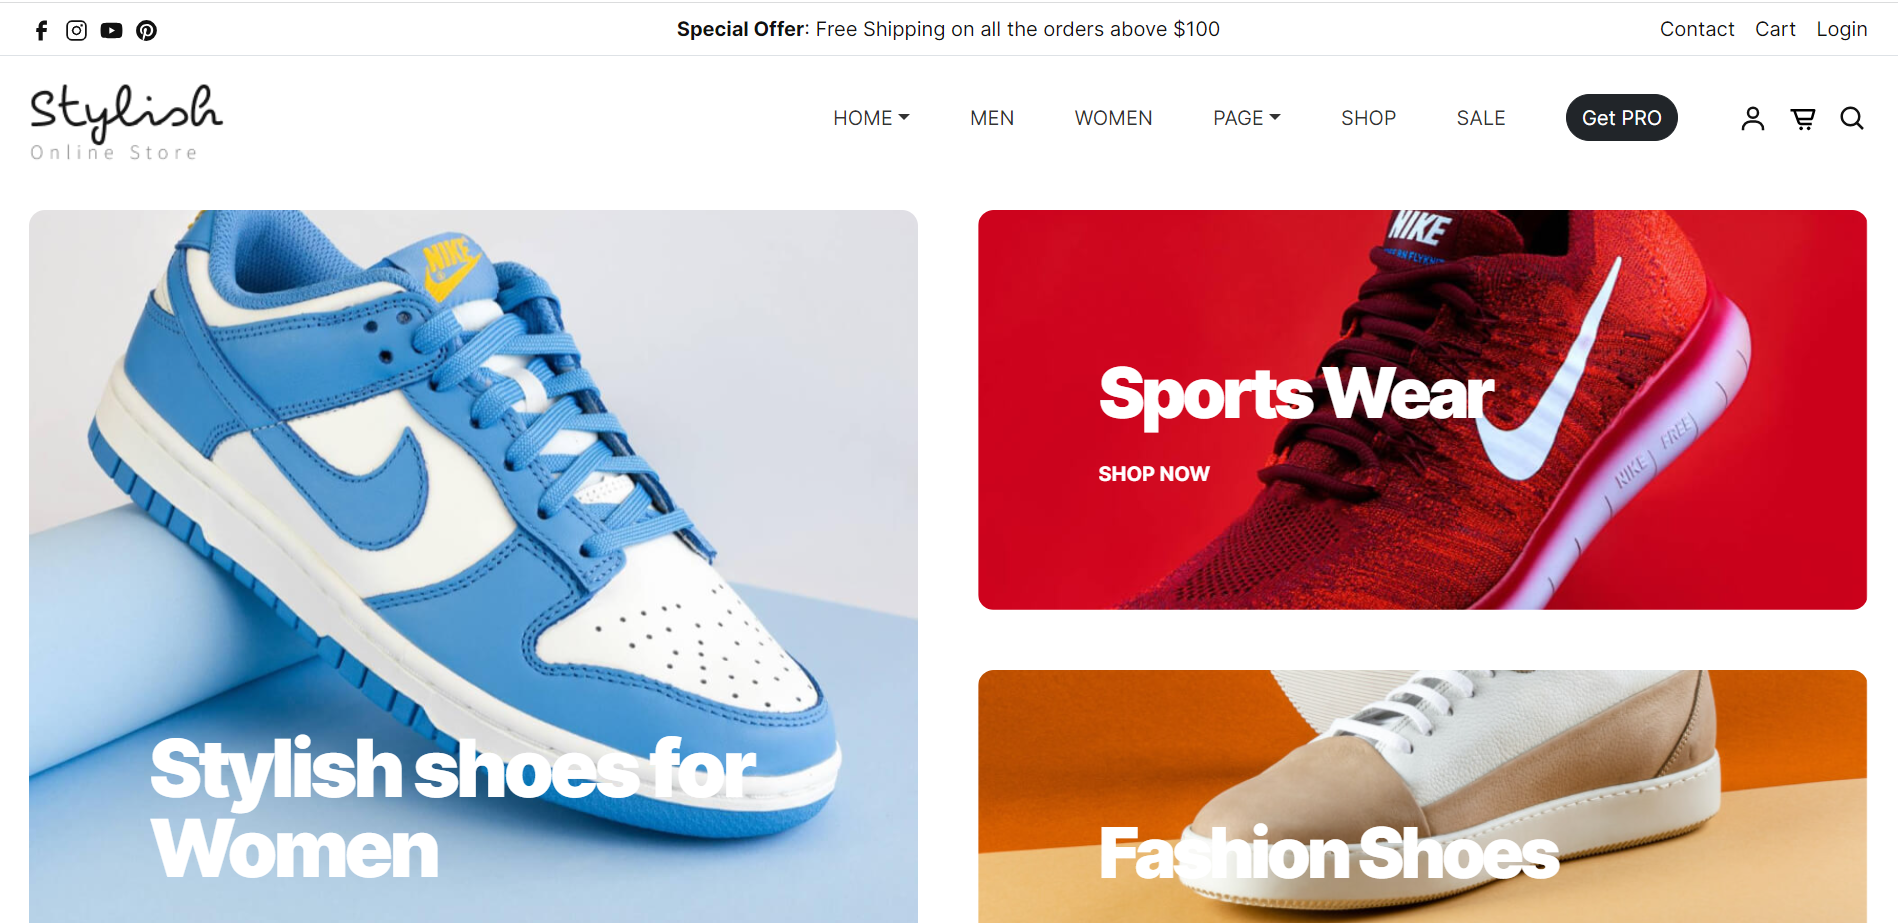
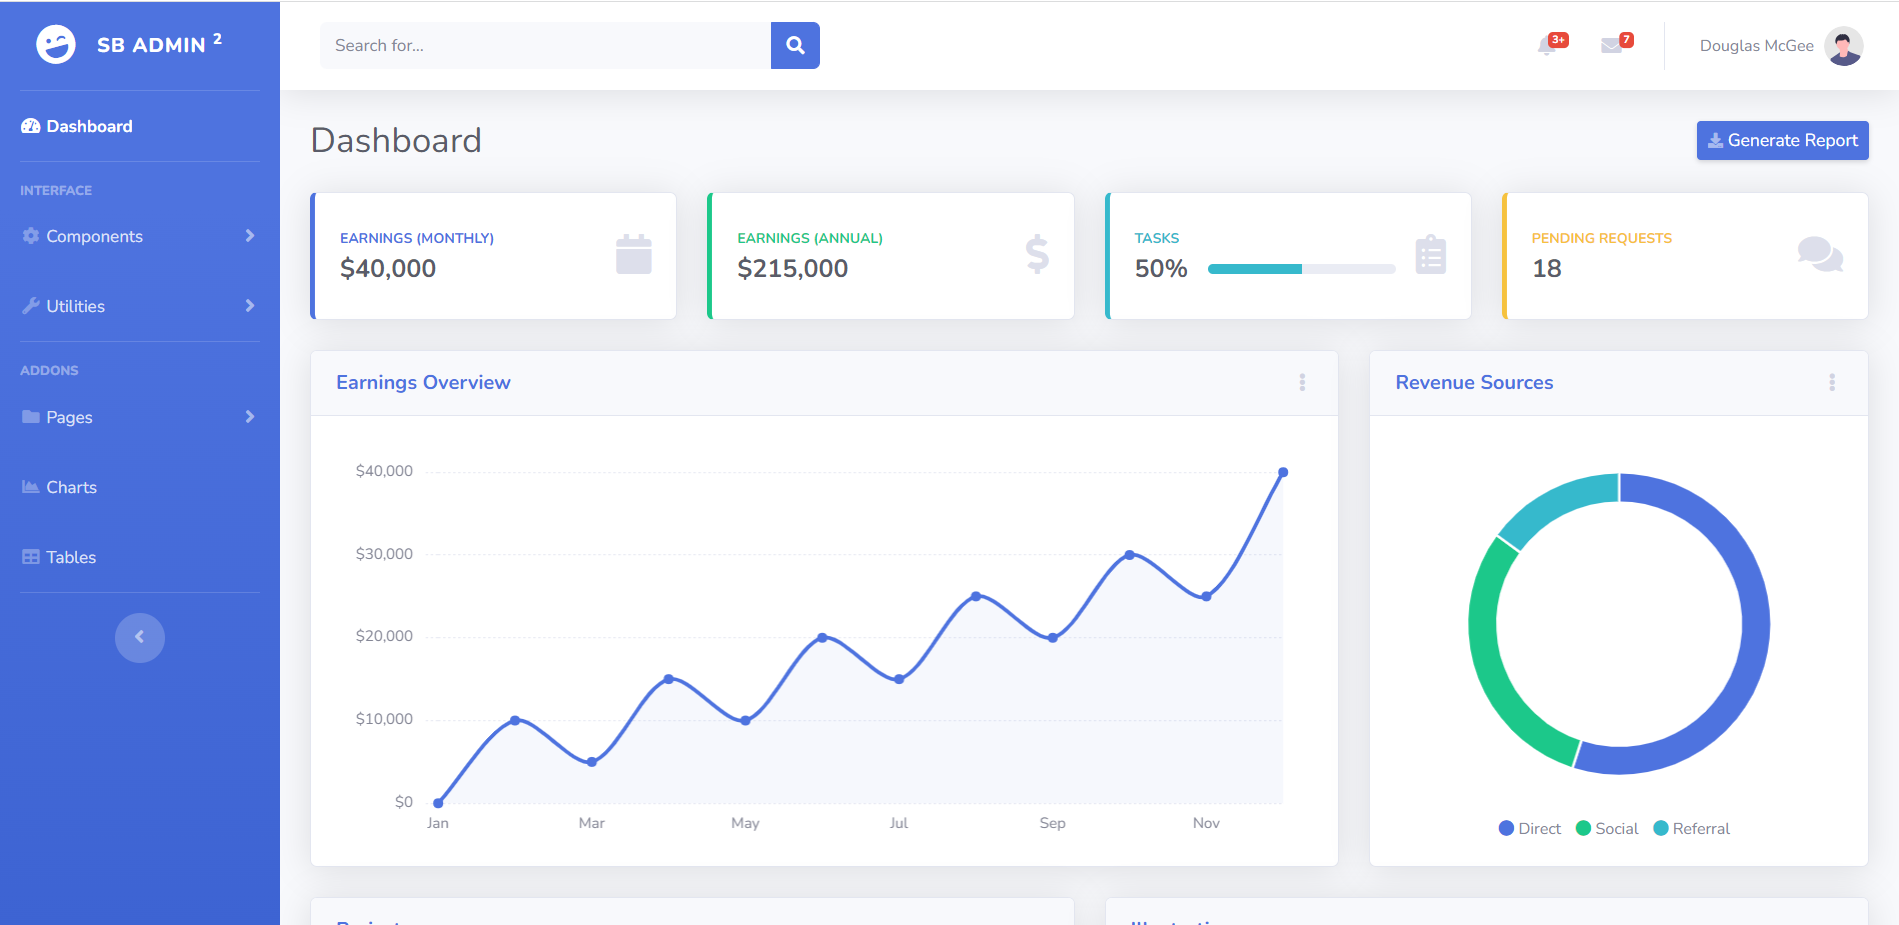
Friends now I proceed onwards and here is the working code snippet and please use carefully this to avoid the mistakes:
1. Firstly friends we need fresh angular 16 setup and for this we need to run below commands but if you already have angular 16 setup then you can avoid below commands. Secondly we should also have latest node version installed on our system:
npm install -g @angular/cli
ng new angulardemo//Create new Angular Project
cd angulardemo // Go inside the Angular Project Folder
2. Now friends we just need to add below code into angulardemo/src/app/app.component.html file to get final out on the web browser:
Friends in the end must run ng serve command into your terminal to run the angular 16 project.
Now we are done friends. If you have any kind of query, suggestion and new requirement then feel free to comment below.
Note: Friends, In this post, I just tell the basic setup and things, you can change the code according to your requirements.
I will appreciate that if you will tell your views for this post. Nothing matters if your views will be good or bad because with your views, I will make my next posts moregood and helpful.
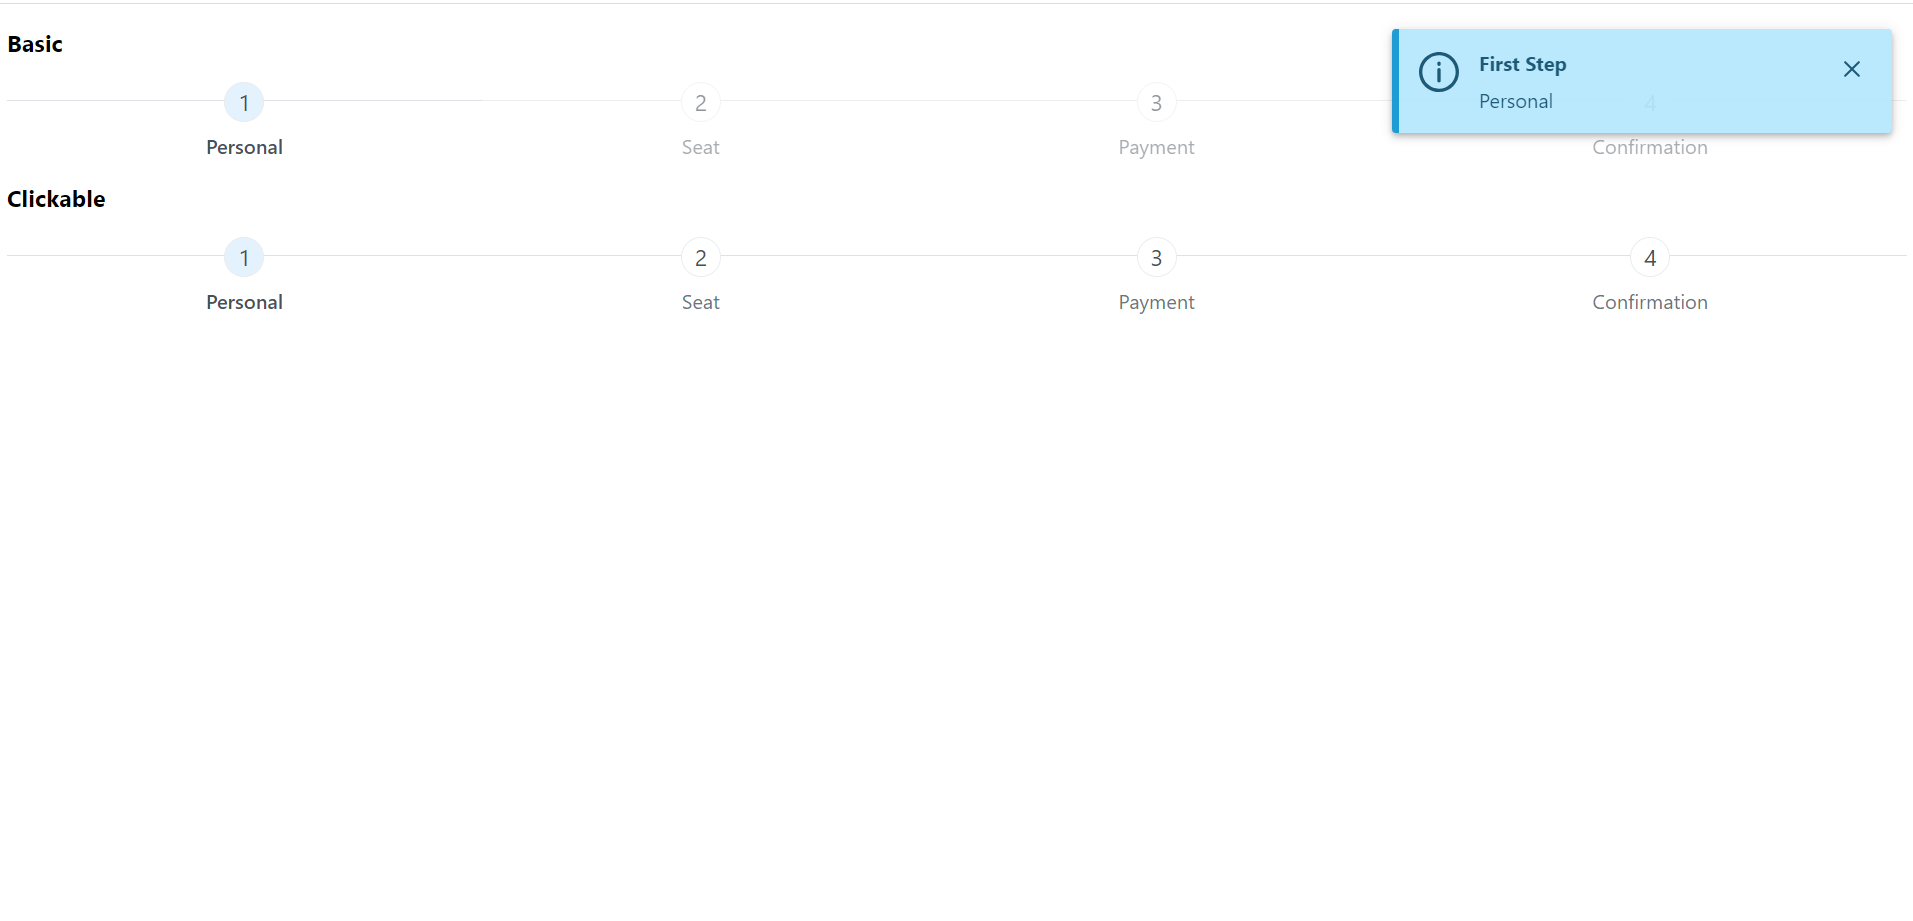
Friends now I proceed onwards and here is the working code snippet and please use carefully this to avoid the mistakes:
1. Firstly friends we need fresh angular 16 setup and for this we need to run below commands but if you already have angular 16 setup then you can avoid below commands. Secondly we should also have latest node version installed on our system:
npm install -g @angular/cli
ng new angulardemo//Create new Angular Project
cd angulardemo // Go inside the Angular Project Folder
ng add @ionic/angular // for ion icons
2. Now friends we just need to add below code into angulardemo/src/app/app.component.html file to get final out on the web browser:
Friends in the end must run ng serve command into your terminal to run the angular 16 project.
Now we are done friends. If you have any kind of query, suggestion and new requirement then feel free to comment below.
Note: Friends, In this post, I just tell the basic setup and things, you can change the code according to your requirements.
I will appreciate that if you will tell your views for this post. Nothing matters if your views will be good or bad because with your views, I will make my next posts moregood and helpful.
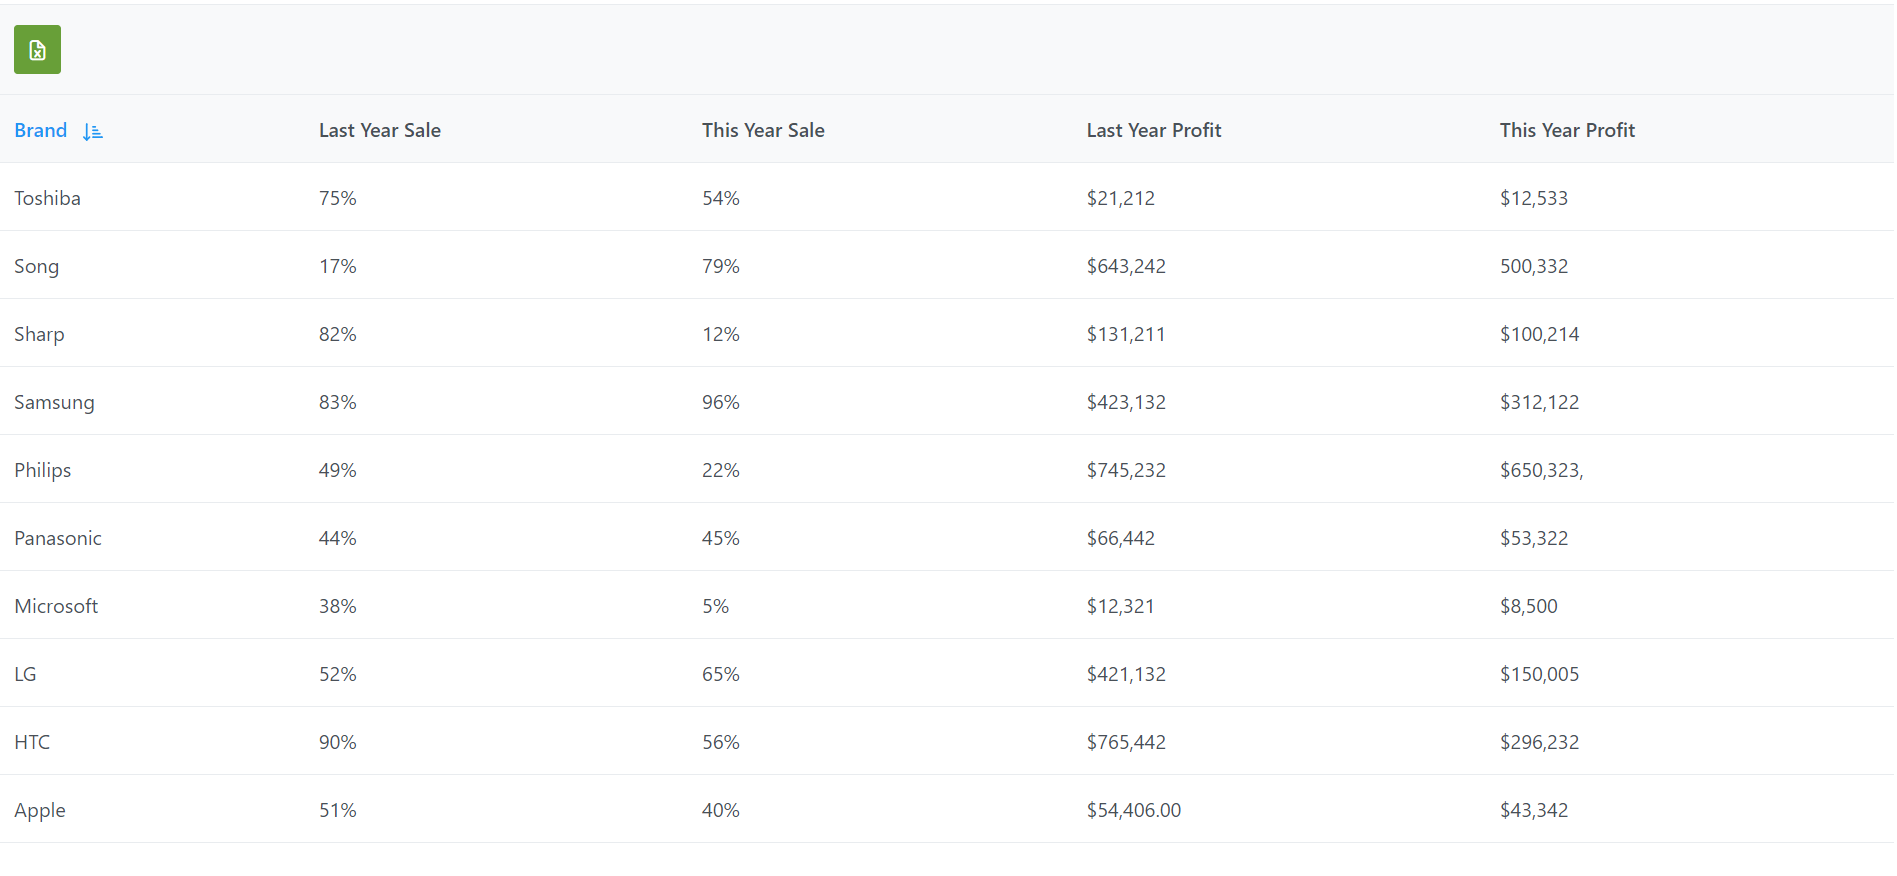
Friends now I proceed onwards and here is the working code snippet and please use carefully this to avoid the mistakes:
1. Firstly friends we need fresh angular 16 setup and for this we need to run below commands but if you already have angular 16 setup then you can avoid below commands. Secondly we should also have latest node version installed on our system:
npm install -g @angular/cli
ng new angulardemo//Create new Angular Project
cd angulardemo // Go inside the Angular Project Folder
2. Now friends we just need to add below code into angulardemo/src/app/app.component.html file to get final out on the web browser:
Friends in the end must run ng serve command into your terminal to run the angular 16 project.
Now we are done friends. If you have any kind of query, suggestion and new requirement then feel free to comment below.
Note: Friends, In this post, I just tell the basic setup and things, you can change the code according to your requirements.
I will appreciate that if you will tell your views for this post. Nothing matters if your views will be good or bad because with your views, I will make my next posts moregood and helpful.
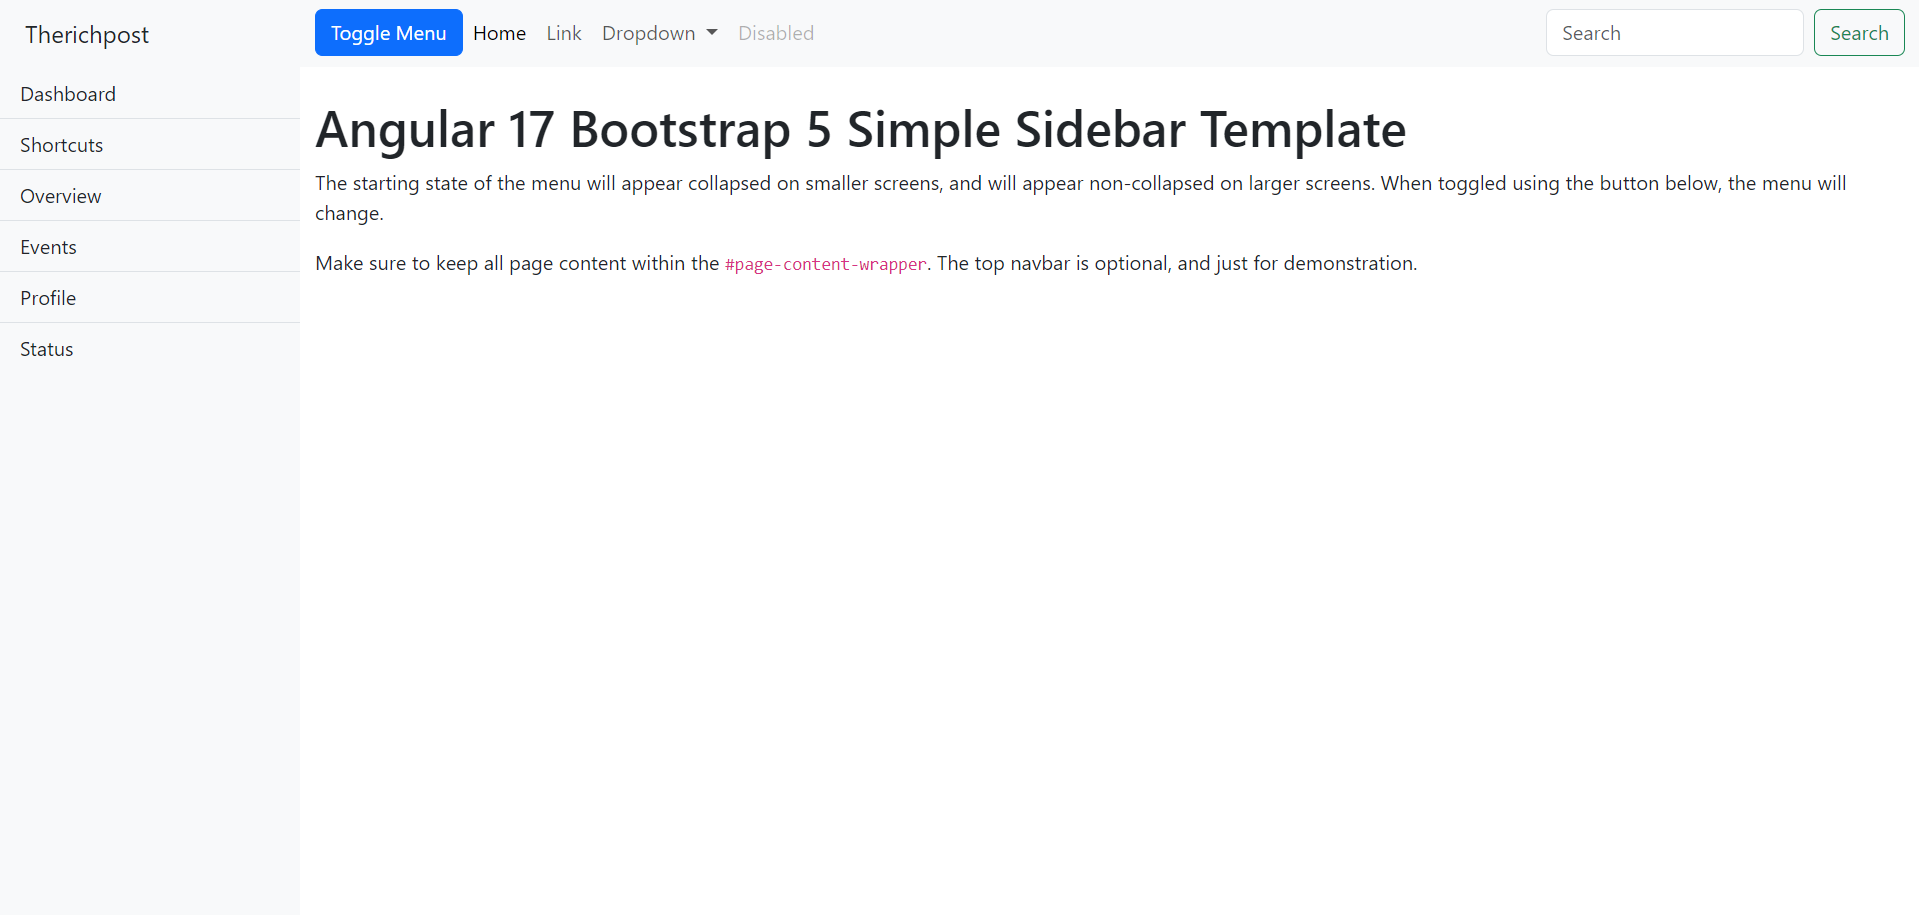
Guys here is the working code snippet and please use it carefully:
1. Very first guys, here are common basics steps to add angular 16 application on your machine and also we must have latest nodejs version installed for angular 16:
npm install -g @angular/cli
ng new angulardemo // Set Angular 16 Application on your pc
cd angulardemo // Go inside project folder
2. Now guys we will add below code into our angulardemo/src/app/app.component.ts file:
here I am using httpclient services to get rest api data
import { Component } from '@angular/core';
import { HttpClient } from '@angular/common/http';
@Component({
selector: 'app-root',
templateUrl: './app.component.html',
styleUrls: ['./app.component.css']
})
export class AppComponent {
products:any;
constructor(private http:HttpClient) {}
ngOnInit(){
//calling to get dynamic products via woocommerce rest api
this.http.get('http://localhost/wordpressexpert/wp-json/wc/v1/products/').subscribe(data => {
this.products = data;
});
}
}
3. Now guys we will add below code into our angulardemo/src/app/app.component.html file for output on web:
here I am showing backed data into our angular 16 frontend and for adding bootstrap 5 into angular, I shared the post link below
Now we are done friends and please run ng serve command to check the output in browser(locahost:4200) and if you have any kind of query then please do comment below.
Note: Friends, I just tell the basic setup and things, you can change the code according to your requirements. For better understanding please watch video above.
Hello to all, welcome to therichpost.com. In this post, I will tell you, Sharing data between parent to child directives and components in Angular 16.
A common pattern in Angular is sharing data between a parent component and one or more child components. Implement this pattern with the @Input() and @Output() decorators.
Angular16 came and if you are new then you must check below link:
Here is the code snippet and please use carefully:
1. Very first guys, here are common basics steps to add angular 16 application on your machine and also we must have latest nodejs version installed for angular 16:
npm install -g @angular/cli
ng new angulardemo // Set Angular 16 Application on your pc
cd angulardemo // Go inside project folder
ng g c item-detail //generate child component
2. Now guys we will add below code into our angulardemo/src/app/item-detail/item-detail.component.ts file:
In this case, @Input() decorates the property item, which has a type of string, however, @Input() properties can have any type, such as number, string, boolean, or object. The value for item comes from the parent component.
import { Component, Input } from '@angular/core';
@Component({
selector: 'app-item-detail',
templateUrl: './item-detail.component.html',
styleUrls: ['./item-detail.component.css']
})
export class ItemDetailComponent {
@Input() item = ""; // decorate the property with @Input()
}
3. Now guys we will add below code into our angulardemo/src/app/item-detail/item-detail.component.html file:
<p>
Todays item is : {{item}}
</p>
4. Now guys we will add below code into our angularform/src/app/app.component.html file and watch on web:
Use property binding to bind the item property in the child to the currentItem property of the parent.
4. Now guys we will add below code into our angularform/src/app/app.component.ts file:
import { Component } from '@angular/core';
@Component({
selector: 'app-root',
templateUrl: './app.component.html',
styleUrls: ['./app.component.css']
})
export class AppComponent {
title = 'angularexpert';
currentItem = "Thar 4x4"; //Declare property values and bind with item
}
Now we are done friends and please run ng serve command to check the output in browser(locahost:4200) and if you have any kind of query then please do comment below.
Note: Friends, I just tell the basic setup and things, you can change the code according to your requirements. For better understanding please watch video above.
Guys I will appreciate that if you will tell your views for this post. Nothing matters if your views will be good or bad.
Guys to include Bootstrap 5 into our Angular 16 application please see below tutorial link:
Here is the code snippet and please use carefully:
1. Very first guys, here are common basics steps to add angular 16 application on your machine and also we must have latest nodejs version installed for angular 16:
$ npm install -g @angular/cli
$ ng new angularform // Set Angular 16 Application on your pc
cd angularform // Go inside project folder
2. Now guys we will add below code into our angularform/src/app/app.module.ts file:
Now we are done friends and please run ng serve command to check the output in browser(locahost:4200) and if you have any kind of query then please do comment below.
Note: Friends, I just tell the basic setup and things, you can change the code according to your requirements. For better understanding please watch video above.
Guys I will appreciate that if you will tell your views for this post. Nothing matters if your views will be good or bad.
Hello to all, welcome to therichpost.com. In this post, I will tell you, How to call multiple API and subscribe in angular 16?.
Guys in this demo I am calling multiple web api’s using forkjoin from RXJS Library for JavaScript. Forkjoin accepts an Array of Observable Input or a dictionary Object of Observable Input and returns an Observable that emits either an array of values in the exact same order as the passed array, or a dictionary of values in the same shape as the passed dictionary.
Angular16 came and if you are new then you must check below link:
Here is the code snippet and please use carefully:
1. Very first guys, here are common basics steps to add angular 16 application on your machine and also we must have latest nodejs version installed for angular 16:
$ npm install -g @angular/cli
$ ng new angularform // Set Angular 16 Application on your pc
cd angularform // Go inside project folder
2. Now guys we will add below code into our angularform/src/app/app.module.ts file:
3. Now guys we will add below code into our angularform/src/app/app.component.ts file and main functionality is this:
import { Component } from '@angular/core';
import { HttpClient } from '@angular/common/http'
import { forkJoin } from 'rxjs';
@Component({
selector: 'app-root',
templateUrl: './app.component.html',
styleUrls: ['./app.component.css']
})
export class AppComponent {
title = 'angularexpert';
data1:any;
data2:any
constructor(private http: HttpClient) {}
ngOnInit() {
let call1 = this.http.get('https://therichpost.com/testjsonapi/users/');
let call2 = this.http.get('https://therichpost.com/testjsonapi/products/');
forkJoin([call1, call2]).subscribe(results => {
this.data1 = results[0];
this.data2 = results[1];
console.log(this.data1, this.data2);
});
}
}
Now we are done friends and please run ng serve command to check the output in browser(locahost:4200) and if you have any kind of query then please do comment below.
Note: Friends, I just tell the basic setup and things, you can change the code according to your requirements. For better understanding please watch video above.
Guys I will appreciate that if you will tell your views for this post. Nothing matters if your views will be good or bad.