Author: therichpost
-
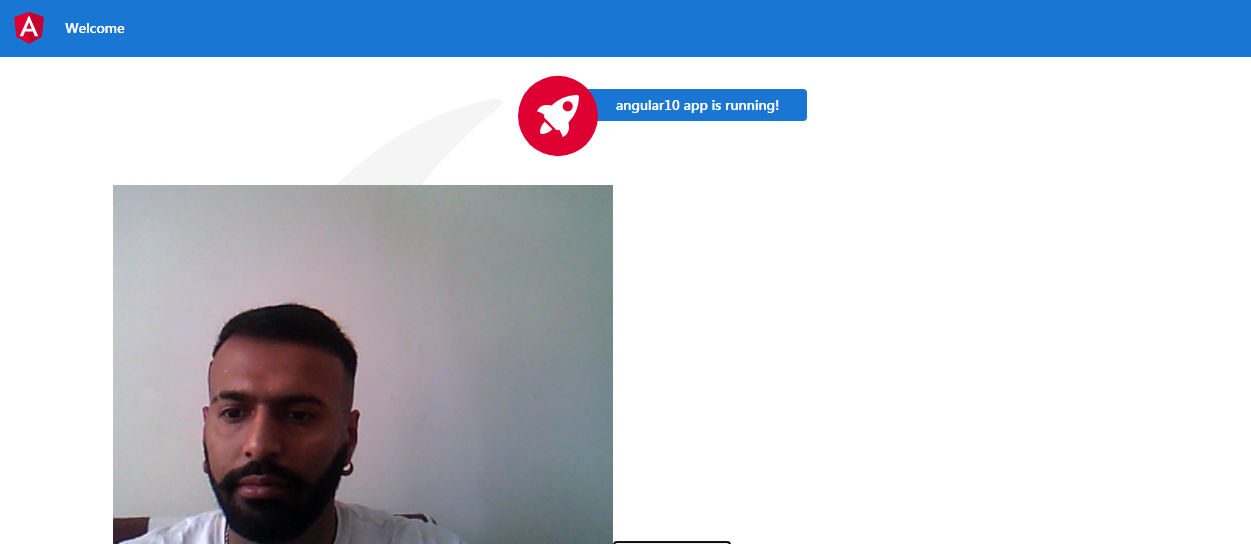
How to access webcam in angular 10 application?
Hello to all, welcome to therichpost.com. In this post, I will tell you, how to access webcam in angular 10 application? Guy’s this code snippet will also work in Angular 11 and Angular 12 applications. Angular 12 came and if you are new in Angular 12 then please check my old posts related to angular…
Written by
-
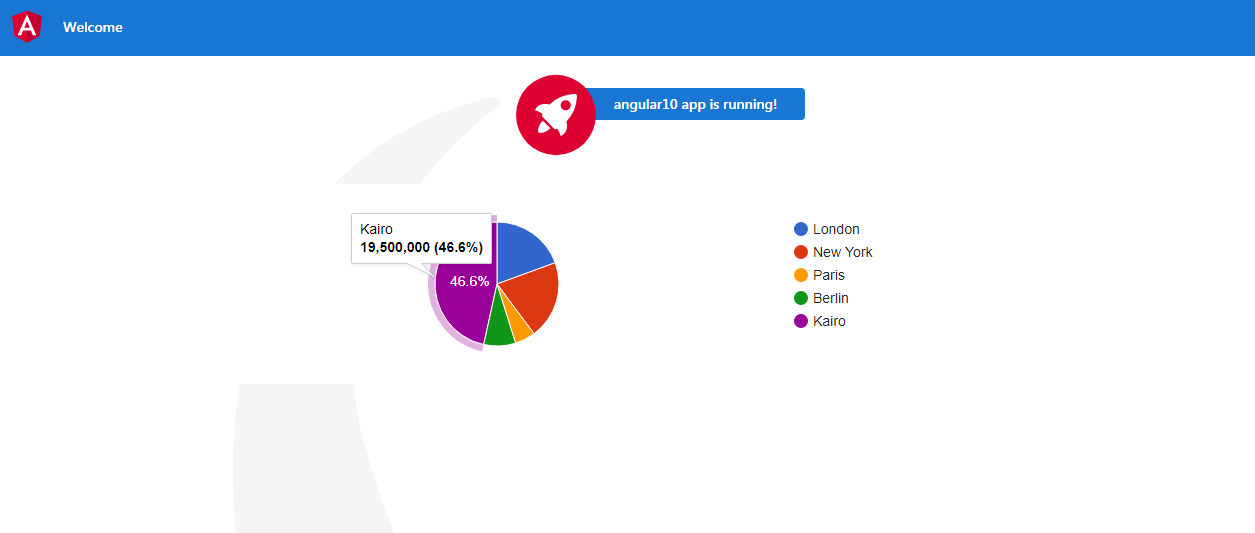
Angular 9/10 Google Charts Working Example
Hello to all, welcome again on therichpost.com. In this post, I will tell you, Angular 9/10 Google Charts Working Example. Post Working: In this post, I am showing google pie chart in Angular 10. Here is the working code snippet and please follow carefully: 1. Very first, here are common basics steps to add angular…
Written by
-
Angular 9/10 ag-Grid Datatable Smart Table working Examples
Hello to all, welcome to therichpost.com. In this post, I will tell you, Angular 9/10 ag-Grid Datatable Smart Table working Examples. So friends here all are the working examples and if you have any kind of query then please do comment below. Jassa Thanks
Written by
-
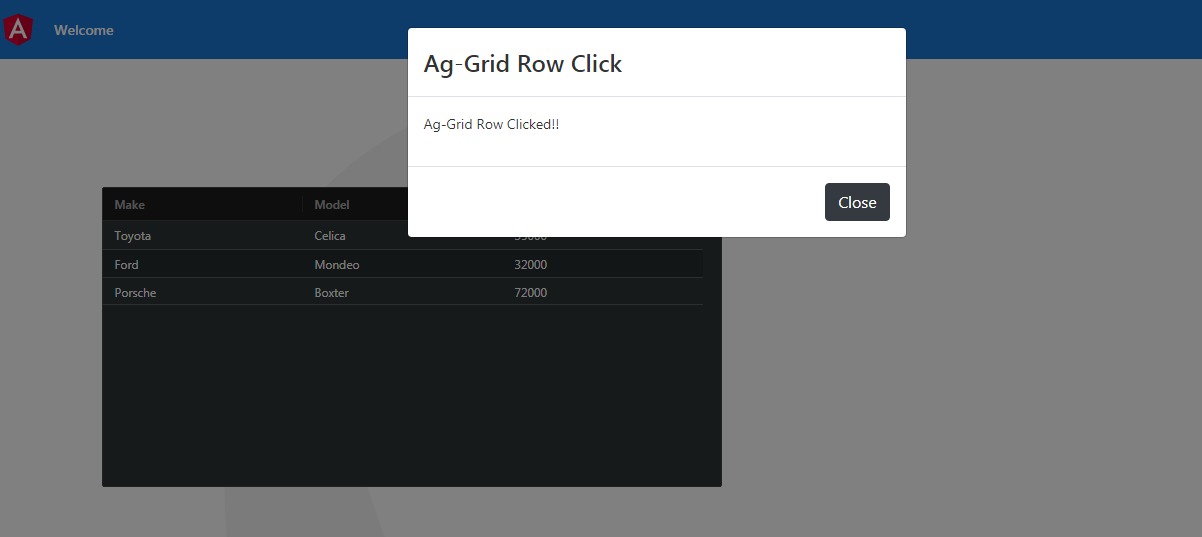
Angular 9/10 ag-Grid Open Bootstrap Modal on Row Click
Hello to all, welcome to therichpost.com. In this post, I will tell you, Angular 9/10 ag-Grid Open Bootstrap Modal on Row Click. Angular 10 came. If you are new in angular then check my old posts related to angular 10. Here is code snippet and please follow carefully: 1. Here are the basics commands, you…
Written by
-
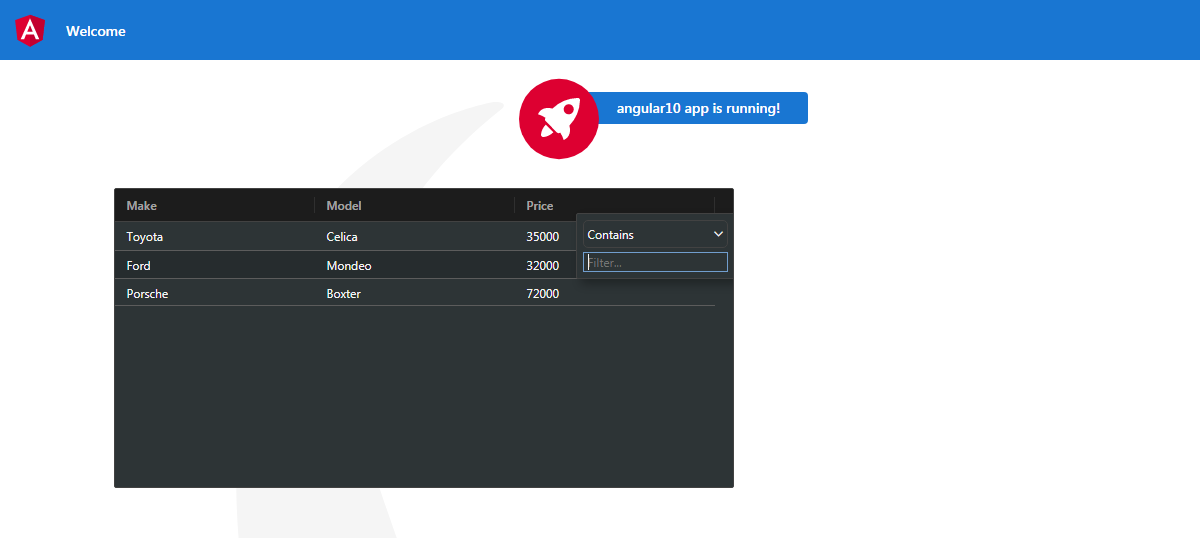
Angular 9/10 Ag-grid Working Example
Hello to all, welcome to therichpost.com. In this post, I will tell you, Angular 9/10 Ag-grid Working Example. Guy’s Angular 12 came and if you are new in Angular 12 then please check below link: Angular 12 Tutorials Here are the more posts related to ag-Grid: AgGrid add new row agGrid delete row ag-Grid show…
Written by
-
Angular 9/10 Ecommerce Website with laravel API Json Data
Hello to all, welcome to therichpost.com. In this post, I am will tell you, Angular 9/10 Ecommerce Website with laravel API Json Data. Post Working: In this post, I will tell you, how to show laravel api json data into our angular application and this is very easy and very interesting. Very First, you need…
Written by

-
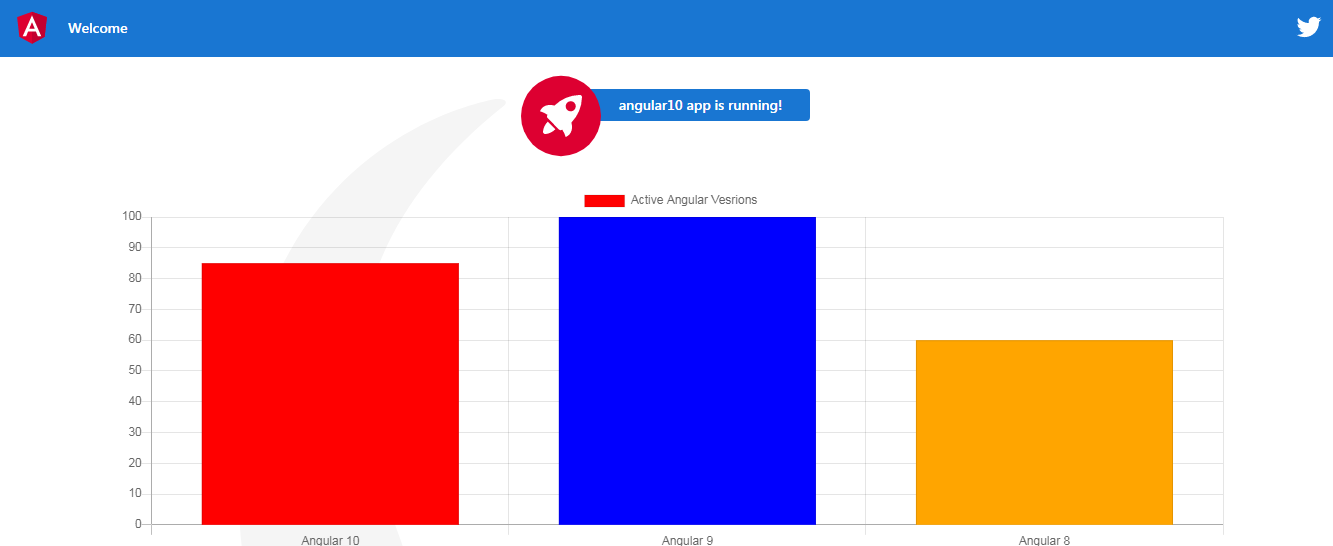
Angular 10 Chartjs Working Example
Hello to all, welcome to therichpost.com. In this post, I will tell you, Angular 10 chart js working example and code. In this post, I am showing bar chart, line chart and pie chart and I have also used bootstrap for good looks. Angular 10 came and if you are know in Angular 10 then…
Written by
-
Angular 10 Smart Table Working Example
Hello to all, welcome to therichpost.com. In this post, I will tell you, Angular 10 Smart Table Working Example. Angular 10 came and I am very happy for this and If you are new then you can check my Angular 10 old posts with that you can Angular 10 easily. Post Working: In this post,…
Written by

-
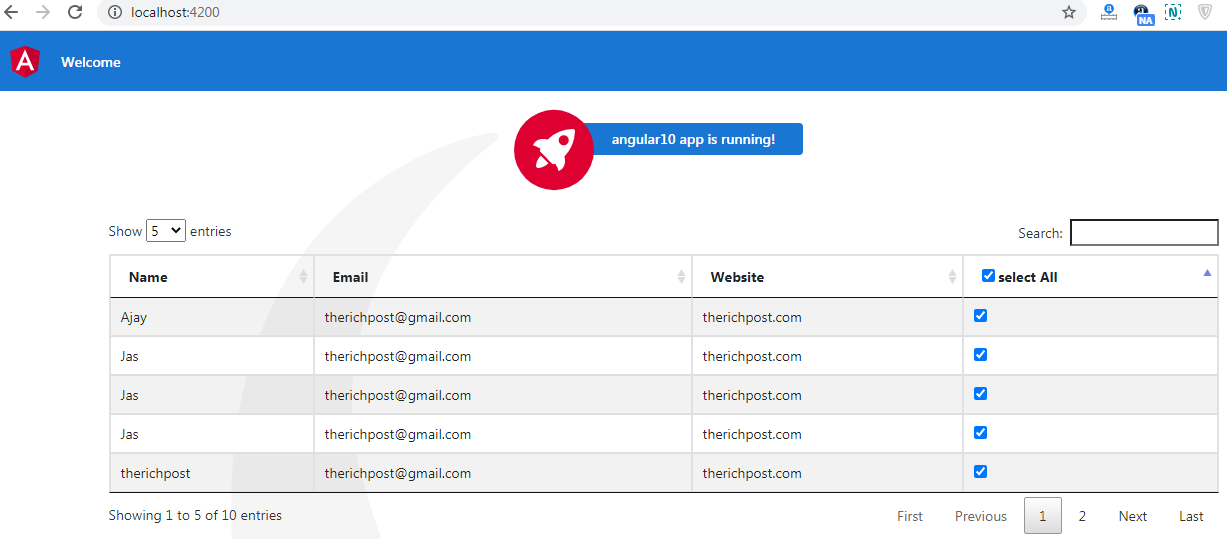
Angular 9/10 Datatable binding with custom checkbox multi selection
Hello to all, welcome to therichpost.com. In this post, I will tell you, Angular 9/10 Datatable binding with custom checkbox multi selection. Angular 10 just came. Here is the working code snippet and please use carefully: 1. Here are the basics commands, you need to run for latest angular 10 setup and environment: npm install…
Written by
-
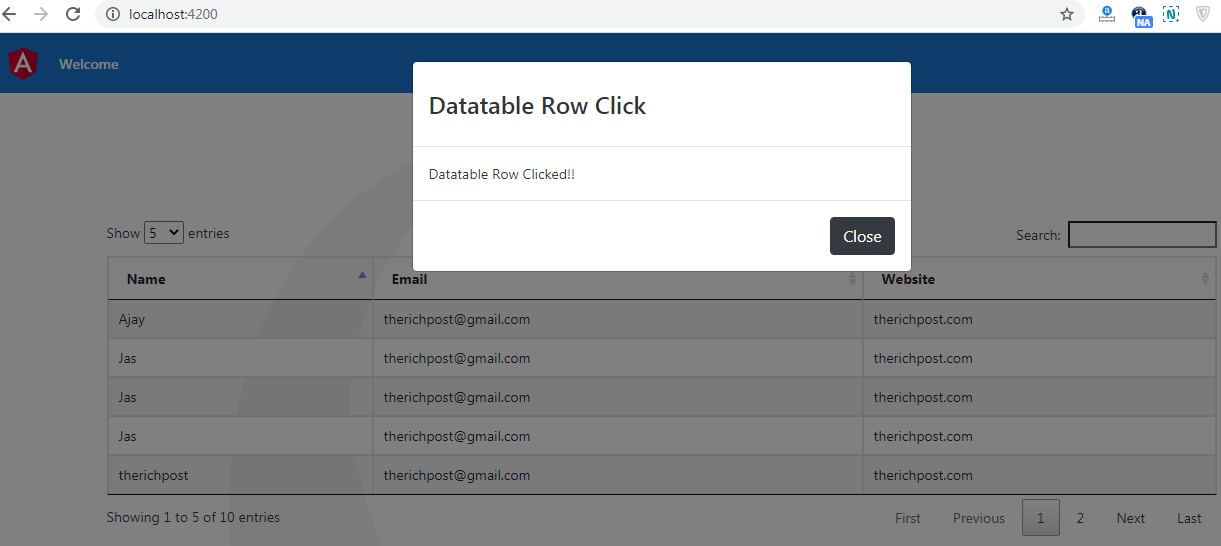
Angular 9/10 Datatable Row Click Open Bootstrap Modal
Hello to all, welcome to therichpost.com. In this post, I will tell you, Angular 9/10 Datatable Row Click Open Bootstrap Modal. Angular 10 just came. Here is the working code snippet and please use carefully: 1. Here are the basics commands, you need to run for latest angular 10 setup and environment: npm install -g…
Written by
