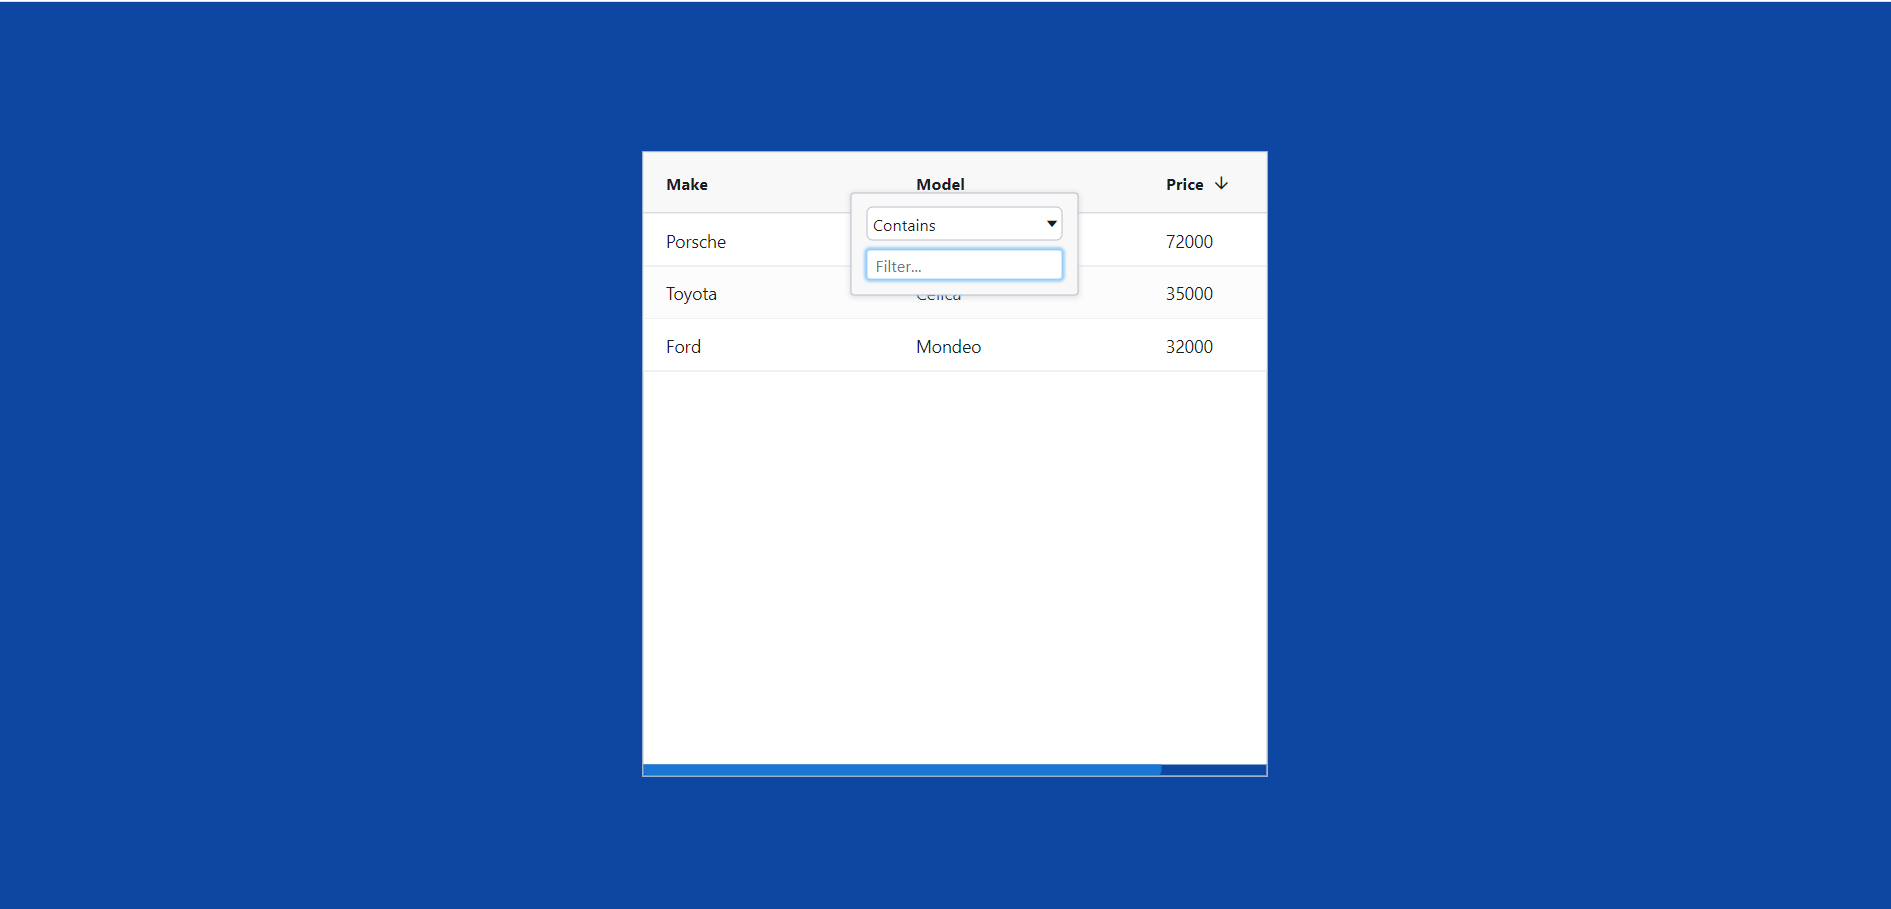
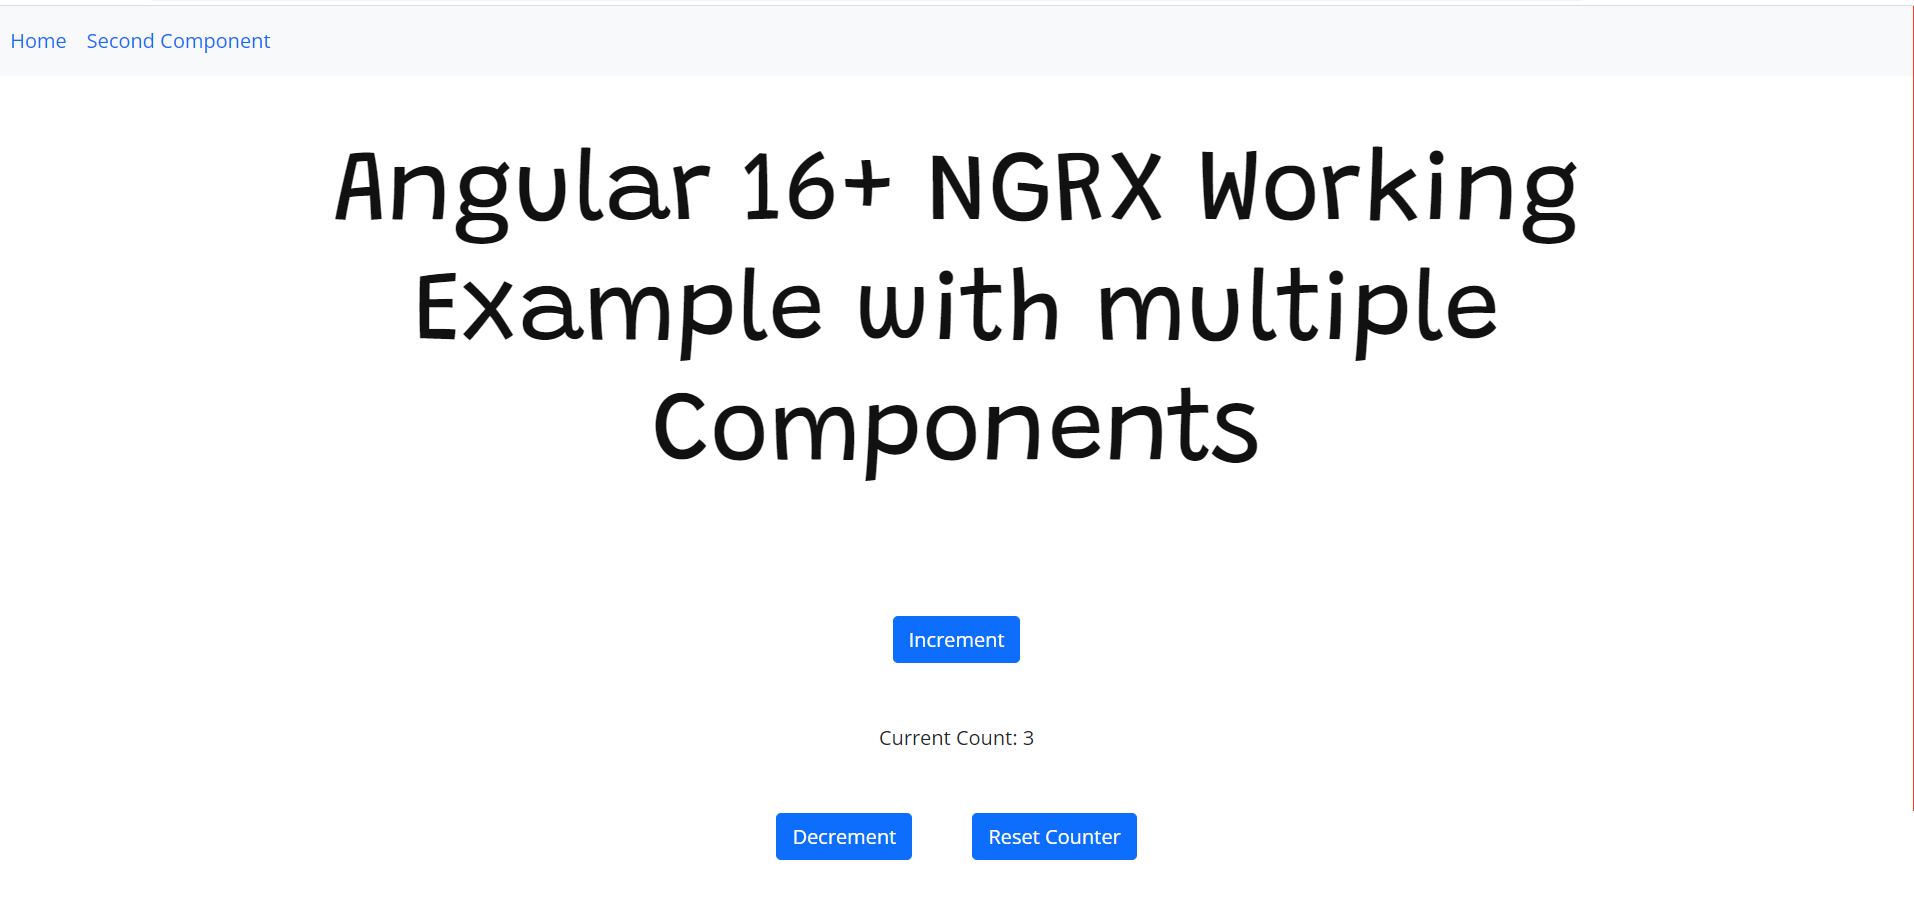
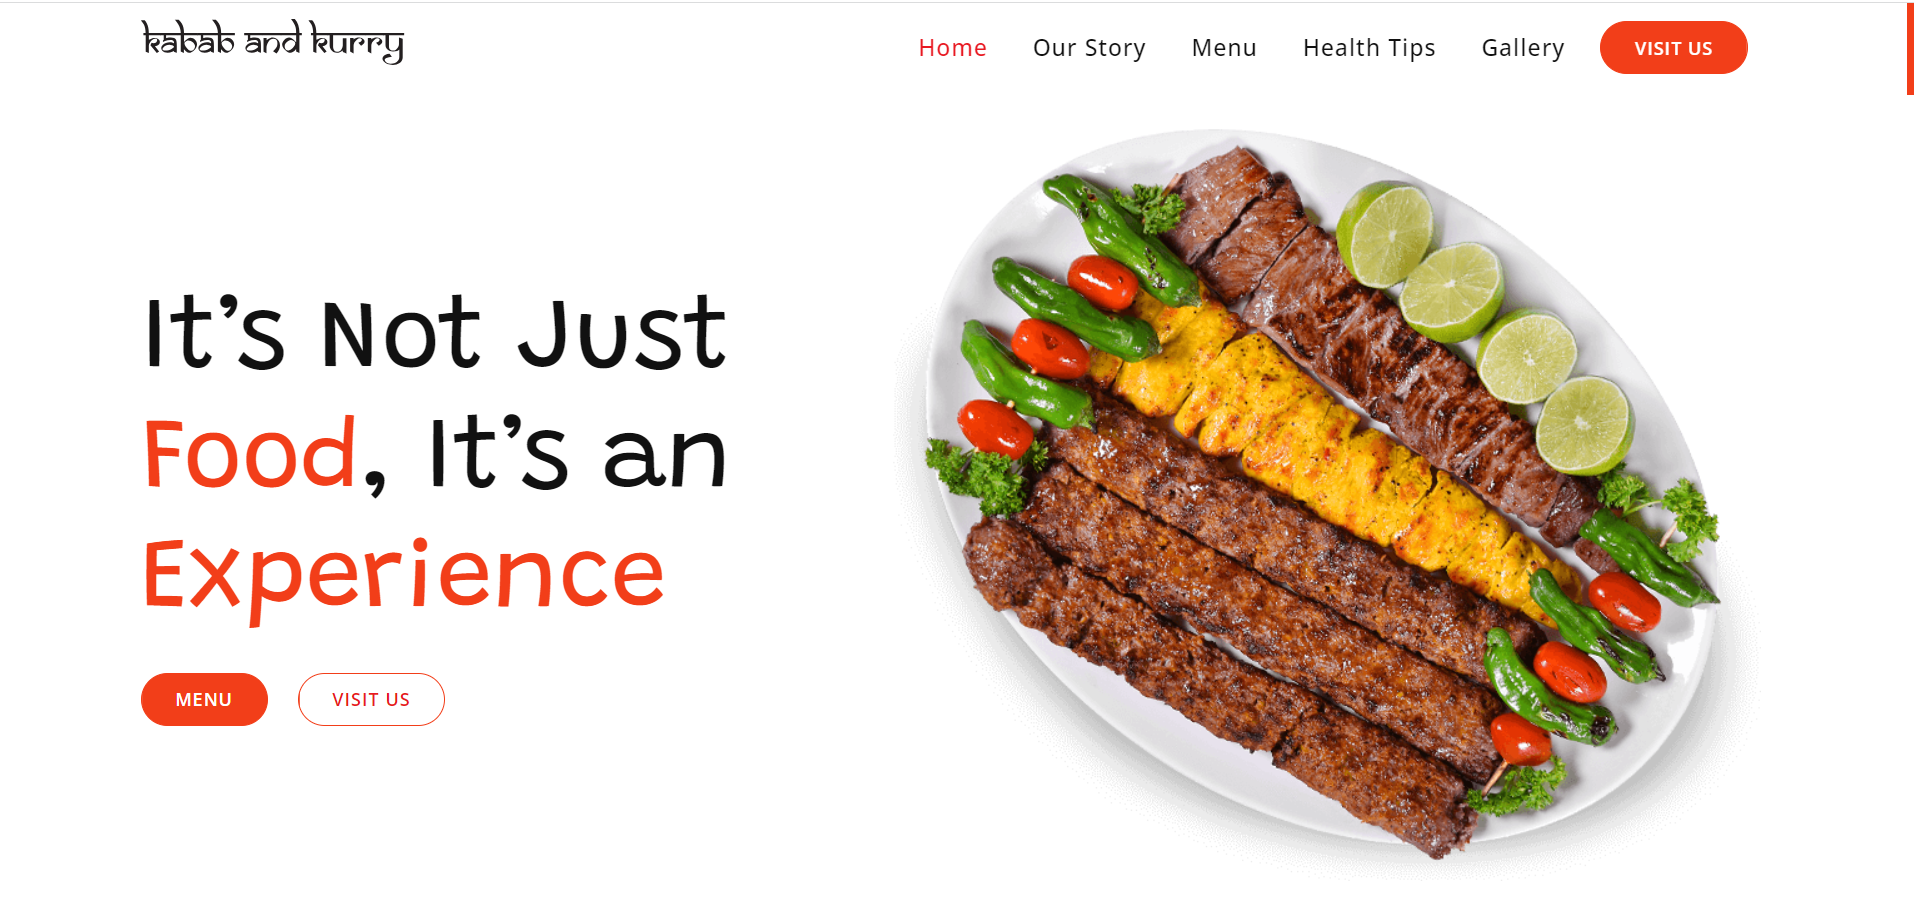
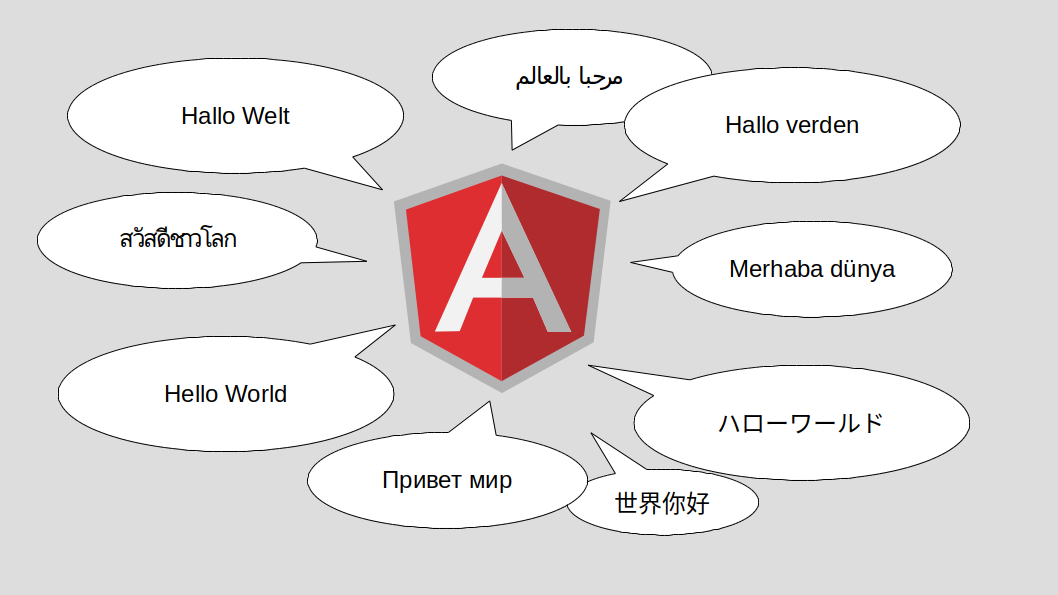
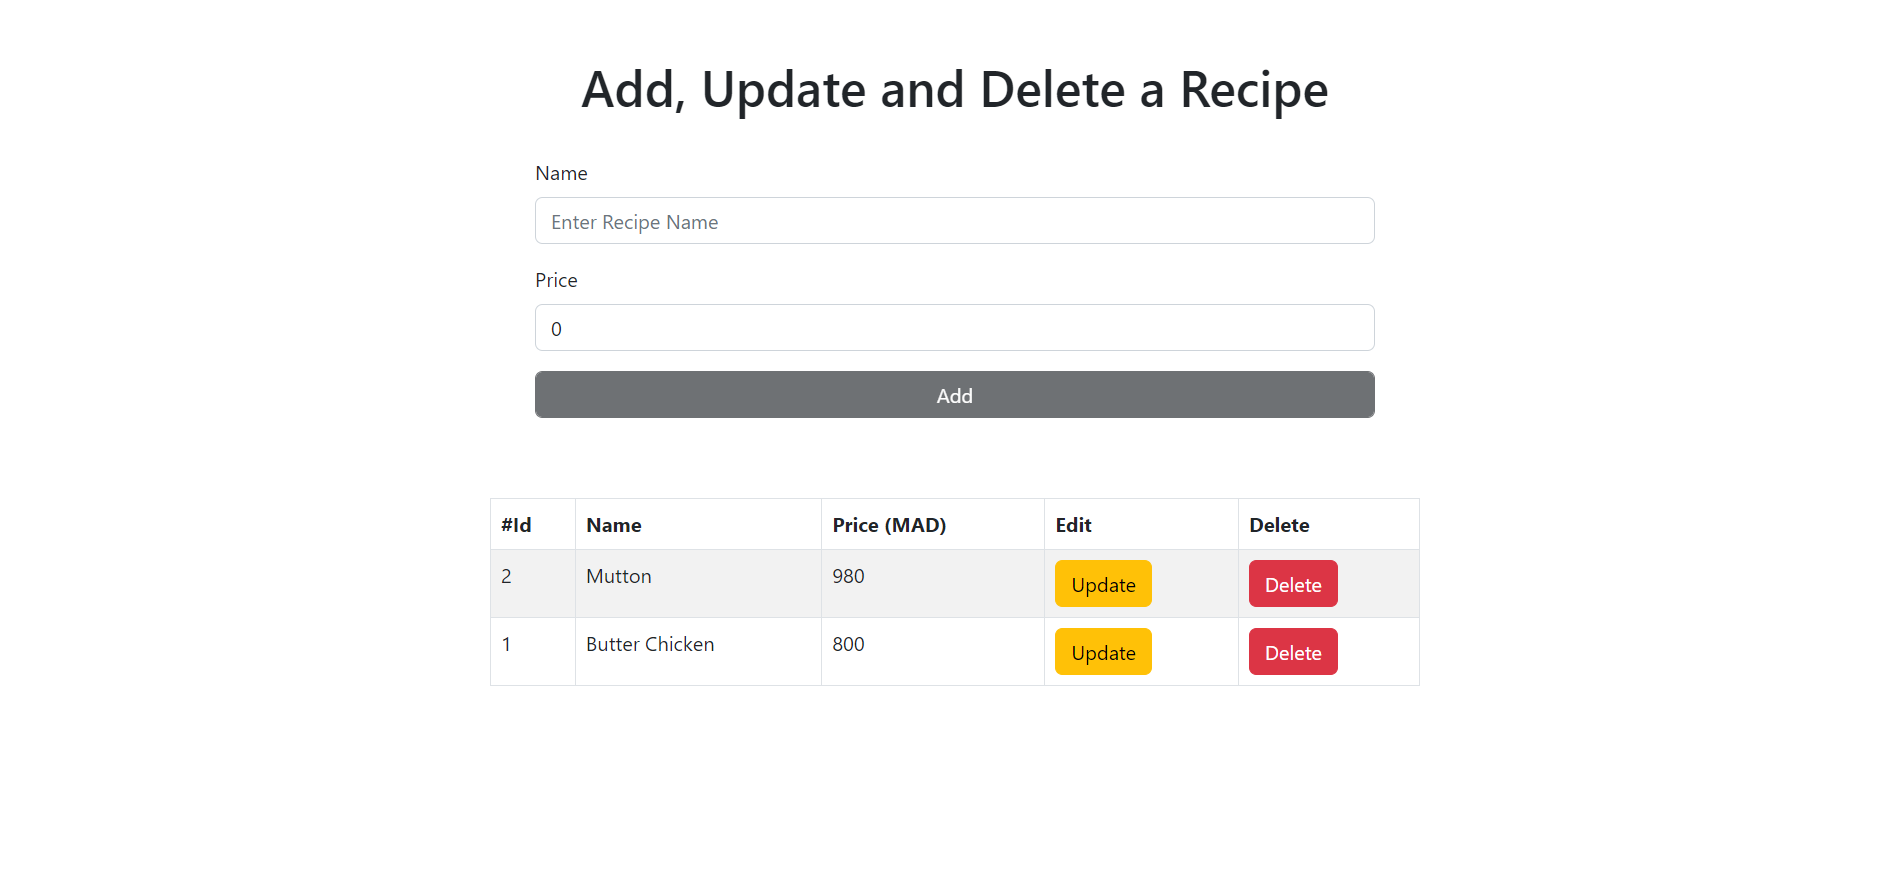
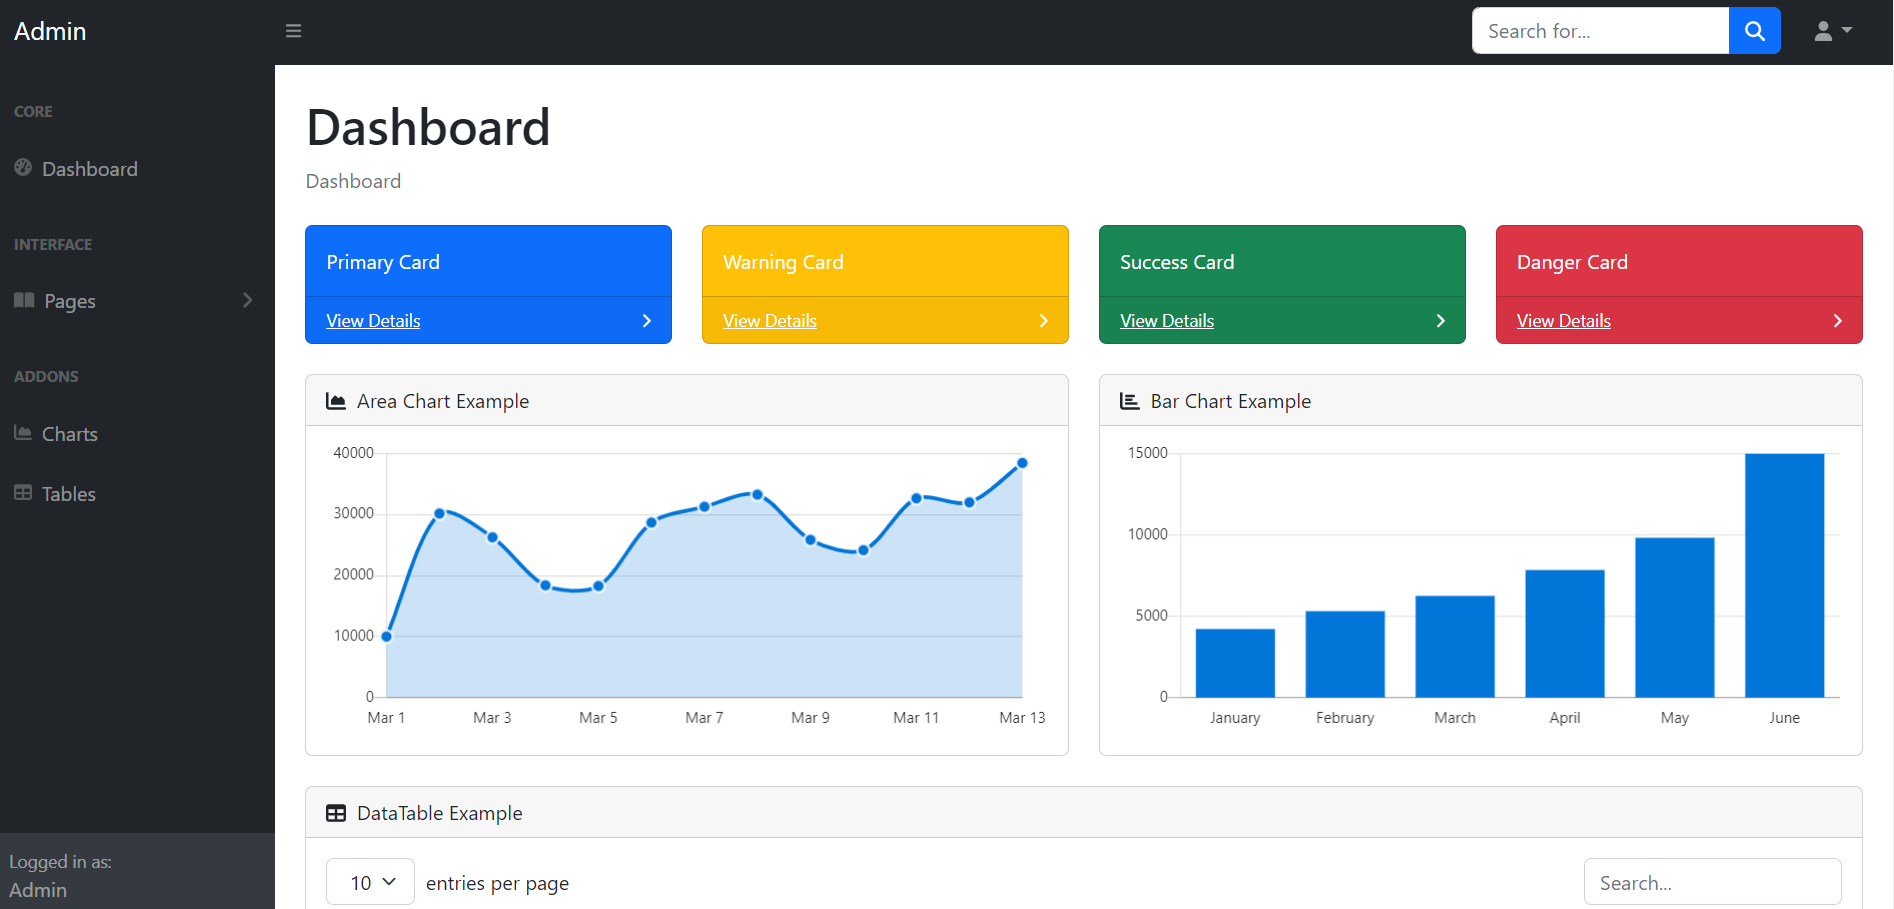
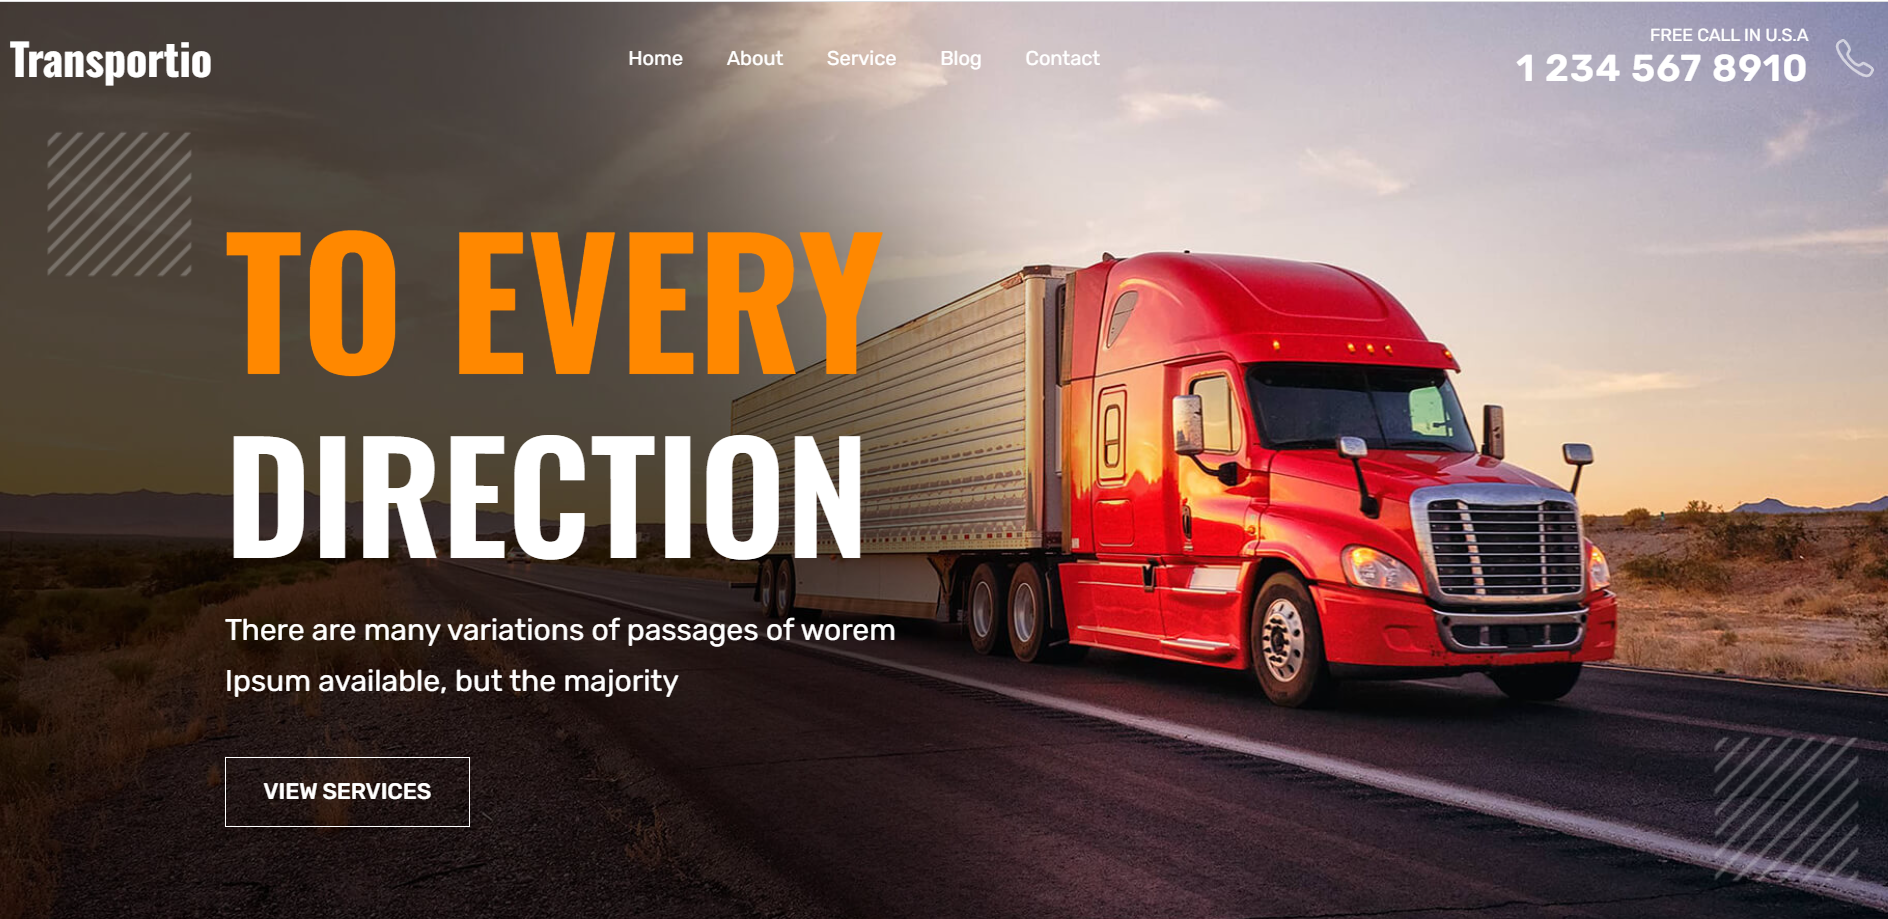
Friends now I proceed onwards and here is the working code snippet and please use carefully this to avoid the mistakes:
1. Firstly friends we need fresh angular 16 setup and for this we need to run below commands but if you already have angular 16 setup then you can avoid below commands. Secondly we should also have latest node version installed on our system:
npm install -g @angular/cli
ng new angulardemo //Create new Angular Project
cd angulardemo // Go inside the Angular Project Folder
2. Now friends, here we need to run below commands into our project terminal to install ag-grid modules into our angular application:
Friends in the end must run ng serve command into your terminal to run the angular 16 project.
Now we are done friends. If you have any kind of query, suggestion and new requirement then feel free to comment below.
Note: Friends, In this post, I just tell the basic setup and things, you can change the code according to your requirements.
I will appreciate that if you will tell your views for this post. Nothing matters if your views will be good or bad because with your views, I will make my next posts moregood and helpful.
Here is the code snippet and please use it carefully:
1. Very first, you need run below commands into your terminal to get angular 17 fresh setup:
Also you have latest nodejs installed on your system
npm install -g @angular/cli //Setup Angular17 atmosphere
ng new angularngrx //Install New Angular App
/**You need to update your Nodejs also for this verison**/
cd angularngrx //Go inside the Angular 17 Project
2. Now run below commands into your terminal to get ngrx and bootstrap modules into your angular 17 application:
I use mostly use bootstrap to make application looks good
Friends now I proceed onwards and here is the working code snippet and please use carefully this to avoid the mistakes:
1. Firstly friends we need fresh angular 16 setup and for this we need to run below commands but if you already have angular 16 setup then you can avoid below commands. Secondly we should also have latest node version installed on our system:
npm install -g @angular/cli
ng new angulardemo//Create new Angular Project
cd angulardemo // Go inside the Angular Project Folder
2. Now friends we just need to add below code into angulardemo/src/app/app.component.html file to get final out on the web browser:
Friends in the end must run ng serve command into your terminal to run the angular 16 ecommerce project.
Now we are done friends. If you have any kind of query, suggestion and new requirement then feel free to comment below.
Note: Friends, In this post, I just tell the basic setup and things, you can change the code according to your requirements.
I will appreciate that if you will tell your views for this post. Nothing matters if your views will be good or bad because with your views, I will make my next posts moregood and helpful.
Friends now I proceed onwards and here is the working code snippet for how to create multiple language website in Angular 16+?and please use carefully this to avoid the mistakes:
1. Firstly friends we need fresh angular 16 setup and for this we need to run below commands but if you already have angular 16 setup then you can avoid below commands. Secondly we should also have latest node version installed on our system:
npm install -g @angular/cli
ng new angulartranslate //Create new Angular Project
cd angulartranslate // Go inside the Angular Project Folder
ng serve --open // Run and Open the Angular Project
http://localhost:4200/ // Working Angular Project Url
2. Now friends, here we need to run below commands into our project terminal to install bootstrap(for good looks) and ngx-translate modules into our angular application:
npm i bootstrap --save
npm install @ngx-translate/http-loader@6.0.0
npm install @ngx-translate/core@13.0.0
ng serve --o
3. Now friends, here we need to add below into our angular.json file to get modules styles and scripts:
4. Now friends we just need to add below code into src/app/app.module.ts file:
...
import {HttpClientModule, HttpClient} from '@angular/common/http';
import {TranslateModule, TranslateLoader} from '@ngx-translate/core';
import {TranslateHttpLoader} from '@ngx-translate/http-loader';
// required for AOT compilation
export function HttpLoaderFactory(http: HttpClient) {
return new TranslateHttpLoader(http);
}
@NgModule({
...
imports: [
...
// ngx-translate and the loader module
HttpClientModule,
TranslateModule.forRoot({
loader: {
provide: TranslateLoader,
useFactory: HttpLoaderFactory,
deps: [HttpClient]
}
}),
],
...
})
5. Now friends inside src/assets folder create ‘i18n’ folder and now inside ‘i18n’ folder, we need to create two files name ‘en.json’ and ‘fr.json’ and we need to add below code inside these files and for better understanding of files and folder, please check below image:
6. Now friends we just need to add below code into src/app/app.component.ts file:
import {TranslateService} from '@ngx-translate/core';
export class AppComponent {
...
constructor(private translate: TranslateService) {
// the lang to use, if the lang isn't available, it will use the current loader to get them
translate.use('en');
// for default language to be french, you need to use below code
//translate.use('fr');
}
}
7. Now friends we just need to add below code into src/app/app.component.html file to see the output on browser:
Now we are done friends. If you have any kind of query or suggestion or any requirement then feel free to comment below.
Note: Friends, I just tell the basic setup and things, you can change the code according to your requirements. For better understanding must watch video above.
NGX-Translate
ngx-translate
Angular i18n change language dynamically
Angular multi language
best practice Language translation in angular
Multi language support in angular ngx-translate
pipe no pipe found with name ‘translate’
I will appreciate that if you will tell your views for this post. Nothing matters if your views will be good or bad.
Friends now I proceed onwards and here is the working code snippet and please use carefully this to avoid the mistakes:
1. Firstly friends we need fresh angular 16 setup and for this we need to run below commands but if you already have angular 16 setup then you can avoid below commands. Secondly we should also have latest node version installed on our system:
npm install -g @angular/cli
ng new angulardemo //Create new Angular Project
cd angulardemo // Go inside the Angular Project Folder
ng g c api //will create api crud component
ng g s services/recipe //will create services files
ng g i models/recipe //will create interface file
npm i bootstrap
npm i @popperjs/core
2. Now guys we need to add below code inside angulardemo/angular.json files to call bootstrap 5 script and styles:
11. Guys in the end we need to add below code inside src/app/app.component.html file
<app-api></app-api>
Friends in the end must run ng serve command into your terminal to run the angular 17 project(localhost:4200).
Now we are done friends. If you have any kind of query, suggestion and new requirement then feel free to comment below.
Note: Friends, In this post, I just tell the basic setup and things, you can change the code according to your requirements.
I will appreciate that if you will tell your views for this post. Nothing matters if your views will be good or bad because with your views, I will make my next posts more good and helpful.
Friends now I proceed onwards and here is the working code snippet and please use carefully this to avoid the mistakes:
1. Firstly friends we need fresh angular 16 setup and for this we need to run below commands but if you already have angular 16 setup then you can avoid below commands. Secondly we should also have latest node version installed on our system:
guys with these commands we will get components as well
npm install -g @angular/cli
ng new angulardemo //Create new Angular Project
cd angulardemo // Go inside the Angular Project Folder
ng g c home //will create home component
ng g c login //will create login component
ng g c register //will create register component
2. Now friends, please download js and styles from this git repo link and please put all the js, css files folders in “src/assets/” folder:
Friends in the end must run ng serve command into your terminal to run the angular 17 adminproject (localhost:4200).
Guys click here to check the Angular 17 Bootstrap 5 Free Templates.
Now we are done friends. If you have any kind of query, suggestion and new requirement then feel free to comment below.
Note: Friends, In this post, I just tell the basic setup and things, you can change the code according to your requirements.
I will appreciate that if you will tell your views for this post. Nothing matters if your views will be good or bad because with your views, I will make my next posts moregood and helpful.
Friends now I proceed onwards and here is the working code snippet and please use carefully this to avoid the mistakes:
1. Firstly friends we need fresh angular 16 setup and for this we need to run below commands but if you already have angular 16 setup then you can avoid below commands. Secondly we should also have latest node version installed on our system:
npm install -g @angular/cli
ng new angulardemo //Create new Angular Project
cd angulardemo // Go inside the Angular Project Folder
ng g c home
ng g c product
ng g c singleproduct
ng g c store
ng g c header
ng g c footer
ng serve
2. Now friends, please download images and styles from this git repo link and please put all the images css files folders in “src/assets/” folder after creating css an images folders inside it:
Friends in the end must run ng serve command into your terminal to run the angular 17 ecommerce project (localhost:4200).
Guys click here to check the Angular 17 Bootstrap 5 Free Templates.
Now we are done friends. If you have any kind of query, suggestion and new requirement then feel free to comment below.
Note: Friends, In this post, I just tell the basic setup and things, you can change the code according to your requirements.
I will appreciate that if you will tell your views for this post. Nothing matters if your views will be good or bad because with your views, I will make my next posts moregood and helpful.
Friends now I proceed onwards and here is the working code snippet and please use carefully this to avoid the mistakes:
1. Firstly friends we need fresh angular 16 setup and for this we need to run below commands but if you already have angular 16 setup then you can avoid below commands. Secondly we should also have latest node version installed on our system:
npm install -g @angular/cli
ng new angulardemo //Create new Angular Project
cd angulardemo // Go inside the Angular Project Folder
ng add @ionic/angular
ng serve
2. Now friends, please download images and styles from this git repo link and please put all the images css files folders in “src/assets/” folder after creating css an images folders inside it:
Friends in the end must run ng serve command into your terminal to run the angular 16 project (localhost:4200).
Guys click here to check the Angular 16 Bootstrap 5 Free Templates.
Now we are done friends. If you have any kind of query, suggestion and new requirement then feel free to comment below.
Note: Friends, In this post, I just tell the basic setup and things, you can change the code according to your requirements.
I will appreciate that if you will tell your views for this post. Nothing matters if your views will be good or bad because with your views, I will make my next posts moregood and helpful.
Friends now I proceed onwards and here is the working code snippet and please use carefully this to avoid the mistakes:
1. Firstly friends we need fresh angular 16 setup and for this we need to run below commands but if you already have angular 16 setup then you can avoid below commands. Secondly we should also have latest node version installed on our system:
npm install -g @angular/cli
ng new angulardemo//Create new Angular Project
cd angulardemo // Go inside the Angular Project Folder
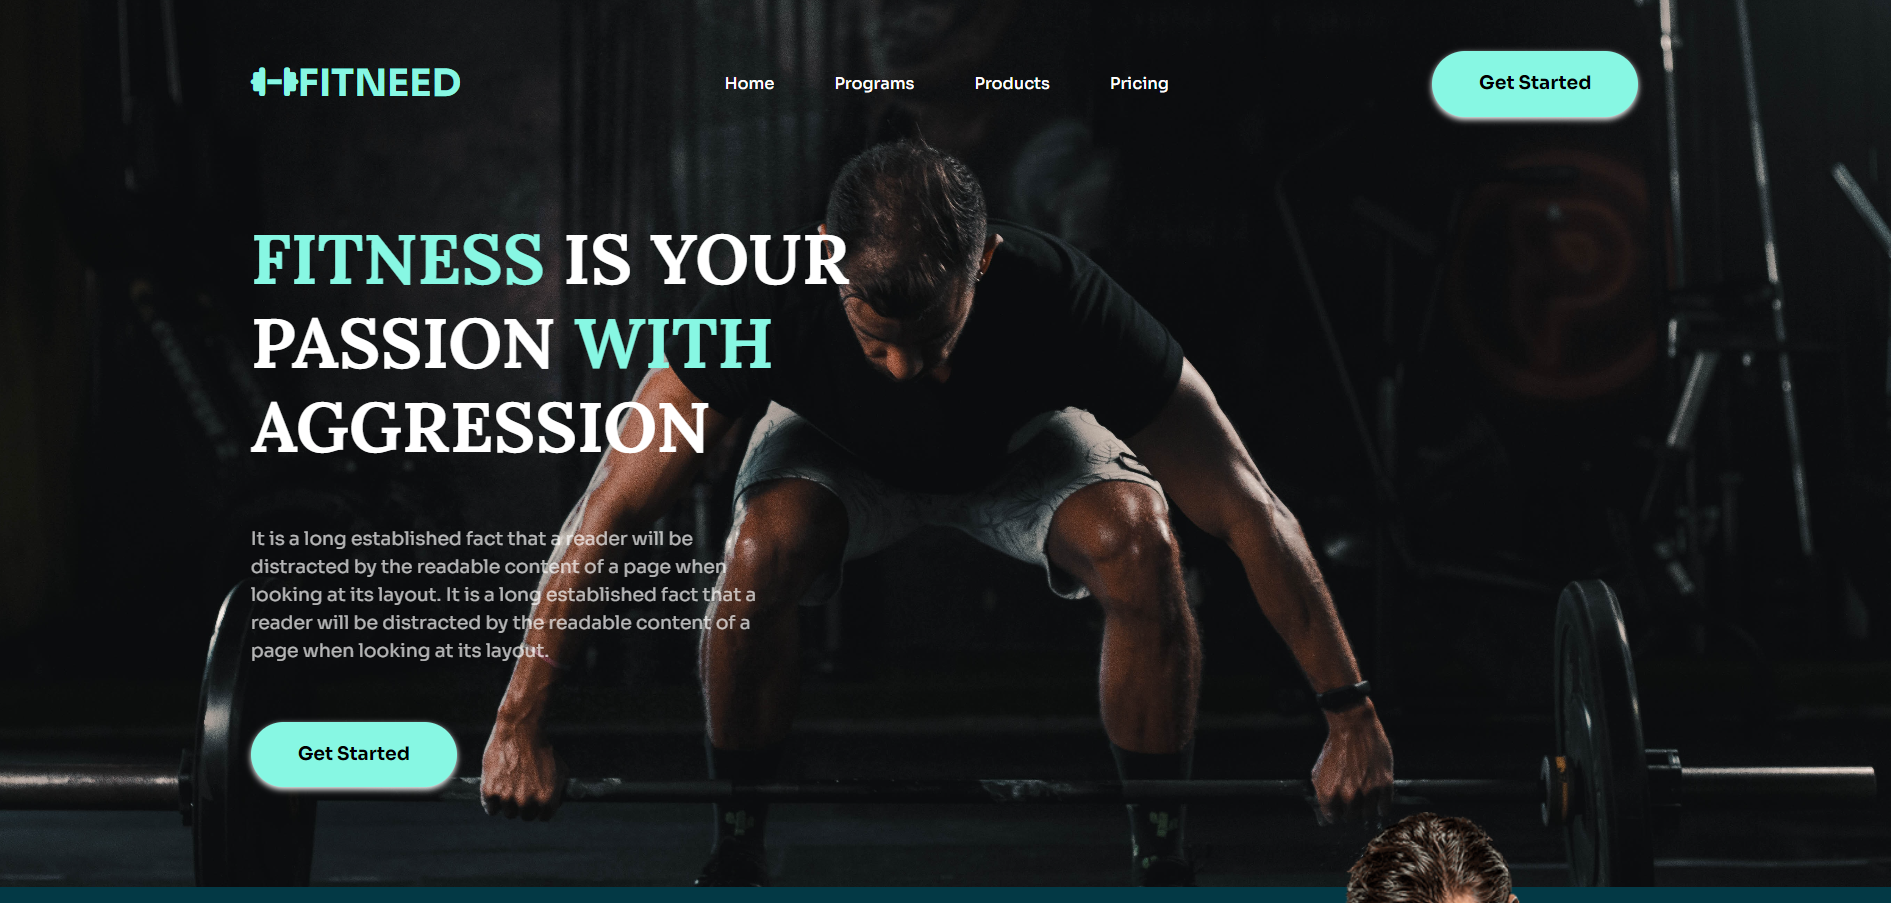
2. Now friends we just need to add below code into angulardemo/src/app/app.component.html file to get final out on the web browser:
<main>
<!-- HEADER -->
<header class="primary-header">
<div class="container">
<div class="nav-wrapper">
<a class="logo">
<i class="fa-solid fa-dumbbell"></i>Fitneed</a>
<button class="mobile-nav-toggle" aria-controls="primary-navigation" aria-expanded="false">
<span class="fa-solid fa-bars" aria-hidden="true"></span>
<span class="visually-hidden">Menu</span>
</button>
<nav class="primary-navigation" id="primary-navigation">
<ul aria-label="Primary" role="list" class="nav-list">
<li><a href="/">Home</a></li>
<li><a href="#programs-section">Programs</a></li>
<li><a href="#products-section">Products</a></li>
<li><a href="#pricing-section">Pricing</a></li>
</ul>
</nav>
<button class="btn | display-sm-none display-md-inline-flex">Get Started</button>
</div>
</div>
</header>
<!-- HERO-SECTION -->
<section class="hero-section | padding-block-900">
<div class="container">
<div class="flow | text-center-sm-only">
<h1 class="fs-primary-heading fw-bold uppercase"><span class="special-text"> Fitness</span> is your
passion <span class="special-text">with</span> aggression</h1>
<p>It is a long established fact that a reader will be distracted by the readable content of a page
when looking at its layout. It is a long established fact that a reader will be distracted by
the readable content of a page when looking at its layout.</p>
<button class="btn">Get Started</button>
</div>
</div>
</section>
</main>
<!-- INTRODUCTION-SECTION -->
<section class="introduction | padding-block-900 bg-secondary">
<div class="container">
<div class="flow introduction-content | text-center-sm-only">
<h2 class="fs-secondary-heading fw-bold uppercase">Welcome to <span class="special-text">Fitneed</span></h2>
<p data-width="wide" class="fs-500">It is a long established fact that a reader will be distracted
by the readable content of a page when looking at its layout.It is a long established fact that
a reader will be distracted by the readable content of a page when looking at its layout.It is a
long established fact that a reader will be distracted by the readable content of a page when
looking at its layout. It is a long established fact that a reader will be distracted by the
readable content of a page when looking at its layout </p>
<button class="btn">Read More</button>
</div>
<div class="introduction-img display-sm-none">
<img src="assets/images/overlay1.png" alt="">
</div>
</div>
</section>
<!-- PROGRAMS SECTION -->
<section class="programs | padding-block-900" id="programs-section">
<div class="container">
<h2 class="fs-secondary-heading fw-bold uppercase text-center">Our <span class="special-text">Programs</span></h2>
<div class="items-wrapper | padding-block-700">
<div class="program-item">
<img src="assets/images/program-img1.jpg" alt="">
<div class="program-item-content">
<h3 class="fw-semi-bold fs-700 text-shadow-dark">Strength Taininig</h3>
<p>Lorem ipsum dolor sit amet consectetur adipisicing elit. itaque fugiat aspernatur.</p>
</div>
</div>
<div class="program-item">
<img src="assets/images/program-img2.jpg" alt="">
<div class="program-item-content">
<h3 class="fw-semi-bold fs-700 text-shadow-dark">Weight Taininig</h3>
<p>Lorem ipsum dolor sit amet consectetur adipisicing elit. itaque fugiat aspernatur.</p>
</div>
</div>
<div class="program-item">
<img src="assets/images/program-img3.jpg" alt="">
<div class="program-item-content">
<h3 class="fw-semi-bold fs-700 text-shadow-dark">Fat Losing</h3>
<p>Lorem ipsum dolor sit amet consectetur adipisicing elit. itaque fugiat aspernatur.</p>
</div>
</div>
<div class="program-item">
<img src="assets/images/program-img4.jpg" alt="">
<div class="program-item-content">
<h3 class="fw-semi-bold fs-700 text-shadow-dark">Speed Building</h3>
<p>Lorem ipsum dolor sit amet consectetur adipisicing elit. itaque fugiat aspernatur.</p>
</div>
</div>
</div>
<button class="btn" data-type="btn-secondary">Explore More...</button>
</div>
</section>
<!-- PRODUCTS SECTION -->
<section class="products | padding-block-900 bg-secondary" id="products-section">
<div class="container">
<h2 class="fs-secondary-heading fw-bold uppercase text-center"><span class="special-text">Our</span> Products</h2>
<div class="items-wrapper padding-block-700">
<div class="product-item bg-dark">
<img src="assets/images/product1.png" alt="">
<div class="product-item-content">
<h3 class="fw-semi-bold fs-700 special-text">Item 1</h3>
<p>$55.00</p>
</div>
</div>
<div class="product-item bg-dark">
<img src="assets/images/product2.png" alt="">
<div class="product-item-content">
<h3 class="fw-semi-bold fs-700 special-text">Item 2</h3>
<p>$55.00</p>
</div>
</div>
<div class="product-item bg-dark">
<img src="assets/images/product3.png" alt="">
<div class="product-item-content">
<h3 class="fw-semi-bold fs-700 special-text">Item 3</h3>
<p>$55.00</p>
</div>
</div>
<div class="product-item bg-dark">
<img src="assets/images/product4.png" alt="">
<div class="product-item-content">
<h3 class="fw-semi-bold fs-700 special-text">Item 4</h3>
<p>$55.00</p>
</div>
</div>
</div>
<button class="btn" data-type="btn-center">Load more...</button>
</div>
</section>
<!-- PRICING SECTION -->
<section class="pricing | padding-block-900" id="pricing-section">
<div class="container">
<h2 class="fs-secondary-heading fw-bold uppercase text-center">Our <span class="special-text">PLANS</span></h2>
<div class="plans padding-block-700 items-wrapper">
<div class="plan-item bg-secondary">
<h4 class="fs-700 fw-semi-bold">$19 <span class="special-text fs-200">/Month</span></h4>
<div class="offer-title">Exclusive Offer</div>
<ul class="package-list">
<li>training</li>
<li>training</li>
<li>training</li>
<li>training</li>
<li>training</li>
</ul>
</div>
<div class="plan-item bg-secondary">
<h4 class="fs-700 fw-semi-bold">$99 <span class="special-text fs-200">/Month</span></h4>
<div class="offer-title">Exclusive Offer</div>
<ul class="package-list">
<li>training</li>
<li>training</li>
<li>training</li>
<li>training</li>
<li>training</li>
<li>training</li>
<li>training</li>
</ul>
</div>
<div class="plan-item bg-secondary">
<h4 class="fs-700 fw-semi-bold">$49 <span class="special-text fs-200">/Month</span></h4>
<div class="offer-title">Exclusive Offer</div>
<ul class="package-list">
<li>training</li>
<li>training</li>
<li>training</li>
<li>training</li>
<li>training</li>
</ul>
</div>
</div>
</div>
</section>
<!-- FOOTER -->
<footer class="primary-footer | padding-block-900 bg-secondary">
<div class="container">
<div class="even-columns text-center-sm-only">
<div>
<h4 class="fs-700 uppercase fw-bold">Follow us</h4>
<ul class="social-icons " role="list">
<li><a href=""><i class="fa-brands fa-facebook | text-white fs-700"></i></a></li>
<li><a href=""><i class="fa-brands fa-twitter | text-white fs-700"></i></a></li>
<li><a href=""><i class="fa-brands fa-instagram | text-white fs-700"></i></a></li>
<li><a href=""><i class="fa-brands fa-linkedin | text-white fs-700"></i></a></li>
</ul>
<a class="logo">
<i class="fa-solid fa-dumbbell"></i>Fitneed</a>
</div>
<div>
<h4 class="fs-700 uppercase fw-bold">Links</h4>
<ul role="list" class="primary-footer-links">
<li><a href="">Home</a></li>
<li><a href="">Programs</a></li>
<li><a href="">Products</a></li>
<li><a href="">Pricing</a></li>
</ul>
</div>
<div>
<h4 class="fs-700 uppercase fw-bold">Quick Contacts</h4>
<ul role="list" class="contact-links">
<li><a href=""><i class="fa-solid fa-phone"></i>+93**35***52</a></li>
<li><a href=""><i class="fa-solid fa-envelope"></i>random123@test.com</a></li>
<li><a href=""><i class="fa-solid fa-user"></i>@test__123</a></li>
<li><a href=""><i class="fa-solid fa-globe"></i>www.randomuser.com</a></li>
<li><a href=""><i class="fa-solid fa-location-dot"></i>123/4 block 5 street #44 near bakery
california, America, USA</a></li>
</ul>
</div>
</div>
<hr>
<h5 class="fs-500 fw-semi-bold text-center"><span class="special-text"><i
class="fa-solid fa-dumbbell"></i>FITNEED</span> Ⓒ 2023 - All Rights Reserved</h5>
</div>
</footer>
3. Guys here is git repo link and put css, js and images inside scr/assets folder:
Friends in the end must run ng serve command into your terminal to run the angular 16 ecommerce project.
Now we are done friends. If you have any kind of query, suggestion and new requirement then feel free to comment below.
Note: Friends, In this post, I just tell the basic setup and things, you can change the code according to your requirements.
I will appreciate that if you will tell your views for this post. Nothing matters if your views will be good or bad because with your views, I will make my next posts moregood and helpful.
Here is the code snippet and please use carefully:
1. Very first guys, here are common basics steps to add angular 16 application on your machine and also we must have latest nodejs version installed for angular 16:
guys with below commands we will also get now pipe files
npm install -g @angular/cli
ng new angularform // Set Angular 16 Application on your pc
cd angularform // Go inside project folder
ng g pipe wordcount
3. Now guys we will add below code into our angularform/src/app/app.component.ts file:
...
export class AppComponent {
...
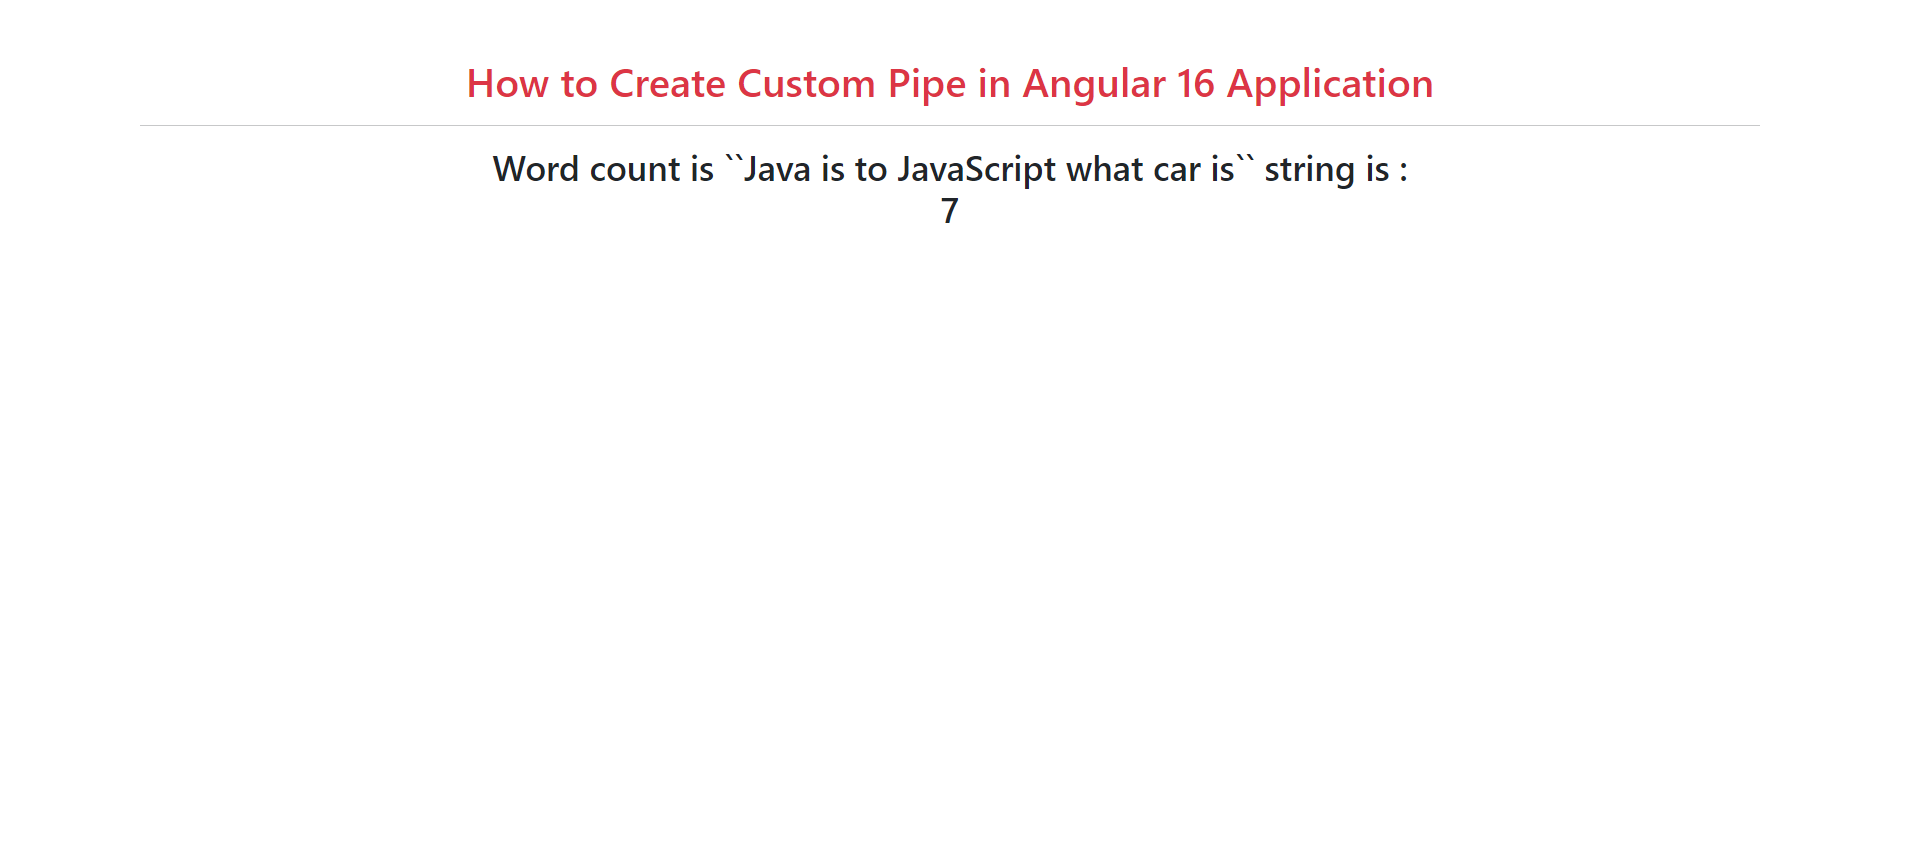
customText: string = "Java is to JavaScript what car is";
}
4. Now guys we will add below code into our angularform/src/app/app.component.html file for web output:
<h3>Word count is ``{{customText}}`` string is :<br>{{ customText | wordcount }}</h3>
5. Now guys we will add below code into our angularform/src/app/wordcount.pipe.ts file to create custom pipe functionality:
import { Pipe, PipeTransform } from '@angular/core';
@Pipe({
name: 'wordcount'
})
export class WordcountPipe implements PipeTransform {
transform(value: any, args?: any): any {
return value.trim().split(/\s+/).length;
}
}
Now we are done friends and please run ng serve command to check the output in browser(locahost:4200) and if you have any kind of query then please do comment below.
Note: Friends, I just tell the basic setup and things, you can change the code according to your requirements. For better understanding please watch video above.
Guys I will appreciate that if you will tell your views for this post. Nothing matters if your views will be good or bad.