Guy’s here is working code snippet for Angular 17 Routing Tutorial and please follow it carefully to avoid the mistakes:
1. Firstly friends we need fresh angular 17 setup and for this we need to run below commands but if you already have angular 17 setup then you can avoid below commands. Secondly we should also have latest node version installed on our system:
npm install -g @angular/cli
ng new angularform //Create new Angular Project
cd angularform // Go inside the Angular Project Folder
2. Now guy’s, here we need to run below command into our project terminal to install bootstrap 5 module for styling and good looks into our angular application(optional):
npm install bootstrap
npm i @popperjs/core
3. Now guy’s, now we need to add below code into our angularform/angular.json file to add bootstrap style:
5. Now guys, now we need to add below code into our angularrouting/src/app/app-component.ts file to make reactive form works:
import { Component } from '@angular/core';
import { CommonModule } from '@angular/common';
import { RouterOutlet, RouterLink } from '@angular/router';
import { FormControl, ReactiveFormsModule, FormGroup, Validators, FormBuilder } from '@angular/forms';
@Component({
selector: 'app-root',
standalone: true,
imports: [CommonModule, RouterOutlet, RouterLink, ReactiveFormsModule],
templateUrl: './app.component.html',
styleUrls: ['./app.component.css']
})
export class AppComponent {
title = 'angular17';
constructor(private formBuilder: FormBuilder) {}
onSubmit() {
// TODO: Use EventEmitter with form value
console.warn(this.profileForm.value);
}
profileForm = this.formBuilder.group({
firstName: ['', Validators.required],
lastName: ['', Validators.required],
});
}
Guy’s in the end please run ng serve command to check the out on browser(localhost:4200) and if you will have any query then feel free to comment below.
Guy’s I will appreciate that if you will tell your views for this post. Nothing matters if your views will be good or bad because with your views, I will make my next posts more good and helpful.
Friends now I proceed onwards and here is the working code snippet and please use carefully this to avoid the mistakes:
1. Firstly friends we need fresh angular 17 setup and for this we need to run below commands but if you already have angular 17 setup then you can avoid below commands. Secondly we should also have latest node version installed on our system:
npm install -g @angular/cli
ng new angularadmin //Create new Angular Project
cd angularadmin // Go inside the Angular Project Folder
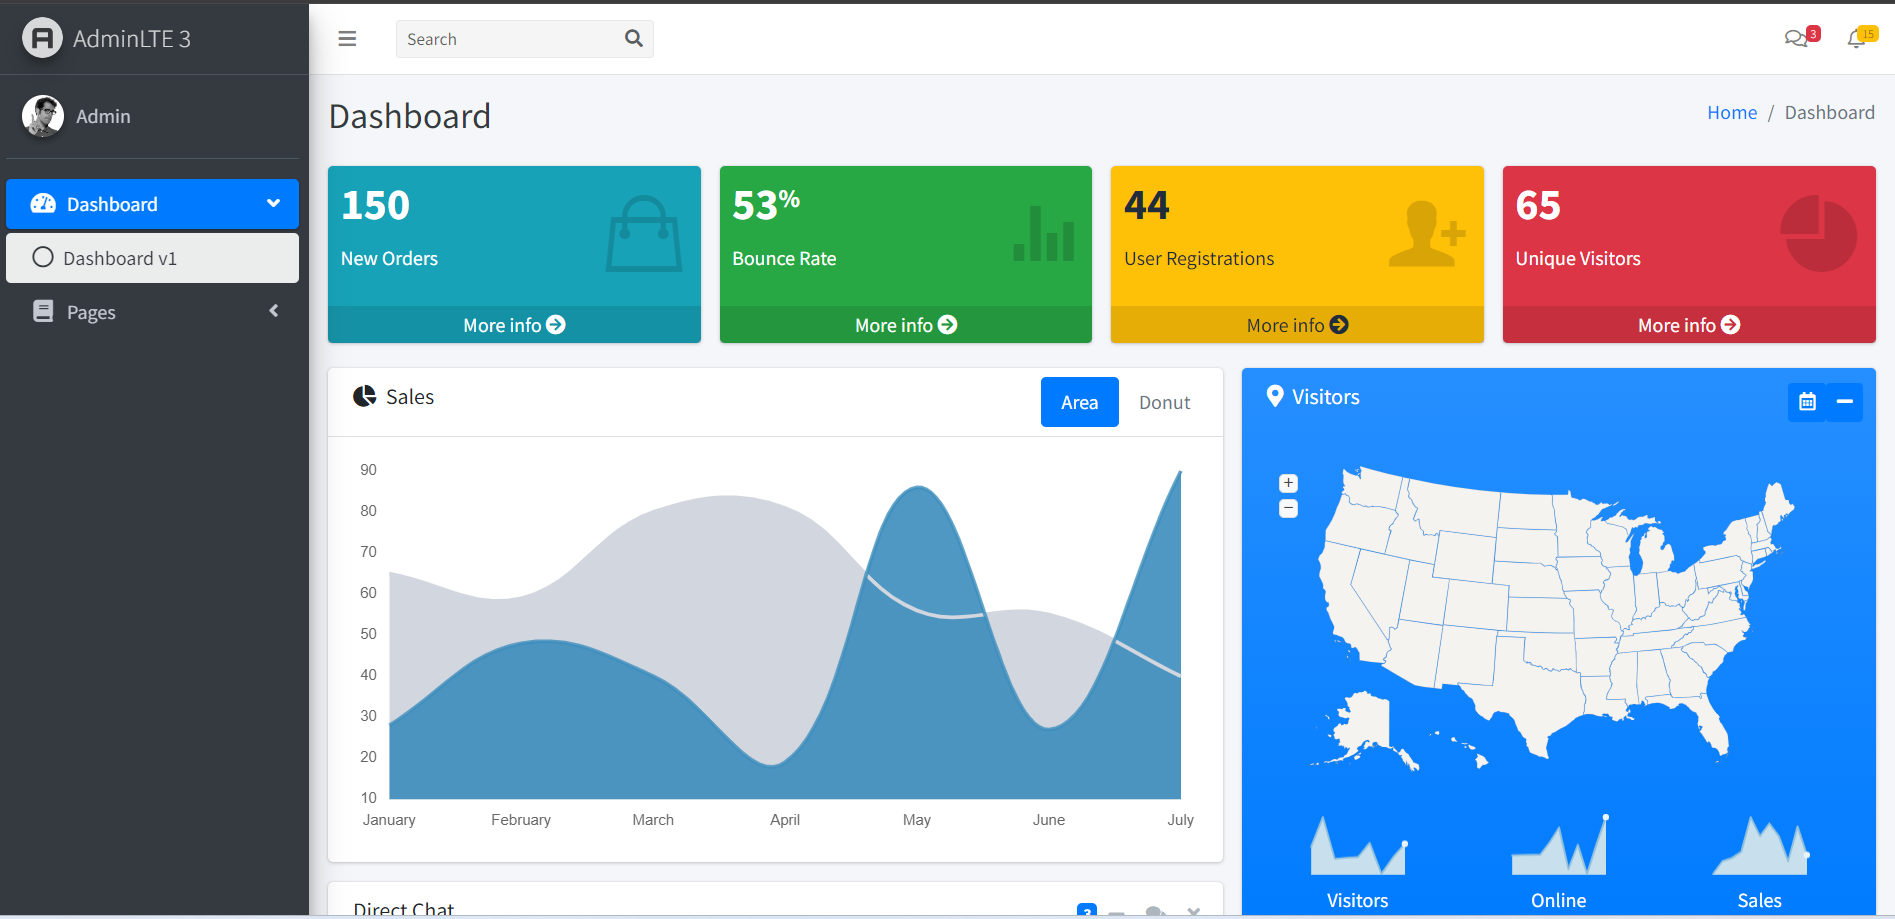
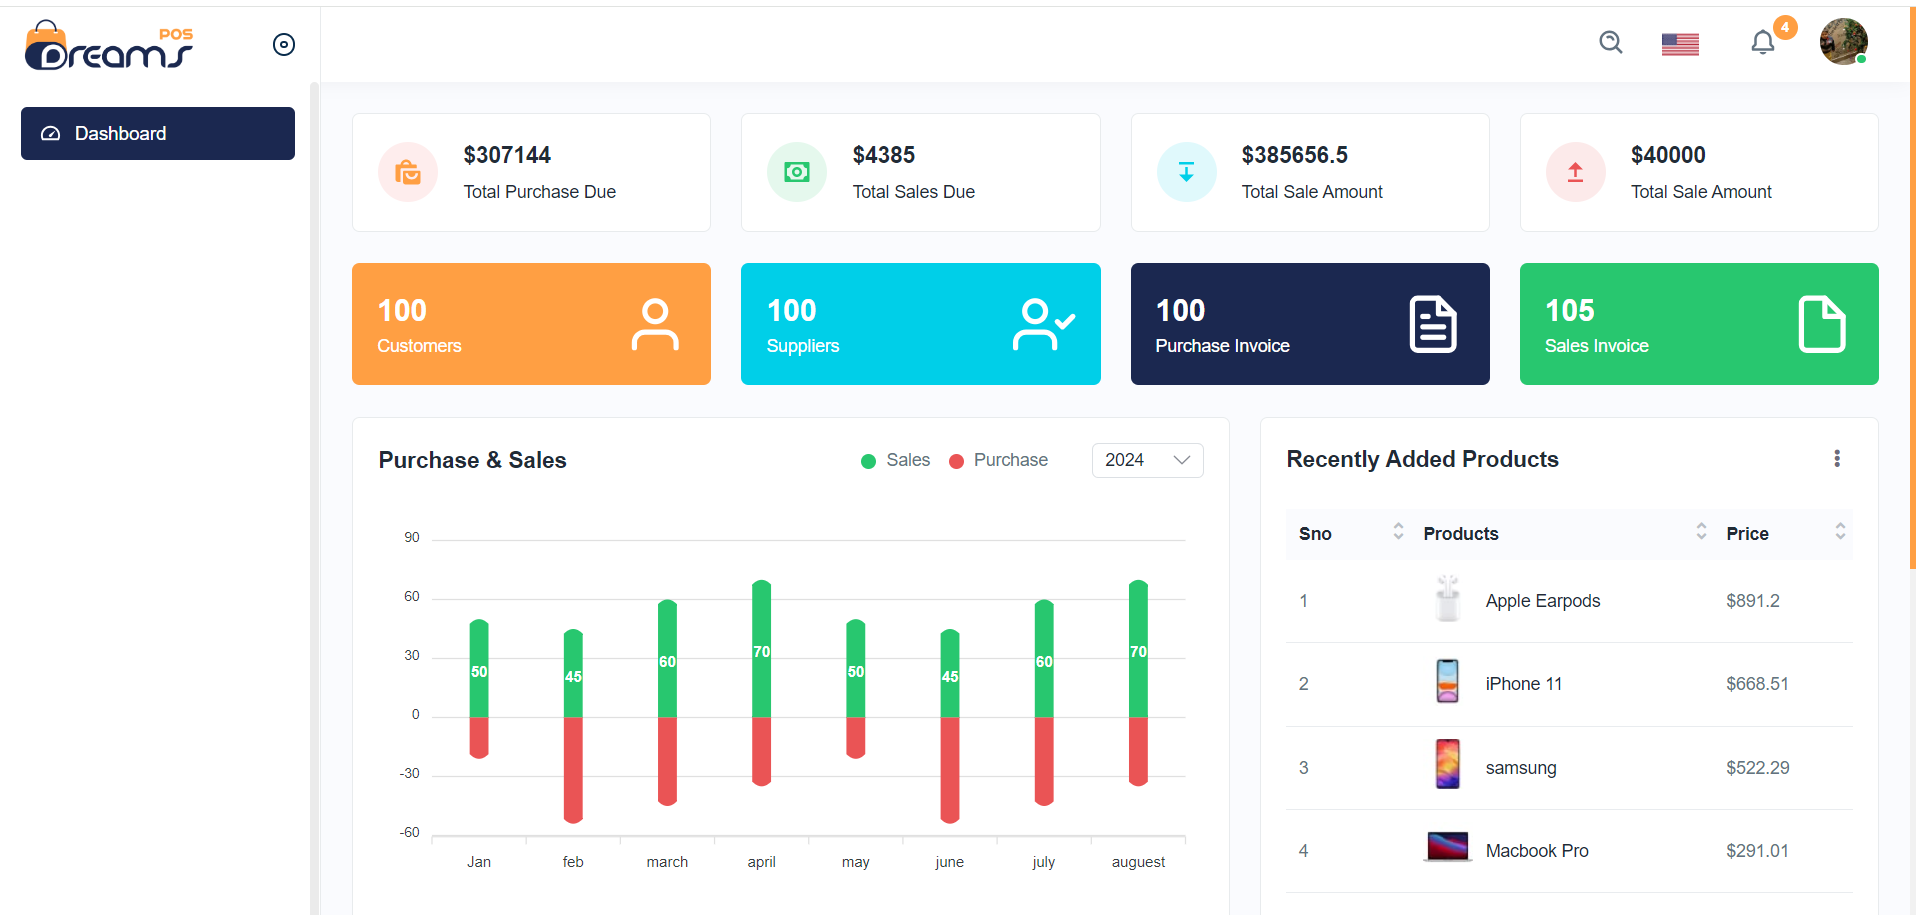
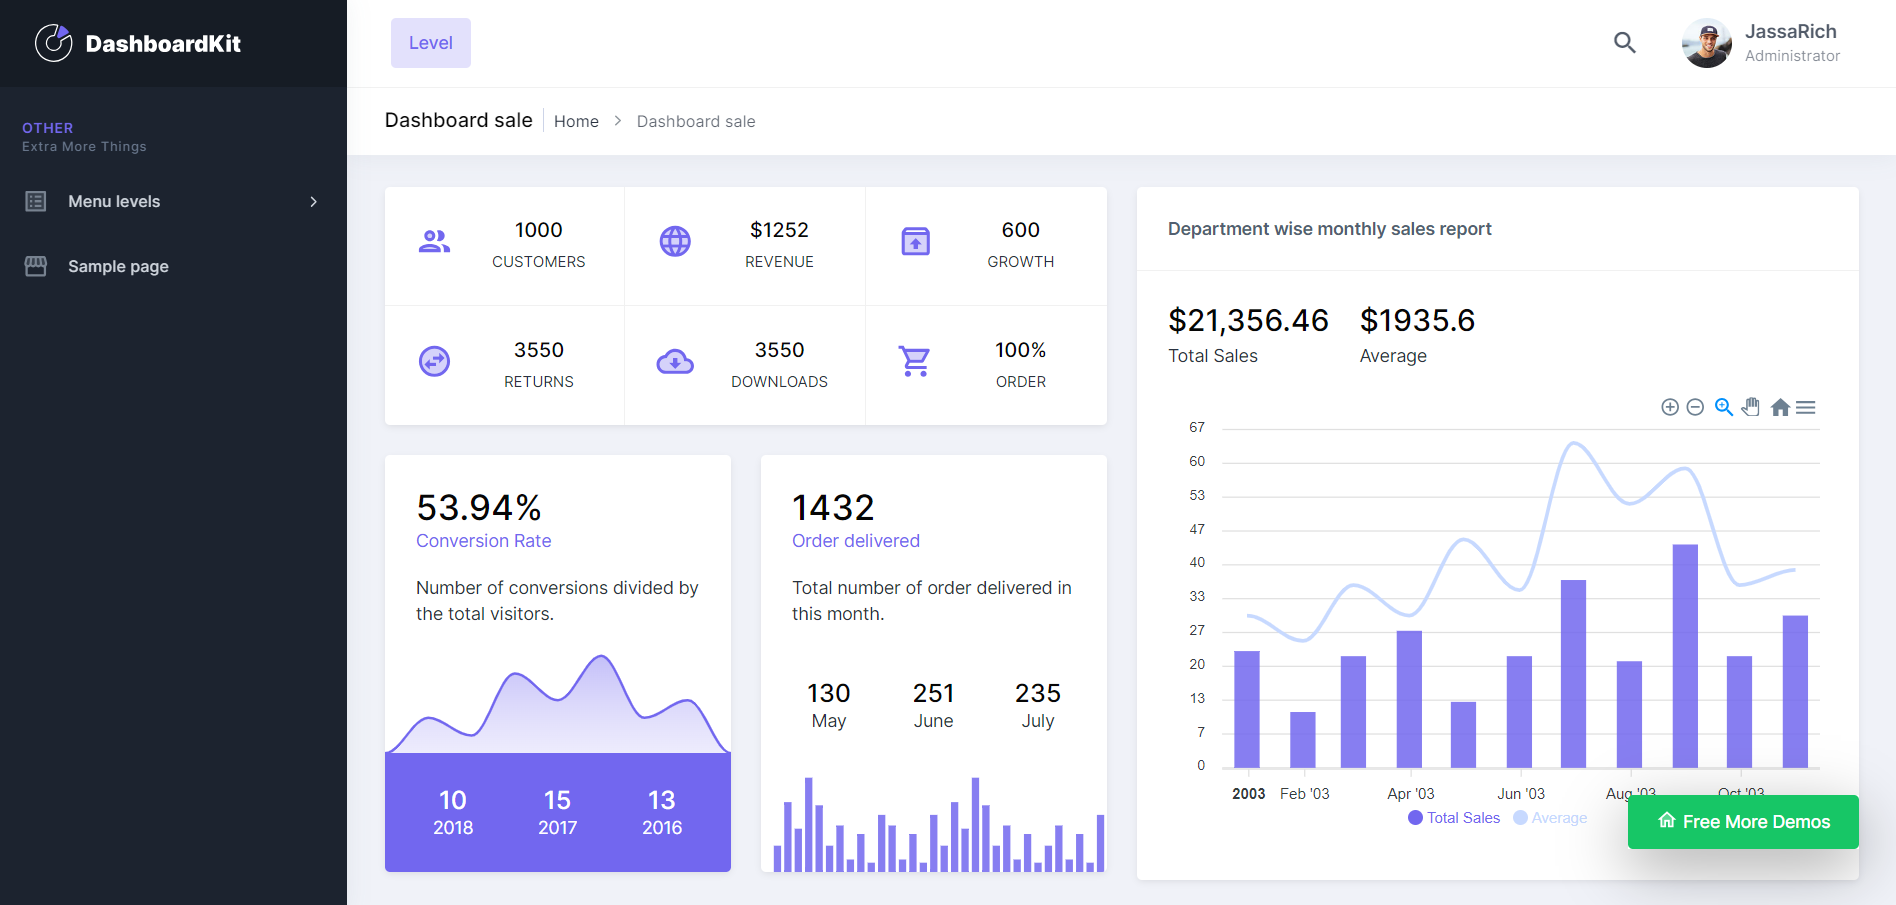
2. Now friends we just need to add below code into angularadmin/src/app/app.component.html file to get final out on the web browser:
Friends in the end must run ng serve command into your terminal to run the angular 17 project(localhost:4200).
Now we are done friends. If you have any kind of query, suggestion and new requirement then feel free to comment below.
Note: Friends, In this post, I just tell the basic setup and things, you can change the code according to your requirements.
I will appreciate that if you will tell your views for this post. Nothing matters if your views will be good or bad because with your views, I will make my next posts moregood and helpful.
Friends now I proceed onwards and here is the working code snippet and please use carefully this to avoid the mistakes:
1. Firstly friends we need fresh angular 17 setup and for this we need to run below commands but if you already have angular 17 setup then you can avoid below commands. Secondly we should also have latest node version installed on our system:
npm install -g @angular/cli
ng new angulardemo //Create new Angular Project
cd angulardemo // Go inside the Angular Project Folder
2. Now guy’s we need to add below code inside our project/angular.json file to get scripts and styles and these files you will get from git repo link and that link will be mentioned in last step:
Friends now I proceed onwards and here is the working code snippet and please use carefully this to avoid the mistakes:
1. Firstly friends we need fresh angular 17 setup and for this we need to run below commands but if you already have angular 17 setup then you can avoid below commands. Secondly we should also have latest node version installed on our system:
npm install -g @angular/cli
ng new angularboot5 //Create new Angular Project
cd angularboot5 // Go inside the Angular Project Folder
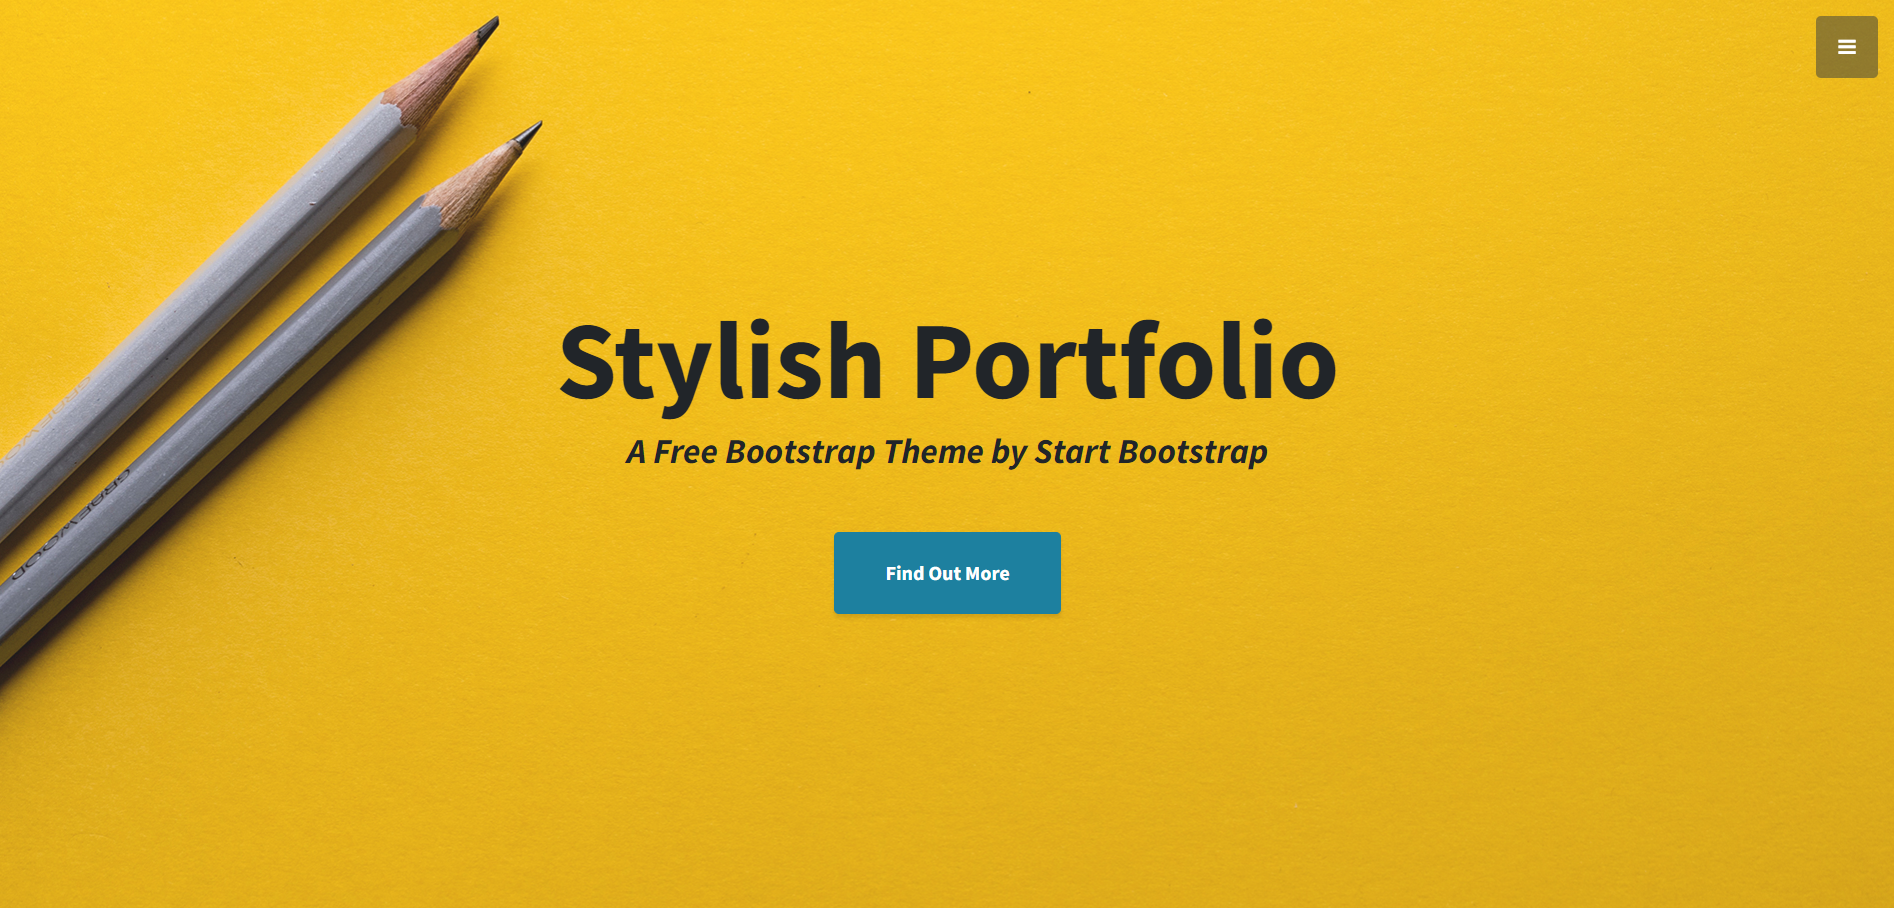
2. Now friends we just need to add below code into angularboot5/src/app/app.component.html file to get final out on the web browser:
Friends in the end must run ng serve command into your terminal to run the angular 17 project(localhost:4200).
Now we are done friends. If you have any kind of query, suggestion and new requirement then feel free to comment below.
Note: Friends, In this post, I just tell the basic setup and things, you can change the code according to your requirements.
I will appreciate that if you will tell your views for this post. Nothing matters if your views will be good or bad because with your views, I will make my next posts moregood and helpful.
Guy’s here is working code snippet for Angular 17 Routing Tutorial and please follow it carefully to avoid the mistakes:
1. Firstly friends we need fresh angular 17 setup and for this we need to run below commands but if you already have angular 17 setup then you can avoid below commands. Secondly we should also have latest node version installed on our system:
npm install -g @angular/cli
ng new angularrouting //Create new Angular Project
cd angularrouting // Go inside the Angular Project Folder
2. Now guy’s, here we need to run below command into our project terminal to install bootstrap 5 module for styling and good looks into our angular application(optional):
npm install bootstrap
npm i @popperjs/core
3. Now guy’s, here we need to run below commands into our project terminal to create home and about components for routing:
ng g c home
ng g c about
4. Now guy’s, now we need to add below code into our angularrouting/angular.json file to add bootstrap style:
6. Now guys, now we need to add below code into our angularrouting/src/app/app.component.html file to set the angular frontend and call others components with routing:
7. Now guys, now we need to add below code into our angularrouting/src/app/app-component.ts file to make routing works:
import { Component } from '@angular/core';
import { CommonModule } from '@angular/common';
import { RouterLink, RouterOutlet } from '@angular/router';
@Component({
selector: 'app-root',
standalone: true,
imports: [CommonModule, RouterOutlet, RouterLink],
templateUrl: './app.component.html',
styleUrls: ['./app.component.css']
})
export class AppComponent {
title = 'angular17';
}
Guy’s in the end please run ng serve command to check the out on browser(localhost:4200) and if you will have any query then feel free to comment below.
Guy’s I will appreciate that if you will tell your views for this post. Nothing matters if your views will be good or bad because with your views, I will make my next posts more good and helpful.
Friends now I proceed onwards and here is the working code snippet and please use carefully this to avoid the mistakes:
1. Firstly friends we need fresh angular 17 setup and for this we need to run below commands but if you already have angular 17 setup then you can avoid below commands. Secondly we should also have latest node version installed on our system:
npm install -g @angular/cli
ng new angulardatatable //Create new Angular Project
cd angulardatatable // Go inside the Angular Project Folder
2. Now friends, here we need to run below commands into our project terminal to install datatable modules, bootstrap(for good looks), jquery modules into our angular application:
I am also adding bootstrap to make datatable looks good.
Now we are done friends and please run ng serve command and if you have any kind of query then please do comment below.
Note: Friends, I just tell the basic setup and things, you can change the code according to your requirements. For better understanding must watch video above.
I will appreciate that if you will tell your views for this post. Nothing matters if your views will be good or bad.
Friends now I proceed onwards and here is the working code snippet and please use carefully this to avoid the mistakes:
1. Firstly friends we need fresh angular 16 setup and for this we need to run below commands but if you already have angular 16 setup then you can avoid below commands. Secondly we should also have latest node version installed on our system:
npm install -g @angular/cli
ng new angulardemo //Create new Angular Project
cd angulardemo // Go inside the Angular Project Folder
2. Now friends, here we need to run below commands into our project terminal to install ag-grid modules into our angular application:
Friends in the end must run ng serve command into your terminal to run the angular 16 project.
Now we are done friends. If you have any kind of query, suggestion and new requirement then feel free to comment below.
Note: Friends, In this post, I just tell the basic setup and things, you can change the code according to your requirements.
I will appreciate that if you will tell your views for this post. Nothing matters if your views will be good or bad because with your views, I will make my next posts moregood and helpful.
Here is the code snippet and please use carefully:
1. Very first guys, here are common basics steps to add angular 17 (crud) application on your machine and also we must have latest nodejs latest version installed for angular 17:
$ npm install -g @angular/cli
$ ng new angularform // Set Angular 17 Application on your pc
cd angularform // Go inside project folder
2. Now run below commands to set bootstrap 5 modules into our angular 17 application for responsiveness (optional):
npm install bootstrap
npm i @popperjs/core
3. Now friends we just need to add below code into angularform/angular.json file (optional):
Now we are done friends and please run ng serve command to check the output in browser(locahost:4200) and if you have any kind of query then please do comment below.
Note: Friends, I just tell the basic setup and things, you can change the code according to your requirements. For better understanding please watch video above.
Guys I will appreciate that if you will tell your views for this post. Nothing matters if your views will be good or bad.
Here is the code snippet and please use it carefully:
1. Very first, you need run below commands into your terminal to get angular 17 fresh setup:
Also you have latest nodejs installed on your system
npm install -g @angular/cli //Setup Angular17 atmosphere
ng new angularngrx //Install New Angular App
/**You need to update your Nodejs also for this verison**/
cd angularngrx //Go inside the Angular 17 Project
2. Now run below commands into your terminal to get ngrx and bootstrap modules into your angular 17 application:
I use mostly use bootstrap to make application looks good
Friends now I proceed onwards and here is the working code snippet and please use carefully this to avoid the mistakes:
1. Firstly friends we need fresh angular 16 setup and for this we need to run below commands but if you already have angular 16 setup then you can avoid below commands. Secondly we should also have latest node version installed on our system:
npm install -g @angular/cli
ng new angulardemo//Create new Angular Project
cd angulardemo // Go inside the Angular Project Folder
2. Now friends we just need to add below code into angulardemo/src/app/app.component.html file to get final out on the web browser:
Friends in the end must run ng serve command into your terminal to run the angular 16 ecommerce project.
Now we are done friends. If you have any kind of query, suggestion and new requirement then feel free to comment below.
Note: Friends, In this post, I just tell the basic setup and things, you can change the code according to your requirements.
I will appreciate that if you will tell your views for this post. Nothing matters if your views will be good or bad because with your views, I will make my next posts moregood and helpful.