Category: Angular

  • Creating a Step Form (also known as a wizard form) in Angular 17

    Creating a Step Form (also known as a wizard form) in Angular 17

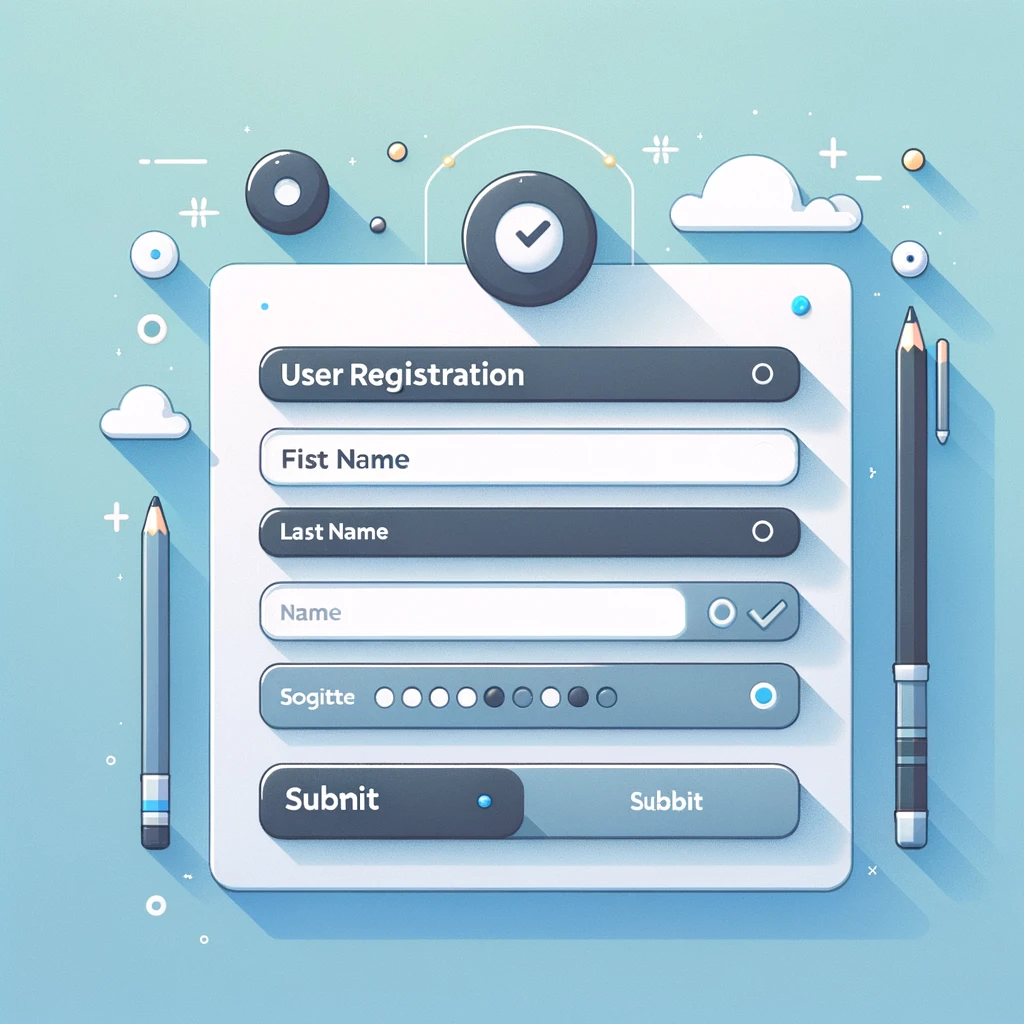
    Creating a step form (also known as a wizard form) in Angular involves a few key steps: organizing the form into distinct steps, managing form data across these steps, and controlling navigation between steps. Angular’s powerful form handling capabilities, particularly with Reactive Forms, make it well-suited for this task. Below is a simplified guide to creating a step form in Angular 17, focusing on setting up the environment, organizing the form structure, and managing navigation.

    1. Setting Up Your Angular Project

    Ensure you have Angular CLI installed. If not, you can install it via npm:

    npm install -g @angular/cli

    Create a new Angular project:

    ng new angular-step-form --routing=true --style=scss

    Navigate into your project directory:

    cd angular-step-form

    Generate the necessary components for each step of your form. For a simple three-step form, you might have:

    ng generate component StepOne
    ng generate component StepTwo
    ng generate component StepThree

    2. Setting Up Routing

    In your app-routing.module.ts, set up routes for each step. This allows for navigation and bookmarking of each step.

    import { NgModule } from '@angular/core';
    import { Routes, RouterModule } from '@angular/router';
    import { StepOneComponent } from './step-one/step-one.component';
    import { StepTwoComponent } from './step-two/step-two.component';
    import { StepThreeComponent } from './step-three/step-three.component';
    
    const routes: Routes = [
      { path: '', redirectTo: '/step-one', pathMatch: 'full' },
      { path: 'step-one', component: StepOneComponent },
      { path: 'step-two', component: StepTwoComponent },
      { path: 'step-three', component: StepThreeComponent },
    ];
    
    @NgModule({
      imports: [RouterModule.forRoot(routes)],
      exports: [RouterModule]
    })
    export class AppRoutingModule { }

    3. Creating the Form

    You can use Angular’s Reactive Forms for this. In your app.module.ts, import ReactiveFormsModule:

    import { ReactiveFormsModule } from '@angular/forms';
    // Other imports...
    
    @NgModule({
      declarations: [
        // Your components...
      ],
      imports: [
        // Other modules...
        ReactiveFormsModule
      ],
      // Other module properties...
    })
    export class AppModule { }

    In each component, set up your form group to represent the inputs for that step. For example, in step-one.component.ts:

    import { Component, OnInit } from '@angular/core';
    import { FormGroup, FormBuilder, Validators } from '@angular/forms';
    
    @Component({
      selector: 'app-step-one',
      templateUrl: './step-one.component.html',
      styleUrls: ['./step-one.component.scss']
    })
    export class StepOneComponent implements OnInit {
      stepOneForm: FormGroup;
    
      constructor(private fb: FormBuilder) { }
    
      ngOnInit(): void {
        this.stepOneForm = this.fb.group({
          firstName: ['', Validators.required],
          lastName: ['', Validators.required]
        });
      }
    
      onSubmit() {
        // Handle form submission, possibly navigating to the next step
      }
    }

    Repeat a similar process for the other steps, tailoring the form group to the inputs required at each step.

    4. Managing State and Navigation

    You might want to keep the state of the form across the different steps. A simple way is to use a service for state management. Generate a service:

    ng generate service FormData

    In your service, you can use RxJS’s BehaviorSubject to keep track of form data across components:

    import { Injectable } from '@angular/core';
    import { BehaviorSubject } from 'rxjs';
    
    @Injectable({
      providedIn: 'root'
    })
    export class FormDataService {
      private formData = new BehaviorSubject<any>({});
    
      currentFormData = this.formData.asObservable();
    
      constructor() { }
    
      updateFormData(data: any) {
        this.formData.next(data);
      }
    }

    Inject and use this service in your step components to update and retrieve form data.

    5. Navigating Between Steps

    Use Angular’s Router to navigate between steps upon form submission. Inject Router in your component and navigate to the next step on submit:

    constructor(private router: Router, private fb: FormBuilder) { }
    
    onSubmit() {
      // Update form data using FormDataService
    
      // Navigate to the next step
      this.router.navigate(['/step-two']);
    }

    This is a basic outline to get you started with a step form in Angular. Depending on your requirements, you might need to adjust validations, handle asynchronous operations, or integrate with a backend service.

  • Benefits of micro frontend in Angular 17

    Benefits of micro frontend in Angular 17

    Micro frontends represent a design approach in which a frontend app is decomposed into individual, semi-independent “microapps” working loosely together. Each microapp handles a portion of the business logic and UI, aiming for better scalability, maintainability, and development speed. With the release of Angular 17, utilizing micro frontends can offer several benefits, especially given Angular’s ecosystem and tooling improvements. Here are some of the key advantages:

    1. Improved Scalability: By breaking down the frontend into smaller, manageable pieces, teams can scale their applications more efficiently. It’s easier to add new features or extend existing ones without risking the stability of the entire application.
    2. Enhanced Developer Experience: Different teams can work on separate microapps concurrently without stepping on each other’s toes. This isolation reduces coordination overhead and allows for faster development cycles. Angular 17, with its improved CLI and development tools, further enhances this aspect.
    3. Technology Agnosticism: Micro frontends enable teams to choose the best technology stack for each microapp based on its unique requirements. While Angular 17 might be the core framework, teams can integrate microapps built with other frameworks or libraries if needed, fostering innovation and flexibility.
    4. Simplified Codebase Management: Each microapp can be managed in its own repository, making it easier to maintain the codebase. This separation allows for cleaner, more organized development practices and reduces the complexity associated with large monolithic frontends.
    5. Independent Deployment: Micro frontends support independent deployment, meaning each team can deploy their updates without waiting for a full frontend release. This approach aligns well with continuous integration/continuous deployment (CI/CD) practices, leading to quicker feedback loops and faster time to market.
    6. Focused Testing: Testing can be more focused and efficient as each microapp can be tested independently. This reduces the scope of testing while ensuring that specific functionalities work as expected. Angular 17’s testing tools and libraries can be leveraged to automate and streamline these processes.
    7. Improved Performance: By loading only the necessary microapps for a given user interaction, micro frontends can potentially offer better performance compared to loading a single, large application. Techniques such as lazy loading, which Angular 17 supports natively, can be utilized to optimize resource loading further.
    8. Easier Upgrades and Migration: Upgrading or migrating legacy systems can be daunting. With micro frontends, teams can incrementally upgrade or replace parts of the frontend without overhauling the entire application. This incremental approach reduces risk and allows teams to leverage the latest features and improvements in Angular 17 without a big-bang migration.
    9. Guys for implementation kindly check this link : Angular 17 Micro Frontend Demo

    Adopting micro frontends in Angular 17 projects requires careful planning and consideration of the architectural implications, such as the strategy for state management, communication between microapps, and deployment logistics. However, the benefits of improved scalability, development velocity, and application resilience often outweigh the challenges, making it an attractive approach for modern web application development.

  • How to make code editor in angular 17?

    How to make code editor in angular 17?

    Creating a code editor in Angular involves integrating a code editor library that can provide the necessary features for code editing, such as syntax highlighting, line numbering, and language-specific suggestions. One popular choice for integrating a code editor into a web application is Monaco Editor, which is the code editor that powers Visual Studio Code. Here’s how you can integrate Monaco Editor into an Angular 17 project:

    Step 1: Set Up Your Angular Project

    First, make sure you have Angular CLI installed. If not, you can install it using npm:

    npm install -g @angular/cli

    Create a new Angular project if you haven’t already:

    ng new code-editor-app

    Navigate into your project directory:

    cd code-editor-app

    Step 2: Install Monaco Editor

    You’ll need to install monaco-editor and ngx-monaco-editor, which is an Angular wrapper for Monaco Editor that makes integration easier:

    npm install monaco-editor ngx-monaco-editor

    Step 3: Import MonacoEditorModule

    In your app module (app.module.ts), import MonacoEditorModule from ngx-monaco-editor and add it to the imports array. Also, make sure to configure it if necessary:

    import { BrowserModule } from '@angular/platform-browser';
    import { NgModule } from '@angular/core';
    
    import { AppComponent } from './app.component';
    // Import MonacoEditorModule
    import { MonacoEditorModule } from 'ngx-monaco-editor';
    
    @NgModule({
      declarations: [
        AppComponent
      ],
      imports: [
        BrowserModule,
        // Import MonacoEditorModule here
        MonacoEditorModule.forRoot() // Use forRoot() in the AppModule only.
      ],
      providers: [],
      bootstrap: [AppComponent]
    })
    export class AppModule { }

    Step 4: Use Monaco Editor in Your Component

    In your component’s template, you can now add <ngx-monaco-editor> tags to integrate the editor. For example, in app.component.html, you could add:

    <ngx-monaco-editor [options]="editorOptions" [(ngModel)]="code"></ngx-monaco-editor>

    In your component (app.component.ts), define the editor options and the model (the actual code to be edited):

    import { Component } from '@angular/core';
    
    @Component({
      selector: 'app-root',
      templateUrl: './app.component.html',
      styleUrls: ['./app.component.css']
    })
    export class AppComponent {
      editorOptions = {theme: 'vs-dark', language: 'javascript'};
      code: string= 'function x() {\nconsole.log("Hello world!");\n}';
    }

    Step 5: Styling the Editor

    You might want to add some CSS to ensure the editor is sized correctly. For example, in app.component.css:

    ngx-monaco-editor {
      height: 500px;
      width: 100%;
    }

    Step 6: Serve Your Application

    Now you can run your Angular application:

    ng serve

    Navigate to http://localhost:4200/ to see your code editor in action.

    Note:

    This is a basic setup to get you started. Monaco Editor and ngx-monaco-editor offer a wide range of configurations and features that you can explore further to customize the editor to your needs, such as setting up different language support, themes, custom syntax highlighting, and more.

  • Authorization with Angular 17

    Authorization with Angular 17

    Implementing authorization in an Angular 17 application typically involves several key steps. Angular itself does not dictate how you must perform authorization but provides tools and patterns you can use to implement it effectively. Below is a general approach you might take, focusing on client-side aspects. Remember, authorization also requires robust server-side validation and security measures.

    1. Setting Up Angular Router for Authentication

    First, you’ll want to use Angular’s Router to control access to different parts of your application based on the user’s authentication status.

    // app-routing.module.ts
    import { NgModule } from '@angular/core';
    import { RouterModule, Routes } from '@angular/router';
    import { AuthGuard } from './auth.guard';
    import { LoginComponent } from './login/login.component';
    import { DashboardComponent } from './dashboard/dashboard.component';
    
    const routes: Routes = [
      { path: 'login', component: LoginComponent },
      { path: 'dashboard', component: DashboardComponent, canActivate: [AuthGuard] }
    ];
    
    @NgModule({
      imports: [RouterModule.forRoot(routes)],
      exports: [RouterModule]
    })
    export class AppRoutingModule { }

    2. Creating an Authentication Service

    This service will handle login/logout functionality and keep track of the user’s authentication status.

    // auth.service.ts
    import { Injectable } from '@angular/core';
    import { BehaviorSubject, Observable } from 'rxjs';
    
    @Injectable({
      providedIn: 'root'
    })
    export class AuthService {
      private isLoggedIn = new BehaviorSubject<boolean>(false);
    
      constructor() { }
    
      login(username: string, password: string): Observable<boolean> {
        // Replace this with real authentication logic
        const isAuthenticated = (username === 'user' && password === 'password');
        this.isLoggedIn.next(isAuthenticated);
        return this.isLoggedIn.asObservable();
      }
    
      logout() {
        this.isLoggedIn.next(false);
      }
    
      isAuthenticated(): Observable<boolean> {
        return this.isLoggedIn.asObservable();
      }
    }

    3. Implementing an Authentication Guard

    This guard will use your AuthService to check if the user is authenticated before allowing access to certain routes.

    // auth.guard.ts
    import { Injectable } from '@angular/core';
    import { CanActivate, Router } from '@angular/router';
    import { Observable } from 'rxjs';
    import { AuthService } from './auth.service';
    import { map } from 'rxjs/operators';
    
    @Injectable({
      providedIn: 'root'
    })
    export class AuthGuard implements CanActivate {
    
      constructor(private authService: AuthService, private router: Router) {}
    
      canActivate(): Observable<boolean> | boolean {
        return this.authService.isAuthenticated().pipe(
          map(isAuthenticated => {
            if (!isAuthenticated) {
              this.router.navigate(['/login']);
              return false;
            }
            return true;
          })
        );
      }
    }

    4. Handling Login and Logout in Your Components

    Within your components, you’ll use the AuthService to authenticate users and react to their authentication status.

    // login.component.ts
    import { Component } from '@angular/core';
    import { AuthService } from '../auth.service';
    
    @Component({
      selector: 'app-login',
      templateUrl: './login.component.html',
      styleUrls: ['./login.component.css']
    })
    export class LoginComponent {
      constructor(private authService: AuthService) {}
    
      login(username: string, password: string) {
        this.authService.login(username, password).subscribe(isAuthenticated => {
          if (isAuthenticated) {
            // Navigate to the dashboard or another protected route
          } else {
            // Show an error message
          }
        });
      }
    }

    5. Secure Your Backend

    Remember, while Angular can control access to routes and UI elements based on authentication state, security must be enforced on the server. Always validate the user’s authentication and authorization state on the server before performing any actions or returning any sensitive information.

    6. Keep Angular Updated

    Angular and its ecosystem evolve rapidly. Ensure you’re using the latest versions of Angular and its libraries to take advantage of security patches and new features.

    This overview provides a foundational approach to implementing authorization in Angular 17. Depending on your specific requirements, you might need to adapt and extend this with more sophisticated patterns, such as role-based access control (RBAC), JSON Web Tokens (JWT) for stateless authentication, or integrating with third-party authentication services like OAuth2 and OpenID Connect.

  • Angular 17 nested routes demo

    Angular 17 nested routes demo

    To demonstrate nested routing in Angular 17, let’s create a simple application with a hierarchical structure of components and routes. Angular’s routing allows us to organize the interface into a hierarchy of views, making it easier to manage complex interfaces. In this example, we’ll create a basic app with a parent route and a child route.

    Step 1: Setting Up Angular Environment

    First, ensure that you have the Angular CLI installed. If not, install it globally using npm:

    npm install -g @angular/cli

    Then, create a new Angular project:

    ng new angular-nested-routes-demo
    cd angular-nested-routes-demo

    Step 2: Generating Components

    For our demo, we’ll need a few components:

    1. A parent component (ParentComponent).
    2. Two child components (ChildOneComponent and ChildTwoComponent).

    Generate these components using the Angular CLI:

    ng generate component Parent
    ng generate component ChildOne
    ng generate component ChildTwo

    Step 3: Setting Up Routing

    First, open the app-routing.module.ts file. This is where we’ll define our routes. We will set up the parent route and nest the child routes within it.

    Replace the contents of app-routing.module.ts with the following:

    import { NgModule } from '@angular/core';
    import { RouterModule, Routes } from '@angular/router';
    import { ParentComponent } from './parent/parent.component';
    import { ChildOneComponent } from './child-one/child-one.component';
    import { ChildTwoComponent } from './child-two/child-two.component';
    
    const routes: Routes = [
      {
        path: 'parent',
        component: ParentComponent,
        children: [
          {
            path: 'child-one',
            component: ChildOneComponent,
          },
          {
            path: 'child-two',
            component: ChildTwoComponent,
          },
        ],
      },
    ];
    
    @NgModule({
      imports: [RouterModule.forRoot(routes)],
      exports: [RouterModule],
    })
    export class AppRoutingModule {}

    Step 4: Updating Components for Navigation

    In parent.component.html, add links to navigate to the child components and an outlet for displaying the child components:

    <h2>Parent Component</h2>
    <nav>
      <ul>
        <li><a routerLink="child-one">Child One</a></li>
        <li><a routerLink="child-two">Child Two</a></li>
      </ul>
    </nav>
    <router-outlet></router-outlet>

    Step 5: Running the Application

    Now, run your application:

    ng serve

    Navigate to http://localhost:4200/parent to see the Parent component. From there, you can navigate to the Child One and Child Two components using the provided links.

    This simple example demonstrates the basics of nested routing in Angular 17. By utilizing the children array in your route configuration, you can easily set up a hierarchy of routes and views within your Angular applications.

  • How to become an Angular developer?

    How to become an Angular developer?

    To become an Angular developer, you need to follow a structured learning path that will equip you with the necessary skills and knowledge to build dynamic and responsive web applications using the Angular framework. Angular is a platform and framework for building single-page client applications using HTML and TypeScript. Developed and maintained by Google, it offers a comprehensive solution for developing web apps, with a wide range of tools and capabilities. Here’s a step-by-step guide to help you get started:

    1. Understand the Basics of Web Development

    Before diving into Angular, you should have a solid foundation in web development basics:

    • HTML: The standard markup language used to create web pages.
    • CSS: The style sheet language used for describing the look and formatting of a document written in HTML.
    • JavaScript: A programming language that enables interactive web pages. Angular is built on TypeScript, which is a superset of JavaScript, so understanding JavaScript is crucial.

    2. Learn TypeScript

    Since Angular applications are built using TypeScript, gaining a good understanding of TypeScript is essential. TypeScript offers more robust typing and object-oriented features than JavaScript, making your web applications more scalable and maintainable.

    3. Dive Into Angular

    Once you’re comfortable with the basics, start learning Angular. Here are the key concepts and features you should focus on:

    • Components and Templates: Learn how to build reusable UI parts.
    • Directives and Pipes: Understand how to modify DOM elements and format data.
    • Services and Dependency Injection: Master the use of services for business logic and data services, and understand how Angular’s dependency injection system works.
    • Routing: Learn how to manage navigation within your application.
    • Forms: Get to grips with handling user input and form validation.
    • RxJS and Observables: Understand asynchronous programming patterns used in Angular for handling data streams and propagation of changes.

    4. Practice Building Applications

    Theory is important, but practice is crucial. Start by building simple applications and progressively increase the complexity of your projects. This will help you understand how to apply Angular concepts in real-world scenarios.

    5. Join the Angular Community

    Engaging with the Angular community can provide support, inspiration, and opportunities for collaboration. Participate in forums, attend meetups or conferences, and contribute to open-source Angular projects.

    6. Stay Updated

    Angular is continuously evolving, with new versions and features being released regularly. Stay updated with the latest changes by following the official Angular blog, attending webinars, and taking advantage of updated learning resources.

    7. Build a Portfolio

    As you gain skills and complete projects, showcase your work in a portfolio. This is crucial when applying for jobs as it demonstrates your capabilities to potential employers.

    8. Consider Certification

    While not mandatory, obtaining certification can validate your Angular skills and knowledge. Look for reputable certification programs that are recognized in the industry.

    Resources for Learning Angular

    • Official Angular Documentation: A comprehensive resource that covers all aspects of Angular.
    • Online Courses: Platforms like Coursera, Udemy, and Therichpost offer courses on Angular, ranging from beginner to advanced levels.
    • YouTube Tutorials: Many developers and educators share their knowledge on YouTube, providing visual and practical guides to learning Angular.

    By following these steps and dedicating time to learning and practice, you can become proficient in Angular development and start building sophisticated web applications.

  • Angular 17 Audio Chat Application

    Angular 17 Audio Chat Application

    Creating an audio chat application with Angular 17 involves several steps, including setting up the Angular environment, designing the UI, and integrating audio chat functionalities. This tutorial will guide you through creating a basic audio chat application using Angular 17. We’ll use WebRTC for real-time audio communication because it allows peer-to-peer communication that is ideal for an audio chat application.

    Step 1: Setting Up Your Angular Environment

    First, ensure you have Node.js and Angular CLI installed. Then, create a new Angular project:

    ng new audio-chat-app
    cd audio-chat-app

    Step 2: Installing Required Dependencies

    For this application, we’ll need @angular/material for UI components and rxjs for handling asynchronous tasks and streams.

    ng add @angular/material
    npm install rxjs

    Step 3: Designing the UI

    Create components for the chat interface:

    ng generate component chat-room

    Update chat-room.component.html to create a simple UI for displaying users and a button to start the audio chat.

    <mat-card>
      <mat-card-title>Audio Chat Room</mat-card-title>
      <mat-card-content>
        <button mat-raised-button (click)="startAudioChat()">Start Audio Chat</button>
        <div *ngFor="let user of users">
          {{user.name}}
        </div>
      </mat-card-content>
    </mat-card>

    Step 4: Integrating WebRTC for Audio Communication

    WebRTC is a complex topic, but at its core, it allows direct peer-to-peer communication. You will need to implement signaling to exchange WebRTC offers, answers, and ICE candidates between peers. For simplicity, this example will not cover a signaling server implementation, which you could achieve with WebSocket or a similar real-time communication protocol.

    In your chat-room.component.ts, add basic WebRTC logic:

    import { Component, OnInit } from '@angular/core';
    
    @Component({
      selector: 'app-chat-room',
      templateUrl: './chat-room.component.html',
      styleUrls: ['./chat-room.component.css']
    })
    export class ChatRoomComponent implements OnInit {
    
      users = []; // Assume this array is populated with user data
    
      constructor() { }
    
      ngOnInit(): void {
      }
    
      startAudioChat(): void {
        navigator.mediaDevices.getUserMedia({ audio: true })
          .then(stream => {
            const peerConnection = new RTCPeerConnection();
            // Add your stream to the connection
            stream.getTracks().forEach(track => peerConnection.addTrack(track, stream));
            // Implement signaling logic here
          })
          .catch(error => console.error('Error accessing media devices.', error));
      }
    }

    Step 5: Implementing Signaling

    The signaling process involves:

    1. Creating an offer: One peer creates an offer and sends it to another peer through the signaling server.
    2. Receiving an offer and sending an answer: The other peer receives the offer, sets it as the remote description, creates an answer, and sends it back.
    3. Exchanging ICE candidates: Both peers exchange ICE candidates for finding the best path for the peer-to-peer connection.

    This step requires a backend service or server that can handle WebSocket connections or any real-time communication protocol to exchange signaling data.

    Step 6: Testing and Further Steps

    • Test your application in multiple scenarios, including different networks.
    • Implement a backend service for signaling.
    • Add features like mute/unmute, volume control, and dynamic participant addition.

    Creating a full-fledged audio chat application involves many more details, especially regarding WebRTC and signaling server implementation. You might want to look into using existing libraries or services that simplify WebRTC communication, like PeerJS or Firebase for signaling.

    Remember, deploying an audio chat application also requires handling user authentication, managing sessions, and ensuring privacy and security, especially in peer-to-peer communications.

  • How to manage state in an Angular 17 application by making use of Signals?

    How to manage state in an Angular 17 application by making use of Signals?

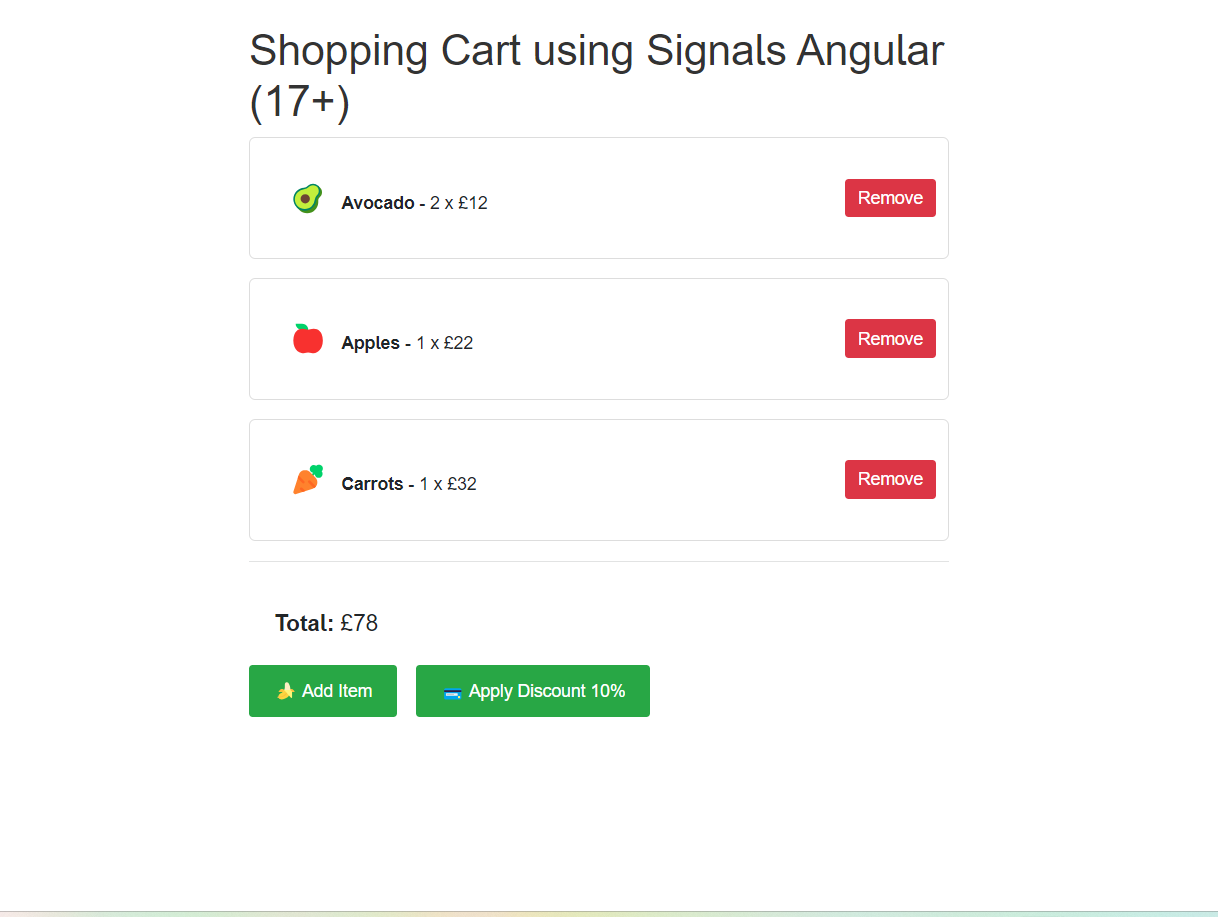
    Managing state in Angular applications can become complex as your application grows in size and complexity. Angular 17 introduced the concept of Signals, a new feature designed to simplify state management by offering a reactive way to track and update your application’s state without relying on external libraries like NgRx or Akita, or the complexity of RxJS BehaviorSubjects for simple scenarios.

    Here’s a basic guide on how to manage state in an Angular 17 application using Signals:

    1. Understanding Signals

    Signals in Angular are inspired by the reactivity system from frameworks like Svelte or Vue. A Signal is a simple container for a value that can be read and written, and Angular components can react to changes in that value automatically.

    2. Creating a Signal

    To create a Signal, you first need to import the signal function from Angular core.

    import { signal } from '@angular/core';

    You can then create a Signal by calling the signal function with the initial value of the state:

    const counter = signal(0); // Initializes a signal with a value of 0

    3. Reading from a Signal

    To read the current value of a Signal, you use the .value property:

    console.log(counter.value); // Outputs: 0

    4. Updating a Signal

    To update the value of a Signal, you also use the .value property:

    counter.value = 1; // Updates the signal's value to 1

    5. Using Signals in Components

    To use Signals within Angular components, you can directly bind them in your templates for both reading and setting values. Angular’s change detection will automatically update the DOM when Signal values change.

    Component Template:

    <div>
      <p>Counter: {{ counter.value }}</p>
      <button (click)="increment()">Increment</button>
    </div>

    Component Class:

    import { Component } from '@angular/core';
    import { signal } from '@angular/core';
    
    @Component({
      selector: 'app-counter',
      templateUrl: './counter.component.html',
    })
    export class CounterComponent {
      counter = signal(0);
    
      increment() {
        this.counter.value += 1;
      }
    }

    6. Reacting to Changes

    Since Signals are reactive, any changes to their values will automatically trigger updates in the components that use them, without the need for manual subscriptions or change detection strategies.

    7. Benefits

    • Simplicity: Signals provide a straightforward API for state management without the boilerplate code associated with more complex state management solutions.
    • Reactivity: Components automatically react to changes in Signal values, simplifying dynamic data handling.
    • Integration: Signals work seamlessly within the Angular ecosystem, leveraging its existing change detection mechanisms.

    Conclusion

    Signals in Angular 17 offer a new and simplified approach to managing state in applications. By providing a reactive API that integrates tightly with Angular’s change detection, Signals can help developers manage application state with less boilerplate and more clarity. For more complex state management needs, you might still consider using dedicated libraries, but for many scenarios, Signals provide a lightweight and effective solution.

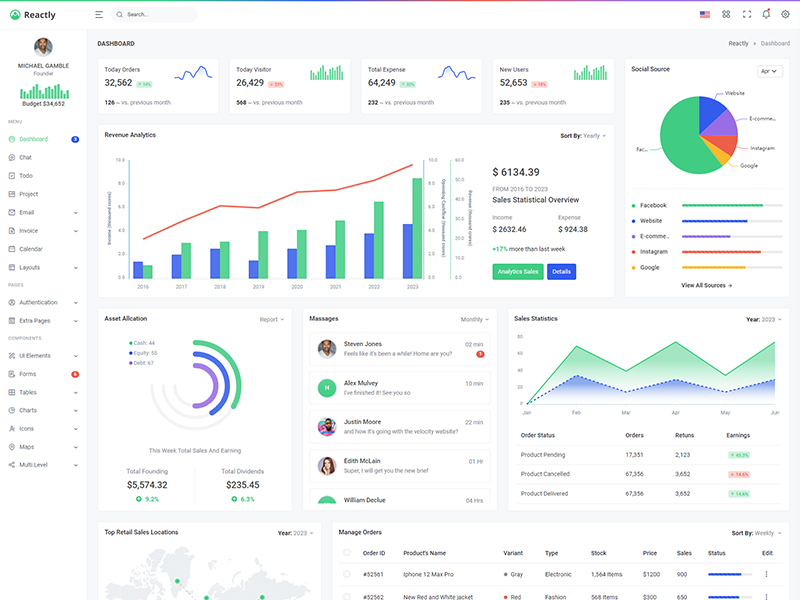
  • Creating an admin dashboard template in Angular

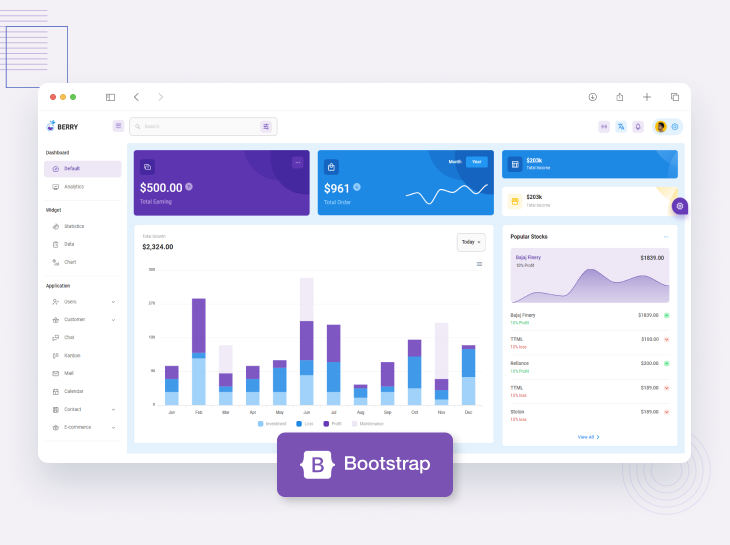
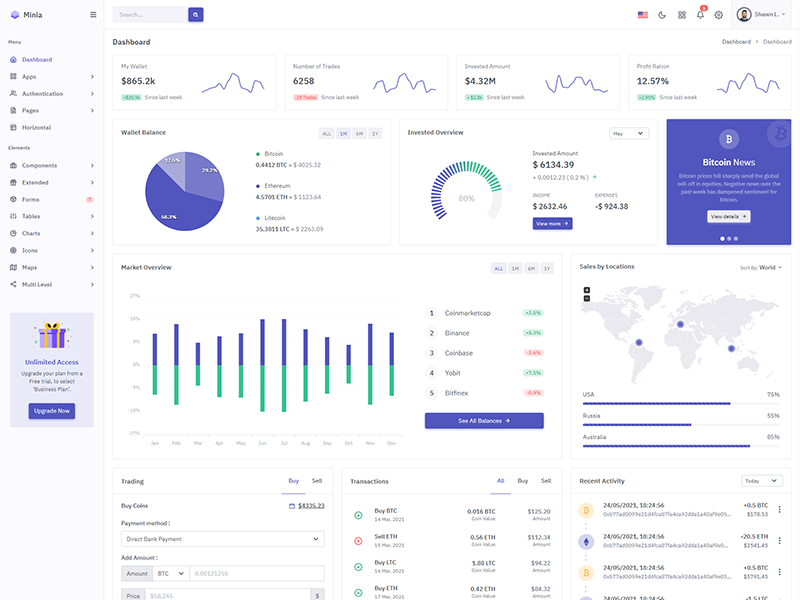
    Creating an admin dashboard template in Angular

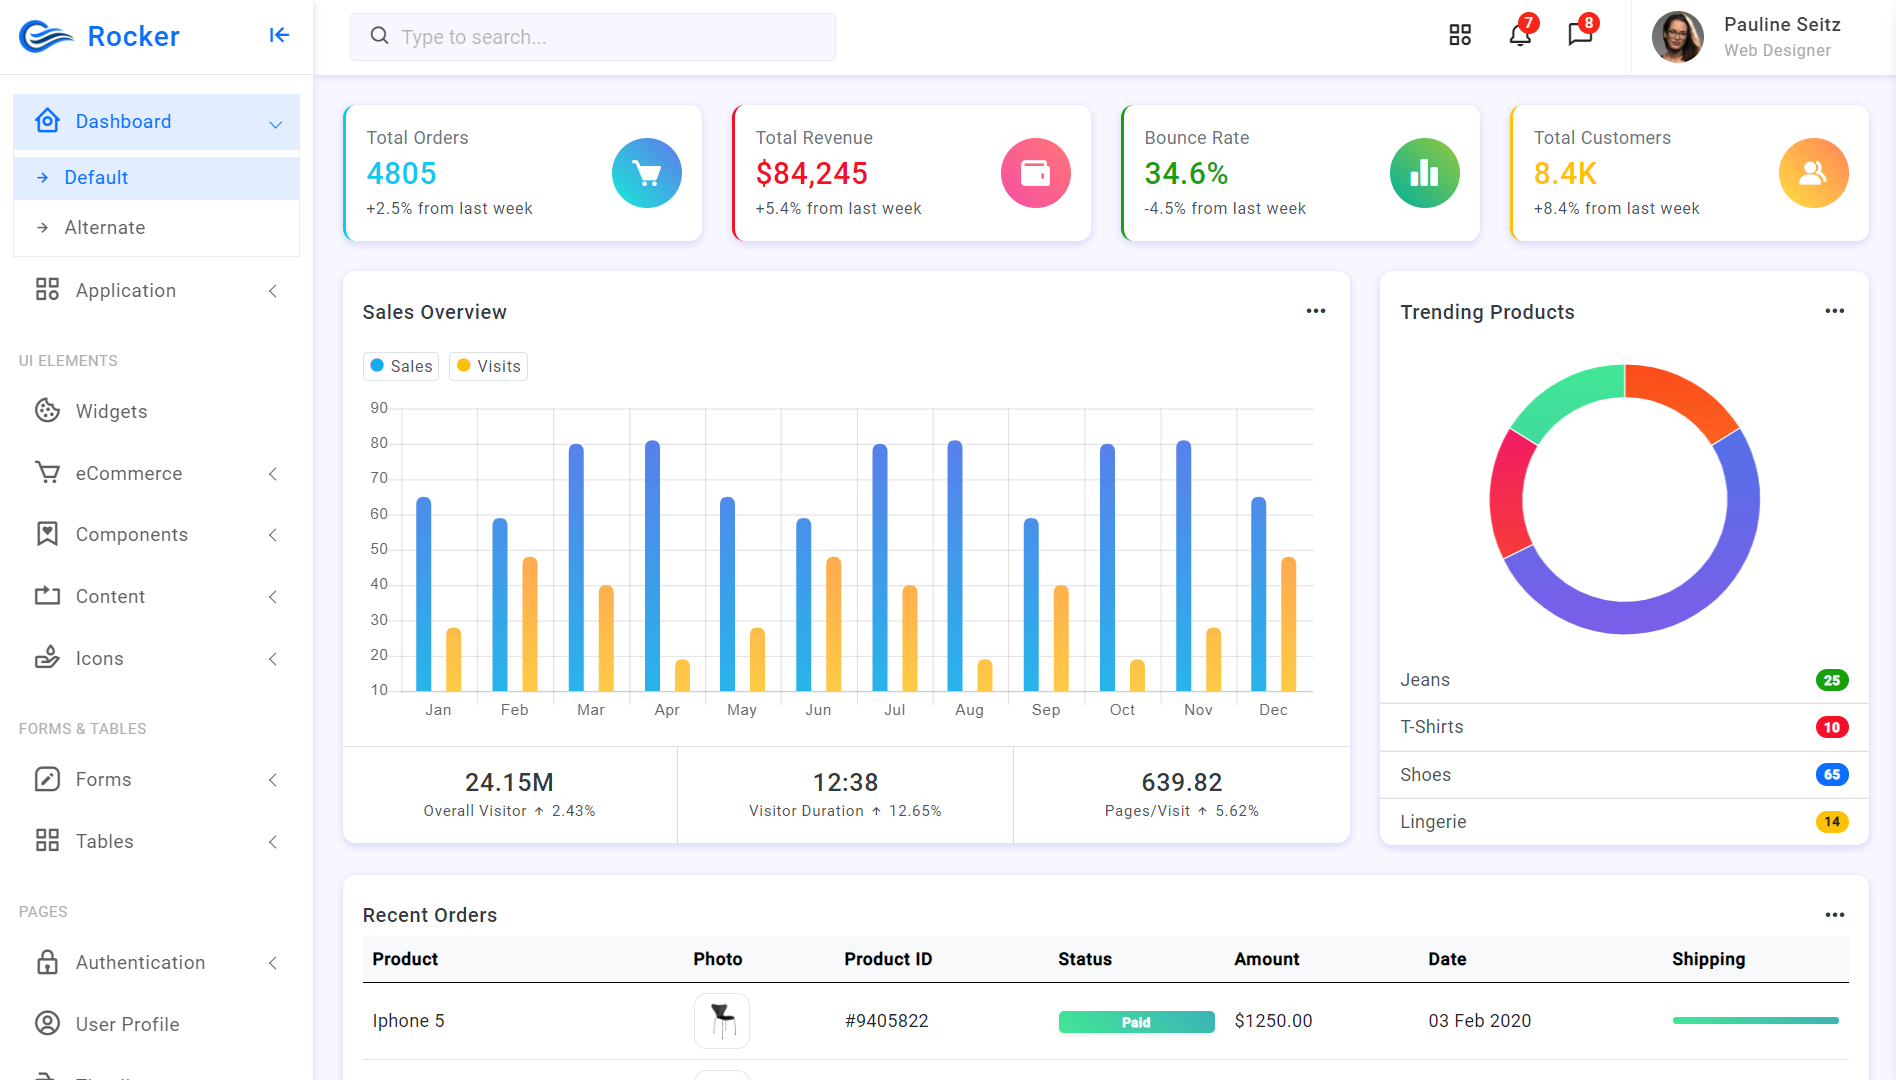
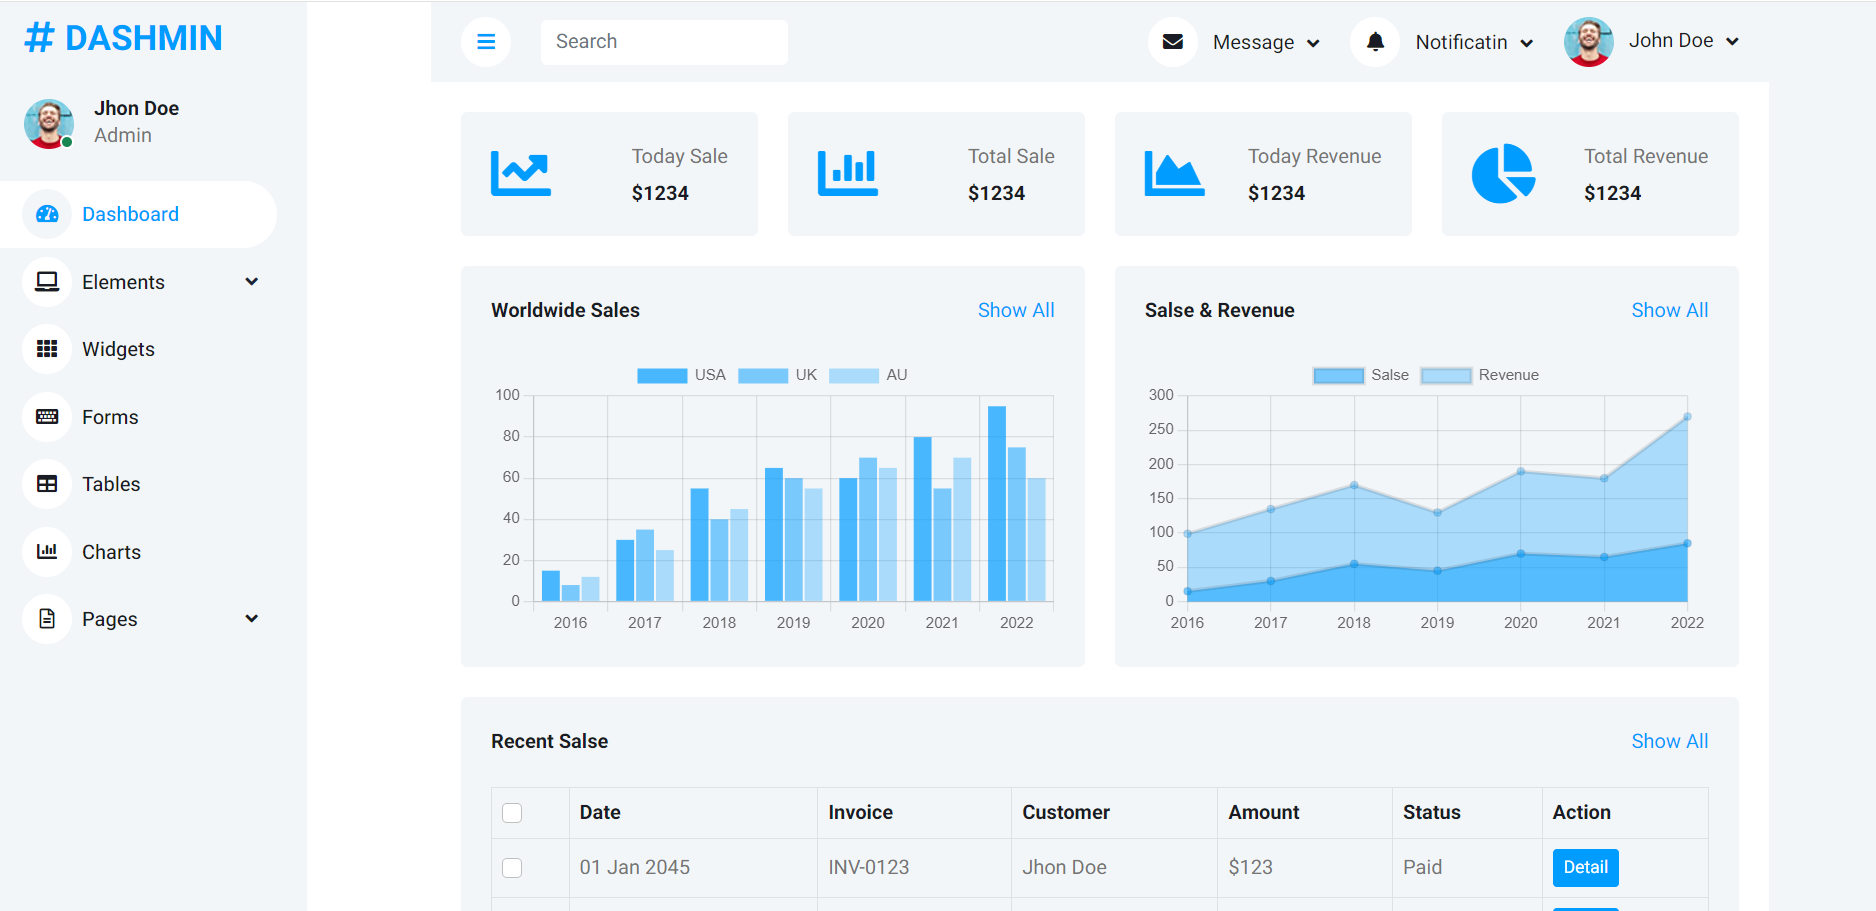
    Creating an admin dashboard template in Angular involves several steps, including setting up your Angular environment, creating components, services, and integrating routing for different sections of the dashboard. Below is a simplified guide to get you started with a basic admin dashboard in Angular 17. This guide assumes you have Node.js and Angular CLI installed.

    1. Setup Angular Project

    First, create a new Angular project by running:

    ng new admin-dashboard --style=scss --routing=true

    Choose SCSS for styling (you can choose CSS if you prefer) and enable routing.

    2. Generate Components

    Navigate into your project directory:

    cd admin-dashboard

    Generate components for your dashboard. For example, a login page, dashboard home, and user profile:

    ng generate component pages/login
    ng generate component pages/dashboard
    ng generate component pages/user-profile

    3. Setup Routing

    Edit your app-routing.module.ts to define routes for the dashboard. Here’s an example setup:

    import { NgModule } from '@angular/core';
    import { RouterModule, Routes } from '@angular/router';
    import { LoginComponent } from './pages/login/login.component';
    import { DashboardComponent } from './pages/dashboard/dashboard.component';
    import { UserProfileComponent } from './pages/user-profile/user-profile.component';
    
    const routes: Routes = [
      { path: '', redirectTo: '/login', pathMatch: 'full' },
      { path: 'login', component: LoginComponent },
      { path: 'dashboard', component: DashboardComponent },
      { path: 'user-profile', component: UserProfileComponent },
      // Add more routes here
    ];
    
    @NgModule({
      imports: [RouterModule.forRoot(routes)],
      exports: [RouterModule]
    })
    export class AppRoutingModule { }

    4. Create a Navigation Bar

    You might want a navigation component for your admin dashboard:

    ng generate component components/nav-bar

    Then, add links to your navbar in nav-bar.component.html:

    <nav>
      <ul>
        <li><a routerLink="/dashboard">Dashboard</a></li>
        <li><a routerLink="/user-profile">Profile</a></li>
        <!-- Add more navigation items here -->
      </ul>
    </nav>

    5. Add Angular Material

    To beautify your dashboard and use pre-made components, add Angular Material:

    ng add @angular/material

    Choose a theme and set up global typography and animations as you like.

    6. Use Angular Material Components

    You can now use Angular Material components in your dashboard. For example, add a Material card in your dashboard.component.html:

    <mat-card>
      <mat-card-header>
        <mat-card-title>Dashboard</mat-card-title>
      </mat-card-header>
      <mat-card-content>
        <p>Welcome to your dashboard!</p>
      </mat-card-content>
    </mat-card>

    7. Serve Your Application

    Run your Angular application:

    ng serve

    Open your browser and navigate to http://localhost:4200/ to see your admin dashboard.

    8. Expand and Customize

    From here, you can expand your dashboard by adding more components, services for data handling, and customizing the styles. Utilize Angular Material for UI components and Angular Flex Layout for responsive designs. Also, consider integrating state management solutions like NgRx or Akita for complex state management.

    This guide gives you a starting point. As you become more familiar with Angular, you can incorporate more advanced features and third-party libraries to enhance your admin dashboard.

  • Difference between using RxJS and Signals when working with data and asynchronous operations in angular 17

    Difference between using RxJS and Signals when working with data and asynchronous operations in angular 17

    When working with data and asynchronous operations in Angular, developers often choose between using RxJS (Reactive Extensions for JavaScript) and the newer Signals approach. Both provide powerful patterns for managing asynchronous data flows, but they come with different paradigms and use cases. As of my last update in Dec 2023, Angular 17 might have introduced or refined these features, so let’s outline the key differences based on what’s known:

    RxJS

    1. Reactive Programming Model: RxJS is based on the reactive programming paradigm, which focuses on data streams and the propagation of change. It allows for the creation, manipulation, and querying of asynchronous data streams using a variety of operators.
    2. Operators: Offers a wide range of operators for transforming, combining, and manipulating data streams. This can include filtering, mapping, merging, and many more complex operations.
    3. Multicasting: Supports multicasting, where a single stream can be shared among multiple subscribers, reducing the need for duplicate streams.
    4. Error Handling: Provides robust error handling mechanisms within streams, allowing developers to gracefully manage and recover from errors in complex data flows.
    5. Backpressure Handling: Includes features for managing backpressure, or the scenario where data is produced faster than it can be consumed, helping to prevent memory issues and improve performance.

    Signals (Assuming reference to a newer Angular or web development concept)

    1. Simpler API: Signals may offer a simpler API compared to RxJS, focusing on value over time rather than the broad array of operators and concepts in reactive programming. This can make Signals easier to learn and use for some use cases.
    2. Unidirectional Data Flow: Signals are typically used to represent a single value that changes over time, making them well-suited for simple use cases like UI state management where a more straightforward approach is preferred.
    3. Performance: Signals might offer performance benefits for certain scenarios, especially where the overhead of RxJS’s more complex functionality is not needed.
    4. Integration with Angular: Depending on the specific version and features of Angular 17, Signals might be more tightly integrated with the framework, offering smoother development experiences for certain tasks.
    5. Use Cases: Signals could be preferred for simpler applications or where developers need a straightforward way to manage asynchronous values without the complexity of RxJS. They might not support the same range of operators or patterns but could be more efficient for specific scenarios.

    Choosing Between RxJS and Signals

    • Complexity of Data Operations: Use RxJS if your application requires complex data transformations, combinations, or needs to manage streams of data over time. RxJS’s operators make it powerful for these scenarios.
    • Simplicity and Performance: If your application benefits from a simpler model for tracking asynchronous values or needs to optimize for performance in managing single values over time, Signals might be the better choice.
    • Framework and Library Support: Consider what Angular and other libraries you’re using support or recommend. Angular has historically been closely tied with RxJS, but newer versions or updates might offer enhanced support or integration for Signals.

    Remember, the choice between RxJS and Signals will depend on your specific project needs, including complexity, performance requirements, and developer expertise.