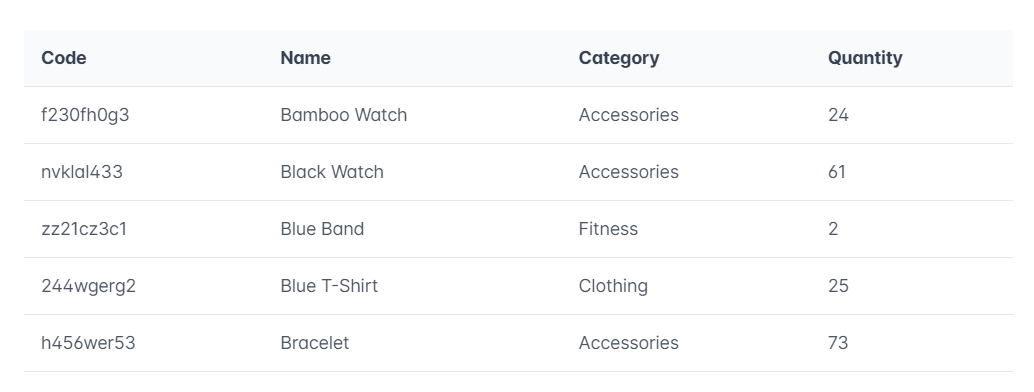
Implementing PrimeNG with Angular 17 involves a few steps to set up your environment and integrate PrimeNG components into your Angular application. Here’s a guide to get you started:
Step 1: Setting Up Angular 17
First, you need to set up an Angular project if you haven’t done so already. Make sure you have the Angular CLI installed. If not, you can install it via npm:
npm install -g @angular/cli
Then, create a new Angular project:
ng new your-project-name
Navigate into your project directory:
cd your-project-name
Step 2: Installing PrimeNG and PrimeIcons
PrimeNG components require PrimeIcons for icons. You can install both using npm:
npm install primeng primeicons
Step 3: Importing PrimeNG Modules
Import the PrimeNG modules for the components you plan to use into your application’s module. Typically, this will be your app.module.ts. You’ll also need to import BrowserAnimationsModule from @angular/platform-browser/animations since many PrimeNG components rely on animations.
For example, to use the Button and Table modules:
import { NgModule } from '@angular/core';
import { BrowserModule } from '@angular/platform-browser';
import { BrowserAnimationsModule } from '@angular/platform-browser/animations';
import { ButtonModule } from 'primeng/button';
import { TableModule } from 'primeng/table';
import { AppComponent } from './app.component';

@NgModule({
  declarations: [
    AppComponent
  ],
  imports: [
    BrowserModule,
    BrowserAnimationsModule,
    ButtonModule,
    TableModule
  ],
  providers: [],
  bootstrap: [AppComponent]
})
export class AppModule { }
Step 4: Including PrimeNG Styles
You need to include PrimeNG styles in your project. Add the PrimeIcons and the theme CSS to your angular.json file under the styles section. You can choose from various themes; here, we use the “lara-light-indigo” theme as an example:
"styles": [
  "src/styles.css",
  "node_modules/primeng/resources/themes/lara-light-indigo/theme.css",
  "node_modules/primeng/resources/primeng.min.css",
  "node_modules/primeicons/primeicons.css"
],
Step 5: Using PrimeNG Components
Now, you can use PrimeNG components in your application. For instance, to add a button and a table to your app.component.html, you might write:
<button pButton type="button" label="Click"></button>

<p-table [value]="products">
    <ng-template pTemplate="header">
        <tr>
            <th>Id</th>
            <th>Name</th>
            <th>Price</th>
        </tr>
    </ng-template>
    <ng-template pTemplate="body" let-product>
        <tr>
            <td>{{product.id}}</td>
            <td>{{product.name}}</td>
            <td>{{product.price}}</td>
        </tr>
    </ng-template>
</p-table>
Make sure to define products in your app.component.ts:
export class AppComponent {
  products = [
    {id: 1, name: 'Product 1', price: 100},
    {id: 2, name: 'Product 2', price: 200},
    // Add more products as needed
  ];
}
Step 6: Running Your Application
Finally, run your Angular application:
ng serve
Open your browser and go to http://localhost:4200/ to see your application with PrimeNG components.
By following these steps, you can integrate PrimeNG into your Angular 17 project and start using its rich set of UI components to build interactive and beautiful web applications.
