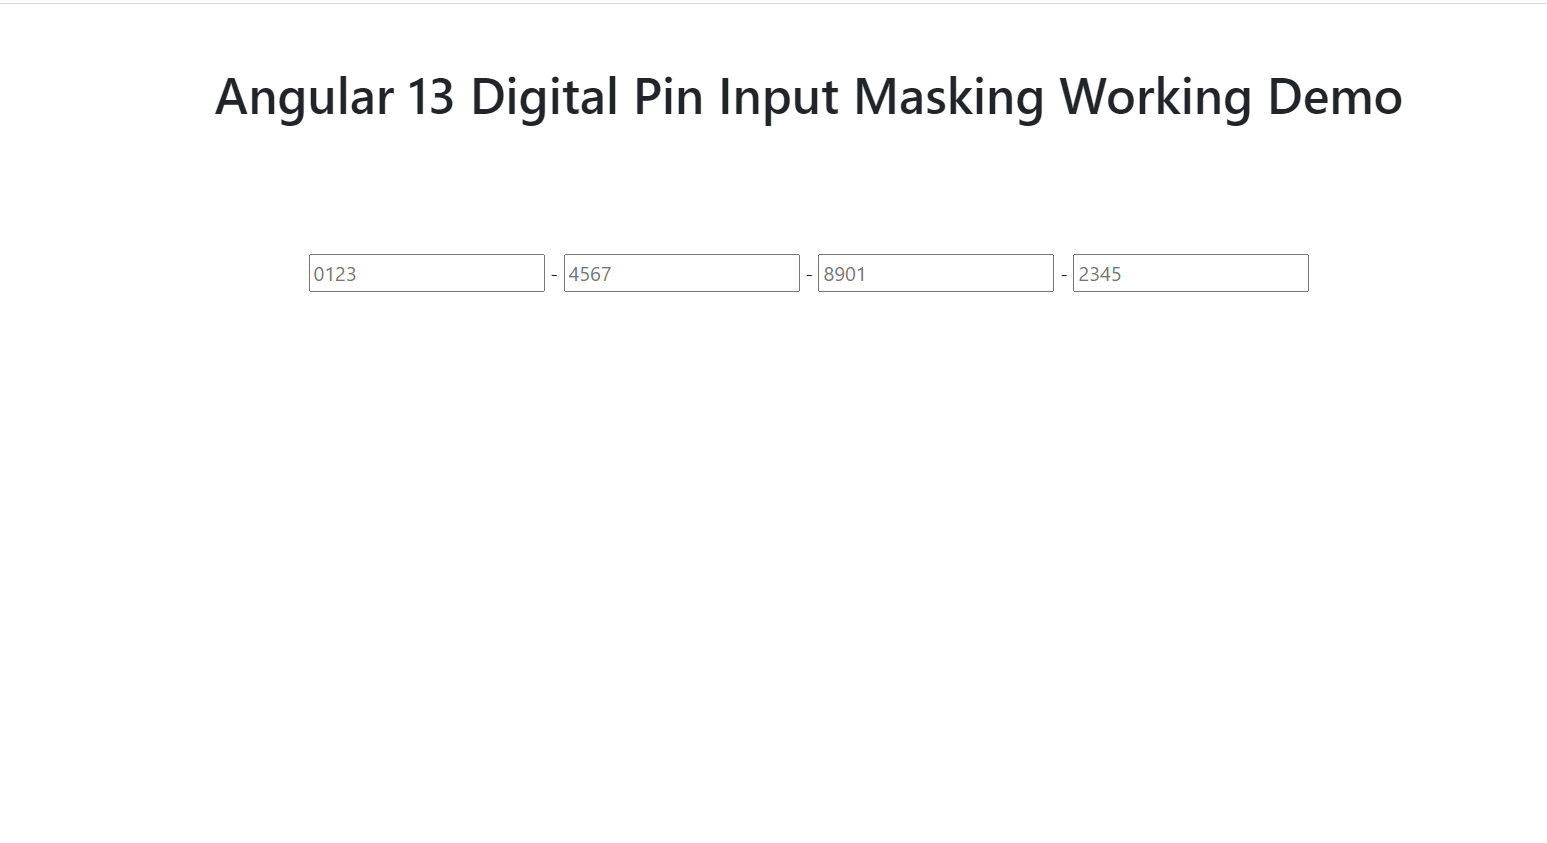
Friends here is the code snippet and please use this carefully to avoid mistakes:
1. Firstly friends we need fresh angular 13 setup and for this we need to run below commands but if you already have angular 13 setup then you can avoid below commands. Secondly we should also have latest node version installed on our system:
npm install -g @angular/cli
ng new angulardemo
cd angulardemo
ng serve --o
//Here is the url, you need to run into your browser and see working angular test project
http://localhost:4200/
2. Now friends we need to run below command into our project terminal to get angular masking and its related modules:
npm install --save ngx-mask
ng serve --o
3. Finally friends we need to add below code into our project/src/app/app.component.html file to get the final output on web browser:
Now we are done friends. If you have any kind of query or suggestion or requirement then feel free to comment below.
Note: Friends, In this post, I just tell the basic setup and things, you can change the code according to your requirements. I will appreciate that if you will tell your views for this post. Nothing matters if your views will be good or bad because with your views, I will make my next posts moregood and helpful.
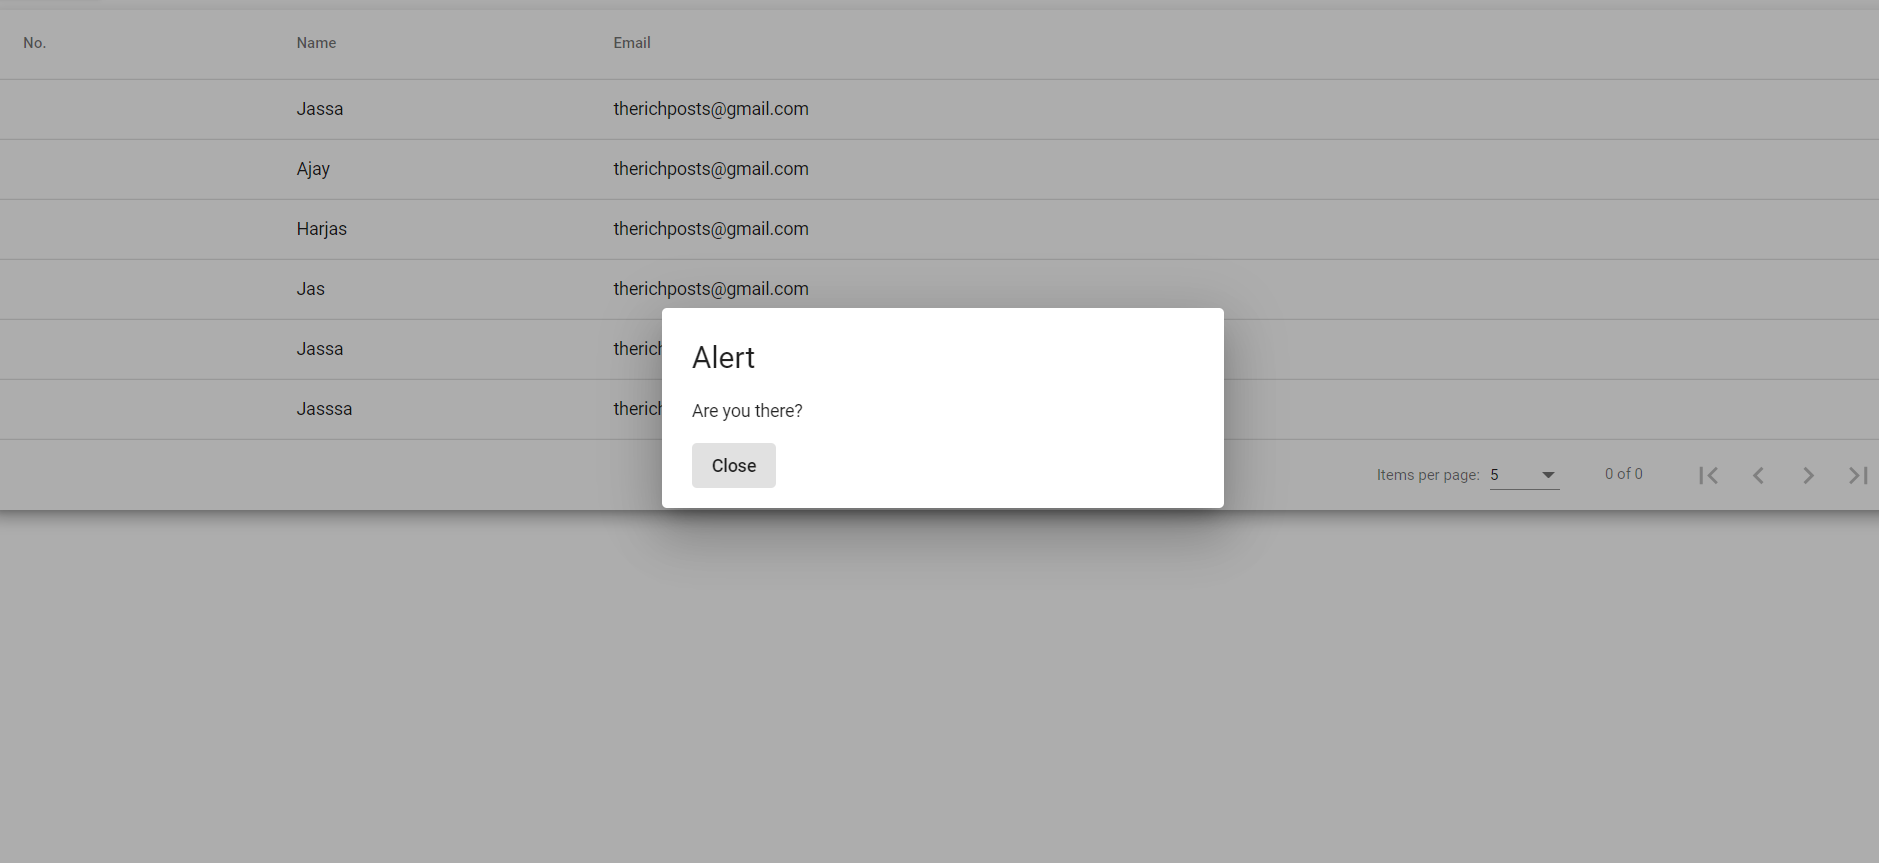
Hello friends, welcome back to my blog. Today in this blog post, I am going to tell you, ANGULAR 13 – ANGULAR MATERIAL JSON SERVER CRUD OPERATIONS – Get Users.
Guys before starting this please must check this tutorial : Crud Project Setup
Angular 13 came and very soon Angular 14 will come and if you are new then you must check below two links:
Friends now I proceed onwards and here is the working code snippet and please use carefully this to avoid the mistakes:
1. Firstly friends we need fresh angular 13 setup and for this we need to run below commands but if you already have angular 11 setup then you can avoid below commands. Secondly we should also have latest node version installed on our system:
npm install -g @angular/cli
ng new angularmaterial //Create new Angular Project
cd angularmaterial // Go inside the Angular Project Folder
ng serve --open // Run and Open the Angular Project
http://localhost:4200/ // Working Angular Project Url
2. Now friends, here we need to run below commands into our project terminal to install angular material modules into our angular application:
ng add @angular/material
3. Now friends we just need to add below code into src/app/app.component.html file to get final out on the web browser:
4. Now friends we just need to add below code into src/app/app.module.ts file:
...
import { MatTableModule } from '@angular/material/table';
import { MatPaginatorModule } from '@angular/material/paginator';
import { HttpClientModule } from '@angular/common/http';
@NgModule({
...
imports: [
...
MatPaginatorModule,
MatTableModule,
HttpClientModule
],
...
5. Now friends we just need to add below code into src/app/app.component.ts file:
...
import { ViewChild } from '@angular/core';
import {MatPaginator} from '@angular/material/paginator';
import {MatTableDataSource} from '@angular/material/table';
import { HttpClient } from '@angular/common/http';
export class AppComponent {
...
//Material table columns
displayedColumns: string[] = ['id', 'name', 'email'];
//Table Data Source
@ViewChild(MatPaginator) paginator :any = MatPaginator;
//Dynamic Data Variable
usersData:any;
constructor(private http: HttpClient){}
@ViewChild(MatPaginator, {static: true}) paginator: MatPaginator;
ngOnInit() {
//get request from web api and this web api is totaly free to use
this.http.get('http://localhost:4000/users').subscribe(data => {
this.usersData = data;
//Data Table Data Source and pagination with dynamic data
this.dataSource = new MatTableDataSource(this.usersData);
this.dataSource.paginator = this.paginator
}, error => console.error(error));
}
}
export interface PeriodicElement {
name: string;
position: number;
email: string;
}
6. Now guys we need to add below code into project/json-server/db.json file:
Friends in the end must run ng serve command into your terminal to run the angular 13 project.
Now we are done friends. If you have any kind of query, suggestion and new requirement then feel free to comment below.
Note: Friends, In this post, I just tell the basic setup and things, you can change the code according to your requirements.
I will appreciate that if you will tell your views for this post. Nothing matters if your views will be good or bad because with your views, I will make my next posts moregood and helpful.
Hello friends, welcome back to my blog. Today in this blog post, I am going to tell you, Angular 13 Inactive User State Automatically Logout After 10 Seconds.
Angular 13 came and if you are new then you must check below two links:
Friends here is the code snippet and please use this carefully to avoid mistakes:
1. Firstly friends we need fresh angular 13 setup and for this we need to run below commands but if you already have angular 13 setup then you can avoid below commands. Secondly we should also have latest node version installed on our system:
npm install -g @angular/cli
ng new angulardemo
cd angulardemo
ng serve --o
//Here is the url, you need to run into your browser and see working angular test project
http://localhost:4200/
2. Now friends we need to run below command into our project terminal to get angular check user state modules:
npm install bn-ng-idle
ng serve --o
3. Now friends we need to add below code inside project/src/app/app.module.ts file:
...
import { BnNgIdleService } from 'bn-ng-idle'; // import bn-ng-idle service
@NgModule({
...
providers: [BnNgIdleService], // add it to the providers of your module
...
4. Now friends we need to add below code inside project/src/app/app.component.ts file:
import { Component } from '@angular/core';
import { BnNgIdleService } from 'bn-ng-idle'; // import it to your component
@Component({
selector: 'app-root',
templateUrl: './app.component.html',
styleUrls: ['./app.component.css']
})
export class AppComponent {
constructor(private bnIdle: BnNgIdleService) {
}
// initiate it in your component OnInit
ngOnInit(): void {
//60 = 1 minute
this.bnIdle.startWatching(60).subscribe((res) => {
if (res) {
console.log('session expired');
// this.router.navigateByUrl('logout');
}
});
}
}
Now we are done friends. If you have any kind of query or suggestion or requirement then feel free to comment below.
Note: Friends, In this post, I just tell the basic setup and things, you can change the code according to your requirements. I will appreciate that if you will tell your views for this post. Nothing matters if your views will be good or bad because with your views, I will make my next posts moregood and helpful.
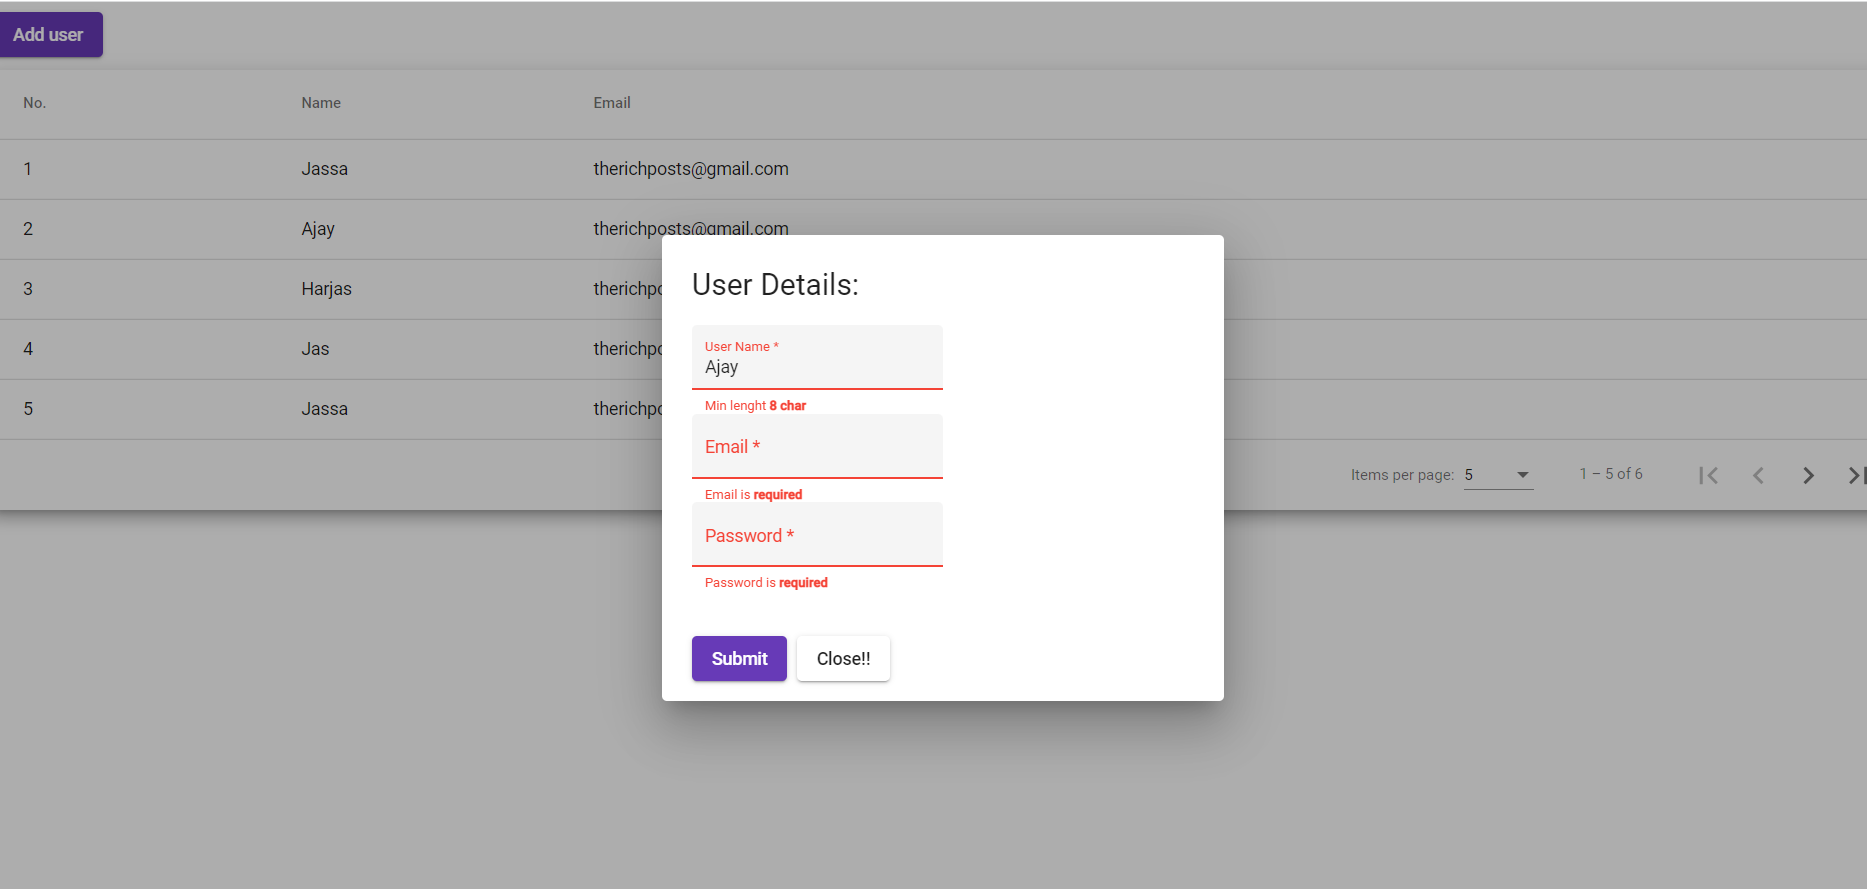
Hello friends, welcome back to my blog. Today in this blog post, I am going to tell you, Angular Material Min Length Validation Working Demo.Guys in this post, I am using below:
Guys in this post I am using below things:
Angular13
Angular Material
Angular Reactive Forms
FormControls
FormBuilder
Default Angular Validations
Angular 13 came and if you are new then you must check below two links:
Friends here is the code snippet and please use this carefully to avoid mistakes:
1. Firstly friends we need fresh angular 13 setup and for this we need to run below commands but if you already have angular 13 setup then you can avoid below commands. Secondly we should also have latest node version installed on our system:
npm install -g @angular/cli
ng new angularmaterial
cd angularmaterial
ng serve --o
//Here is the url, you need to run into your browser and see working angular test project
http://localhost:4200/
2. Now friends we need to run below command into our project terminal to get angular material and its related modules:
ng add @angular/material
ng serve --o
3. Finally friends we need to add below code into our project/src/app/app.component.html file to get the final output on web browser:
Now we are done friends. If you have any kind of query or suggestion or requirement then feel free to comment below.
Note: Friends, In this post, I just tell the basic setup and things, you can change the code according to your requirements. I will appreciate that if you will tell your views for this post. Nothing matters if your views will be good or bad because with your views, I will make my next posts moregood and helpful.
Hello guys how are you? Welcome back to my blog therichpost.com. Today in this blog post, I am going to tell you how to Solved – Angular Material Property ‘paginator’ has no initializer and is not definitely assigned in the constructor issue?
Guys I got this error during code implementing Material Datatable into my Angular 13 Application and using below code snippet and add that inside our component.ts file and we can solved that issue.
I will appreciate that if you will tell your views for this post. Nothing matters if your views will be good or bad because with your views, I will make my next posts moregood and helpful.
Hello friends, welcome back to my blog. Today in this blog post, I am going to tell you, Angular 13 – Angular Material Json Server Project Setup For Crud Operations.
Angular 13 came and if you are new then you must check below two links:
Friends here is the code snippet for Angular 13 – Angular Material Json Server Project Setup For Crud Operations and please use this carefully to avoid mistakes:
1. Firstly friends we need fresh angular 13 setup and for this we need to run below commands but if you already have angular 13 setup then you can avoid below commands. Secondly we should also have latest node version installed on our system:
npm install -g @angular/cli
ng new angularmaterial
cd angularmaterial
ng serve --o
//Here is the url, you need to run into your browser and see working angular test project
http://localhost:4200/
2. Now friends we need to run below command into our project terminal to get angular material and its related modules:
ng add @angular/material
ng serve --o
3. Finally friends we need to add below code into our project/src/app/app.component.html file to get the final output on web browser:
5. Now friends we need to set up json server so very first create empty folder `json-server` inside angular project root and then create `db.json` file and add below code inside it:
Guys we have now all the basics requirements for this crud project. In next post we will start Angular Material Json Server Crud Tutorial Part 1.
Now we are done friends. If you have any kind of query or suggestion or requirement then feel free to comment below.
Note: Friends, In this post, I just tell the basic setup and things, you can change the code according to your requirements. I will appreciate that if you will tell your views for this post. Nothing matters if your views will be good or bad because with your views, I will make my next posts moregood and helpful.
Hello guys how are you? Welcome back to my blog therichpost.com. Today in this blog post, I am going to tell you how to Solved – Angular Error Prefer Default Export import/prefer-default-export issue?
Guys I got this error during code committing time via git and then I ran below command and error solved and here is that command:
git commit -m “message” – -no-verify
Angular 13 came and if you are new then you must check below two links:
I will appreciate that if you will tell your views for this post. Nothing matters if your views will be good or bad because with your views, I will make my next posts moregood and helpful.
Friends here is the code snippet and please use this carefully to avoid mistakes:
1. Firstly friends we need fresh angular 13 setup and for this we need to run below commands but if you already have angular 13 setup then you can avoid below commands. Secondly we should also have latest node version installed on our system:
npm install -g @angular/cli
ng new angularmaterial
cd angularmaterial
ng serve --o
//Here is the url, you need to run into your browser and see working angular test project
http://localhost:4200/
2. Now friends we need to run below command into our project terminal to get angular material and its related modules:
ng add @angular/material
ng serve --o
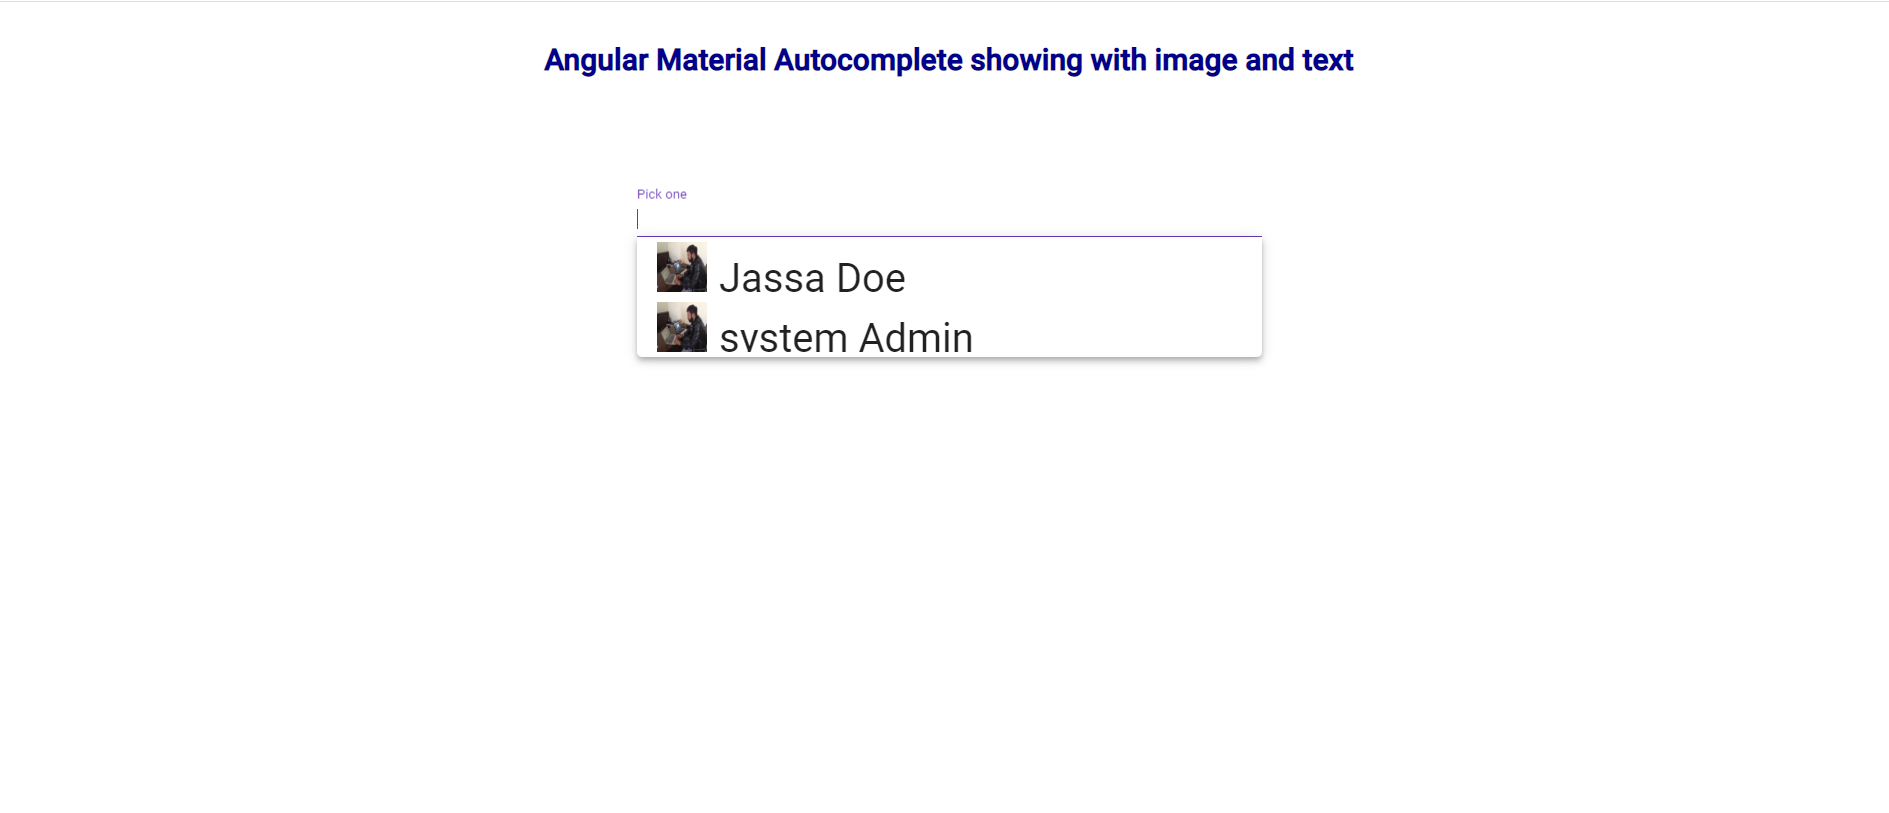
3. Finally friends we need to add below code into our project/src/app/app.component.html file to get the final output on web browser:
6. Now friends we need to add below code inside project/src/app/app.module.ts file:
import { NgModule, CUSTOM_ELEMENTS_SCHEMA } from '@angular/core';
import { BrowserModule } from '@angular/platform-browser';
import { AppRoutingModule } from './app-routing.module';
import { AppComponent } from './app.component';
import { BrowserAnimationsModule } from '@angular/platform-browser/animations';
import {MatInputModule} from '@angular/material/input';
import { MatAutocompleteModule } from '@angular/material/autocomplete';
import {FormsModule, ReactiveFormsModule} from '@angular/forms';
@NgModule({
declarations: [
AppComponent
],
imports: [
BrowserModule,
AppRoutingModule,
BrowserAnimationsModule,
MatAutocompleteModule,
FormsModule,
ReactiveFormsModule,
MatInputModule
],
schemas: [ CUSTOM_ELEMENTS_SCHEMA ],
providers: [],
bootstrap: [AppComponent]
})
export class AppModule { }
Now we are done friends. If you have any kind of query or suggestion or requirement then feel free to comment below.
Note: Friends, In this post, I just tell the basic setup and things, you can change the code according to your requirements. I will appreciate that if you will tell your views for this post. Nothing matters if your views will be good or bad because with your views, I will make my next posts moregood and helpful.
Friends here is the code snippet and please use this carefully to avoid mistakes:
1. Firstly friends we need fresh angular 13 setup and for this we need to run below commands but if you already have angular 13 setup then you can avoid below commands. Secondly we should also have latest node version installed on our system:
npm install -g @angular/cli
ng new angularmaterial
cd angularmaterial
ng serve --o
//Here is the url, you need to run into your browser and see working angular test project
http://localhost:4200/
2. Now friends we need to run below command into our project terminal to get angular material and its related modules:
ng add @angular/material
ng serve --o
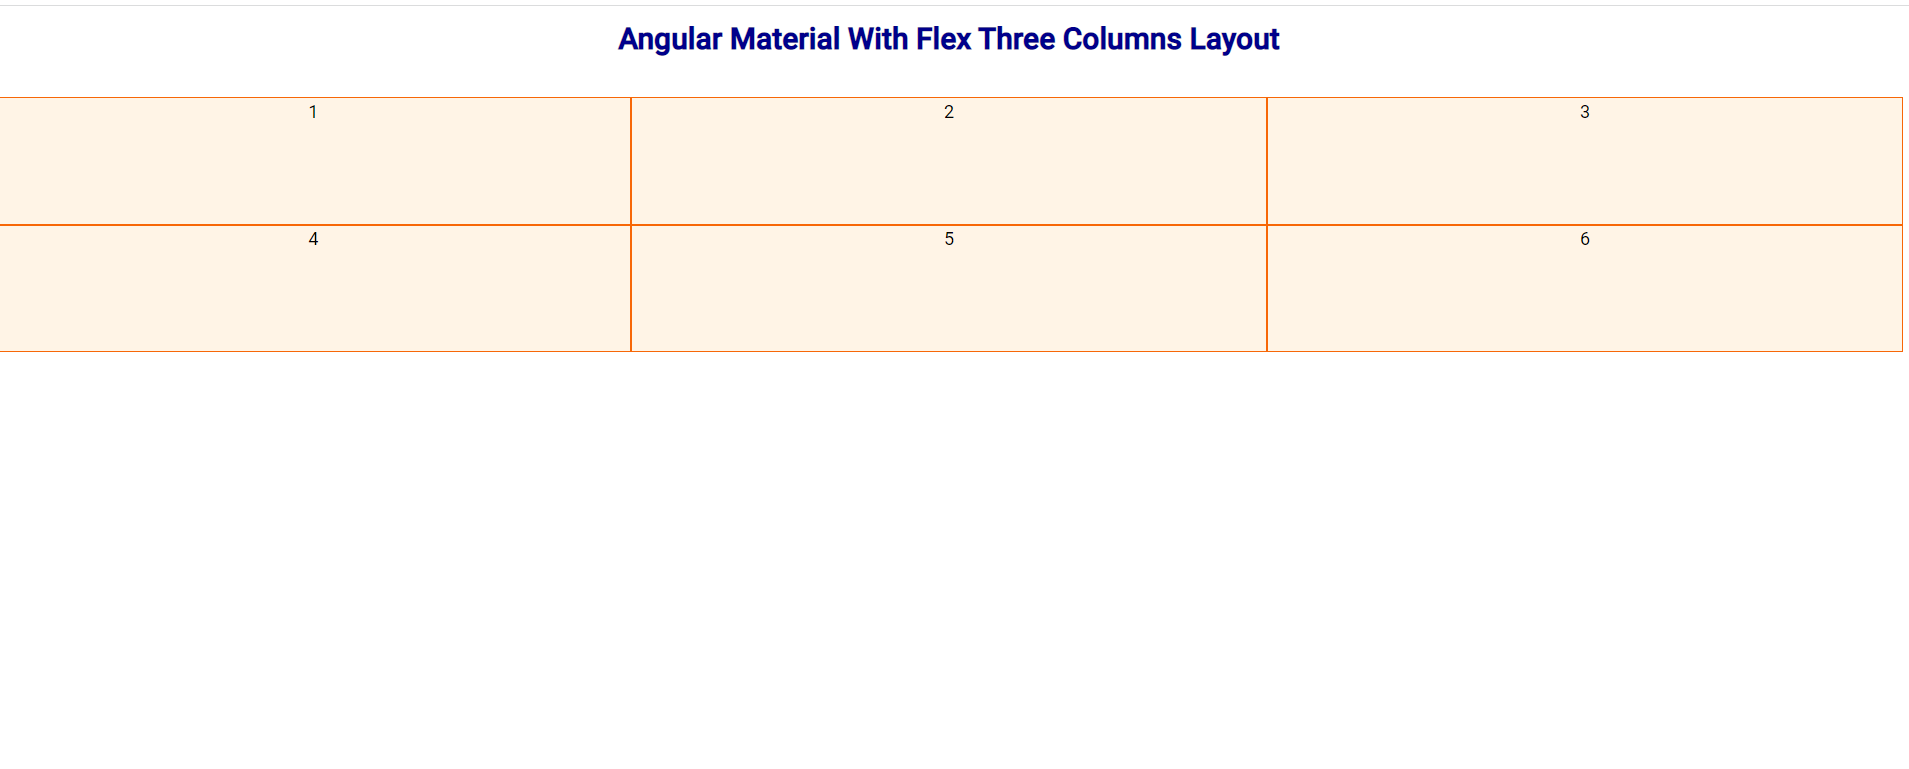
3. Finally friends we need to add below code into our project/src/app/app.component.html file to get the final output on web browser:
Now we are done friends. If you have any kind of query or suggestion or requirement then feel free to comment below.
Note: Friends, In this post, I just tell the basic setup and things, you can change the code according to your requirements. I will appreciate that if you will tell your views for this post. Nothing matters if your views will be good or bad because with your views, I will make my next posts moregood and helpful.