
Hello my friends, welcome back to my blog. Today in this blog post, I am going to show you, Vuejs Box Skew Hover Effect Working Demo Code.
Vue 3 came and if you are new then you must check below link::
Vuejs
Friends now I proceed onwards and here is the working code snippet for Vuejs Box Skew Hover Effect Working Demo Code and please use this carefully to avoid the mistakes:
1. Firstly friends we need fresh vuejs(Vue 3) setup and for that we need to run below commands into our terminal and also w should have latest node version installed on our system:
npm install -g @vue/cli

vue create vuepage

cd vuepage

npm install bootstrap --save

npm run serve //http://localhost:8080/
2. Now friends please create new file “App.css” inside src folder and add below code inside it:
@import url('https://fonts.googleapis.com/css?family=Lato:300,400,700');
* {
  margin: 0;
  padding: 0;
}
body {
  font-family: "Lato", sans-serif;
  display: flex;
  justify-content: center;
  align-items: center;
  min-height: 100vh;
  background-color: #001628!important;
}
.container {
  position: relative;
  width: 90%;
  display: grid;
  grid-template-columns: repeat(auto-fit, minmax(250px, 1fr));
  grid-gap: 70px;
}
.container .box::before {
  content: '';
  position: absolute;
  height: 100%;
  width: 100%;
  background: #fff;
  z-index: -1;
  top: -2px;
  left: -2px;
  right: -2px;
  bottom: -2px;
  transform: skew(2deg, 3deg);
  transition: .5s;
}
.container .box:hover:before {
  transform: skew(-2deg, -3deg);
}
.container .box {
  position: relative;
  color: #fff;
  height: 400px;
/*   border: 1px solid #fff; */
  display: flex;
  align-content: center;
  align-items: center;
  background-color: #001628;
}
.container .box:nth-child(1):before {
  background: linear-gradient(to right, #00c3ff, #ffff1c);
}
.container .box:nth-child(2):before {
  background: linear-gradient(to right, #ef32d9, #89fffd);
}
.container .box:nth-child(3):before {
  background: linear-gradient(to right, #e96443, #904e95);
}
.content {
  padding: 0 40px;
  position: relative;
}
.content h2 {
  font-weight: 700;
  font-size: 30px;
  margin-bottom: 30px;
}
.content p {
  letter-spacing: 1px;
  font-size: 18px;
}
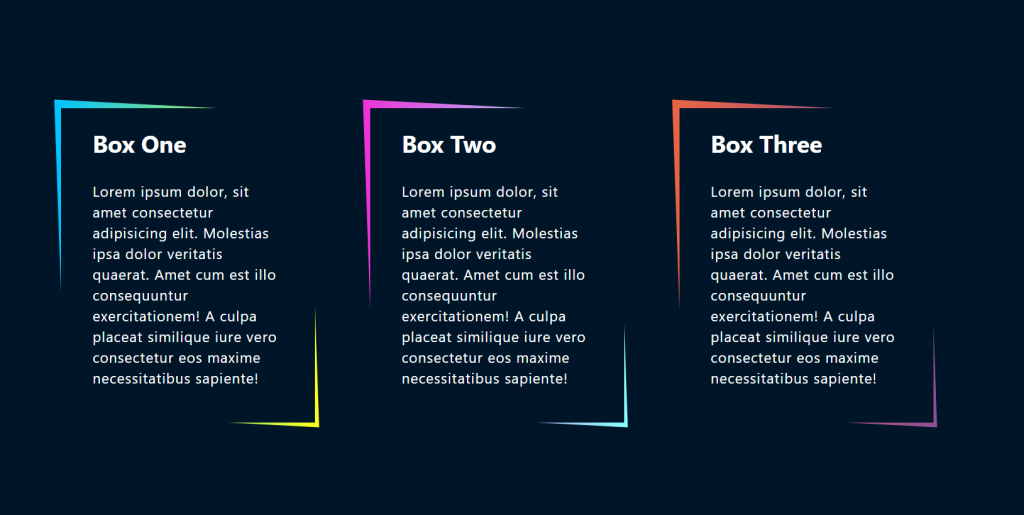
3. Finally friends we need to add below code into our src/App.vue file to get final output on web browser:
<template>
<div class="container">

  <div class="box">
    <div class="content">
    <h2>Box One</h2>
    <p>Lorem ipsum dolor, sit amet consectetur adipisicing elit. Molestias ipsa dolor veritatis quaerat. Amet cum est illo consequuntur exercitationem! A culpa placeat similique iure vero consectetur eos maxime necessitatibus sapiente!</p>
      </div>
  </div>

    <div class="box">
      <div class="content">
    <h2>Box Two</h2>
    <p>Lorem ipsum dolor, sit amet consectetur adipisicing elit. Molestias ipsa dolor veritatis quaerat. Amet cum est illo consequuntur exercitationem! A culpa placeat similique iure vero consectetur eos maxime necessitatibus sapiente!</p>
        </div>
  </div>

    <div class="box">
      <div class="content">
        <h2>Box Three</h2>
        <p>Lorem ipsum dolor, sit amet consectetur adipisicing elit. Molestias ipsa dolor veritatis quaerat. Amet cum est illo consequuntur exercitationem! A culpa placeat similique iure vero consectetur eos maxime necessitatibus sapiente!</p>
      </div>
  </div>

</div>
</template>
<script>
//Bootstrap
import './App.css';
import 'bootstrap/dist/css/bootstrap.min.css';
export default {
 //

}
</script>
Now we are done friends also and If you have any kind of query or suggestion or any requirement then feel free to comment below.
Note: Friends, I just tell the basic setup and things, you can change the code according to your requirements. For better understanding must watch video above.
I will appreciate that if you will tell your views for this post. Nothing matters if your views will be good or bad.
Jassa
Thanks
Leave a Reply
You must be logged in to post a comment.