Hello to all, welcome to therichpost.com. In this post, I will continue with Vue Laravel Tutorial Part 6 – Form Submission.
Form Submission is the very important part of every website for collecting user data.
In this, I have used Vue- Axios Form Submission. Axios is use or display data.
With the default integration of Vue in laravel, things look easy and we will not face any problem related to cons like other.
Axios for get data:
axios .get('url') .then(response => (this.info = response))
Axios for post data:
axios .post('url') .then(response => (this.info = response))
Now come to the point:
First before start this tutorial, you need to check old Vue laravel Tutorial Series must.
One thing must say, To understand this post, you need to see
past Vue Laravel Tutorials Posts and here are the links:

https://therichpost.com/vue-laravel-tutorial-part-1

https://therichpost.com/vue-laravel-tutorial-part-2

https://therichpost.com/vue-laravel-tutorial-part-3

https://therichpost.com/vue-laravel-tutorial-part-4-form-validation

https://therichpost.com/vue-laravel-tutorial-part-5-vue-routing
Here is the working and tested code, you need to follow:
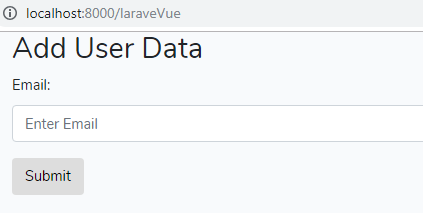
1. Very first, you need to update your resources\js\components\adduser.vue file:
I have used axios post in it for submission the form and you need to just update this code with last code.
<template>
    <div>
        <h2>Add User</h2>
        <p v-if="errors.length">
            <b>Please correct the following error(s):</b>
            <ul>
              <li v-for="error in errors">{{ error }}</li>
            </ul>
        </p>
          <form @submit="checkForm" id="createAdministrator">
            <div class="form-group">
              <label for="email">Email:</label>
              <input v-model="email" type="email" class="form-control" id="email" placeholder="Enter Email" name="email">
            </div>
            <button type="submit" class="btn btn-default">Submit</button>
          </form>
    </div>
</template>

<script>
    export default {
        mounted() {
            console.log('Component mounted.')
        },
        data() {
        return {
            errors: [],
            state: {
                email: ''
            }
        }
    },
    methods:{
    checkForm: function (e) {

      this.errors = [];

      if (!this.email) {
        this.errors.push('Email required.');
      }
    else
    {
    var formContents = jQuery("#createAdministrator").serialize();


      axios.post('/admin', formContents).then(function(response, status, request) {
                    alert(response.data);
                }, function() {
                    console.log('failed');
                });
    }


      e.preventDefault();
    }
  }
    }
</script>
2. Second, you need to make new controller file AdminController.php in app\Http\Controllers folder and add below code into it:
<?php

namespace App\Http\Controllers;

use Illuminate\Http\Request;

class AdminController extends Controller
{
     public function store(Request $request)
    {
    //here you can insert query, I have just added json data to confirm that code is working fine
    	return json_encode("Record Updated Succeessfully");
    }
}
3. Now, you need to add below code into your routes/web.php file:
Route::post('/admin', 'AdminController@store');
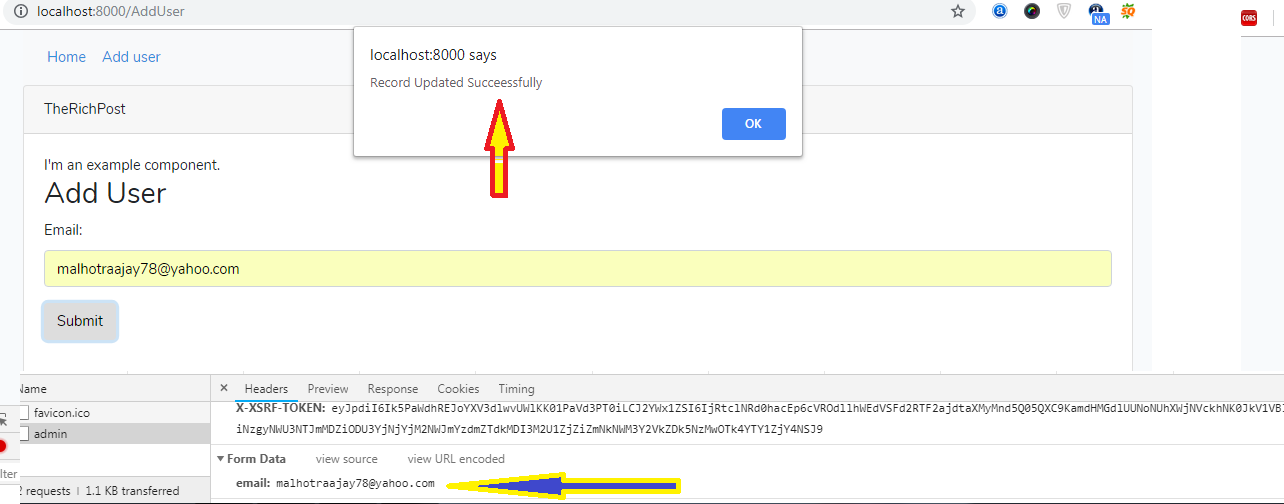
That is it, after submit the form, you will get an alert message “Record Updated Successfully”.
This is just example working, if you want go deeply or If you have any query related to this post, then please do comment or ask question.
Leave a Reply
You must be logged in to post a comment.