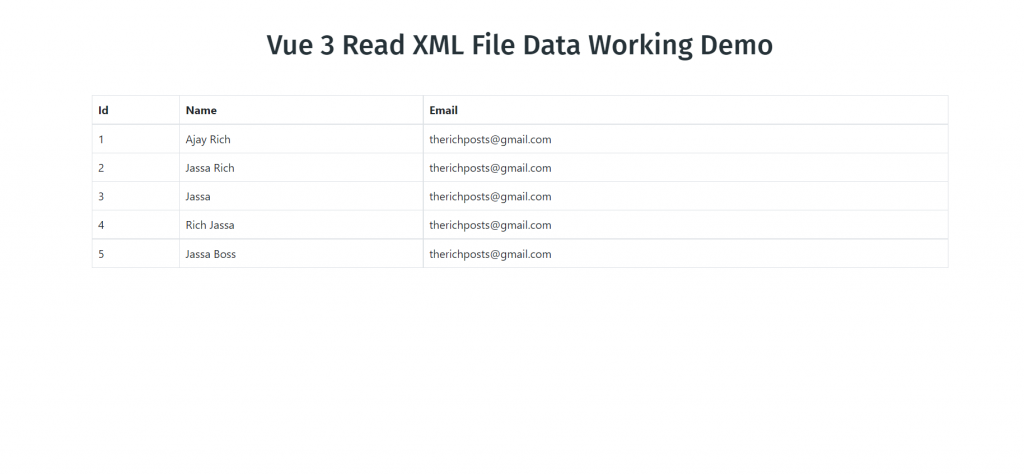
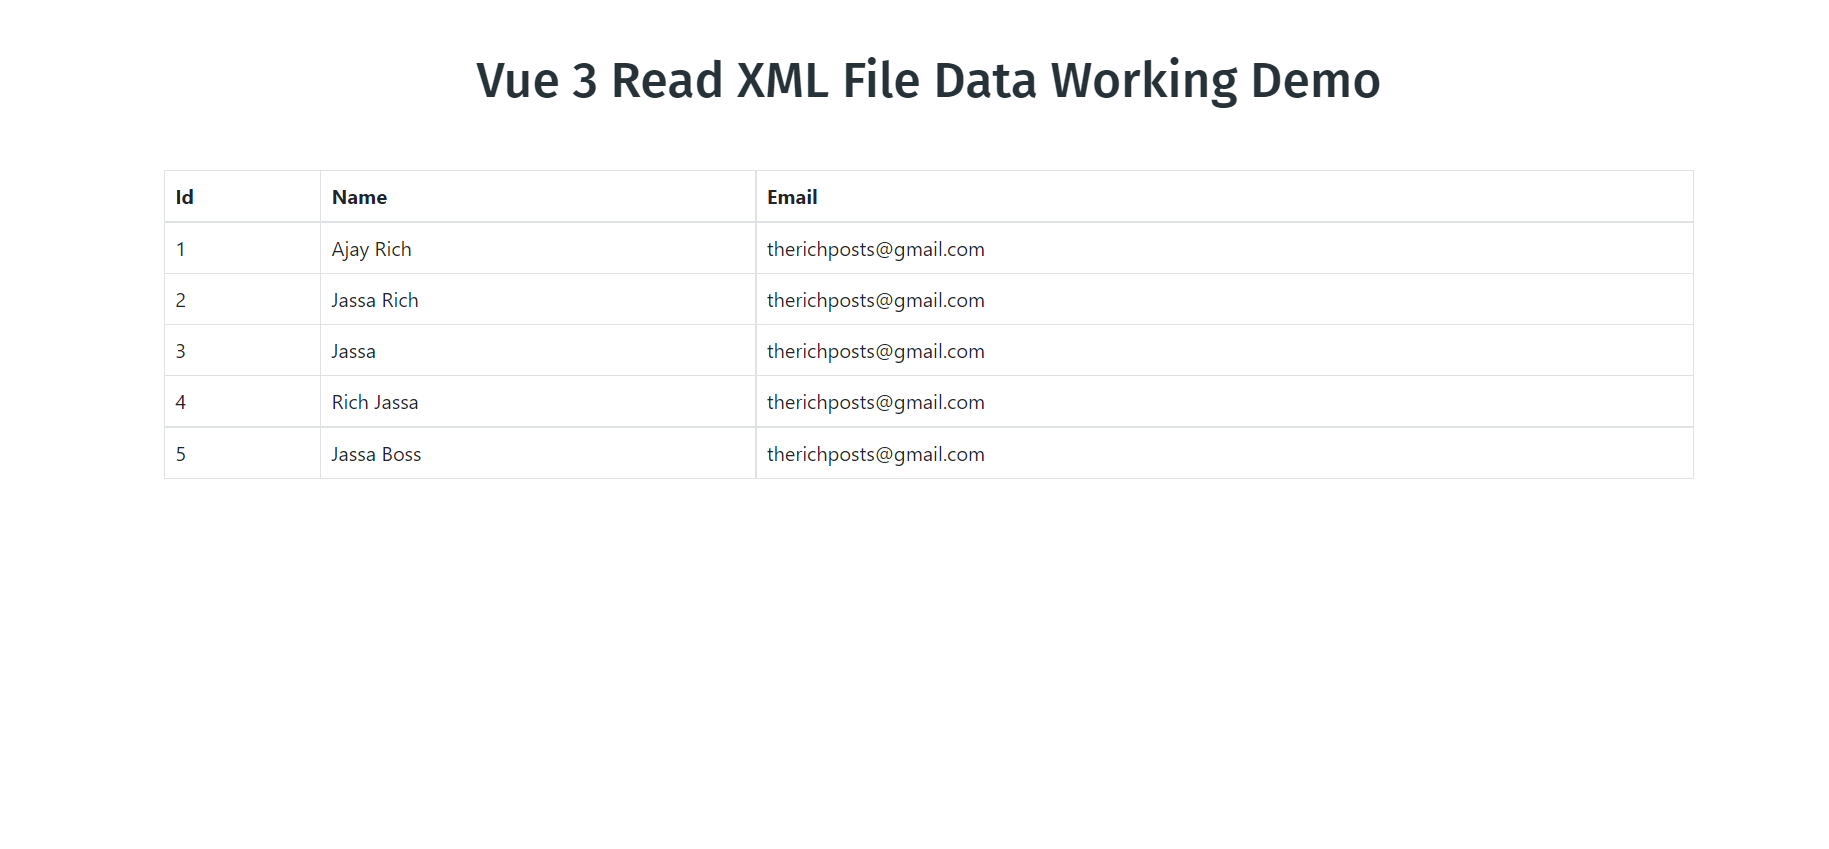
Hello guy’s welcome back to my blog. Today in this blog post, I am going to tell you, Vue 3 Read XML File Data Working Demo.
Guy’s Vue 3 came and if you are new in Vue3 then please check the below link:


Friends now I proceed onwards and here is the working code snippet and please use this carefully to avoid the mistakes:
1. Firstly friends we need fresh vuejs(Vue 3) setup and for that we need to run below commands into our terminal and also w should have latest node version installed on our system.
Also guy’s in this I am installing xml2js(read xml), bootstrap 5(good styles), axios(file calling):
npm install -g @vue/cli

vue create vuedemo

cd vuedemo

npm install axios

npm install bootstrap

npm install --save xml2js

npm run serve //http://localhost:8080/
2. Finally guys we need to add below code into our src/App.vue file to get final output on web browser:
<template>
  <div class="container p-5">

    <table class="table table-bordered table-hover">
      <thead>
      <tr>
        <th>Id</th>
        <th>Name</th>
        <th>Email</th>
      </tr>
      </thead>
      <tbody>
      <tr v-for="item in xmlItems" :key="item.id">
        <td>{{item.id}}</td>
        <td>{{item.name}}</td>
        <td>{{item.email}}</td>
      </tr>
    </tbody>
    </table>
    </div>
</template>

<script>

//importing bootstrap 5 Modules
import "bootstrap/dist/css/bootstrap.min.css";
import axios from 'axios';
import xml2js from 'xml2js';
export default {

    mounted(){
     //xml file calling
      axios.get('assets/users.xml')
        .then(response => {
          this.parseXML(response.data)
              .then((data) => {
                this.xmlItems = data;
              });
        })

    },
    methods: {

      //xml file data parsing
      parseXML(data) {
                 return  new Promise(resolve => {
                      var k="";
                       var arr = [],
                      parser = new xml2js.Parser(
                        {
                          trim: true,
                          explicitArray: true
                        });
                    parser.parseString(data, function (err, result) {
                      var obj = result.Employee;
                      for (k in obj.emp) {
                        var item = obj.emp[k];
                        arr.push({
                          id: item.id[0],
                          name: item.name[0],
                          email: item.email[0],

                        });
                      }
                      resolve(arr);
                    });
                  });
              }
    },
      data: function() {
  return {
    xmlItems:[]
  }
}
}
</script>
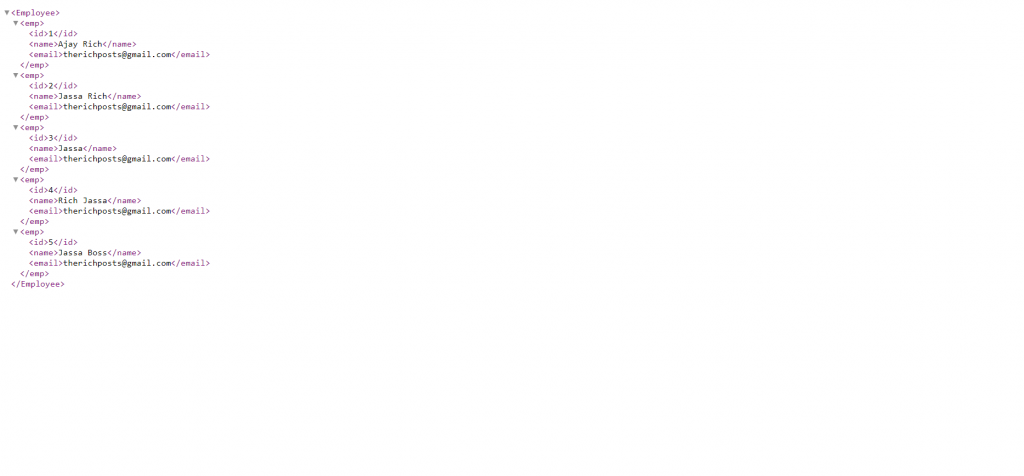
3. Now friends we need to create `assets` folder inside public folder and then create users.xml file inside public/assets folder and add below xml code inside it:
<?xml version="1.0" encoding="UTF-8"?>
<Employee>
   <emp>
      <id>1</id>
      <name>Ajay Rich</name>
      <email>therichposts@gmail.com</email>
   </emp>
   <emp>
      <id>2</id>
      <name>Jassa Rich</name>
      <email>therichposts@gmail.com</email>
   </emp>
   <emp>
      <id>3</id>
      <name>Jassa</name>
      <email>therichposts@gmail.com</email>
   </emp>
   <emp>
      <id>4</id>
      <name>Rich Jassa</name>
      <email>therichposts@gmail.com</email>
   </emp>
   <emp>
      <id>5</id>
      <name>Jassa Boss</name>
      <email>therichposts@gmail.com</email>
   </emp>
</Employee>
Guy’s now we are done and if you have any kind of query then please comment below. Guy’s I will come with more demos like this.
Jassa
Thanks

Leave a Reply
You must be logged in to post a comment.