
Hello to all, welcome to therichpost.com. In this post, I will tell you, Reactjs Laravel 8 User Auth Registration Working Example.
In addition, I have made the video for better working understating:
Post Working:
Hi friends, In this post, I am doing Laravel 8 user registration with Reactjs frontend. I have used bootstrap and sweetalert2 modules also into my Reactjs application for good looks.
Guys here you can check more posts related Reactjs and Laravel 8:
Here is the code snippet for Reactjs Laravel 8 User Auth Registration Working Example and please use this carefully:
1. Firstly, we need to get laravel 8 fresh setup and for that, we need to run below commands into our terminal and you must have composer latest version installed into your xmapp or you can download the composer from this https://getcomposer.org/:
composer create-project --prefer-dist laravel/laravel laravel8

//after run above then run below command

cd laravel8
2. Now you need to run below commands to have laravel 8 auth login registration functionality:
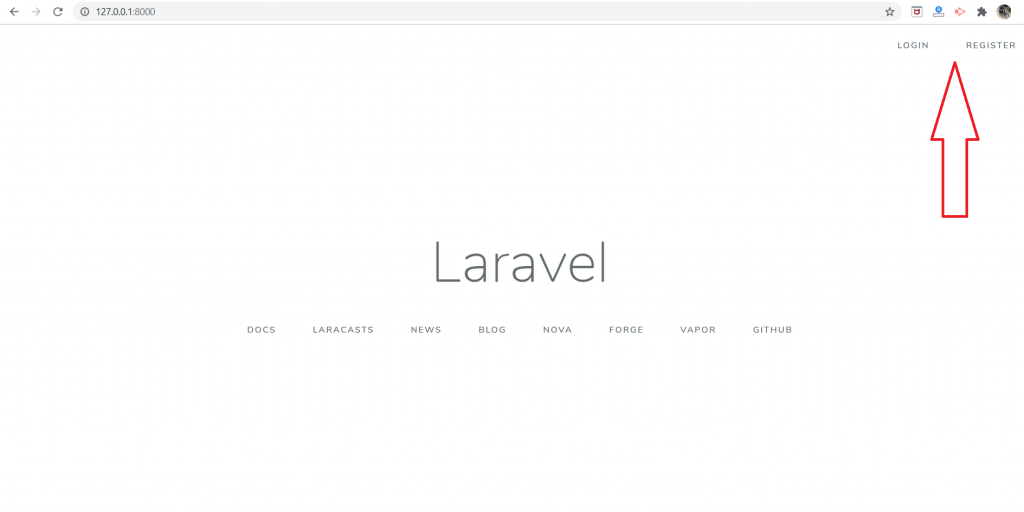
composer require laravel/ui

php artisan ui vue --auth

npm install

npm run dev

php artisan serve //check the working on browser
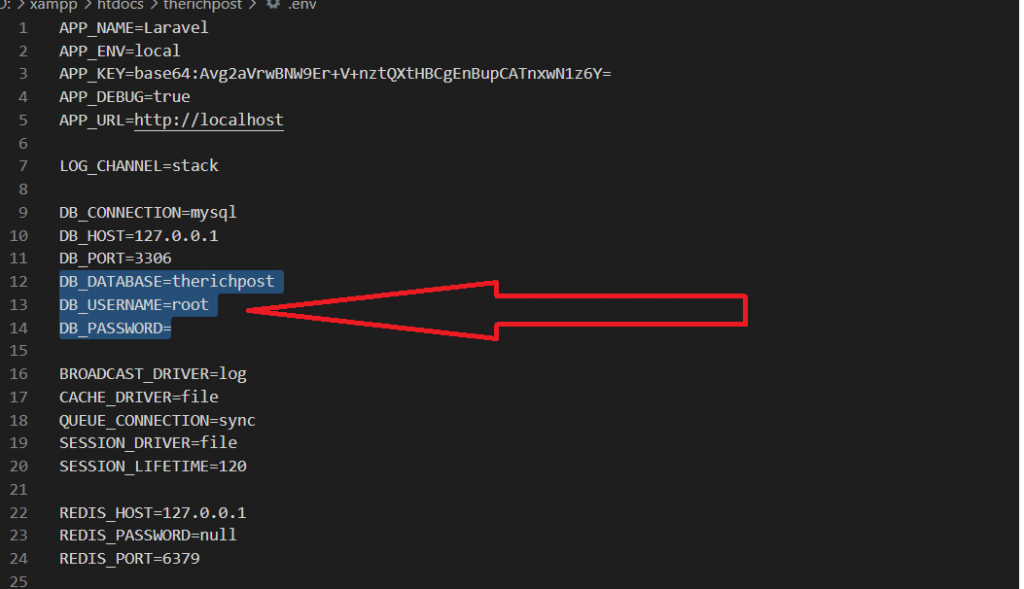
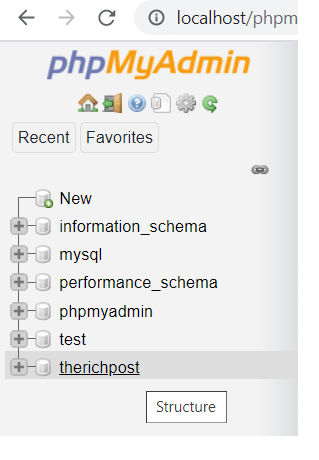
3. Now come to the PHP MySQL database section, create new database inside phpadmin and add that database name, phpmyadmin username and phpmyadmin password into your laravel project .env file.
4. Now add below code inside your app/Providers/AppServiceProvider.php file and this code will resolve your error which will come on migrate time:
...
use Illuminate\Support\Facades\Schema;
...
class AppServiceProvider extends ServiceProvider
{

    ...
    public function boot()
    {
        ...
        Schema::defaultStringLength(191);
    }
}
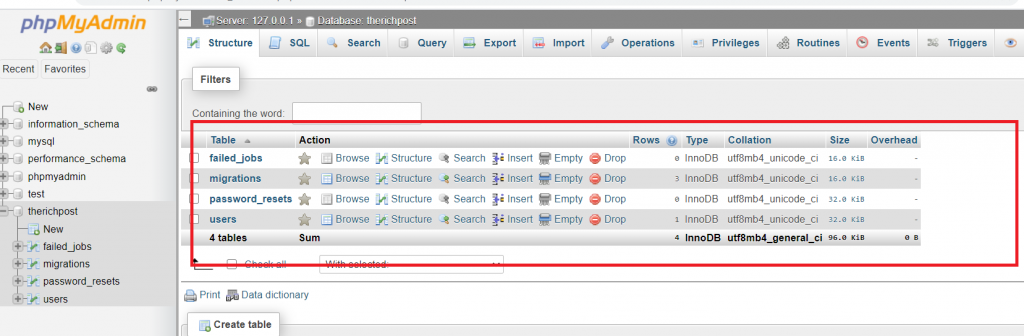
5. Now run below command into your terminal to create database default auth tables like users:
php artisan migrate

6. Now we need to create new folder ‘API’ inside app/Http/Controllers folders and after that, we need to create AuthController.php file inside app/Http/Controllers/API folder and below code into it:
<?php
namespace App\Http\Controllers\API;
use Illuminate\Http\Request;
use App\Http\Controllers\Controller;
use Illuminate\Support\Facades\Auth;
use App\Models\User;
use Validator;
use Illuminate\Support\Str;
class AuthController extends Controller
{

   private $apiToken;
   public function __construct()
    {
    $this->apiToken = uniqid(base64_encode(Str::random(40)));
    }
  /**
   * Register API
   *
   * @return \Illuminate\Http\Response
   */
  public function register(Request $request)
  {

    $validator = Validator::make($request->all(), [
      'name' => 'required',
      'email' => 'required|email',
      'password' => 'required',

    ]);
    if ($validator->fails()) {
      return response()->json(['error'=>$validator->errors()]);
    }
    $postArray = $request->all();

    $postArray['password'] = bcrypt($postArray['password']);
    $user = User::create($postArray);

    $success['token'] = $this->apiToken;
    $success['name'] =  $user->name;
    return response()->json([
      'status' => 'success',
      'data' => $success,
    ]);
  }
}
7. Now we need to add below code inside routes/api.php:
...
Route::post('register', [App\Http\Controllers\API\AuthController::class, 'register'])->name('register');
1. Firstly friends we need fresh reactjs setup and for that we need to run below commands into our terminal and also w should have latest node version installed on our system:
npx create-react-app reactlaravel

cd reactlaravel

npm start // run the project
2. Now you need to run below commands to get axios, bootstrap and sweetalert module to make reactjs app looks good:
npm install sweetalert2-react

npm install bootstrap --save

npm install axios --save

npm start
3. Finally friends we need to add below code into our src/App.js file to get final output on web browser:
import React from 'react';
import './App.css';

//bootstrap
import 'bootstrap/dist/css/bootstrap.min.css';

//Include Sweetalert
import Swal from 'sweetalert2'

//axios for api request
import axios from 'axios';

class App extends React.Component {
  constructor(props)
    {
      super(props);
      this.addFormData = this.addFormData.bind(this);
    }
  //Form Submission
  addFormData(evt)
    {
      evt.preventDefault();
      const fd = new FormData();
      fd.append('name', this.refs.myUsername.value);
      fd.append('email', this.refs.myEmail.value);
      fd.append('password', this.refs.pass.value);

      axios.post('http://localhost/laravel8/public/api/register', fd
      ).then(res=>
      {
      //Success alert
      console.log(res);
       Swal.fire({
      title: 'Hurry',
      text:   res.data['data']['name']+" has been registered successfully",
      type: 'success',

    });
    this.myFormRef.reset();
    }
    );
    }

  render() {

    return (

      <div className="maincontainer">

        <h1 className="mr-5 ml-5 mt-5">Reactjs Laravel 8 User Auth Registration</h1>
        <div className="container mb-5 mt-5 text-left">

        <form ref={(el) => this.myFormRef = el}>
        <div className="form-group">
        <input type="email" className="form-control" id="Email" aria-describedby="emailHelp" placeholder="Enter email" ref="myEmail" />

        </div>
        <div className="form-group">
        <input type="text" className="form-control" id="Username" placeholder="Enter Username" ref="myUsername" />
        </div>

        <div className="form-group">
        <input type="password" className="form-control" id="pass" placeholder="Enter Password" ref="pass" />
        </div>
        <button type="submit" className="btn btn-primary" onClick={this.addFormData}>Submit</button>
      </form>


      </div>


      </div>

)
};
}

export default App;
This is it friends and If you have any doubt then please watch above top video if still have any kind of query then please do comment below.
Next tutorial will be Reactjs Laravel 8 user login.
Note: Friends, I just tell the basic setup and things, you can change the code according to your requirements. For better understanding must watch videos above.
I will appreciate that if you will tell your views for this post.Nothing matters if your views will good or bad.
Jassa
Thanks
Leave a Reply