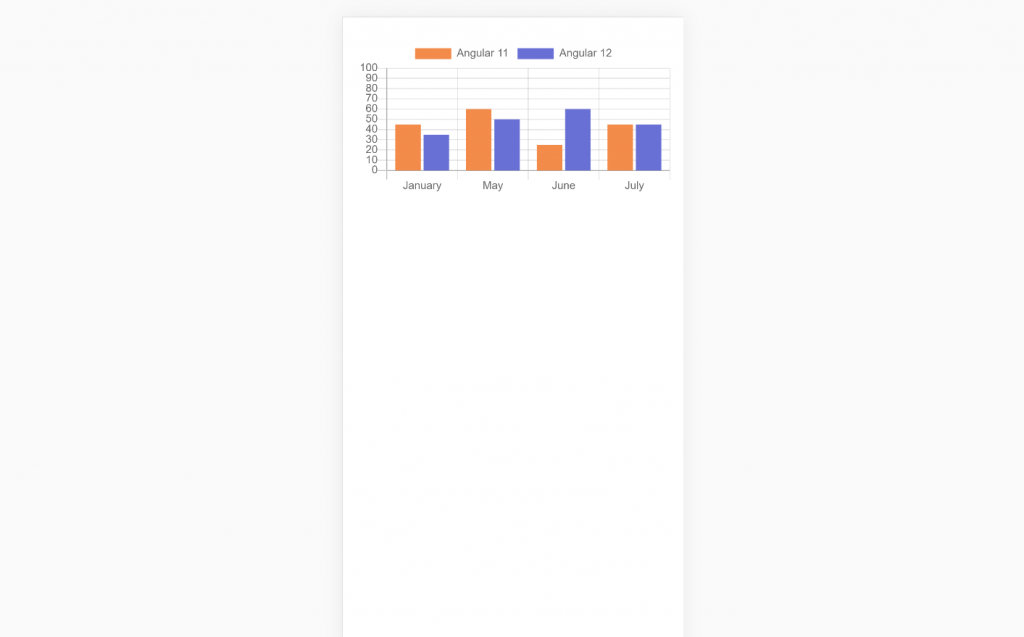
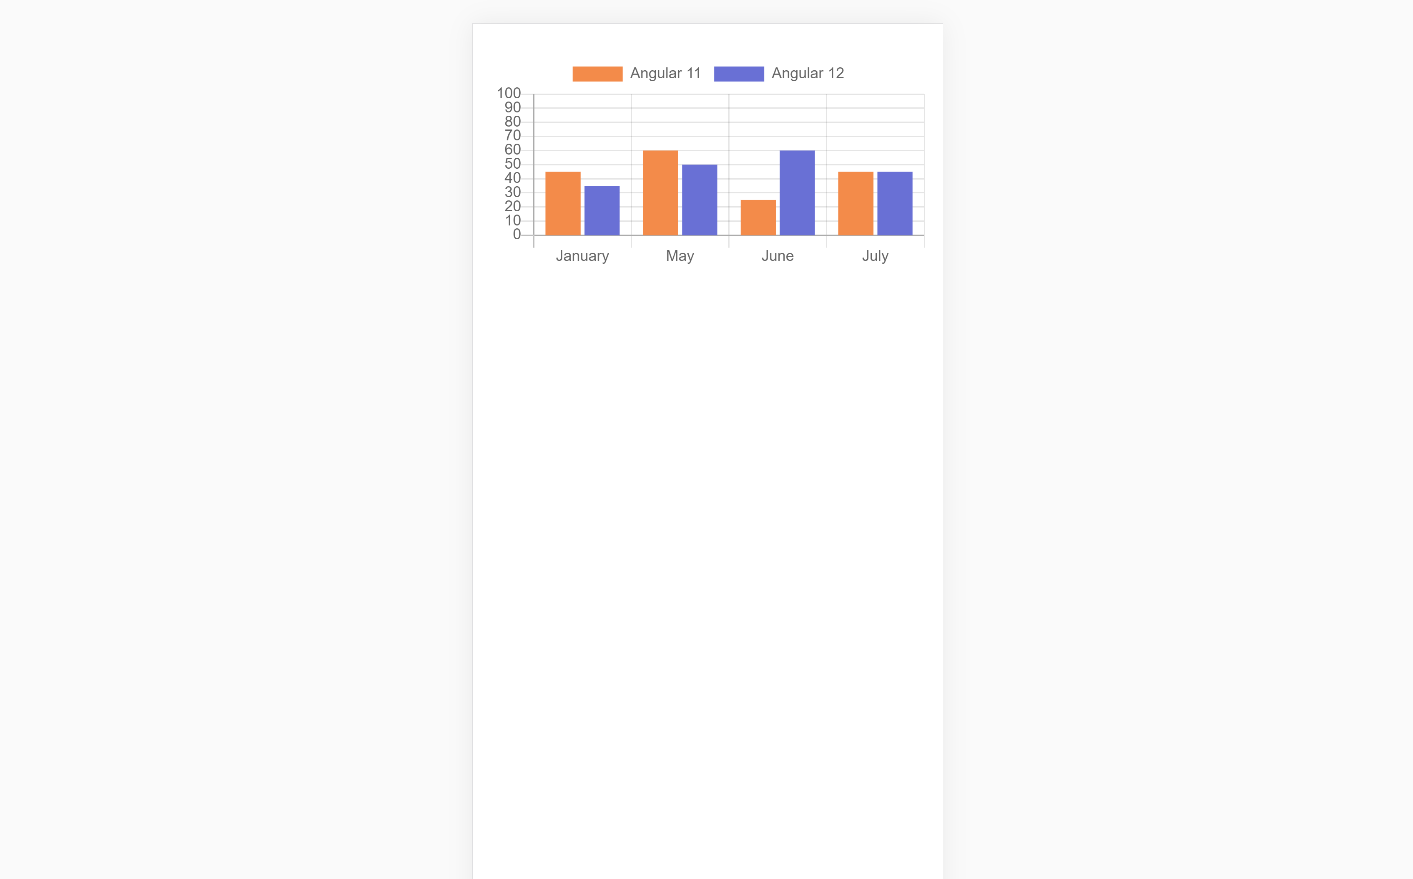
Hello my friends, welcome back to my blog and today in this blog post, I am going to tell you, Ionic 5 Angular 12 Chartjs with Dynamic Data.
Guys with this post we will do below things:
- Ionic 5 with Angular 12.
- Add Chart.js in Ionic 5.
- Dynamic chart data from PHP MySQL in Ionic 5.
Guys here you can see working video:


Guys please check the below links for more Ionic 5 and Angular 12 tutorials:
Friends here is the working code snippet and please use this carefully:
1. Firstly friends we need fresh IONIC 5 and ANGULAR 12 setup and for this we need to run below commands and during installation please select angular. Secondly we should also have latest node version installed on our system:
I am using blank template for easy understanding:
npm install -g @ionic/cli

ionic start myApp blank

cd myApp

npm install angular2-chartjs
2. Guy’s now we need to add below code inside myApp/src/app/app.module.ts file:
...
import { HttpClientModule } from '@angular/common/http';

@NgModule({
 ...
  imports: [
         ...
         HttpClientModule],
  ...
})
export class AppModule {}
3. Guy’s now we need to add below code inside myApp/src/app/home/home.module.ts file:
...
import { HttpClientModule } from '@angular/common/http';
import { ChartModule } from 'angular2-chartjs';


@NgModule({
  imports: [
  ...
    HttpClientModule,

    ChartModule

  ],
  declarations: [HomePage]
})
export class HomePageModule {}
4. Guy’s now we need to add below code inside myApp/src/app/home/home.page.ts file:
...

import { HttpClient } from '@angular/common/http';

export class HomePage {

 data:any;
 barchart:any;
  constructor(  private http:HttpClient){}


  //Bar Chart
  type = 'bar';
  options = {
   responsive: true,
   maintainAspectRatio: true,
   scales: {
       yAxes : [{
           ticks : {
               max : 100,
               min : 0
           }
       }]
   }
};

    ngOnInit() {


        //web api call
        this.http.get('http://localhost/data.php').subscribe(data => {
          this.barchart = data;


          this.data = {
              labels: this.barchart[0], //months
              datasets: [{
              label: "Angular 11",
              data: this.barchart[1][0],
              backgroundColor: "#f38b4a",
              },{
                  label: "Angular 12",
                  data: this.barchart[1][1],
                  backgroundColor: "#6970d5",
              }]
          };


  });


    }


}
5. Guy’s now we need to add below code inside myApp/src/app/home/home.page.html file:
<ion-content [fullscreen]="true">
        <chart [type]="type" [data]="data" [options]="options"></chart>
</ion-content>
6. Now guys, now we need to create file data.php inside our xampp/htdocs folder and add below code inside users.php file:
<?php
header('Access-Control-Allow-Origin: *');
header('Access-Control-Allow-Credentials: true');
header('Access-Control-Allow-Methods:POST,GET,PUT,DELETE');
header('Access-Control-Allow-Headers: content-type or other');
header('Content-Type: application/json');
$months = array("January", "May", "June", "July");
$sales = array(array("45", "60", "25", "45"), array("35", "50", "60", "45"));
echo json_encode(array($months,$sales));
die();
 ?>
Now in the end please run ionic serve command to check the out on browser(localhost:8100) and also please start your xampp server as well for php.
Guy’s you have any kind of query then please comment below.
Jassa
Thanks

Leave a Reply
You must be logged in to post a comment.