
Implementing Three.js within a React.js application involves integrating the 3D rendering capabilities of Three.js with the component structure of React. Here’s a step-by-step guide to help you set up a basic scene with Three.js in a React project:
For reactjs new comers, please check the below link:
1. Set Up Your React Project
If you haven’t already created a React application, you can start one using Create React App:
npx create-react-app my-threejs-project
cd my-threejs-project
2. Install Three.js
You need to add Three.js to your project:
npm install three
3. Create a Three.js Component
You can create a Three.js component that handles the setup of the scene, camera, and renderer. Here’s an example of how you might set it up:
import React, { useRef, useEffect } from 'react';
import * as THREE from 'three';

const Scene = () => {
    const mountRef = useRef(null);

    useEffect(() => {
        // Scene
        const scene = new THREE.Scene();
        scene.background = new THREE.Color(0xabcdef);

        // Camera
        const camera = new THREE.PerspectiveCamera(
            75,
            window.innerWidth / window.innerHeight,
            0.1,
            1000
        );
        camera.position.z = 5;

        // Renderer
        const renderer = new THREE.WebGLRenderer();
        renderer.setSize(window.innerWidth, window.innerHeight);
        mountRef.current.appendChild(renderer.domElement);

        // Adding a cube
        const geometry = new THREE.BoxGeometry();
        const material = new THREE.MeshBasicMaterial({ color: 0x00ff00 });
        const cube = new THREE.Mesh(geometry, material);
        scene.add(cube);

        // Animation loop
        const animate = () => {
            requestAnimationFrame(animate);
            cube.rotation.x += 0.01;
            cube.rotation.y += 0.01;
            renderer.render(scene, camera);
        };

        animate();

        // Handle resizing
        const handleResize = () => {
            camera.aspect = window.innerWidth / window.innerHeight;
            camera.updateProjectionMatrix();
            renderer.setSize(window.innerWidth, window.innerHeight);
        };

        window.addEventListener('resize', handleResize);

        return () => {
            window.removeEventListener('resize', handleResize);
            mountRef.current.removeChild(renderer.domElement);
        };
    }, []);

    return <div ref={mountRef} />;
};

export default Scene;
4. Integrate the Three.js Component in Your App
Now, integrate this component into your React application by including it in your main App component:
import React from 'react';
import Scene from './Scene';

function App() {
  return (
    <div className="App">
      <Scene />
    </div>
  );
}

export default App;
5. Run Your Application
Start your application to see the Three.js scene:
npm start
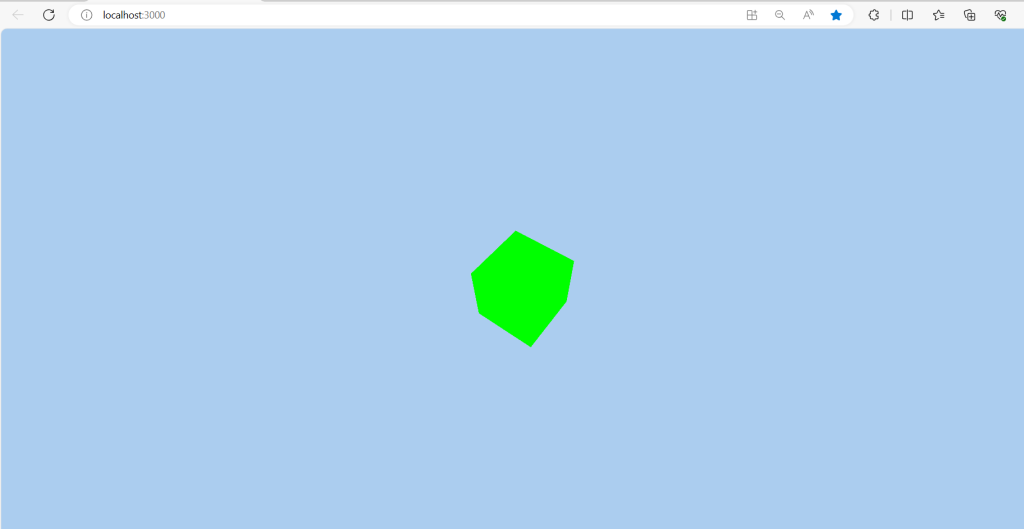
This setup provides a basic Three.js scene with a rotating cube in a React application. You can extend this by adding more complex objects, lights, and shadows to create richer visual effects.
Jaasa
Thanks
Leave a Reply