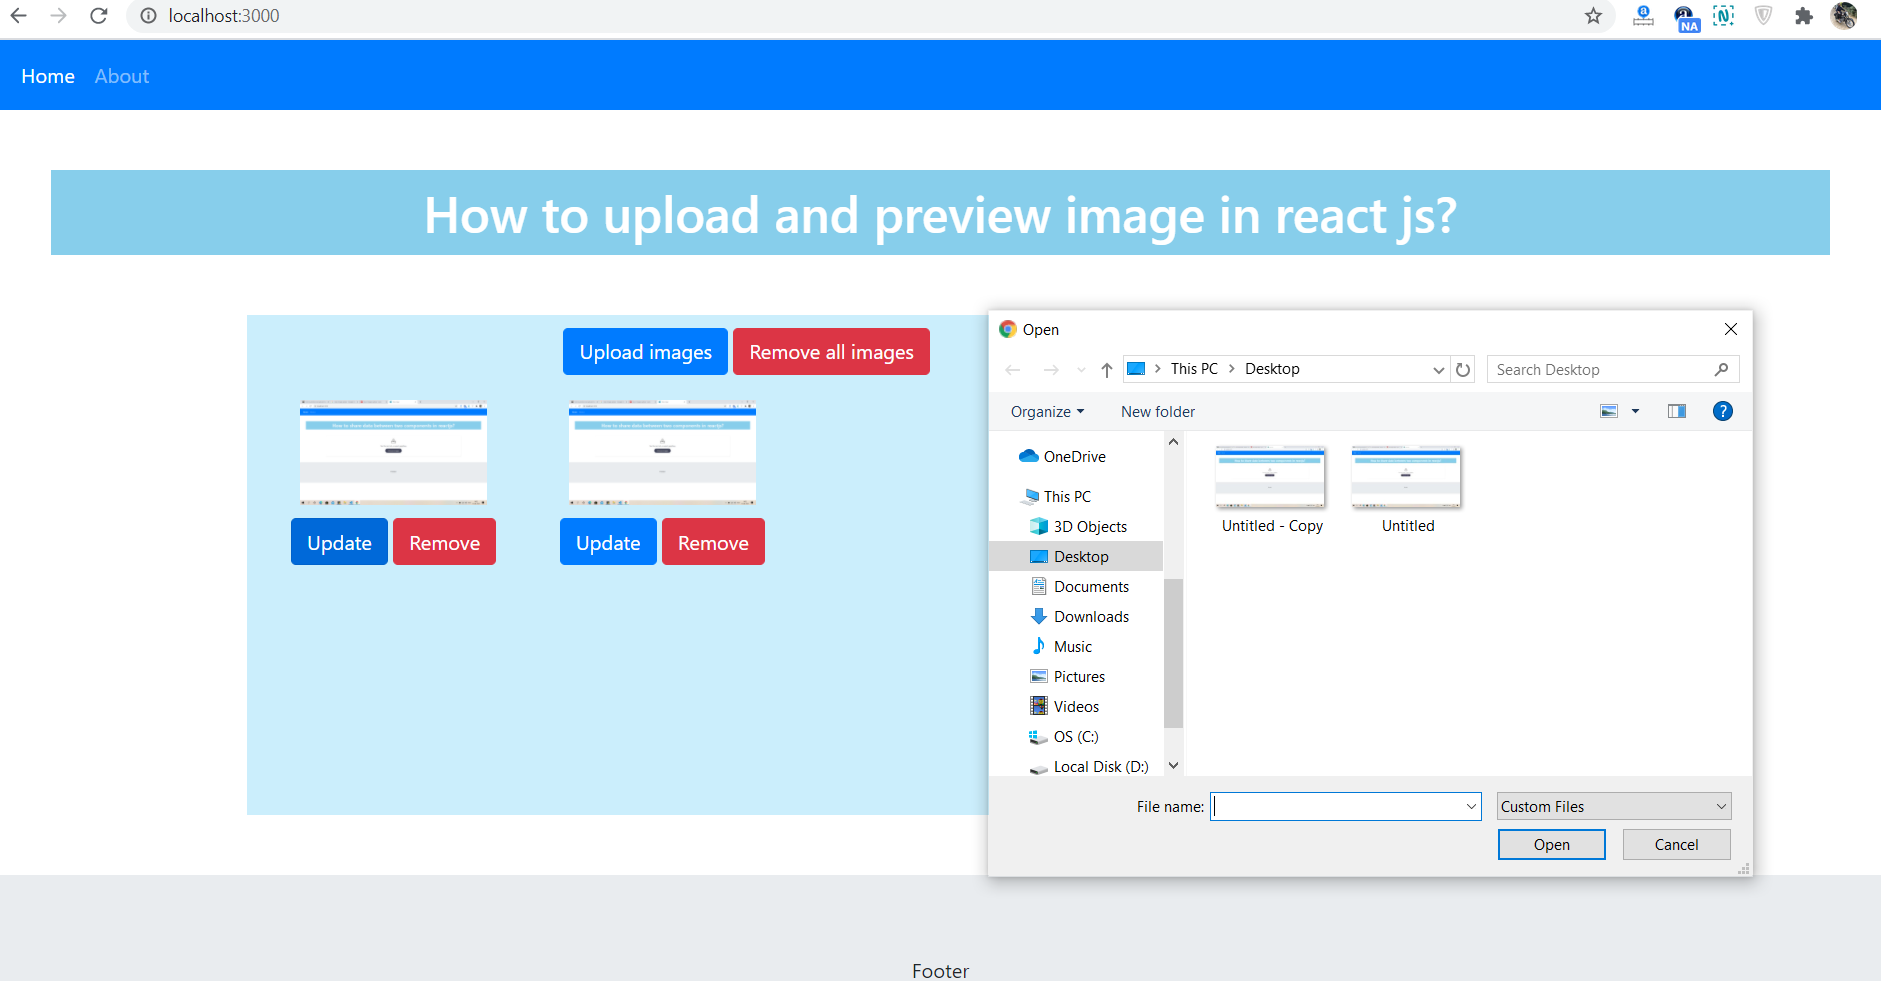
Hello friends, welcome back to my blog. Today in this blog post, I am going to tell you, How to upload and preview image in react js?
For reactjs new comers, please check the below link:
Friends here is the working code snippet for How to upload and preview image in react js? and please use this carefully to avoid the mistakes:
1. Firstly friends we need fresh reactjs setup and for that we need to run below commands into our terminal and also w should have latest node version installed on our system:
npx create-react-app reactimageupload

cd reactimageupload

npm start // run the project
2. Now we need to run below commands to get bootstrap(for good layout), react image uploading(for image upload ) and related modules into our react js app:
npm install bootstrap --save

npm install --save react-images-uploading

npm start
3. Finally friends we need to add below code into our src/App.js file to get final output on web browser:
import React from 'react';
import './App.css';

//bootstrap
import 'bootstrap/dist/css/bootstrap.min.css';

// React Image Upllading Modules
import ImageUploading from "react-images-uploading";

class App extends React.Component {

  render() {

    return (

      <div className="maincontainer">

        <h1 className="mr-5 ml-5 mt-5">Therichpost : Image Upload</h1>
        <div className="container mb-5 mt-5">

        <ImageUploading

        multiple
        acceptType={["jpg", "gif", "png"]}

      >
        {({ imageList, onImageUpload, onImageRemoveAll }) => (
          // write your building UI
          <div className="imageuploader">

            <div className="mainBtns">
            <button className="btn btn-primary mr-1" onClick={onImageUpload}>Upload images</button>
            <button className="btn btn-danger" onClick={onImageRemoveAll}>Remove all images</button>
            </div>
            {imageList.map((image) => (
              <div className="imagecontainer" key={image.key}>
                <img src={image.dataURL} />
                <button className="btn btn-primary mr-1" onClick={image.onUpdate}>Update</button>
                <button className="btn btn-danger" onClick={image.onRemove}>Remove</button>
              </div>
            ))}
          </div>
        )}
      </ImageUploading>

        </div>
      </div>

)
};
}

export default App;
4. In the end friends we need to add below code into our src/App.css file to style the things:
.imagecontainer {
  float: left;
  width: 215px;
  height: auto;
  margin: 10px 0;
}
.imagecontainer img{width: 150px; margin:10px 0;}
.imageuploader{width: 800px; height: 400px; background-color:#cbeefc;padding: 10px;}
Now we are done friends. If you have any kind of query or suggestion or any requirement then feel free to comment below.
Guys in my next post, I will tell you, how to save image in react js in folder and database? And also I will tell you how to remove image in react js from folder and database?
Note: Friends, I just tell the basic setup and things, you can change the code according to your requirements. For better understanding must watch video above.
I will appreciate that if you will tell your views for this post.Nothing matters if your views will good or bad.
Jassa
Thanks

Leave a Reply
You must be logged in to post a comment.