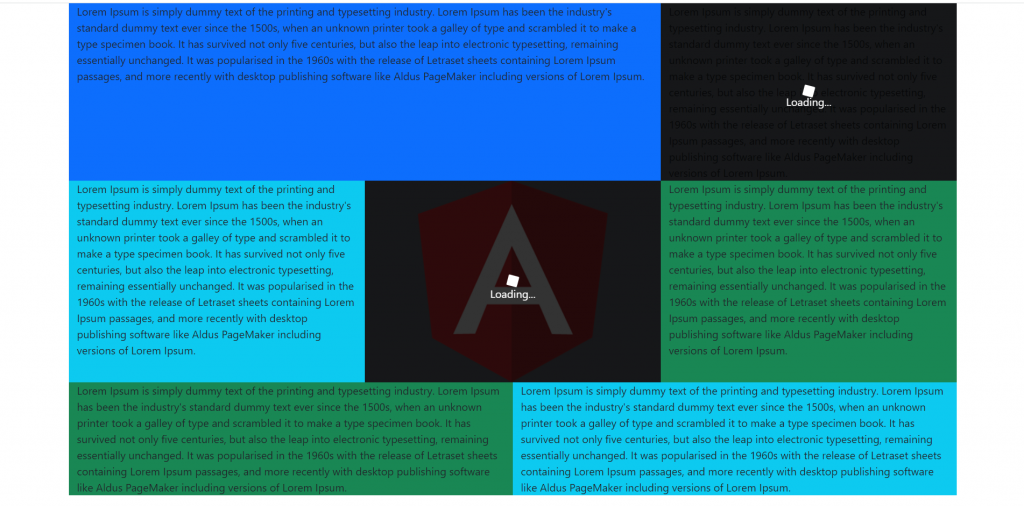
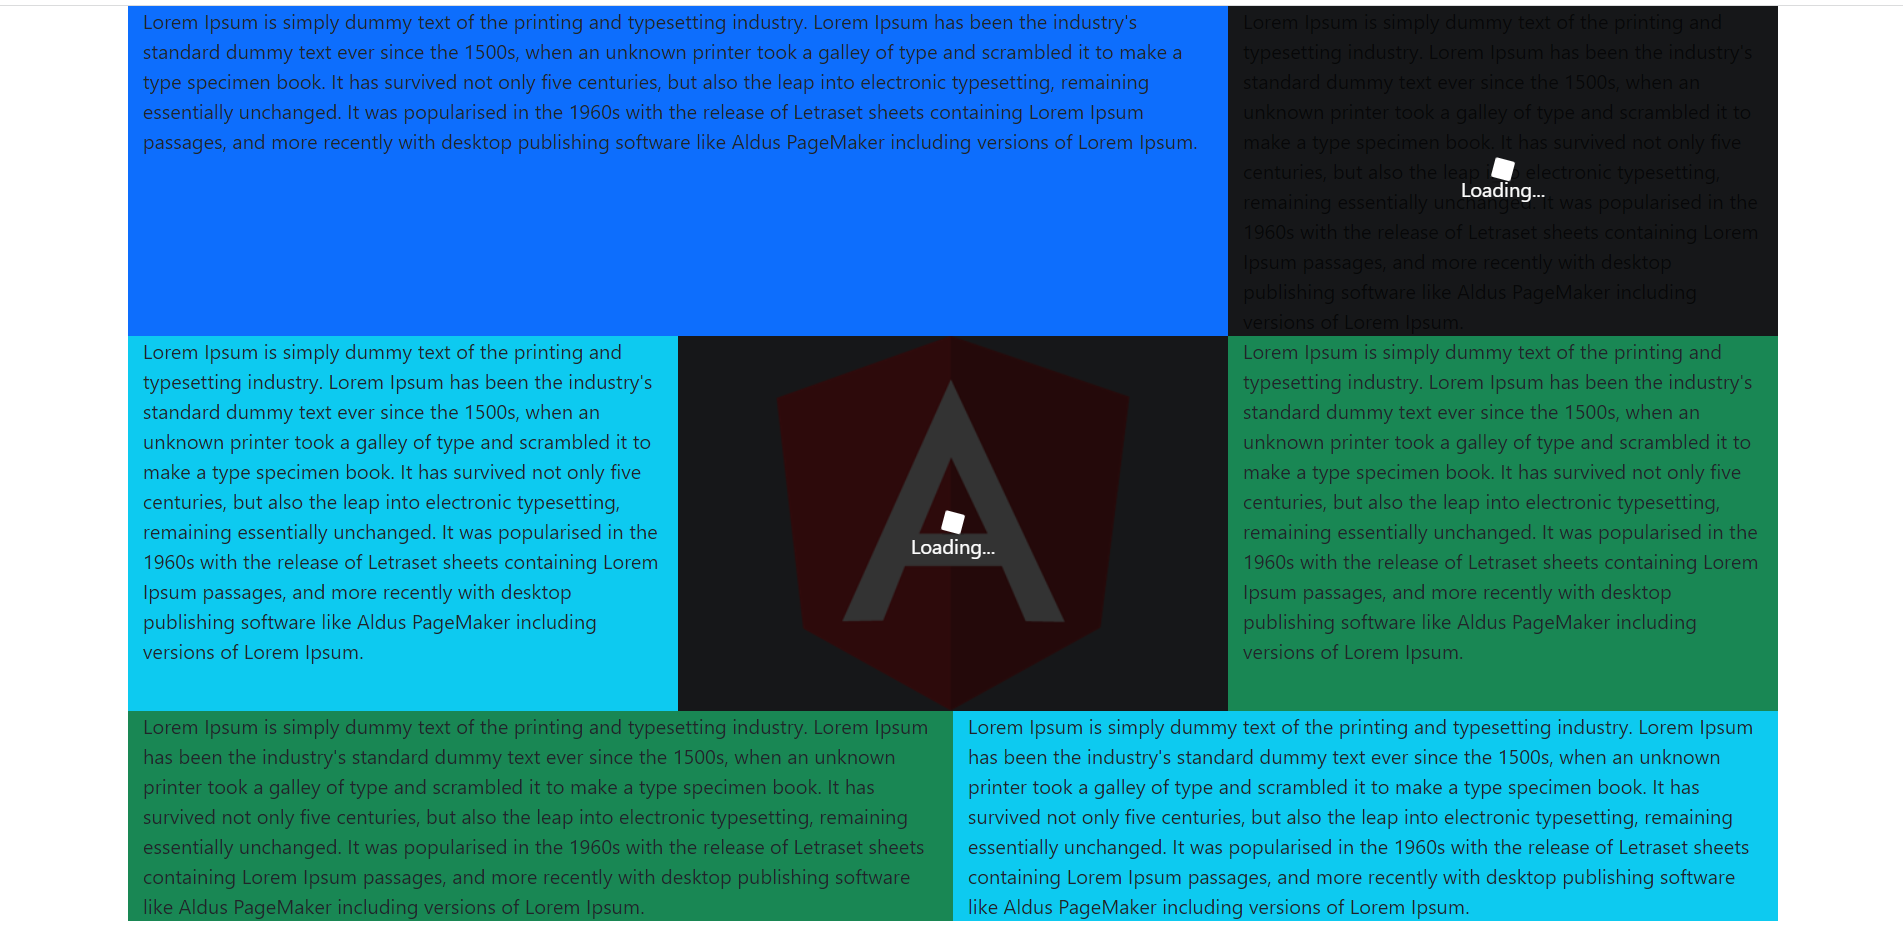
Hello friends, welcome back to my blog. Today in this blog post, I am going to tell you, How to show loader spinner on particular div in Angular 13 application?.
Here is the tutorial link for update angular version to 13: Update Angular 13 to Angular 13
Guy’s here are the more demos related to Angular 12 with Bootstrap 5:
- Bootstrap 5 Popover working in Angular 12
- Bootstrap 5 Tooltip working in Angular 12
- Bootstrap5 Modal with Forms in Angular 12

Guys is the main part of loader spinner. We can change its bdColor(background color), size(small, medium, large), color(text color), fullScreen(true, false). To show inside particular div we have to make that div position static as well.
<ngx-spinner bdColor = "rgba(0, 0, 0, 0.8)" size = "small" color = "#fff" type = "square-jelly-box" [fullScreen] = "false">
        <p style="color: white" > Loading... </p>
</ngx-spinner>
Angular 13 came and Bootstrap 5 also and if you are new then you must check below two links:
Friends now I proceed onwards and here is the working code snippet and please use carefully this to avoid the mistakes:
1. Firstly friends we need fresh angular 13 setup and for this we need to run below commands but if you already have angular 13 setup then you can avoid below commands. Secondly we should also have latest node version installed on our system:
npm install -g @angular/cli

ng new angularboot5 //Create new Angular Project

cd angularboot5 // Go inside the Angular Project Folder
2. Now friends, here we need to run below commands into our project terminal to install bootstrap 5 modules(for good layout and we can skip this as well) and ngx-spinner modules into our angular application:
npm install bootstrap

npm i @popperjs/core

npm install ngx-spinner --save
3. Now friends we just need to add below code into src/app/app.component.html file to get final out on the web browser:
<div class="container">
    <!-- Stack the columns on mobile by making one full-width and the other half-width -->
    <div class="row">
      <div class="col-md-8 bg-primary position-relative">

        Lorem Ipsum is simply dummy text of the printing and typesetting industry.
          Lorem Ipsum has been the industry's standard dummy text ever since the 1500s, when an unknown
          printer took a galley of type and scrambled it to make a type specimen book. It has survived not
          only five centuries, but also the leap into electronic typesetting, remaining essentially unchanged.
          It was popularised in the 1960s with the release of Letraset sheets containing Lorem Ipsum passages,
          and more recently with desktop
          publishing software like Aldus PageMaker including versions of Lorem Ipsum.</div>
      <div class="col-6 col-md-4 bg-secondary position-relative">
<ngx-spinner bdColor = "rgba(0, 0, 0, 0.8)" size = "small" color = "#fff" type = "square-jelly-box" [fullScreen] = "false">
        <p style="color: white" > Loading... </p></ngx-spinner>
Lorem Ipsum is simply dummy text of the printing and typesetting industry.
        Lorem Ipsum has been the industry's standard dummy text ever since the 1500s, when an unknown
        printer took a galley of type and scrambled it to make a type specimen book. It has survived not
        only five centuries, but also the leap into electronic typesetting, remaining essentially unchanged.
        It was popularised in the 1960s with the release of Letraset sheets containing Lorem Ipsum passages,
        and more recently with desktop
        publishing software like Aldus PageMaker including versions of Lorem Ipsum.</div>
    </div>
 </div>
4. Now friends we just need to add below code into angular.json file:
"styles": [
              ...
              "node_modules/bootstrap/dist/css/bootstrap.min.css"
          ],
"scripts": [
              ...
               "node_modules/bootstrap/dist/js/bootstrap.min.js"
           ]
5. Now friends we just need to add below code into src/app/app.component.ts file:
import { Component, OnInit } from '@angular/core';

import { NgxSpinnerService } from "ngx-spinner";
@Component({
  selector: 'app-root',
  templateUrl: './app.component.html',
  styleUrls: ['./app.component.css']
})
export class AppComponent {

  constructor(private spinner: NgxSpinnerService) { }

 ngOnInit(){


    /** spinner starts on init */
    this.spinner.show();

    setTimeout(() => {
      /** spinner ends after 5 seconds */
      this.spinner.hide();
    }, 5000);

  }

}
6. Now friends we just need to add below code into src/app/app.module.ts file:
...
// Import library module
import { NgxSpinnerModule } from "ngx-spinner";
import { BrowserAnimationsModule } from '@angular/platform-browser/animations';


@NgModule({
  ...
  imports: [
  ...
    NgxSpinnerModule,
    BrowserAnimationsModule
  ],
  schemas: [CUSTOM_ELEMENTS_SCHEMA],
 ...
Friends in the end must run ng serve command into your terminal to run the angular 13 project.
Now we are done friends. If you have any kind of query, suggestion and new requirement then feel free to comment below.
Note: Friends, In this post, I just tell the basic setup and things, you can change the code according to your requirements.
I will appreciate that if you will tell your views for this post. Nothing matters if your views will be good or bad because with your views, I will make my next posts more good and helpful.
Jassa
Thanks

Leave a Reply
You must be logged in to post a comment.