
To implement pagination in a React application using Material-UI (now MUI) and a data table component, you’ll typically use the Table components provided by MUI along with its pagination controls. Here’s a step-by-step guide on how to set it up:
1. Install MUI
If you haven’t already installed MUI in your project, you can add it via npm or yarn. You will also need to install the icons package if you want to use any icons.
npm install @mui/material @mui/icons-material
2. Create a Data Table Component
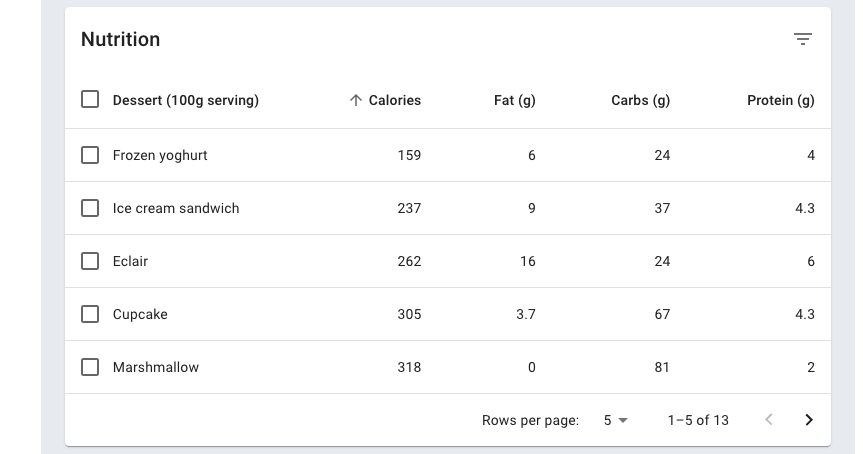
You’ll need to set up a table component. Here’s a basic example of a table with pagination:
import React, { useState } from 'react';
import { Table, TableBody, TableCell, TableContainer, TableHead, TableRow, Paper, TablePagination } from '@mui/material';

const DataTable = ({ data, columns }) => {
  const [page, setPage] = useState(0);
  const [rowsPerPage, setRowsPerPage] = useState(5);

  const handleChangePage = (event, newPage) => {
    setPage(newPage);
  };

  const handleChangeRowsPerPage = event => {
    setRowsPerPage(parseInt(event.target.value, 10));
    setPage(0);
  };

  return (
    <Paper>
      <TableContainer>
        <Table stickyHeader aria-label="sticky table">
          <TableHead>
            <TableRow>
              {columns.map(column => (
                <TableCell key={column.id}>
                  {column.label}
                </TableCell>
              ))}
            </TableRow>
          </TableHead>
          <TableBody>
            {data.slice(page * rowsPerPage, page * rowsPerPage + rowsPerPage).map(row => (
              <TableRow hover role="checkbox" tabIndex={-1} key={row.code}>
                {columns.map(column => {
                  const value = row[column.id];
                  return (
                    <TableCell key={column.id} align={column.align}>
                      {column.format && typeof value === 'number' ? column.format(value) : value}
                    </TableCell>
                  );
                })}
              </TableRow>
            ))}
          </TableBody>
        </Table>
      </TableContainer>
      <TablePagination
        rowsPerPageOptions={[5, 10, 25]}
        component="div"
        count={data.length}
        rowsPerPage={rowsPerPage}
        page={page}
        onPageChange={handleChangePage}
        onRowsPerPageChange={handleChangeRowsPerPage}
      />
    </Paper>
  );
};

export default DataTable;
3. Using the Data Table Component
To use this component, pass the data and columns props to it. Here’s an example of how you might set this up in your app:
import React from 'react';
import DataTable from './DataTable';

const App = () => {
  const columns = [
    { id: 'name', label: 'Name', minWidth: 170 },
    { id: 'code', label: 'ISO\u00A0Code', minWidth: 100 },
    // Add more columns as needed
  ];

  const rows = [
    { name: 'India', code: 'IN' },
    { name: 'China', code: 'CN' },
    // Add more rows as needed
  ];

  return <DataTable data={rows} columns={columns} />;
};

export default App;
4. Styling
You can customize the look of your table and pagination through MUI’s theme capabilities or direct CSS.
This basic example gives you a functional table with pagination. You can further enhance and customize it by handling other events, adding sorting capabilities, or integrating more complex features depending on your needs.
Leave a Reply