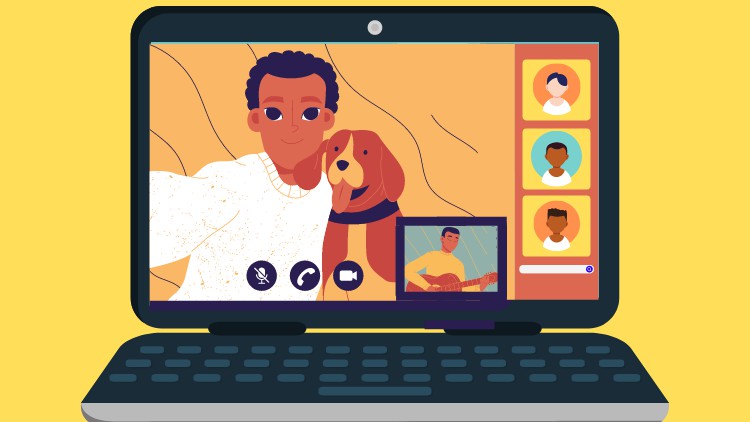
Creating a video conferencing application using ReactJS involves a few key steps and technologies to ensure a robust and functional app. Guys here’s a high-level overview of what you’ll need to do:
For react js new comers, please check the below links:
1. Guys very first Set Up the React Project
Start by creating a new React application. You can use Create React App which is a popular and convenient way to start a React project.
npx create-react-app video-conference-app
cd video-conference-app
2. Guys Choose a WebRTC Framework
For real-time video and audio communication, WebRTC (Web Real-Time Communication) is the go-to technology. You can implement WebRTC directly, but using a library can simplify the process. Here are a few options:
- SimplePeer: Great for simpler, peer-to-peer applications.
- PeerJS: Adds a layer of abstraction over WebRTC and manages connections more comprehensively.
3. Guys Install Necessary Libraries
You might need to install additional libraries depending on your choice of WebRTC framework. For example, with PeerJS:
npm install peerjs
4. Guys Set Up Video/Audio Streams
Set up video and audio streams in your application. This involves requesting permissions from the user to access their camera and microphone, then using those media streams for communication.
5. Guys Establish Peer Connections
Implement functionality to connect different users via WebRTC. This typically involves creating and managing offers and answers (signals that help establish a connection between peers) and handling the ICE (Interactive Connectivity Establishment) candidates.
6. Design the User Interface
Develop the user interface using React components. Components you might need include:
- Video display components
- Buttons to control the call (e.g., hang up, mute)
- User list (if supporting multiple participants)
7. Add Server-Side Support
For a scalable application, you might need a server component to manage connections, especially if you’re planning to support group calls or need improved connection reliability. You can use technologies like:
- Node.js with Express for backend logic
- Socket.io for real-time communication between clients and the server
8. Handle Sessions and Routing
Manage user sessions and routing within your application. This could be done with React Router for client-side routing and Express sessions on the server side.
9. Testing and Debugging
Thoroughly test your application across different devices and network conditions. Debug any issues using Chrome’s WebRTC internals and React developer tools.
10. Deployment
Once your application is ready and thoroughly tested, deploy it. You can use services like Heroku, AWS, or Netlify to host your application.
Sample Code for Peer Connection (using PeerJS)
Guys here’s a basic example of how you might set up a peer connection in your React component:
import React, { useEffect } from 'react';
import Peer from 'peerjs';

const MyComponent = () => {
  useEffect(() => {
    const peer = new Peer(undefined, {
      host: '/',
      port: 9000
    });

    navigator.mediaDevices.getUserMedia({
      video: true,
      audio: true
    }).then(stream => {
      const myVideo = document.createElement('video');
      addVideoStream(myVideo, stream);

      peer.on('call', call => {
        call.answer(stream);
        const video = document.createElement('video');
        call.on('stream', userVideoStream => {
          addVideoStream(video, userVideoStream);
        });
      });
    });

    function addVideoStream(video, stream) {
      video.srcObject = stream;
      video.addEventListener('loadedmetadata', () => {
        video.play();
      });
      document.body.append(video);
    }
  }, []);

  return <div />;
};

export default MyComponent;
This is a high-level guide and implementing a video conferencing app can be quite complex depending on the features you want to include. Adjust the design and development process according to your project’s specific needs.
Guys if you will have any kind of query, suggestion and requirement then feel free to comment below.
Thanks
Jassa

Leave a Reply
You must be logged in to post a comment.