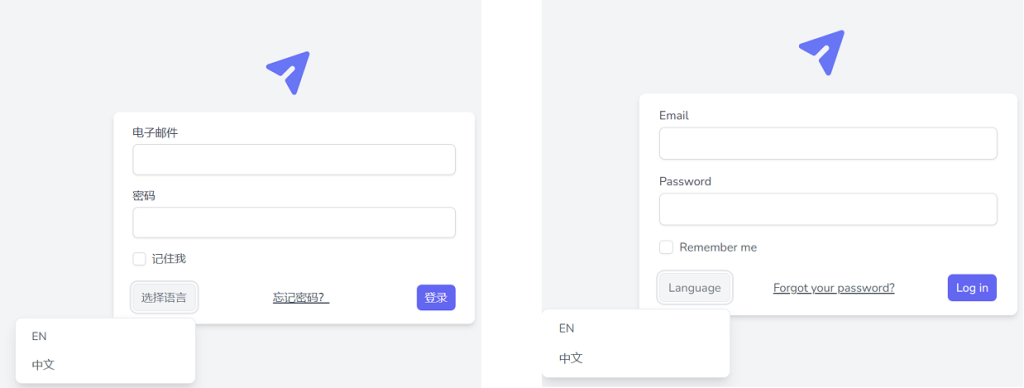
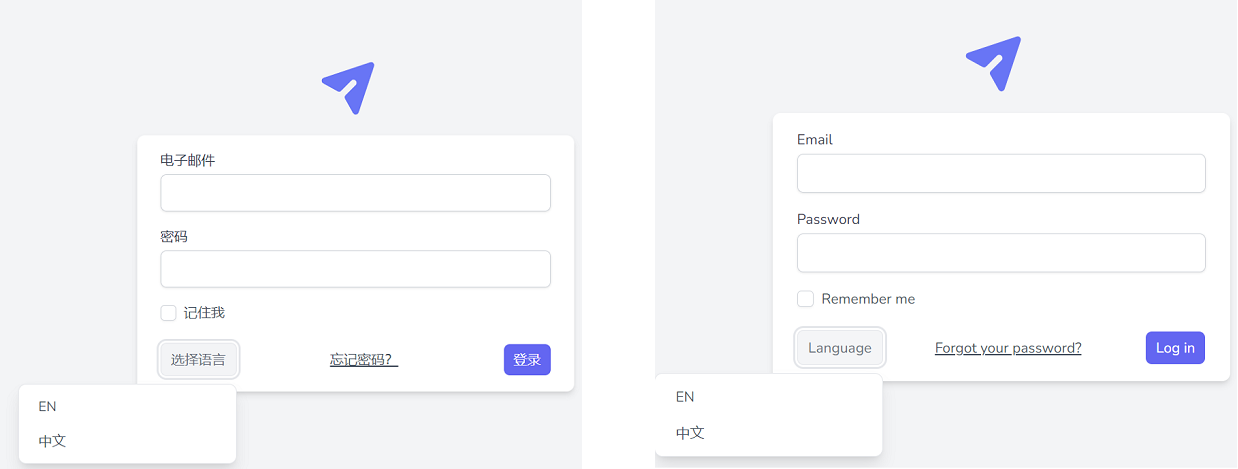
Creating a multilanguage demo in Laravel 11 involves setting up localization to support multiple languages. Laravel makes it relatively easy to build multilingual applications by using language files and a few configuration tweaks. Below, I’ll walk you through a basic setup for a multilanguage demo in Laravel 11.

Step 1: Setting Up the Project
First, you need to create a new Laravel project if you haven’t already:
composer create-project --prefer-dist laravel/laravel laravelMultiLangDemo
cd laravelMultiLangDemo
Step 2: Preparing Language Files
Laravel stores language lines in resources/lang directory. You’ll need to create a directory for each language you want to support:
mkdir -p resources/lang/en
mkdir -p resources/lang/es
Inside each directory, create language files, for example, messages.php:
resources/lang/en/messages.php
return [
    'welcome' => 'Welcome to our application!',
];
resources/lang/es/messages.php
return [
    'welcome' => '¡Bienvenido a nuestra aplicación!',
];
Step 3: Configuring Localization
The default language and fallback language are set in config/app.php. You might want to adjust these settings:
'locale' => 'en',
'fallback_locale' => 'en',
Step 4: Creating Routes and Controllers
You can define routes that include a language parameter. Here’s an example of how to set this up in your routes/web.php:
Route::redirect('/', '/en');

Route::group(['prefix' => '{language}'], function () {
    Route::get('/', function ($language) {
        App::setLocale($language);
        return view('welcome');
    });
});
Step 5: Modifying the View
Edit the default welcome view to include localized content by editing resources/views/welcome.blade.php:
<!DOCTYPE html>
<html>
<head>
    <title>Laravel</title>
</head>
<body>
    <h1>{{ __('messages.welcome') }}</h1>
</body>
</html>
Step 6: Testing the Application
Start your Laravel development server:
php artisan serve
Now, you can access your application at http://localhost:8000/en for English or http://localhost:8000/es for Spanish, and you should see the welcome message in the appropriate language.
Optional: Middleware for Language Setting
You might also consider creating middleware to handle language setting automatically based on the URL or user preferences.
This basic setup will help you get started with a multilanguage site in Laravel 11. You can expand upon this by adding more languages, creating a language selector in the UI, and managing more complex translation needs.
To incorporate validation into your multilanguage Laravel 11 application, you’ll need to set up localized validation messages. This will allow you to provide feedback to users in their preferred language when form input does not meet the required criteria. Here’s how you can set up validation with localized messages in Laravel:
Step 1: Localize Validation Messages
Create validation language files for each language in the resources/lang/{lang} directories. Here’s how you can do it:
- Create Validation Language Files:
For each language directory, add avalidation.phpfile.
Example for English (resources/lang/en/validation.php):
return [
    'required' => 'The :attribute field is required.',
    'email' => 'The :attribute must be a valid email address.',
    // other validation messages
];
Example for Spanish (resources/lang/es/validation.php):
return [
    'required' => 'El campo :attribute es obligatorio.',
    'email' => 'El campo :attribute debe ser una dirección de correo electrónico válida.',
    // other validation messages
];
Step 2: Using Validation in Controllers
In your controller, use the validate method to apply validation rules. Laravel will automatically use the correct language files based on the set locale.
Example:
public function store(Request $request, $language)
{
    App::setLocale($language);

    $validatedData = $request->validate([
        'email' => 'required|email',
        'name' => 'required|string|max:255',
    ]);

    // Proceed to store data or perform other actions
}
Step 3: Set Locale in Middleware
To ensure the locale is automatically set based on the URL or user preference and used consistently across routes, you might want to use middleware. You can create a middleware that sets the application locale:
Create Middleware:
php artisan make:middleware SetLanguage
Middleware Implementation (app/Http/Middleware/SetLanguage.php):
public function handle($request, Closure $next)
{
    if ($request->has('language')) {
        App::setLocale($request->language);
    }
    return $next($request);
}
Register Middleware:
Add your middleware to the $middlewareGroups in app/Http/Kernel.php so it can be applied to your web routes.
protected $middlewareGroups = [
    'web' => [
        // other middleware
        \App\Http\Middleware\SetLanguage::class,
    ],
];
Step 4: Testing
Make sure to test your application to see if the validation messages appear in the correct language based on the route or language selection. You can test by submitting forms with missing or incorrect data and verifying that the appropriate validation messages are displayed.
This setup ensures that your Laravel application can handle multilanguage input validation, making your application more user-friendly and accessible to a global audience.
Jassa
Thanks
