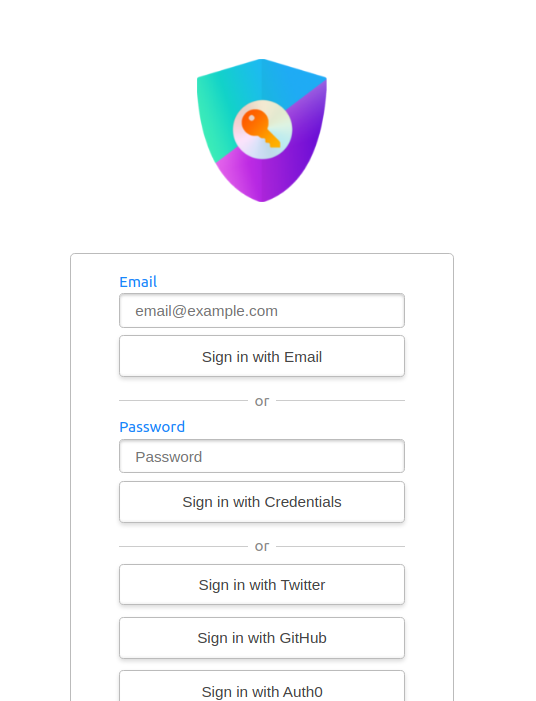
To build a login system in a Next.js application using Auth0, you’ll need to integrate Auth0’s authentication service. Auth0 provides a powerful and flexible platform for authentication and authorization that supports a variety of methods including social login, passwordless, and more.
Here’s a step-by-step guide on how to set up a simple login system in a Next.js app using Auth0:

1. Set Up Auth0
First, you need to set up an Auth0 account and application:
- Create an Auth0 Account: Go to Auth0’s website and sign up.
- Create a New Application: In the Auth0 dashboard, create a new application and select “Single Page Web Applications”.
- Configure Application Settings:
- Allowed Callback URLs: Add
http://localhost:3000/api/auth/callback. - Allowed Logout URLs: Add
http://localhost:3000/. - Allowed Web Origins: Add
http://localhost:3000.
- Allowed Callback URLs: Add
2. Install Necessary Packages
Install the Auth0 SDK for Next.js:
npm install @auth0/nextjs-auth0
3. Configure Auth0 SDK
Create an .env.local file in the root of your Next.js project and add your Auth0 credentials:
AUTH0_SECRET='a_long_unique_value_here'
AUTH0_BASE_URL='http://localhost:3000'
AUTH0_ISSUER_BASE_URL='https://YOUR_DOMAIN.auth0.com'
AUTH0_CLIENT_ID='YOUR_CLIENT_ID'
AUTH0_CLIENT_SECRET='YOUR_CLIENT_SECRET'
You can generate AUTH0_SECRET using a tool like OpenSSL:
openssl rand -hex 32
4. Create API Routes
In your Next.js project, create the /pages/api/auth/[...auth0].js file. This file will handle the authentication flow:
import { handleAuth } from '@auth0/nextjs-auth0';

export default handleAuth();
5. Using the Auth0 Hook
In your components, use the Auth0 hook to manage authentication. For example, create a /pages/index.js:
import { useUser } from '@auth0/nextjs-auth0';

export default function Home() {
  const { user, error, isLoading } = useUser();

  if (isLoading) return <div>Loading...</div>;
  if (error) return <div>{error.message}</div>;

  return (
    <div>
      {user ? (
        <div>
          <h1>Welcome {user.name}!</h1>
          <p>You're logged in!</p>
          <a href="/api/auth/logout">Logout</a>
        </div>
      ) : (
        <a href="/api/auth/login">Login</a>
      )}
    </div>
  );
}
6. Protecting Routes
To protect routes, you can use the withPageAuthRequired higher order function:
import { withPageAuthRequired } from '@auth0/nextjs-auth0';

export const getServerSideProps = withPageAuthRequired();

export default function ProtectedPage() {
  return <div>Protected content here!</div>;
}
7. Run Your Application
Start your Next.js application:
npm run dev
Navigate to http://localhost:3000 to see the login system in action.
By following these steps, you can effectively integrate Auth0 into a Next.js application, providing a secure and scalable authentication solution for your users.
Jassa
Thanks

Leave a Reply
You must be logged in to post a comment.