Hello to all, welcome to therichpost.com. In this post, I will tell you, Add Bootstrap in Angular 8.
Here is simple example to Add Bootstrap to Angular 8 application. Angular 8 has been reached now and I have shared few posts related to this and you can check that with refer below link:
Hello to all, welcome to therichpost.com. In this post, I will tell you, Angular 8 with mysql database working example.
I have shared many posts related to Angular 8 and you all loved it very much so today I came up with new post related to angular 8 and php mysql database combination.
In this post, I am getting the data from php mysql database to angular 8.
Here are complete code snippets and please all this into your files very carefully:
1. Let start, here are the basics commands to set Angular 8 into your pc:
npm install -g @angular/cli //Setup Angular8 atmosphere
ng new angular8phpmyadmindatabse //Install New Angular App
/**You need to update your Nodejs also for this verison**/
cd angular8phpmyadmindatabse //Go inside the Angular 8 Project
2. After come inside angular8phpmyadmindatabse folder, please add below code into angular8phpmyadmindatabse\src\app\app.module.ts file:
import { BrowserModule } from '@angular/platform-browser';
import { NgModule } from '@angular/core';
import { HttpClientModule } from '@angular/common/http';
import { AppComponent } from './app.component';
@NgModule({
declarations: [
AppComponent
],
imports: [
BrowserModule,
HttpClientModule
],
providers: [],
bootstrap: [AppComponent]
})
export class AppModule { }
3. Now add below code into angular8phpmyadmindatabse\src\app\app.component.ts file:
import { Component } from '@angular/core';
import { HttpClient } from '@angular/common/http';
@Component({
selector: 'app-root',
templateUrl: './app.component.html',
styleUrls: ['./app.component.css']
})
export class AppComponent {
title = 'angular8phpmyadmindatabse';
data = [];
constructor(private http: HttpClient) {
this.http.get('http://localhost/employee.php').subscribe(data => {
this.data.push(data);
console.log(this.data);
}, error => console.error(error));
}
}
4. Now add below code into angular8phpmyadmindatabse\src\app\app.component.html file:
Hello to all, welcome to therichpost.com. In this post, I will tell you, Angular 8 custom accordion working example.
I really enjoyed this code and hope this code snippet will help you. If I will get good reviews on this then I will come with more code snippets.
Here is working code snippet and please use this carefully:
1. Let start, here are the basics commands to set Angular 8 into your pc:
npm install -g @angular/cli //Setup Angular8 atmosphere
ng new angularlatest8 //Install New Angular App
/**You need to update your Nodejs also for this verison**/
cd angularlatest8 //Go inside the Angular 8 Project
2. After done with above commands, you need to run below command to get jquery into your angular 8 application:
npm install jquery --save
3. Now, you need to add below jquery file path into your Angular 8 application angular.json file:
5. Now add below code into app.component.html file:
I added Bootstrap CDN because to make good looks and we can also add it programmatically:
<div class="jumbotron text-center">
<h1>Custom Accordian</h1>
<p>jQuery Bootstrap Accordian</p>
</div>
<div class="container">
<div class="row">
<div class="col-sm-6">
<div class="toggle mb-2"><h3><span class="plus">+</span><a href="#">Lorem Ipsum is simply dummy text of the printing.</a></h3>
<div style="display: none;">
<div class="wpb_text_column wpb_content_element">
<div class="wpb_wrapper">
<p>Lorem Ipsum is simply dummy text of the printing.:</p>
<ul>
<li><strong>Lorem Ipsum</strong>: Lorem Ipsum is simply dummy text of the printing.</li>
</ul>
</div>
</div>
</div>
</div>
</div>
</div>
</div>
<link rel="stylesheet" href="https://maxcdn.bootstrapcdn.com/bootstrap/4.3.1/css/bootstrap.min.css">
6. Now add below code into app.component.css file:
Hello to all, welcome to therichpost.com. In this post, I will tell you, Angular 8 routing working example.
If you are new in Angular then you can also check my old post related to Angular 8 and Angular 7.
Here is the complete code and please use this carefully:
1. Let start, here are the basics commands to set Angular 8 into your pc:
$ npm install -g @angular/cli //Setup Angular8 atmosphere
$ ng new angularlatest8 //Install New Angular App
/**You need to update your Nodejs also for this verison**/
$ cd angularlatest8 //Go inside the Angular 8 Project
2. After Install Angular 8 fresh setup and go inside the Angular 8 setup, run below command into your terminal for creating new angular components:
ng g component aboutus
ng g component contactus
3. After done with above commands and angular 8 setup and add below code into app.module.ts file:
Hello to all, welcome to therichpost.com. In this post, I will tell you, Angular 8 Datatable Working Example.
Angular 8 has just launched and it is in very high in demand. Angular 8 increased his performance speed. I am showing the data in Datatables with custom json data and also for giving good look to datatable, I have used bootstrap in it, here is the working picture and don’t forget to install latest node version.
Here is the complete working code and use this carefully:
1. Here are the basics commands, you need to run for latest angular 8 setup and environment:
$ npm install -g @angular/cli
$ ng new angulardatatables
$ cd angulardatatables
$ ng serve
//Here is the url, you need to run into your browser and see working angular test project
http://localhost:4200/
2. Here are the basics commands, you need to run into your terminal for datatable and its dependencies:
Hello to all, welcome to therichpost.com. Today In this post, I will tell you, How to Implement Owl Carousel Slider in Angular 8?
I am very happy during sharing this post. I faced some error but no one will face any error with my code.
Slider are the main part of lading page and today we will implement Owl carousel Slider in Angular 8.
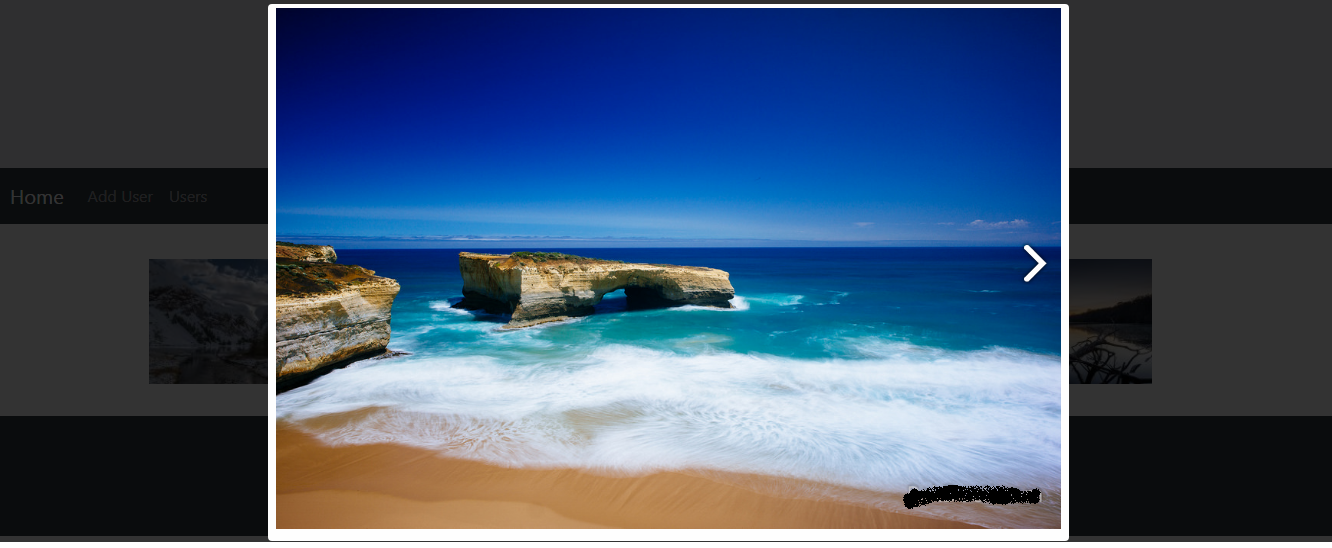
Here is the working picture:
Here is the complete working and tested code, you need to follow:
1. Very first, here are common basics steps to add angular 8 application on your machine:
$ npm install -g @angular/cli
$ ng new angularowlslider // Set Angular8 Application on your pc
cd angularowlslider // Go inside project folder
ng serve // Run project
http://localhost:4200/ //Check working Local server
2. Now run below command into your terminal to include owl carousel package into your angular 8 application:
npm i ngx-owl-carousel-o
3. Now, add below code into your angular.json file:
Hello to all, welcome to therichpost.com. In this post, I will tell you, Laravel 6 vuejs fullcalendar working example.
After some time, I will also share youtube working video on this tutorial.
Laravel 6 has been released and this laravel 6 has many good features but today I am going to show you working full calendar in Laravel Vue combination and this coming experience was very interesting for me.
Laravel is the best php mvc framework and vuejs the best in making single page applications.
Here are the working code snippet and please use this very carefully:
1. Before using Laravel, make sure you have Composer installed on your machine.
2. Now run below command to download laravel installer:
composer global require laravel/installer
3. Here are the basics command to install fresh laravel 6 setup on your machine:
5. Now, you need to add below code into resources\js\app.js file:
/**
* First we will load all of this project's JavaScript dependencies which
* includes Vue and other libraries. It is a great starting point when
* building robust, powerful web applications using Vue and Laravel.
*/
require('./bootstrap');
import 'fullcalendar/dist/fullcalendar.css';
window.Vue = require('vue');
import FullCalendar from 'vue-full-calendar'; //Import Full-calendar
Vue.use(FullCalendar);
/**
* The following block of code may be used to automatically register your
* Vue components. It will recursively scan this directory for the Vue
* components and automatically register them with their "basename".
*
* Eg. ./components/ExampleComponent.vue -> <example-component></example-component>
*/
Vue.component('example-component', require('./components/ExampleComponent.vue'));
// const files = require.context('./', true, /\.vue$/i)
// files.keys().map(key => Vue.component(key.split('/').pop().split('.')[0], files(key)))
/**
* Next, we will create a fresh Vue application instance and attach it to
* the page. Then, you may begin adding components to this application
* or customize the JavaScript scaffolding to fit your unique needs.
*/
const app = new Vue({
el: '#app'
});
6. Now, you need to add below code into resources\js\components\ExampleComponent.vue file:
Hello to all, welcome to therichpost.com. In this post, I will tell you, Angular 8 Grouped Bar chart using data Laravel 6 REST API.
Today, I am going to show Chartjs Bar Chart in Angular 8 and data is coming from Laravel 6 Rest API.
This is Part 1 because in next part I will show multiple data working with arrays.
Here is the working code snipped please use this carefully:
1. Here are the basics commands, you need to use into your terminal or command prompt to install Angular 8 fresh set up:
$ npm install -g @angular/cli //Setup Angular8 atmosphere
$ ng new angular8chartjs //Install New Angular App
/**You need to update your Nodejs also for this verison**/
$ cd angular8chartjs //Go inside the Angular 8 Project
2. After Install Angular 8 fresh setup and go inside the Angular 8 setup, run below command into your terminal to install chartjs module:
npm install --save chart.js
3. After all above setup, here is code, you need to add into your app.component.ts file:
I have used Angular HTTPCLIENT to get data from third party or other site.