
Hello to all, welcome to therichpost.com. In this post, I will tell you, Angular 9 Toastr Notifications Working Example.
Toastr Notifications are the well designed popup message and easy to use and implement. Today I am implementing Toastr Notifications in Angular 9. I am very happy for Angular 9.
I am showing toastr notifications in Angular 9 button click event. We can use this in many ways.
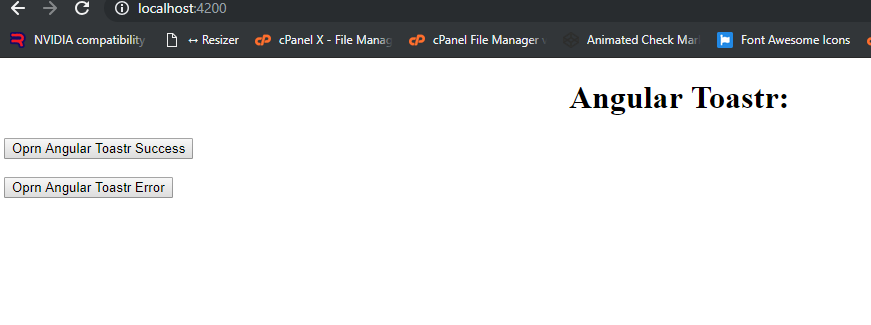
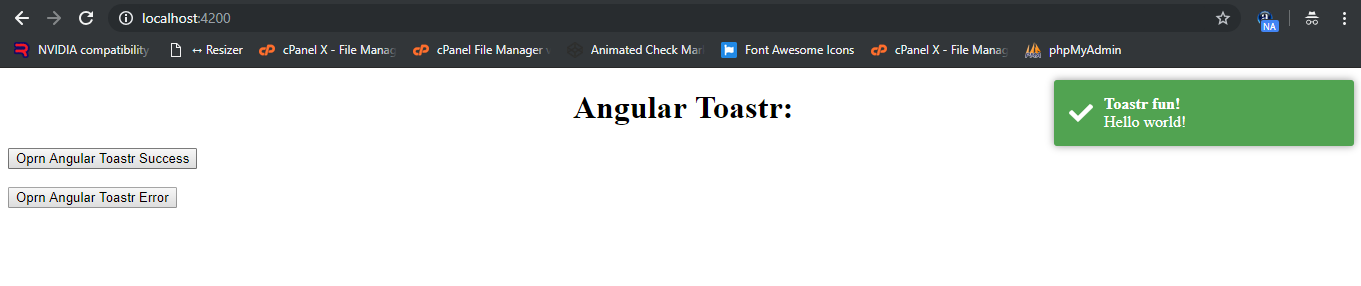
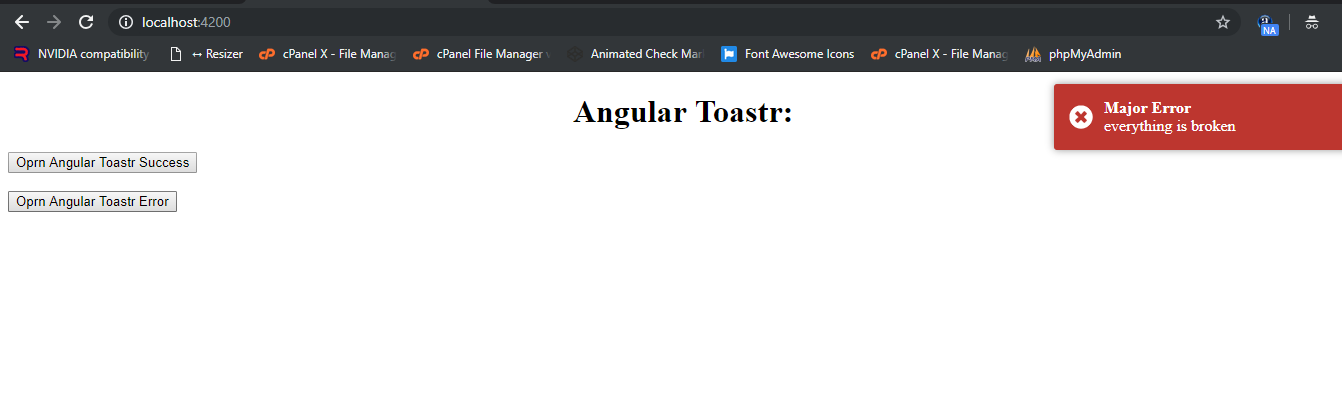
Here is the working picture of Toastr Notifications in Angular 9 Application:
Here are the working steps you need to follow:
1. Here are the few commands to install Angular 9:
npm install -g @angular/cli
ng new angulartoastr //Create new Angular Project
$ cd angulartoastr // Go inside the Angular Project Folder
ng serve --open // Run and Open the Angular Project
http://localhost:4200/ // Working Angular Project Url
2. After done with above commands, you need to below command to install toastr into your application:
npm install ngx-toastr --save
npm install @angular/animations --save
- After all ablove, you need to add below into src/styles.css:
// regular style toast
@import '~ngx-toastr/toastr.css';
4. Now, add below code into your app.module.ts file:
import { BrowserModule } from '@angular/platform-browser';
import { NgModule } from '@angular/core';
import { BrowserAnimationsModule } from '@angular/platform-browser/animations';
import { ToastrModule } from 'ngx-toastr';
import { AppComponent } from './app.component';

@NgModule({
  declarations: [
    AppComponent
  ],
  imports: [
    BrowserModule,
    BrowserAnimationsModule, // required animations module
    ToastrModule.forRoot() // ToastrModule added
  ],
  providers: [],
  bootstrap: [AppComponent]
})
export class AppModule { }
5. Now add below code into your app.component.ts file:
import { Component } from '@angular/core';
import { ToastrService } from 'ngx-toastr';
@Component({
  selector: 'app-root',
  templateUrl: './app.component.html',
  styleUrls: ['./app.component.css']
})
export class AppComponent {
  title = 'angulartoastr';
  constructor(private toastr: ToastrService) {}
  showSuccess() {
    this.toastr.success('Hello world!', 'Toastr fun!',
    {timeOut: 2000});;
  }
  showError() {
  this.toastr.error('everything is broken', 'Major Error', {
  timeOut: 3000
});
}
}
5. Now, finally add below code into app.component.html file:
<!--The content below is only a placeholder and can be replaced.-->
<div style="text-align:center">
  <h1>
    Angular Toastr:
  </h1>
</div>
<button (click) = "showSuccess()">Oprn Angular Toastr Success</button>
<br/><br/>
<button (click) = "showError()">Oprn Angular Toastr Error</button>
Now, you done, if you have any query related to this post, then please do comment below or ask questions.
Thank you,
Jass
TheRichPost
Leave a Reply