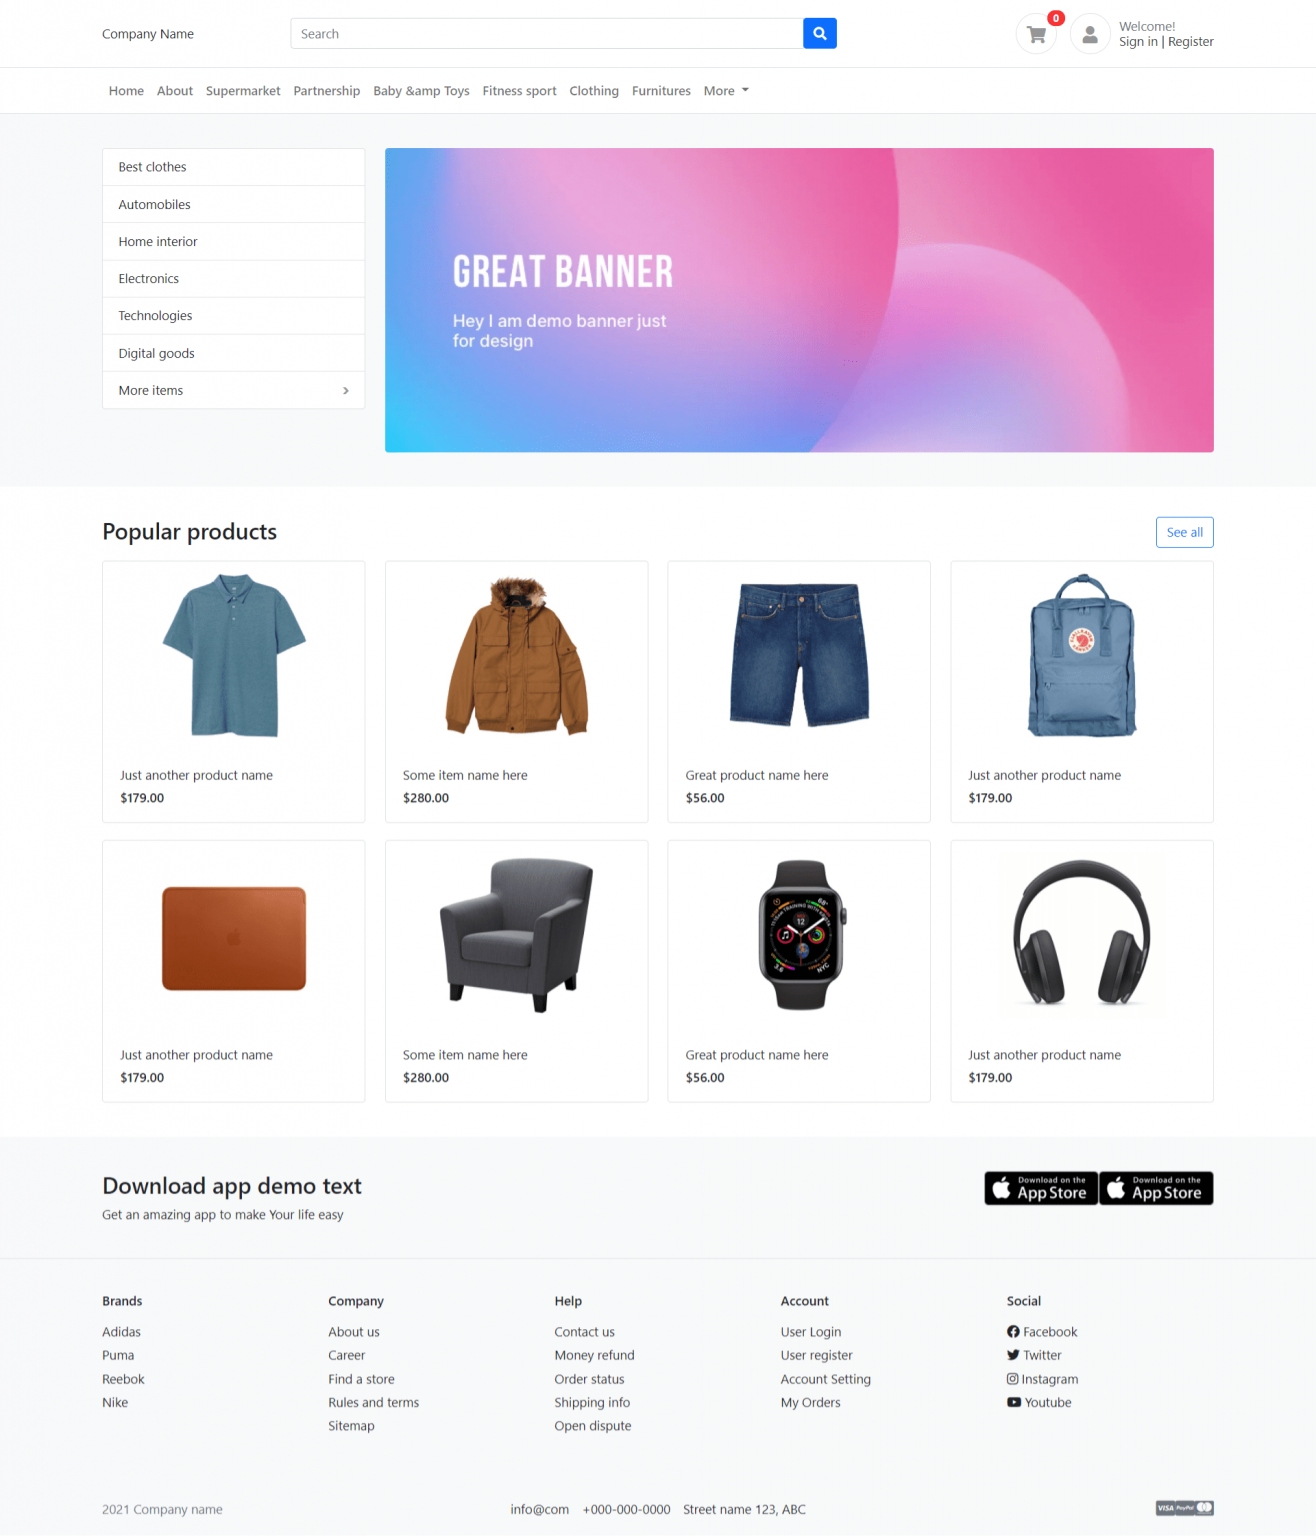
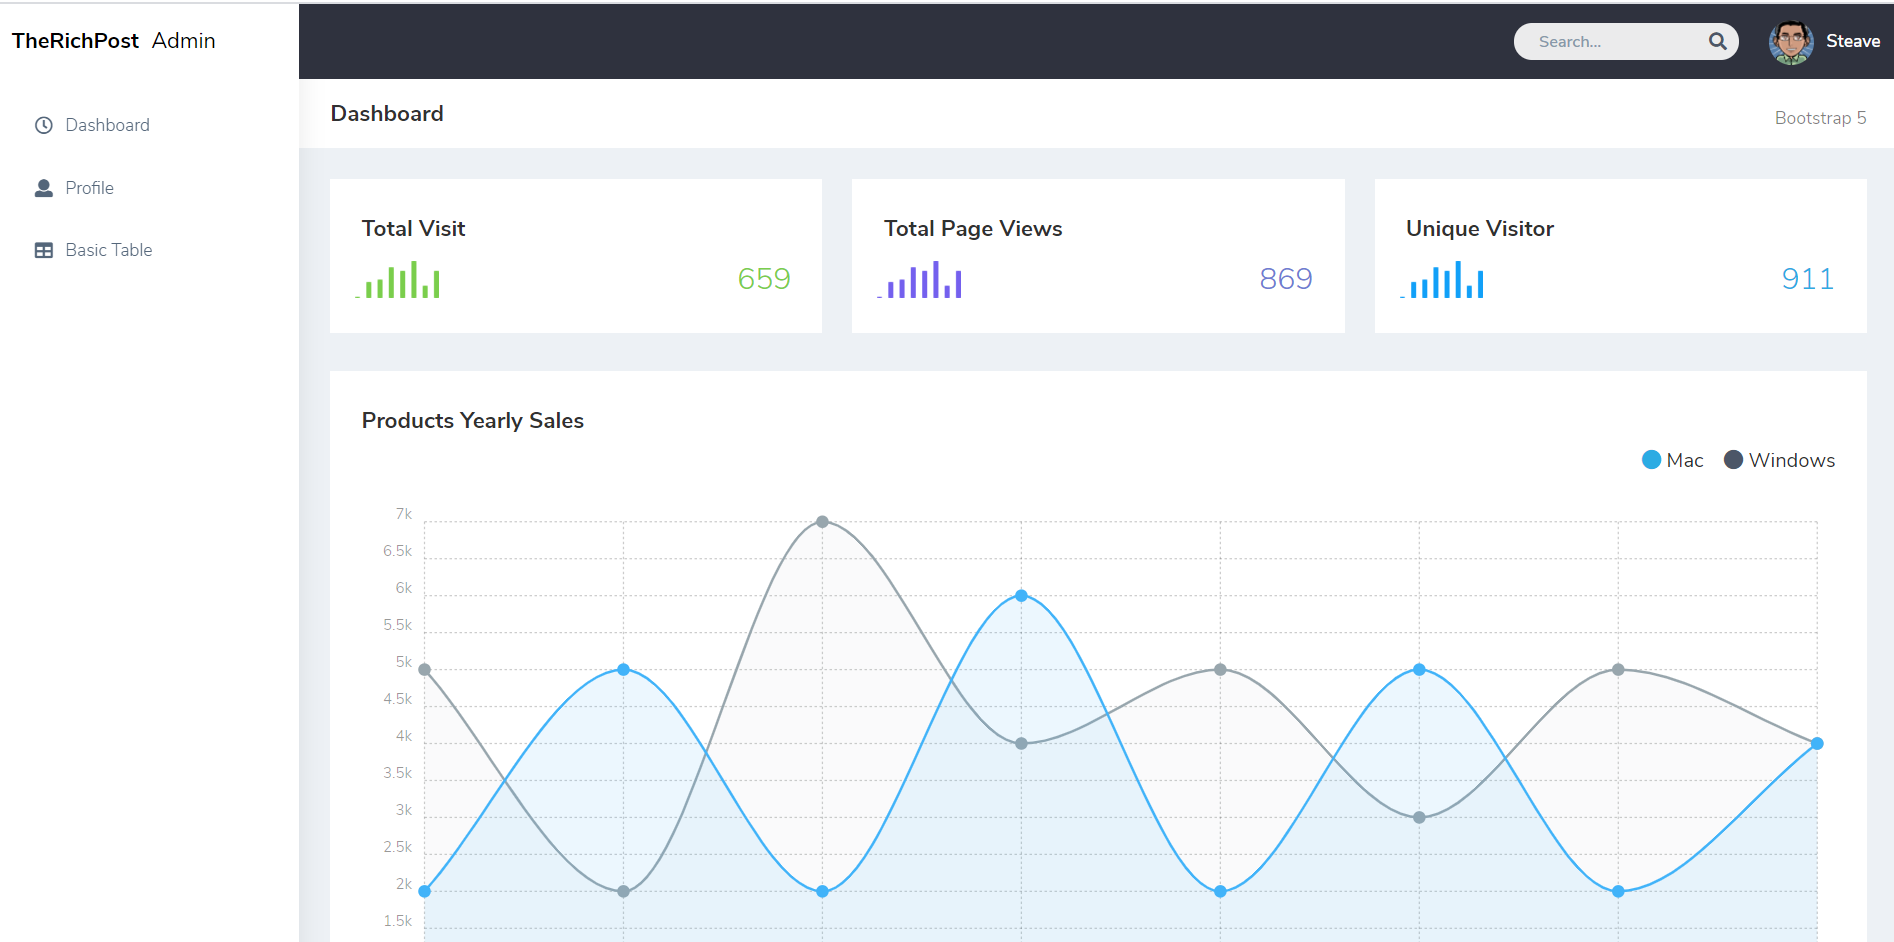
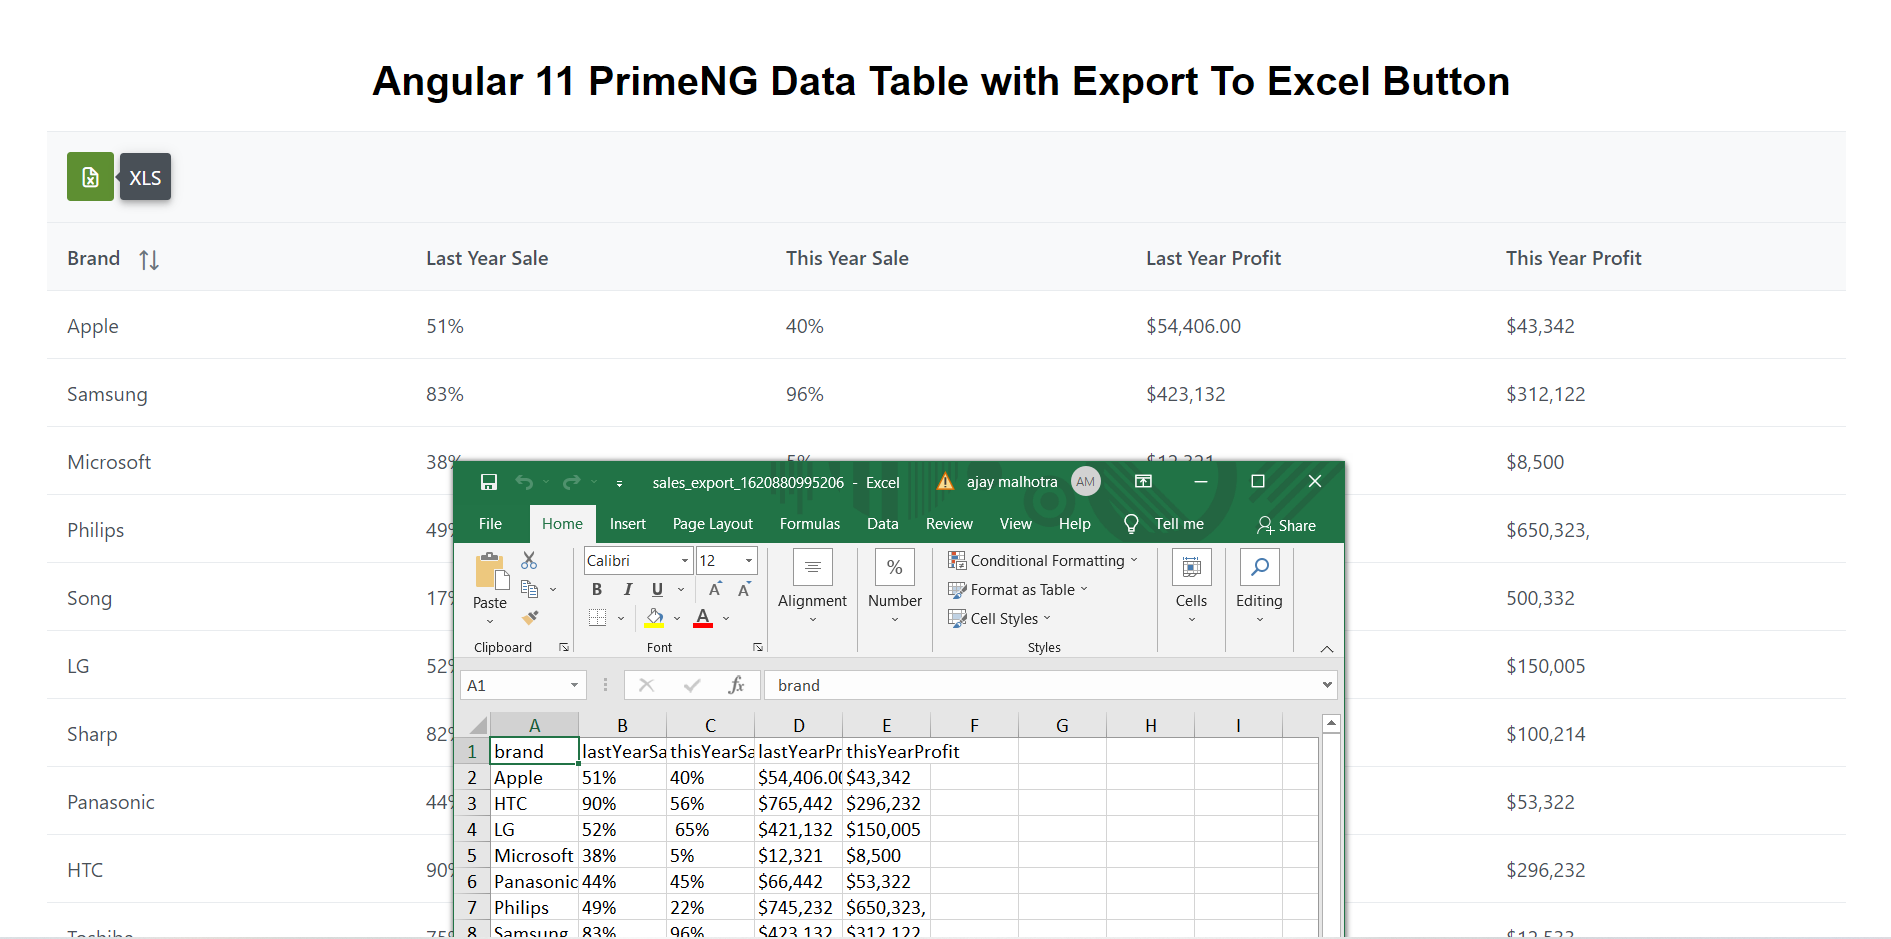
Here is the code snippet and please use carefully:
1. Very first guys, here are common basics steps to add angular 12 application on your machine and also we must have latest nodejs version(14.17.0) installed for angular 12:
$ npm install -g @angular/cli
$ ng new angularform // Set Angular 11 Application on your pc
cd angularform // Go inside project folder
2. Now run below commands to set bootstrap 5 modules into our angular 12 application for responsiveness (optional):
npm install bootstrap@next
3. Now friends we just need to add below code into angularform/angular.json file (optional):
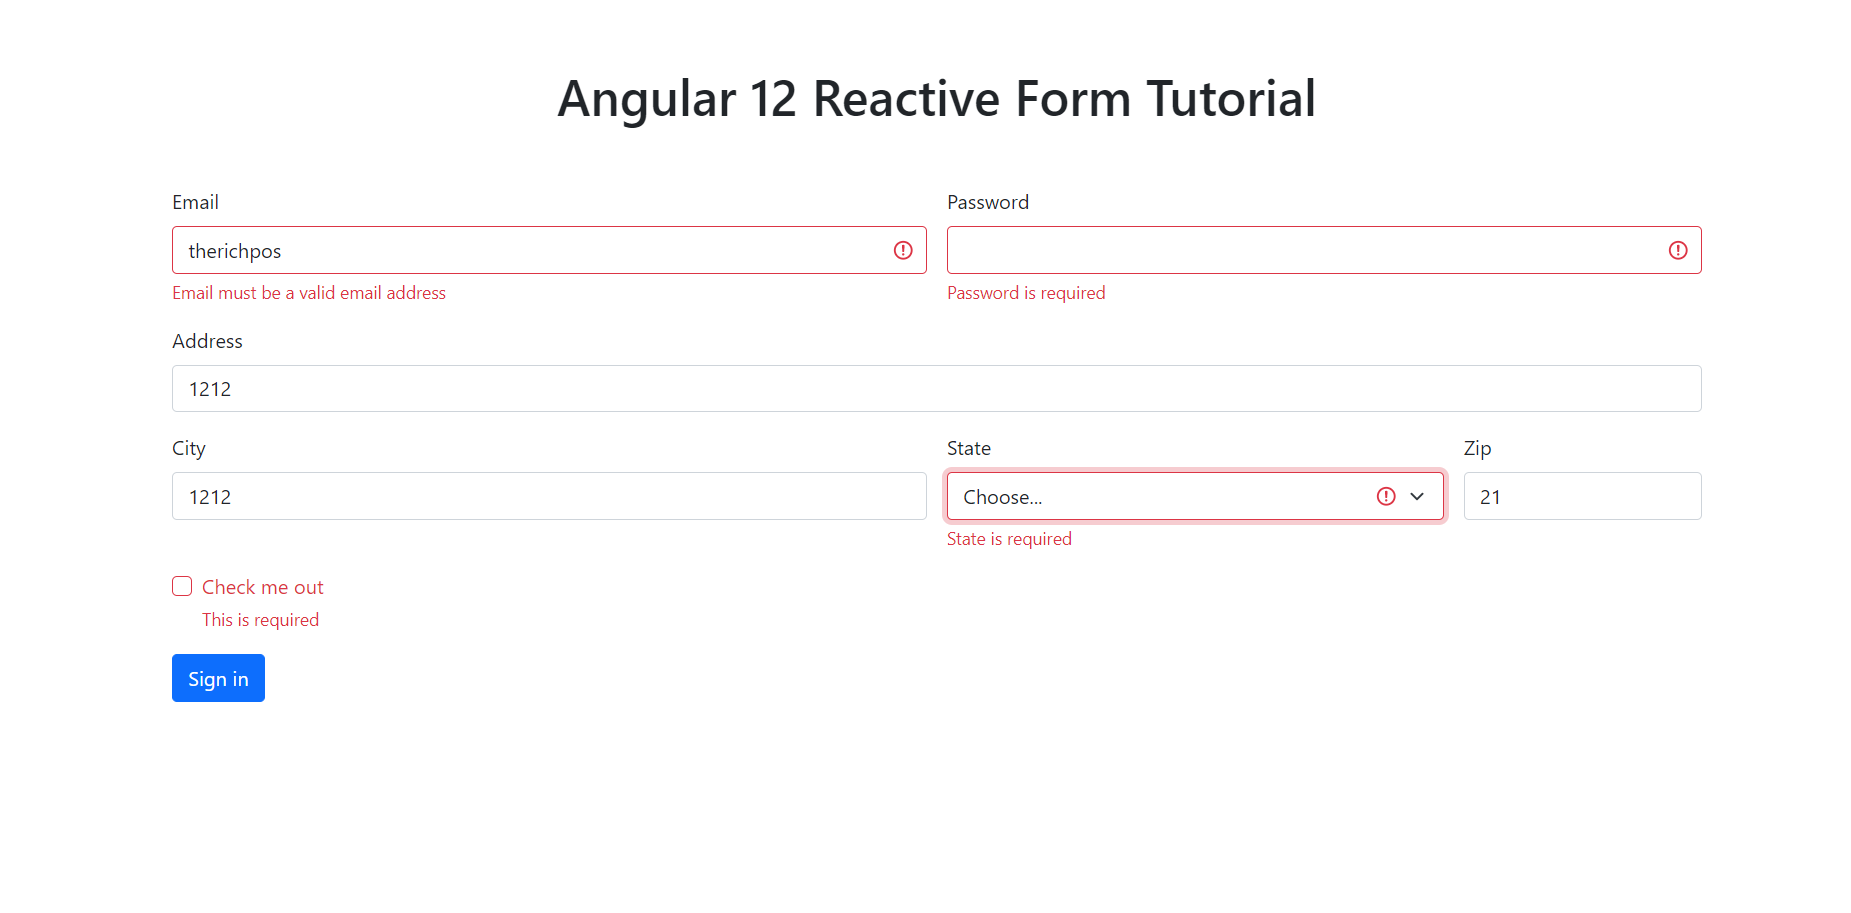
Now we are done friends and please run ng serve command to check the output in browser(locahost:4200) and if you have any kind of query then please do comment below.
Note: Friends, I just tell the basic setup and things, you can change the code according to your requirements. For better understanding please watch video above.
Guys I will appreciate that if you will tell your views for this post. Nothing matters if your views will be good or bad.
Friends now I proceed onwards and here is the working code snippet and please use carefully this to avoid the mistakes:
1. Firstly friends we need fresh angular 12 setup and for this we need to run below commands but if you already have angular 12 setup then you can avoid below commands. Secondly we should also have latest node version installed on our system:
npm install -g @angular/cli
ng new angularboot5 //Create new Angular Project
cd angularboot5 // Go inside the Angular Project Folder
2. Now friends we need to run below commands into our project terminal to install bootstrap 5 modules into our angular application:
npm install bootstrap@next
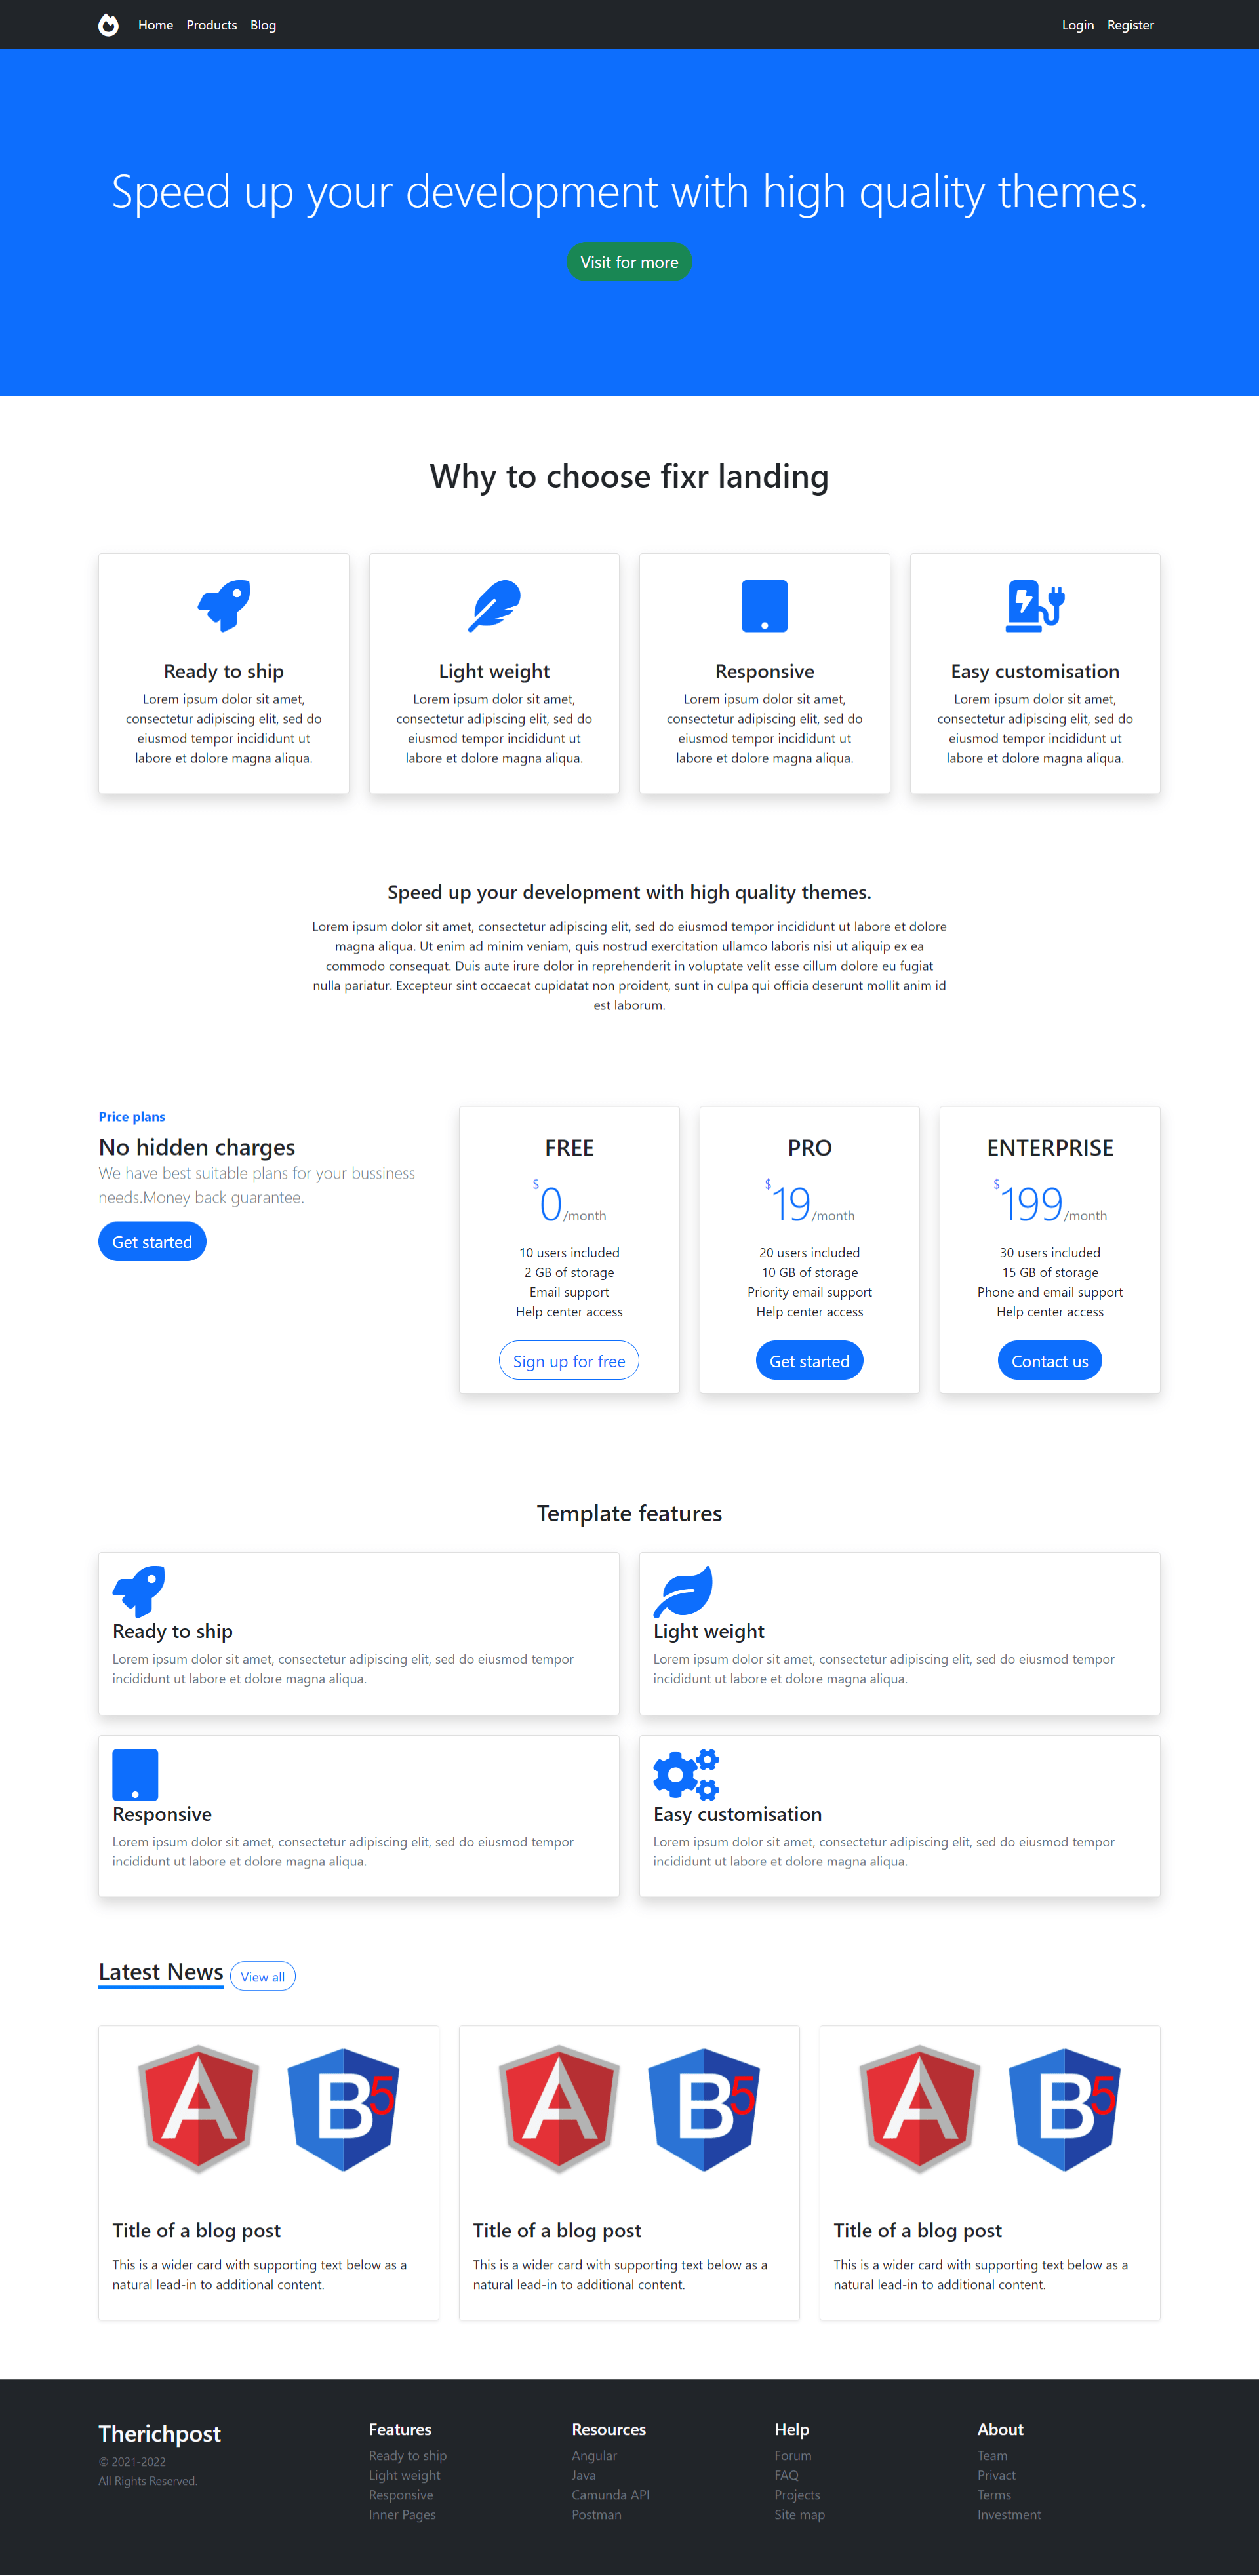
3. Now friends we just need to add below code into angularboot5/src/app/app.component.html file to get final out on the web browser:
Friends in the end must run ng serve command into your terminal to run the angular 12 project (localhost:4200).
Guys click here to check the Angular 12 Bootstrap 5 Free Templates.
Now we are done friends. If you have any kind of query, suggestion and new requirement then feel free to comment below.
Note: Friends, In this post, I just tell the basic setup and things, you can change the code according to your requirements.
I will appreciate that if you will tell your views for this post. Nothing matters if your views will be good or bad because with your views, I will make my next posts moregood and helpful.
Here is the code snippet and please use carefully:
1. Very first guys, here are common basics steps to add angular 16 application on your machine and also we must have latest nodejs version installed for angular 16:
$ npm install -g @angular/cli
$ ng new angulargql // Set Angular 16 Application on your pc
cd angulargql // Go inside project folder
2. Now run below commands to set graphql modules into our angular 12 application:
ng add apollo-angular
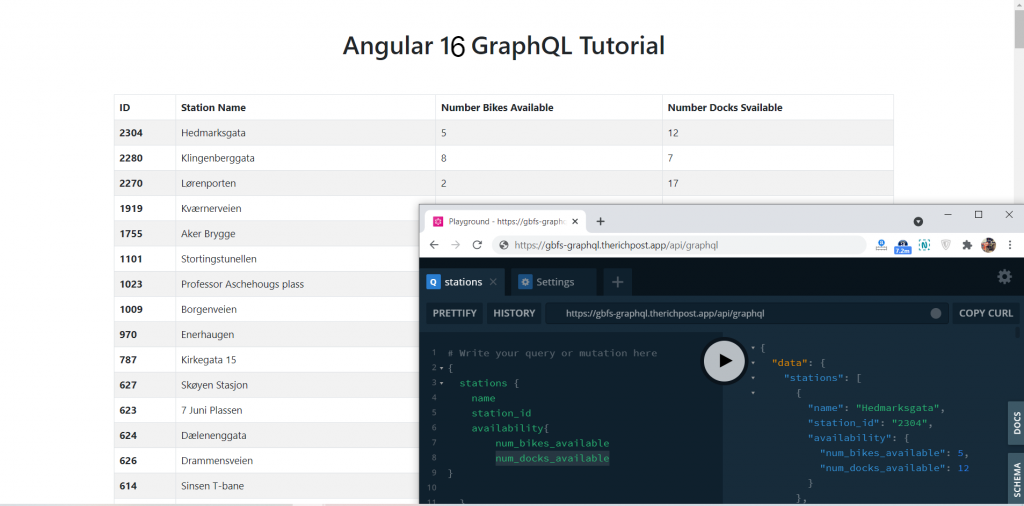
3. Guys after run above apollo angular command, you need to add the graphql endpoint url(please see below image) and after command execution you see `graphql.module.ts` file inside angulargql/src/app folder.
4. Guy’s now we need to add below code inside our angulargql/src/app/app.component.ts file:
Now we are done friends and please run ng serve command to check the output in browser(locahost:4200) and if you have any kind of query then please do comment below.
Note: Friends, I just tell the basic setup and things, you can change the code according to your requirements. For better understanding must watch video above.
I will appreciate that if you will tell your views for this post. Nothing matters if your views will be good or bad.
Guys here is the code snippet and please use carefully:
1. Firstly friends we need fresh angular 17 setup and for this we need to run below commands but if you already have angular 17 setup then you can avoid below commands. Secondly we should also have latest node version installed on our system:
npm install -g @angular/cli //Setup Angular17 atmosphere
ng new angularcrud //Install New Angular App
/**You need to update your Nodejs also for this verison**/
cd angularcrud //Go inside the Angular 17 Project
2. Now guy’s we need to run below commands inside our angular 17 project to install firebase , bootstrap, toast modules or guys you can add according to your needs:
6. Now guy’s we need to add firebase configuration details that I have shown in my second video(create database on firebase) and we need to add that details in angularcrud/src/environments/environment.ts file:
7. Now guy’s we nee to add or replace below code into our angularcrud/src/app/app.module.ts file:
import { BrowserModule } from '@angular/platform-browser';
import { NgModule } from '@angular/core';
import { AngularFireModule } from '@angular/fire';
import { AngularFireDatabaseModule } from '@angular/fire/database';
import { AngularFirestoreModule } from '@angular/fire/firestore';
import { AppComponent } from './app.component';
import { environment } from 'src/environments/environment';
import { AddStudentComponent } from './add-student/add-student.component';
import { StudentListComponent } from './student-list/student-list.component';
import { EditStudentComponent } from './edit-student/edit-student.component';
import { FormsModule, ReactiveFormsModule } from '@angular/forms';
import { BrowserAnimationsModule } from '@angular/platform-browser/animations';
// NGX Pagination
import { NgxPaginationModule } from 'ngx-pagination';
import { ToastrModule } from 'ngx-toastr';
import { RouterModule, Routes } from '@angular/router';
// Routes array define component along with the path name for url
const routes: Routes = [
{ path: '', redirectTo: '/register-student', pathMatch: 'full' },
{ path: 'register-student', component: AddStudentComponent },
{ path: 'view-students', component: StudentListComponent },
{ path: 'edit-student/:id', component: EditStudentComponent }
];
@NgModule({
declarations: [
AppComponent,
AddStudentComponent,
EditStudentComponent,
StudentListComponent
],
imports: [
BrowserModule,
FormsModule,
ReactiveFormsModule,
AngularFireModule.initializeApp(environment.firebaseConfig),
AngularFireDatabaseModule,
AngularFirestoreModule,
BrowserAnimationsModule, // required animations module
NgxPaginationModule,
ToastrModule.forRoot(),
RouterModule.forRoot(routes)
],
providers: [],
bootstrap: [AppComponent]
})
export class AppModule { }
8. Now guy’s we need to add below code into our angularcrud/src/app/app.component.html file:
<!-- Top navigation -->
<nav class="navbar navbar-dark fixed-top bg-dark flex-md-nowrap p-0 shadow p-2 mb-0">
<a class="navbar-brand col-sm-3 col-md-2 mr-0" routerLink="/register-student">
<span class="dasboard-text">Therichpost.com</span>
</a>
<ul class="navbar-nav px-3">
<li class="nav-item text-nowrap">
<a class="nav-link" routerLink="/register-student">
Welcome Jassa
</a>
</li>
</ul>
</nav>
<!-- Sidebar navigation -->
<div class="container-fluid">
<div class="row">
<nav class="col-md-2 d-md-block bg-light sidebar vh-100" style="margin-top: 60px;">
<div class="sidebar-sticky">
<ul class="nav flex-column">
<!-- routerLink="/register-student" to navigate to view-students component -->
<li class="nav-item">
<a class="nav-link" routerLink="/register-student" routerLinkActive="active">
<i class="fas fa-plus"></i>Add Student
</a>
</li>
<!-- routerLink="/view-students" to navigate to view-students component -->
<!-- routerLinkActive="active" activates active class for component-->
<li class="nav-item">
<a class="nav-link" routerLink="/view-students" routerLinkActive="active">
<i class="fas fa-list-ul"></i>Students List
</a>
</li>
</ul>
</div>
</nav>
<!-- Main content -->
<main role="main" style="margin-top: 50px;" class="col-md-9 ml-sm-auto col-lg-10 px-4">
<div class="inner-adjust">
<!-- Use router template to show the components for which router service is activated -->
<router-outlet></router-outlet>
</div>
</main>
</div>
</div>
<div class="jumbotron text-center mb-0 fixed-bottom bg-dark text-white">
<p>therichpost.com</p>
</div>
9. First create services folder into our app folder and run below command:
ng g s services/crud
10. Now guy’s open angularcrud/src/app/services/crud.service.ts file and below code into it:
import { Injectable } from '@angular/core';
import { AngularFireDatabase, AngularFireList, AngularFireObject } from '@angular/fire/database'; // Firebase modules for Database, Data list and Single object
export interface Student {
$key: string;
firstName: string;
lastName: string;
email: string
mobileNumber: Number;
}
@Injectable({
providedIn: 'root'
})
export class CrudService {
studentsRef: AngularFireList<any>; // Reference to Student data list, its an Observable
studentRef: AngularFireObject<any>; // Reference to Student object, its an Observable too
// Inject AngularFireDatabase Dependency in Constructor
constructor(private db: AngularFireDatabase) { }
// Create Student
AddStudent(student: Student) {
this.studentsRef.push({
firstName: student.firstName,
lastName: student.lastName,
email: student.email,
mobileNumber: student.mobileNumber
})
}
// Fetch Single Student Object
GetStudent(id: string) {
this.studentRef = this.db.object('students-list/' + id);
return this.studentRef;
}
// Fetch Students List
GetStudentsList() {
this.studentsRef = this.db.list('students-list');
return this.studentsRef;
}
// Update Student Object
UpdateStudent(student: Student) {
this.studentRef.update({
firstName: student.firstName,
lastName: student.lastName,
email: student.email,
mobileNumber: student.mobileNumber
})
}
// Delete Student Object
DeleteStudent(id: string) {
this.studentRef = this.db.object('students-list/'+id);
this.studentRef.remove();
}
}
11. Now guy’s open angularcrud/src/app/add-student/add-student.component.ts file and add below code into it:
import { Component, OnInit } from '@angular/core';
import { CrudService } from '../services/crud.service'; // CRUD services API
import { FormBuilder, FormGroup, FormControl, Validators } from '@angular/forms'; // Reactive form services
import { ToastrService } from 'ngx-toastr'; // Alert message using NGX toastr
@Component({
selector: 'app-add-student',
templateUrl: './add-student.component.html',
styleUrls: ['./add-student.component.css']
})
export class AddStudentComponent implements OnInit {
public studentForm: FormGroup; // Define FormGroup to student's form
constructor(
public crudApi: CrudService, // CRUD API services
public fb: FormBuilder, // Form Builder service for Reactive forms
public toastr: ToastrService // Toastr service for alert message
) { }
ngOnInit() {
this.crudApi.GetStudentsList(); // Call GetStudentsList() before main form is being called
this.studenForm(); // Call student form when component is ready
}
// Reactive student form
studenForm() {
this.studentForm = this.fb.group({
firstName: ['', [Validators.required, Validators.minLength(2)]],
lastName: [''],
email: ['', [Validators.required, Validators.pattern('^[a-zA-Z0-9_.+-]+@[a-zA-Z0-9-]+.[a-zA-Z0-9-.]+
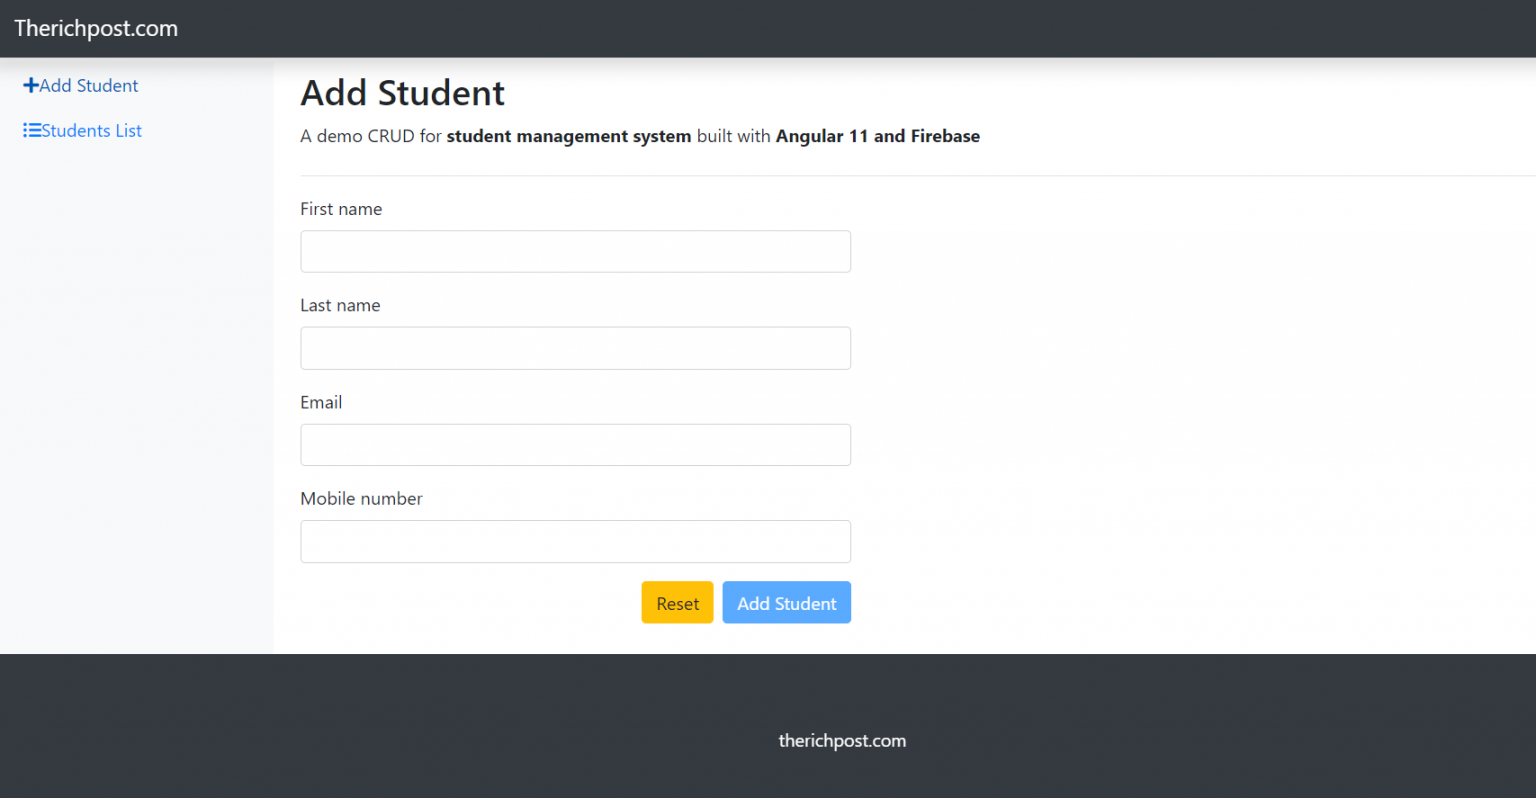
12. Now open angularcrud/src/app/add-student/add-student.component.html file and add below code into it:
<div class="pt-3 pb-2 mb-3 border-bottom">
<h1 class="h2">Add Student</h1>
<p class="custom-text">A demo CRUD for <strong>student management system</strong> built with <strong>Angular 10
and Firebase</strong></p>
</div>
<!-- Student form -->
<form [formGroup]="studentForm" (ngSubmit)="submitStudentData()" novalidate>
<div class="row">
<div class="col-lg-5 col-md-12 col-sm-12">
<div class="row">
<div class="col-md-12 mb-3">
<label>First name</label>
<input type="text" formControlName="firstName" class="form-control" required>
<!-- Showing errors using getter method -->
<p *ngIf="firstName.touched && firstName.invalid" class="error"><sup>*</sup>Please enter atleast first name</p>
<p *ngIf="firstName.errors?.minlength" class="error"><sup>*</sup>Name shouldn't be less than 2 words</p>
</div>
<div class="col-md-12 mb-3">
<label>Last name</label>
<input type="text" formControlName="lastName" class="form-control">
</div>
</div>
<div class="row">
<div class="col-md-12 mb-3">
<label>Email</label>
<input type="email" formControlName="email" class="form-control" required>
<!-- Showing errors using getter method -->
<p *ngIf="email.touched && email.invalid" class="error"><sup>*</sup>Please provide email</p>
<p *ngIf="email.errors?.pattern" class="error"><sup>*</sup>Please enter correct email</p>
</div>
<div class="col-md-12 mb-3">
<label>Mobile number</label>
<input type="text" formControlName="mobileNumber" class="form-control" required>
<!-- Showing errors using getter method -->
<p *ngIf="mobileNumber.touched && mobileNumber.invalid" class="error"><sup>*</sup>Please provide contact
number</p>
<p *ngIf="mobileNumber.errors?.pattern" class="error"><sup>*</sup>Use numbers only
number</p>
</div>
</div>
<div class="form-group text-right">
<button type="button" class="btn btn-warning mr-2" (click)="ResetForm()">Reset</button>
<button type="submit" class="btn btn-primary" [disabled]="!studentForm.valid">Add Student</button>
</div>
</div>
</div>
</form><!-- Student form ends-->
13. Now guy’s open app/add-student/add-student.component.css file and add below code into it:
p.error { color: red; }
14. Now open angularcrud/src/app/edit-student/edit-student.component.ts file and add below code into it:
import { Component, OnInit, AfterViewInit } from '@angular/core';
import { FormGroup, FormBuilder, Validators } from '@angular/forms';
import { CrudService } from '../services/crud.service';
import { ActivatedRoute, Router } from "@angular/router"; // ActivatedRoue is used to get the current associated components information.
import { Location } from '@angular/common'; // Location service is used to go back to previous component
import { ToastrService } from 'ngx-toastr';
@Component({
selector: 'app-edit-student',
templateUrl: './edit-student.component.html',
styleUrls: ['./edit-student.component.css']
})
export class EditStudentComponent implements OnInit {
editForm: FormGroup; // Define FormGroup to student's edit form
constructor(
private crudApi: CrudService, // Inject CRUD API in constructor
private fb: FormBuilder, // Inject Form Builder service for Reactive forms
private location: Location, // Location service to go back to previous component
private actRoute: ActivatedRoute, // Activated route to get the current component's inforamation
private router: Router, // Router service to navigate to specific component
private toastr: ToastrService // Toastr service for alert message
){ }
ngOnInit() {
this.updateStudentData(); // Call updateStudentData() as soon as the component is ready
const id = this.actRoute.snapshot.paramMap.get('id'); // Getting current component's id or information using ActivatedRoute service
this.crudApi.GetStudent(id).valueChanges().subscribe(data => {
this.editForm.setValue(data) // Using SetValue() method, It's a ReactiveForm's API to store intial value of reactive form
})
}
// Accessing form control using getters
get firstName() {
return this.editForm.get('firstName');
}
get lastName() {
return this.editForm.get('lastName');
}
get email() {
return this.editForm.get('email');
}
get mobileNumber() {
return this.editForm.get('mobileNumber');
}
// Contains Reactive Form logic
updateStudentData() {
this.editForm = this.fb.group({
firstName: ['', [Validators.required, Validators.minLength(2)]],
lastName: [''],
email: ['', [Validators.required, Validators.pattern('^[a-zA-Z0-9_.+-]+@[a-zA-Z0-9-]+.[a-zA-Z0-9-.]+
15. Now open angularcrud/src/app/edit-student/edit-student.component.html file and add below code into it:
16. Now open angularcrud/src/app/edit-student/edit-student.component.css file and add below code into it:
p.error { color: red; }
17. Now open angularcrud/src/app/student-list/student-list.component.ts file and add below code into it:
import { Component, OnInit } from '@angular/core';
import { CrudService } from '../services/crud.service'; // CRUD API service class
import { ToastrService } from 'ngx-toastr'; // Alert message using NGX toastr
export interface Student {
$key: string;
firstName: string;
lastName: string;
email: string
mobileNumber: Number;
}
@Component({
selector: 'app-student-list',
templateUrl: './student-list.component.html',
styleUrls: ['./student-list.component.css']
})
export class StudentListComponent implements OnInit {
p: number = 1; // Settup up pagination variable
Student: Student[]; // Save students data in Student's array.
hideWhenNoStudent: boolean = false; // Hide students data table when no student.
noData: boolean = false; // Showing No Student Message, when no student in database.
constructor(
public crudApi: CrudService, // Inject student CRUD services in constructor.
public toastr: ToastrService // Toastr service for alert message
){ }
ngOnInit() {
this.dataState(); // Initialize student's list, when component is ready
let s = this.crudApi.GetStudentsList();
s.snapshotChanges().subscribe(data => { // Using snapshotChanges() method to retrieve list of data along with metadata($key)
this.Student = [];
data.forEach(item => {
let a = item.payload.toJSON();
a['$key'] = item.key;
this.Student.push(a as Student);
})
})
}
// Using valueChanges() method to fetch simple list of students data. It updates the state of hideWhenNoStudent, noData variables when any changes occurs in student data list in real-time.
dataState() {
this.crudApi.GetStudentsList().valueChanges().subscribe(data => {
if(data.length <= 0){
this.hideWhenNoStudent = false;
this.noData = true;
} else {
this.hideWhenNoStudent = true;
this.noData = false;
}
})
}
// Method to delete student object
deleteStudent(student) {
if (window.confirm('Are sure you want to delete this student ?')) { // Asking from user before Deleting student data.
this.crudApi.DeleteStudent(student.$key) // Using Delete student API to delete student.
this.toastr.success(student.firstName + ' successfully deleted!'); // Alert message will show up when student successfully deleted.
}
}
}
18. Now your angularcrud/src/app/student-list/student-list.component.thtml s file and add below code into it:
<div class="d-flex justify-content-between flex-wrap flex-md-nowrap align-items-center pt-3 pb-2 mb-3 border-bottom">
<h1 class="h2">Students List</h1>
<!-- It won't show if there is no student data -->
<a routerLink="/register-student" class="btn btn-success" *ngIf="hideWhenNoStudent">
<i class="fas fa-plus custom-fa-plus"></i>
Add Student
</a>
</div>
<div class="pricing-header mx-auto">
<!-- No data shows when their is no student data available -->
<div class="no-data text-center" *ngIf="noData">
<p class="nodata-msg">No student added yet!</p>
<a routerLink="/register-student" class="btn btn-success">
<i class="fas fa-plus custom-fa-plus"></i>
Add Student
</a>
</div>
<!-- Showing students data -->
<div class="table-responsive" *ngIf="hideWhenNoStudent">
<table class="table table-bordered table-responsive-sm table-responsive-md table-responsive-lg">
<thead>
<tr>
<th scope="col">Student Id</th>
<th scope="col">Student name</th>
<th scope="col">Email</th>
<th scope="col">Mobile number</th>
<th class="text-center" scope="col">Edit</th>
</tr>
</thead>
<tbody>
<!-- *ngFor loop iterates over Student array and fetch the student's data -->
<!-- paginate pipe will add pagination in student's list, it won't show if items are less then 7 -->
<tr *ngFor="let student of Student | paginate: { itemsPerPage: 7, currentPage: p }; let i = index;">
<th scope="row">{{student.$key}}</th>
<td>{{student.firstName}} {{student.lastName}}</td>
<td>{{student.email}}</td>
<td>{{student.mobileNumber}}</td>
<td class="text-center action-block">
<!-- routerLink="/edit-student/{{student.$key}}" is refered to { path: 'edit-student/:id', component: EditStudentComponent } in app-routing.moudles.ts -->
<i class="far fa-edit" routerLink="/edit-student/{{student.$key}}"></i>
<i class="far fa-trash-alt" (click)="deleteStudent(student)"></i></td>
</tr>
</tbody>
</table>
</div>
<!-- Pagination -->
<pagination-controls (pageChange)="p = $event" autoHide="true" responsive="true"></pagination-controls>
</div>
12. Now open angularcrud/src/app/add-student/add-student.component.html file and add below code into it:
13. Now guy’s open app/add-student/add-student.component.css file and add below code into it:
14. Now open angularcrud/src/app/edit-student/edit-student.component.ts file and add below code into it:
15. Now open angularcrud/src/app/edit-student/edit-student.component.html file and add below code into it:
16. Now open angularcrud/src/app/edit-student/edit-student.component.css file and add below code into it:
17. Now open angularcrud/src/app/student-list/student-list.component.ts file and add below code into it:
18. Now your angularcrud/src/app/student-list/student-list.component.thtml s file and add below code into it:
)]]
})
}
// Accessing form control using getters
get firstName() {
return this.studentForm.get('firstName');
}
get lastName() {
return this.studentForm.get('lastName');
}
get email() {
return this.studentForm.get('email');
}
get mobileNumber() {
return this.studentForm.get('mobileNumber');
}
// Reset student form's values
ResetForm() {
this.studentForm.reset();
}
submitStudentData() {
this.crudApi.AddStudent(this.studentForm.value); // Submit student data using CRUD API
this.toastr.success(this.studentForm.controls['firstName'].value + ' successfully added!'); // Show success message when data is successfully submited
this.ResetForm(); // Reset form when clicked on reset button
};
}
12. Now open angularcrud/src/app/add-student/add-student.component.html file and add below code into it:
13. Now guy’s open app/add-student/add-student.component.css file and add below code into it:
14. Now open angularcrud/src/app/edit-student/edit-student.component.ts file and add below code into it:
15. Now open angularcrud/src/app/edit-student/edit-student.component.html file and add below code into it:
16. Now open angularcrud/src/app/edit-student/edit-student.component.css file and add below code into it:
17. Now open angularcrud/src/app/student-list/student-list.component.ts file and add below code into it:
18. Now your angularcrud/src/app/student-list/student-list.component.thtml s file and add below code into it:
)]]
})
}
// Accessing form control using getters
get firstName() {
return this.studentForm.get('firstName');
}
get lastName() {
return this.studentForm.get('lastName');
}
get email() {
return this.studentForm.get('email');
}
get mobileNumber() {
return this.studentForm.get('mobileNumber');
}
// Reset student form's values
ResetForm() {
this.studentForm.reset();
}
submitStudentData() {
this.crudApi.AddStudent(this.studentForm.value); // Submit student data using CRUD API
this.toastr.success(this.studentForm.controls['firstName'].value + ' successfully added!'); // Show success message when data is successfully submited
this.ResetForm(); // Reset form when clicked on reset button
};
}
12. Now open angularcrud/src/app/add-student/add-student.component.html file and add below code into it:
13. Now guy’s open app/add-student/add-student.component.css file and add below code into it:
14. Now open angularcrud/src/app/edit-student/edit-student.component.ts file and add below code into it:
15. Now open angularcrud/src/app/edit-student/edit-student.component.html file and add below code into it:
16. Now open angularcrud/src/app/edit-student/edit-student.component.css file and add below code into it:
17. Now open angularcrud/src/app/student-list/student-list.component.ts file and add below code into it:
18. Now your angularcrud/src/app/student-list/student-list.component.thtml s file and add below code into it:
)]]
})
}
// Go back to previous component
goBack() {
this.location.back();
}
// Below methods fire when somebody click on submit button
updateForm(){
this.crudApi.UpdateStudent(this.editForm.value); // Update student data using CRUD API
this.toastr.success(this.editForm.controls[‘firstName’].value + ‘ updated successfully’); // Show succes message when data is successfully submited
this.router.navigate([‘view-students’]); // Navigate to student’s list page when student data is updated
}
}
15. Now open angularcrud/src/app/edit-student/edit-student.component.html file and add below code into it:
16. Now open angularcrud/src/app/edit-student/edit-student.component.css file and add below code into it:
17. Now open angularcrud/src/app/student-list/student-list.component.ts file and add below code into it:
18. Now your angularcrud/src/app/student-list/student-list.component.thtml s file and add below code into it:
12. Now open angularcrud/src/app/add-student/add-student.component.html file and add below code into it:
13. Now guy’s open app/add-student/add-student.component.css file and add below code into it:
14. Now open angularcrud/src/app/edit-student/edit-student.component.ts file and add below code into it:
15. Now open angularcrud/src/app/edit-student/edit-student.component.html file and add below code into it:
16. Now open angularcrud/src/app/edit-student/edit-student.component.css file and add below code into it:
17. Now open angularcrud/src/app/student-list/student-list.component.ts file and add below code into it:
18. Now your angularcrud/src/app/student-list/student-list.component.thtml s file and add below code into it:
)]]
})
}
// Accessing form control using getters
get firstName() {
return this.studentForm.get(‘firstName’);
}
get lastName() {
return this.studentForm.get(‘lastName’);
}
get email() {
return this.studentForm.get(’email’);
}
get mobileNumber() {
return this.studentForm.get(‘mobileNumber’);
}
// Reset student form’s values
ResetForm() {
this.studentForm.reset();
}
submitStudentData() {
this.crudApi.AddStudent(this.studentForm.value); // Submit student data using CRUD API
this.toastr.success(this.studentForm.controls[‘firstName’].value + ‘ successfully added!’); // Show success message when data is successfully submited
this.ResetForm(); // Reset form when clicked on reset button
};
}
12. Now open angularcrud/src/app/add-student/add-student.component.html file and add below code into it:
13. Now guy’s open app/add-student/add-student.component.css file and add below code into it:
14. Now open angularcrud/src/app/edit-student/edit-student.component.ts file and add below code into it:
15. Now open angularcrud/src/app/edit-student/edit-student.component.html file and add below code into it:
16. Now open angularcrud/src/app/edit-student/edit-student.component.css file and add below code into it:
17. Now open angularcrud/src/app/student-list/student-list.component.ts file and add below code into it:
18. Now your angularcrud/src/app/student-list/student-list.component.thtml s file and add below code into it:
This is it and please run ng serve command check the working on browser(localhost:4200) and if you have any kind of query then please do comment below.
Guy’s I will come with more demos related angular 17. Please share your views on this post and you views are very important to me.
Friends now I proceed onwards and here is the working code snippet and use this carefully to avoid the mistakes:
1. Firstly friends we need fresh angular 12 setup and for this we need to run below commands but if you already have angular 12 setup then you can avoid below commands. Secondly we should also have latest node version installed on our system:
Guys you can skip this first step if you already have angular 12 fresh setup:
npm install -g @angular/cli
ng new angularbootstrap //Create new Angular Project
cd angularbootstrap // Go inside the Angular Project Folder
ng serve --open // Run and Open the Angular Project
http://localhost:4200/ // Working Angular Project Url
2. Now friends, please download zip(in this zip file there are js, css and images for angular bootstrap template) file from below path and extract zip and please put all the zip file folders in “src/assets” folder(which we will get from zip file):
https://therichpost.com/ng-b5.zip
3. Now friends please add below code into angularbootstrap/src/index.html file:
Now we are done friends also and If you have any kind of query or suggestion or any requirement then feel free to comment below. In my next post I will come with more Bootstrap 5 Free Templates.
Note: Friends, I just tell the basic setup and things, you can change the code according to your requirements. For better understanding must watch video above.
I will appreciate that if you will tell your views for this post. Nothing matters if your views will be good or bad.
Friends now I proceed onwards and here is the working code snippet and please use carefully this to avoid the mistakes:
1. Firstly friends we need fresh angular 12 setup and for this we need to run below commands but if you already have angular 12 setup then you can avoid below commands. Secondly we should also have latest node version installed on our system:
npm install -g @angular/cli
ng new angularboot5 //Create new Angular Project
cd angularboot5 // Go inside the Angular Project Folder
2. Now friends we need to run below commands into our project terminal to install bootstrap 5 modules into our angular application:
npm install bootstrap@next
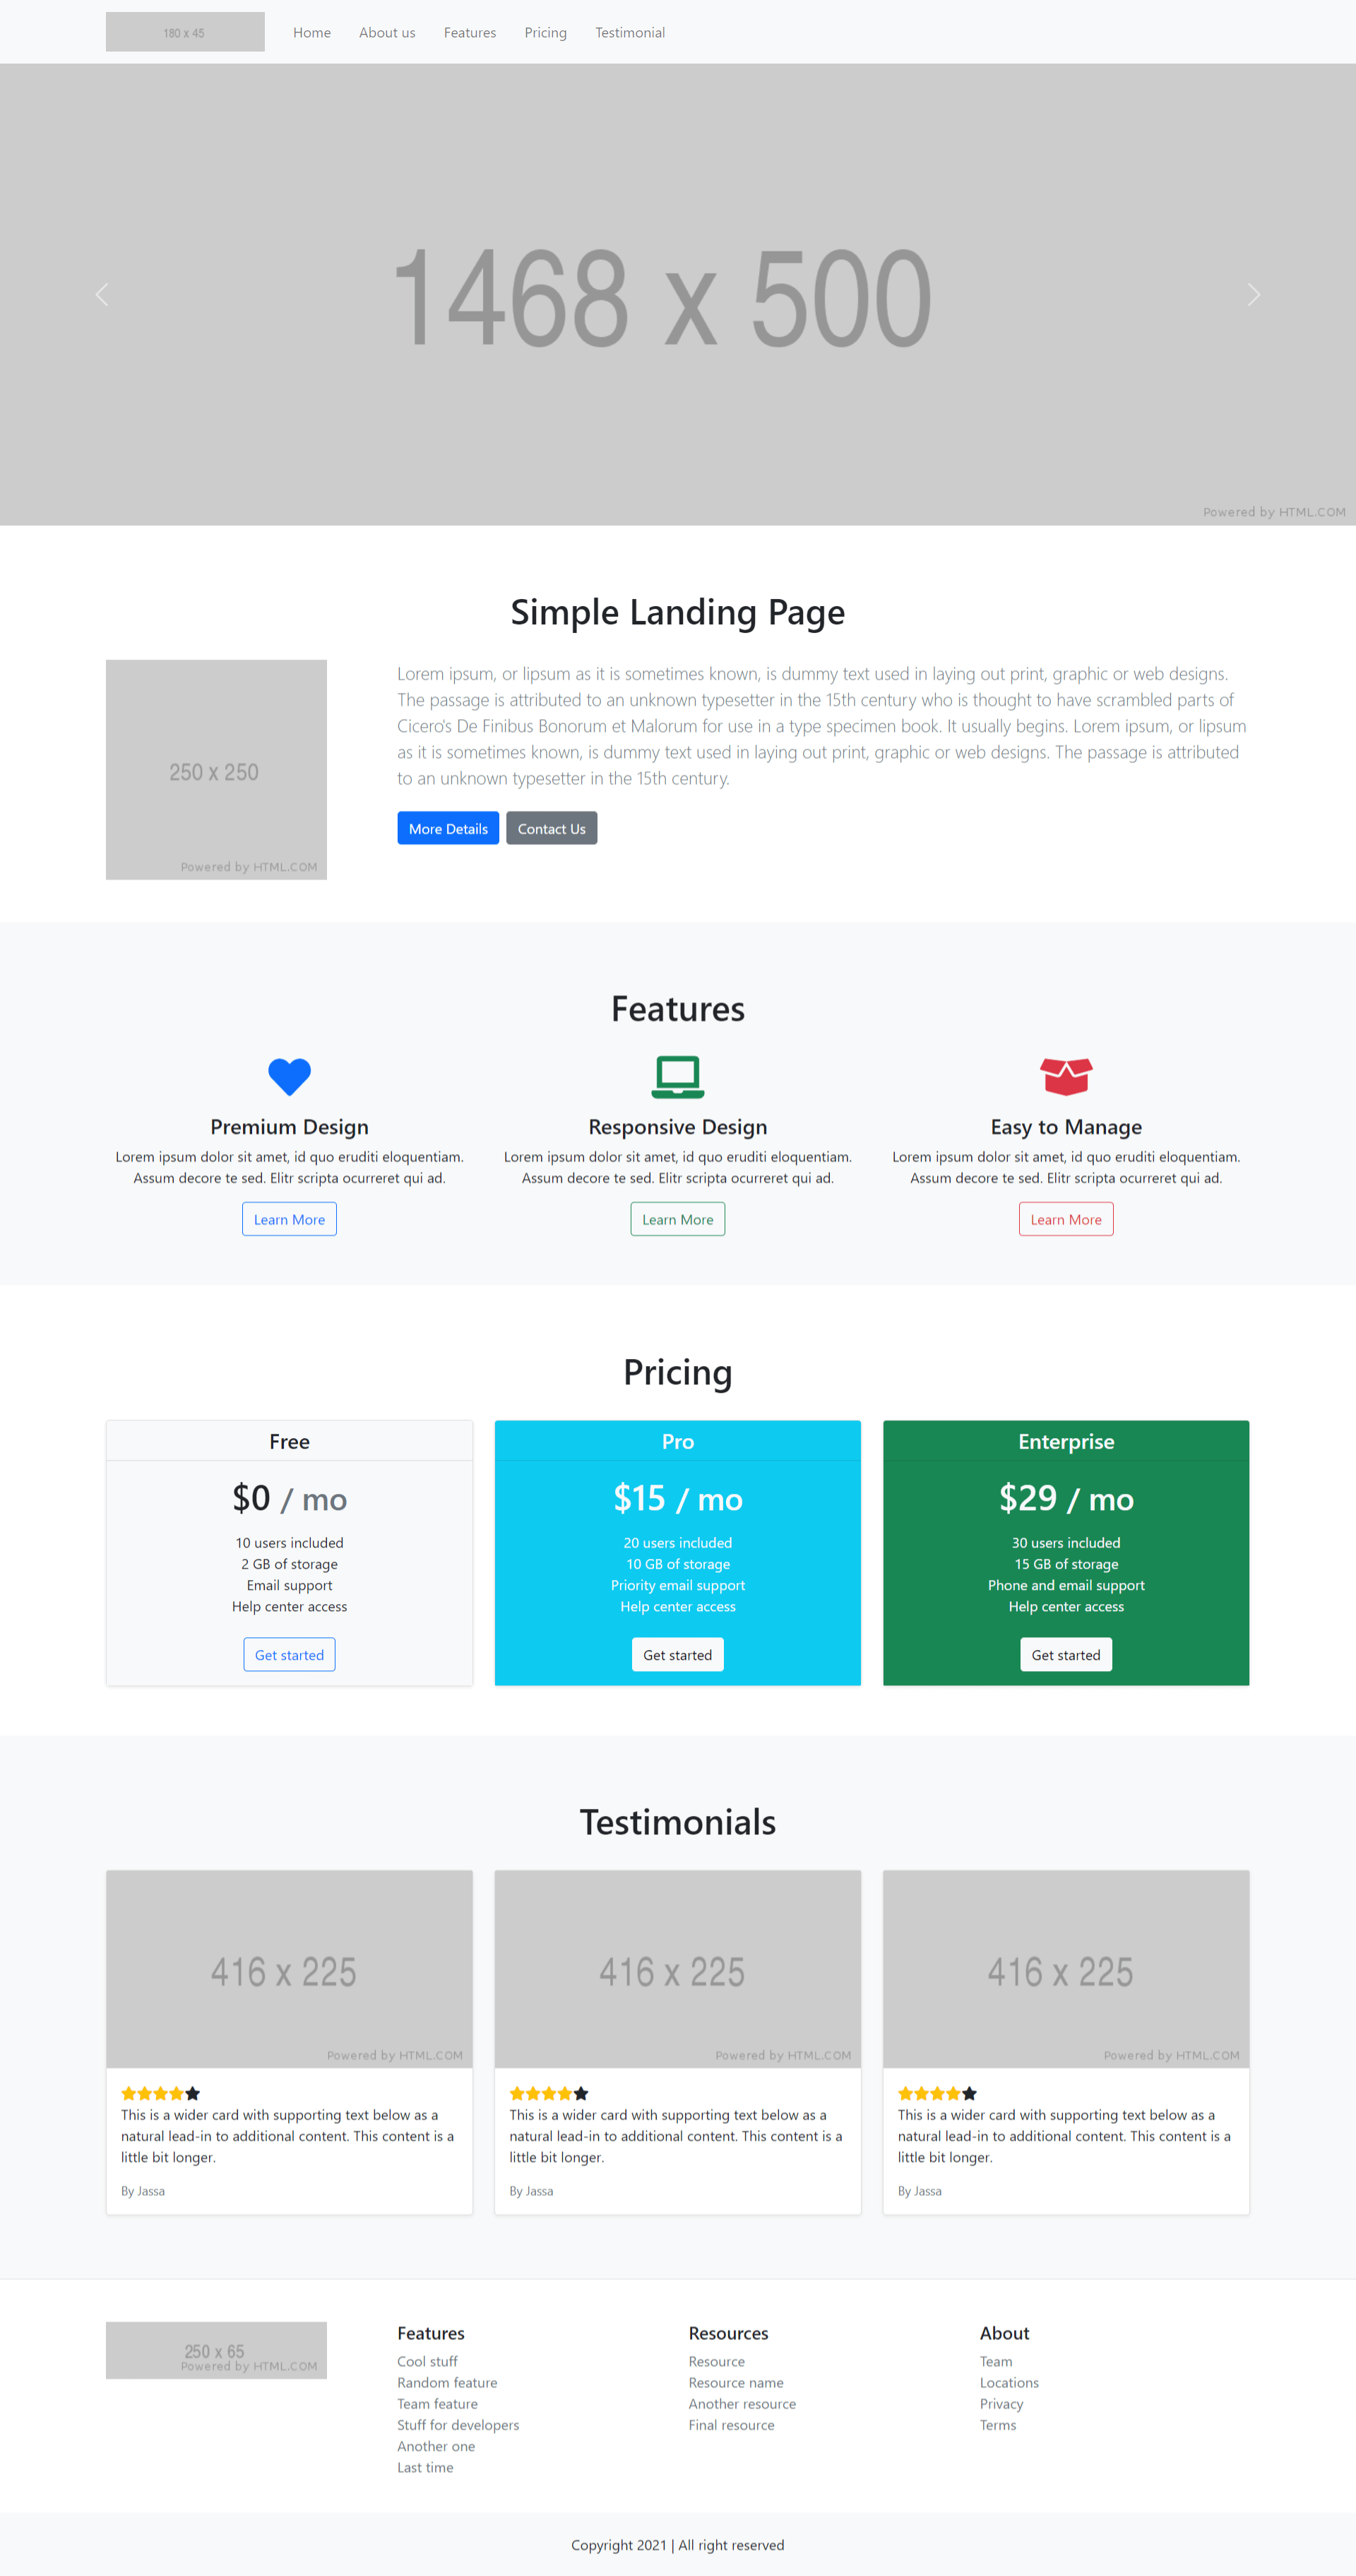
3. Now friends we just need to add below code into angularboot5/src/app/app.component.html file to get final out on the web browser:
<header>
<!--Responsive Navbar -->
<nav class="navbar navbar-expand-lg navbar-light bg-light">
<div class="container">
<a class="navbar-brand" target="_blank" href="#">
<img class="img-fluid" src="https://via.placeholder.com/180x45">
</a>
<button class="navbar-toggler" type="button" data-bs-toggle="collapse" data-bs-target="#navbarText" aria-controls="navbarText" aria-expanded="false" aria-label="Toggle navigation">
<span class="navbar-toggler-icon"></span>
</button>
<div class="collapse navbar-collapse" id="navbarText">
<ul class="navbar-nav me-auto mb-2 mb-lg-0">
<li class="nav-item active">
<a class="nav-link p-3" href="#">Home <span class="sr-only">(current)</span></a>
</li>
<li class="nav-item">
<a class="nav-link p-3" href="#about-us">About us</a>
</li>
<li class="nav-item">
<a class="nav-link p-3" href="#features">Features</a>
</li>
<li class="nav-item">
<a class="nav-link p-3" href="#pricing">Pricing</a>
</li>
<li class="nav-item">
<a class="nav-link p-3" href="#testimonial">Testimonial</a>
</li>
</ul>
</div>
</div>
</nav>
</header>
<main>
<section>
<!--Carousel Slider -->
<div id="carouselExampleControls" class="carousel slide" data-bs-ride="carousel">
<div class="carousel-inner">
<div class="carousel-item active">
<a target="_blank" href="#"><img src="https://via.placeholder.com/1468x500" class="d-block w-100" alt="..."></a>
</div>
<div class="carousel-item">
<a target="_blank" href="#"><img src="https://via.placeholder.com/1468x500" class="d-block w-100" alt="..."></a>
</div>
<div class="carousel-item">
<a target="_blank" href="#"><img src="https://via.placeholder.com/1468x500" class="d-block w-100" alt="..."></a>
</div>
</div>
<a class="carousel-control-prev" href="#carouselExampleControls" role="button" data-bs-target="#carouselExampleControls" data-bs-slide="prev">
<span class="carousel-control-prev-icon" aria-hidden="true"></span>
<span class="sr-only">Previous</span>
</a>
<a class="carousel-control-next" href="#carouselExampleControls" role="button" data-bs-target="#carouselExampleControls" data-bs-slide="next">
<span class="carousel-control-next-icon" aria-hidden="true"></span>
<span class="sr-only">Next</span>
</a>
</div>
</section>
<section id="about-us" class="py-5">
<div class="container">
<div class="text-center py-4">
<h1>Simple Landing Page</h1>
</div>
<div class="row">
<div class="col-md-3">
<a target="_blank" href="#">
<img src="https://via.placeholder.com/250x250" class="d-block img-fluid" alt="...">
</a>
</div>
<div class="col-md-9">
<p class="lead text-muted">Lorem ipsum, or lipsum as it is sometimes known, is dummy text used in laying out print, graphic or web designs. The passage is attributed to an unknown typesetter in the 15th century who is thought to have scrambled parts of Cicero's De Finibus Bonorum et Malorum for use in a type specimen book. It usually begins. Lorem ipsum, or lipsum as it is sometimes known, is dummy text used in laying out print, graphic or web designs. The passage is attributed to an unknown typesetter in the 15th century.</p>
<p>
<a href="#" class="btn btn-primary my-2 me-2">More Details</a>
<a href="#" class="btn btn-secondary my-2">Contact Us</a>
</p>
</div>
</div>
</div>
</section>
<section id="features" class="py-5 bg-light">
<div class="container">
<div class="text-center py-4">
<h1>Features</h1>
</div>
<div class="row">
<div class="col-md-4 col-sm-4 mb-2">
<div class="box-part text-center">
<i class="text-primary fas fa-heart fa-3x mb-3" aria-hidden="true"></i>
<div class="title">
<h4>Premium Design</h4>
</div>
<div class="text mb-3">
<span>Lorem ipsum dolor sit amet, id quo eruditi eloquentiam. Assum decore te sed. Elitr scripta ocurreret qui ad.</span>
</div>
<a class="btn btn-outline-primary" href="#">Learn More</a>
</div>
</div>
<div class="col-md-4 col-sm-4 mb-2">
<div class="box-part text-center">
<i class="text-success fas fa-laptop fa-3x mb-3" aria-hidden="true"></i>
<div class="title">
<h4>Responsive Design</h4>
</div>
<div class="text mb-3">
<span>Lorem ipsum dolor sit amet, id quo eruditi eloquentiam. Assum decore te sed. Elitr scripta ocurreret qui ad.</span>
</div>
<a class="btn btn-outline-success" href="#">Learn More</a>
</div>
</div>
<div class="col-md-4 col-sm-4 mb-2">
<div class="box-part text-center">
<i class="text-danger fas fa-box-open fa-3x mb-3" aria-hidden="true"></i>
<div class="title">
<h4>Easy to Manage</h4>
</div>
<div class="text mb-3">
<span>Lorem ipsum dolor sit amet, id quo eruditi eloquentiam. Assum decore te sed. Elitr scripta ocurreret qui ad.</span>
</div>
<a class="btn btn-outline-danger" href="#">Learn More</a>
</div>
</div>
</div>
</div>
</section>
<section id="pricing" class="py-5">
<div class="container">
<div class="row text-center">
<div class="py-4">
<h1>Pricing</h1>
</div>
<div class="col-sm-4 mb-2">
<div class="card shadow-sm">
<div class="card-header bg-light">
<h4 class="my-0 font-weight-normal">Free</h4>
</div>
<div class="card-body bg-light">
<h1 class="card-title pricing-card-title">$0 <small class="text-muted">/ mo</small></h1>
<ul class="list-unstyled mt-3 mb-4">
<li>10 users included</li>
<li>2 GB of storage</li>
<li>Email support</li>
<li>Help center access</li>
</ul>
<button type="button" class="btn btn-block btn-outline-primary">Get started</button>
</div>
</div>
</div>
<div class="col-sm-4 mb-2">
<div class="card shadow-sm">
<div class="card-header bg-info text-light">
<h4 class="my-0 font-weight-normal">Pro</h4>
</div>
<div class="card-body bg-info text-light">
<h1 class="card-title pricing-card-title">$15 <small>/ mo</small></h1>
<ul class="list-unstyled mt-3 mb-4">
<li>20 users included</li>
<li>10 GB of storage</li>
<li>Priority email support</li>
<li>Help center access</li>
</ul>
<button type="button" class="btn btn-block btn-light">Get started</button>
</div>
</div>
</div>
<div class="col-sm-4 mb-2">
<div class="card shadow-sm">
<div class="card-header bg-success text-light">
<h4 class="my-0 font-weight-normal">Enterprise</h4>
</div>
<div class="card-body bg-success text-light">
<h1 class="card-title pricing-card-title">$29 <small>/ mo</small></h1>
<ul class="list-unstyled mt-3 mb-4">
<li>30 users included</li>
<li>15 GB of storage</li>
<li>Phone and email support</li>
<li>Help center access</li>
</ul>
<button type="button" class="btn btn-block btn-light">Get started</button>
</div>
</div>
</div>
</div>
</div>
</section>
<section id="testimonial" class="py-5 bg-light">
<div class="container">
<div class="text-center py-4">
<h1>Testimonials</h1>
</div>
<div class="row">
<div class="col-md-4">
<div class="card mb-4 shadow-sm">
<a href="#">
<img class="img-fluid" src="https://via.placeholder.com/416x225" alt="">
</a>
<div class="card-body">
<div class="stars d-inline">
<span class="fas fa-star text-warning"></span>
<span class="fas fa-star"></span>
</div>
<p class="card-text">This is a wider card with supporting text below as a natural lead-in to additional content. This content is a little bit longer.</p>
<div class="d-flex justify-content-between align-items-center">
<small class="text-muted">By Jassa</small>
</div>
</div>
</div>
</div>
</div>
</div>
</section>
</main>
<footer class="pt-4 pt-md-5 border-top">
<div class="container">
<div class="row">
<div class="col-12 col-md">
<a href="#">
<img class="img-fluid" src="https://via.placeholder.com/250x65">
</a>
</div>
<div class="col-6 col-md">
<h5>Features</h5>
<ul class="list-unstyled text-small">
<li><a class="text-muted" href="#">Cool stuff</a></li>
<li><a class="text-muted" href="#">Random feature</a></li>
<li><a class="text-muted" href="#">Team feature</a></li>
<li><a class="text-muted" href="#">Stuff for developers</a></li>
<li><a class="text-muted" href="#">Another one</a></li>
<li><a class="text-muted" href="#">Last time</a></li>
</ul>
</div>
<div class="col-6 col-md">
<h5>Resources</h5>
<ul class="list-unstyled text-small">
<li><a class="text-muted" href="#">Resource</a></li>
<li><a class="text-muted" href="#">Resource name</a></li>
<li><a class="text-muted" href="#">Another resource</a></li>
<li><a class="text-muted" href="#">Final resource</a></li>
</ul>
</div>
<div class="col-6 col-md">
<h5>About</h5>
<ul class="list-unstyled text-small">
<li><a class="text-muted" href="#">Team</a></li>
<li><a class="text-muted" href="#">Locations</a></li>
<li><a class="text-muted" href="#">Privacy</a></li>
<li><a class="text-muted" href="#">Terms</a></li>
</ul>
</div>
</div>
</div>
<div class="text-center py-4 bg-light mt-4">Copyright 2021 | All right reserved</div>
</footer>
4. Now friends we just need to add below code into angularboot5/angular.json file:
Friends in the end must run ng serve command into your terminal to run the angular 12 project (localhost:4200).
Guys click here to check the Angular 12 Bootstrap 5 Free Templates.
Now we are done friends. If you have any kind of query, suggestion and new requirement then feel free to comment below.
Note: Friends, In this post, I just tell the basic setup and things, you can change the code according to your requirements.
I will appreciate that if you will tell your views for this post. Nothing matters if your views will be good or bad because with your views, I will make my next posts moregood and helpful.
Here is the code snippet and please use carefully:
1. Very first guys, here are common basics steps to add angular 12 application on your machine and also we must have latest nodejs version(14.17.0) installed for angular 12:
$ npm install -g @angular/cli
$ ng new angularcharts // Set Angular 11 Application on your pc
cd angularcharts // Go inside project folder
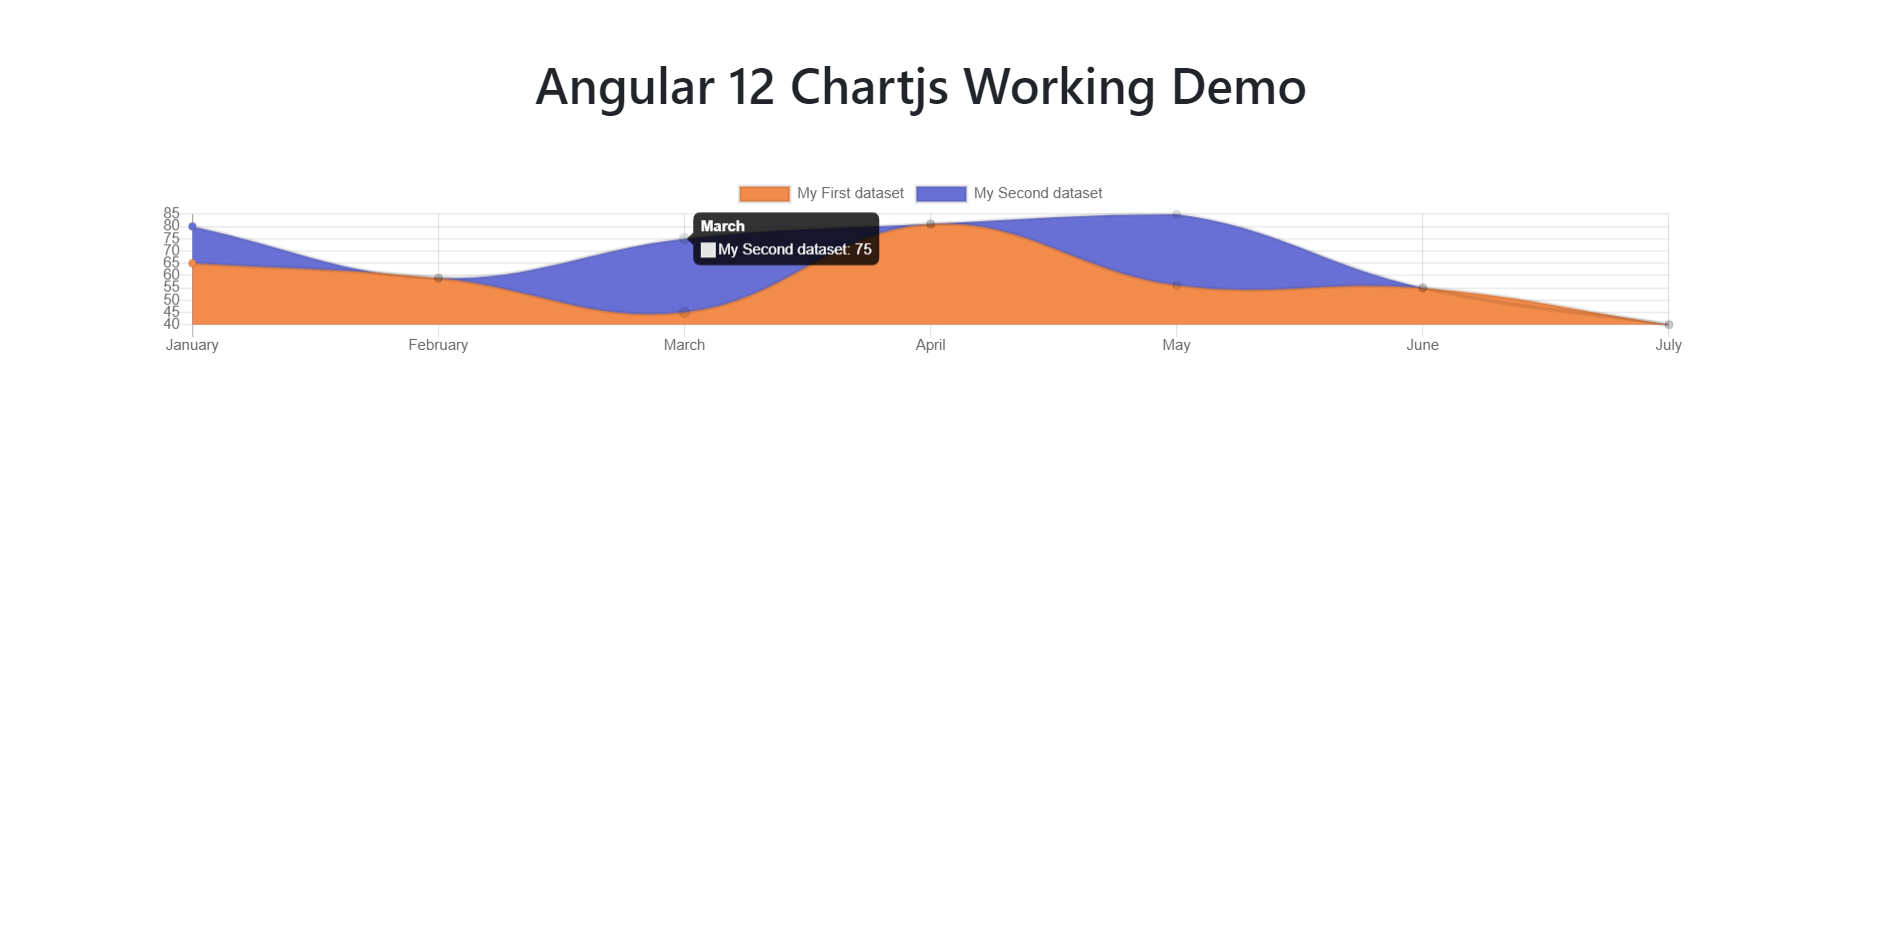
2. Now run below commands to set chartjs modules into our angular 12 application:
npm install angular2-chartjs
3. Now we will add below code into our angularcharts/src/app/app.module.ts file:
Now we are done friends and please run ng serve command to check the output in browser(locahost:4200) and if you have any kind of query then please do comment below.
Note: Friends, I just tell the basic setup and things, you can change the code according to your requirements. For better understanding must watch video above.
I will appreciate that if you will tell your views for this post. Nothing matters if your views will be good or bad.
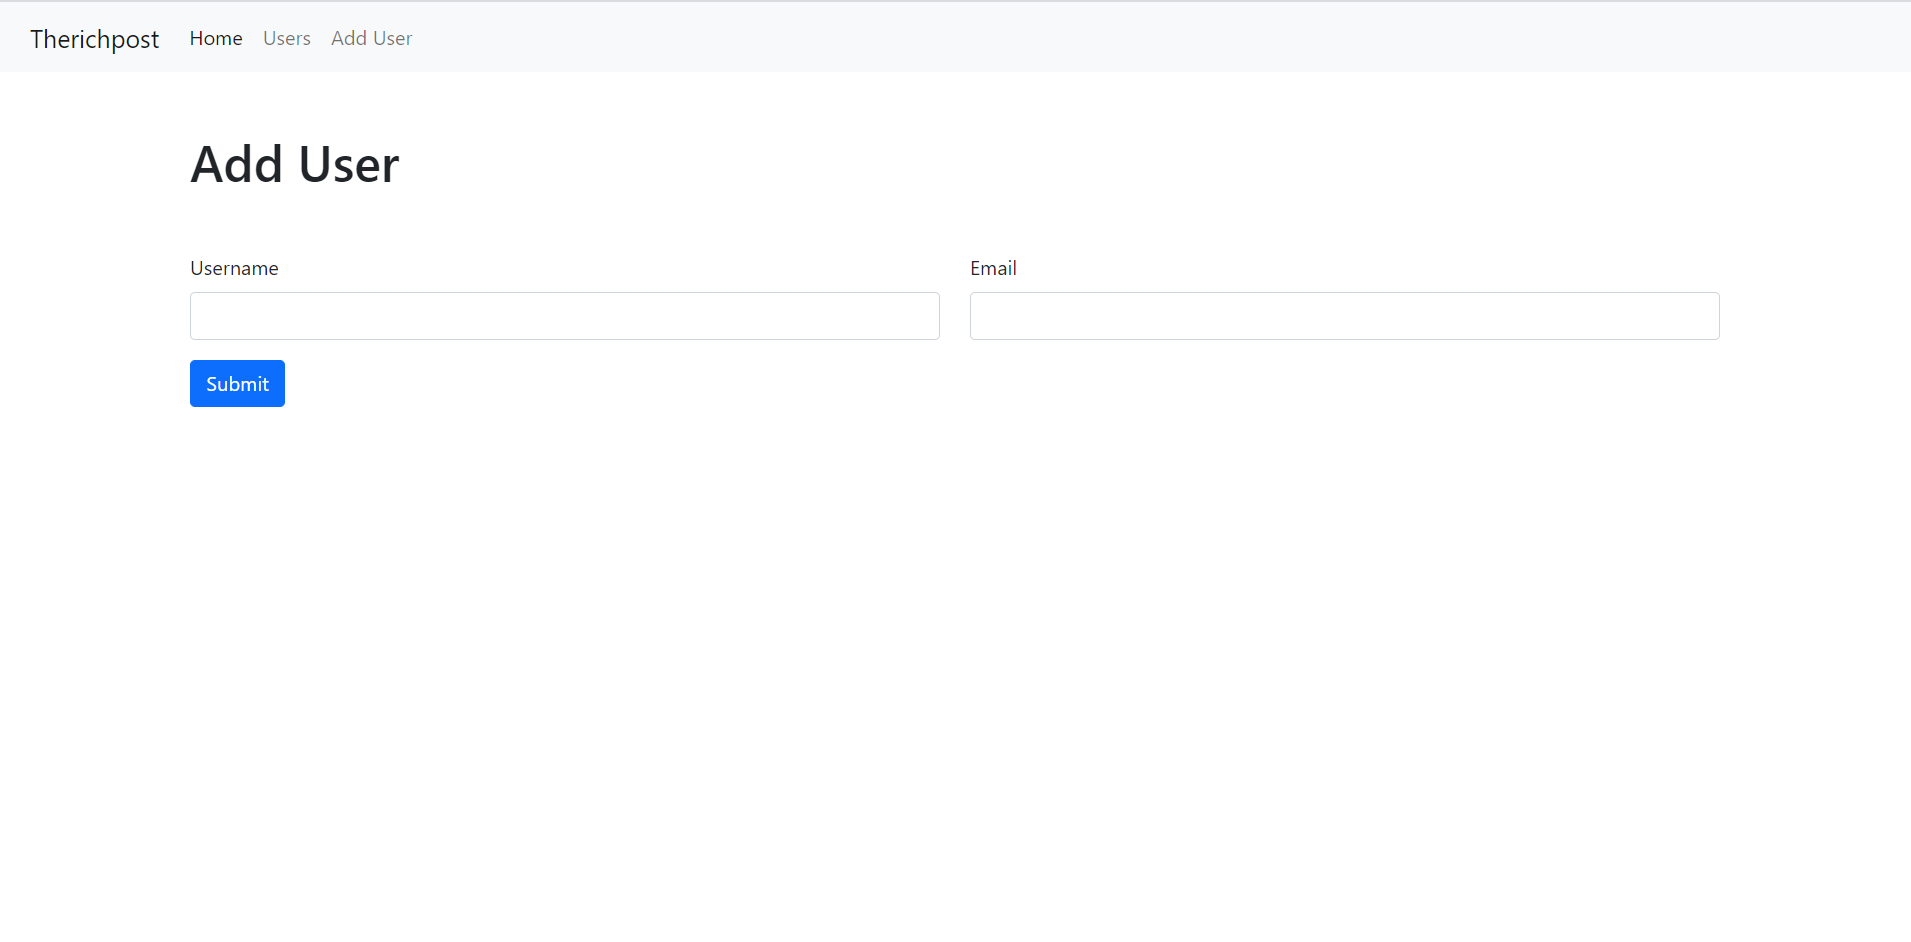
Hello to all welcome back on my blog therichpost.com. Today in this blog post, I am going to tell you Angular 12 Crud. Angular 12 Crud Tutorial with Services Part 1 – Add User & Get Users.
Guys here is working code snippet and please follow carefully to avoid the mistakes:
1. Firstly friends we need fresh angular 12 setup and for this we need to run below commands but if you already have angular 12 setup then you can avoid below commands. Secondly we should also have latest node version(14.17.0) installed on our system:
npm install -g @angular/cli
ng new angularcrud //Create new Angular Project
cd angularcrud // Go inside the Angular Project Folder
2. Now friends, here we need to run below commands into our project terminal to install bootstrap 5 module for styling, into our angular application:
npm install bootstrap
3. Now friends, here we need to run below commands into our project terminal to create service file and user related components:
ng g service crud //create service file
ng g c users //create user component
ng g c adduser //create add user component
4. Now friends, now we need to add below code into our angularcrud/angular.json file to add bootstrap style:
5. Now friends, now we need to add below code into our angularcrud/src/app/app.module.ts file to import reactive form module and HTTPCLIENT module for api calling:
7. Now friends, now we need to add below code into our angularcrud/src/app/crud.service.ts file to create API services:
import { Injectable } from '@angular/core';
import { HttpClient } from '@angular/common/http';
@Injectable({
providedIn: 'root'
})
export class CrudService {
userData:any;
constructor(private http:HttpClient) { }
//get all users details
public getusers()
{
return this.http.get('http://localhost/users.php');
}
//add new user
public adduser(userData)
{
return this.http.post('http://localhost/users.php/'
, userData).subscribe((res: Response) => {
this.getusers();
});
}
}
8. Now guys, now we need to add below code into our angularcrud/src/app/app.component.html file to set the angular frontend and call others components:
9. Now guys, now we need to add below code into our angularcrud/src/app/adduser/adduser.component.ts file to create add user functionality and reactive form validations:
import { Component, OnInit } from '@angular/core';
import { FormBuilder, FormGroup, Validators } from '@angular/forms';
import { CrudService } from '../crud.service';
import { Router } from '@angular/router';
@Component({
selector: 'app-adduser',
templateUrl: './adduser.component.html',
styleUrls: ['./adduser.component.css']
})
export class AdduserComponent implements OnInit {
registerForm: FormGroup;
submitted = false;
constructor( private crudservice: CrudService, private formBuilder: FormBuilder, private router: Router){}
//Add user form actions
get f() { return this.registerForm.controls; }
onSubmit() {
this.submitted = true;
// stop here if form is invalid
if (this.registerForm.invalid) {
return;
}
//True if all the fields are filled
if(this.submitted)
{
// Initialize Params Object
var myFormData = new FormData();
// Begin assigning parameters
myFormData.append('myUsername', this.registerForm.value.firstname);
myFormData.append('myEmail', this.registerForm.value.email);
this.crudservice.adduser(myFormData); //caaling add user service
this.router.navigate([`/users`]); //after form submit page will redirect to users page
}
}
ngOnInit() {
//Add User form validations
this.registerForm = this.formBuilder.group({
email: ['', [Validators.required, Validators.email]],
firstname: ['', [Validators.required]]
});
}
}
10. Now guys, now we need to add below code into our angularcrud/src/app/adduser/adduser.component.html file to create add user form:
13. Now guys, now we need to create file users.php inside our xampp/htdocs folder and add below code inside users.php file
Please create users database inside phpmysql admin and create userdetails tabel and create id, email and username fields
<?php header('Access-Control-Allow-Origin: *');
header('Access-Control-Allow-Credentials: true');
header('Access-Control-Allow-Methods:POST,GET,PUT,DELETE');
header('Access-Control-Allow-Headers: content-type or other');
header('Content-Type: application/json');
//Please create users database inside phpmysql admin and create userdetails tabel and create id, email and username fields
$servername = "localhost";
$username = "root";
$password = "";
$dbname = "users";
// Create connection
$conn = new mysqli($servername, $username, $password, $dbname);
// Check connection
if ($conn->connect_error) {
die("Connection failed: " . $conn->connect_error);
}
//Add user
if(isset($_POST['myEmail']))
{
$sql = "INSERT INTO userdetails (email, username)
VALUES ('".$_POST['myEmail']."', '".$_POST['myUsername']."')";
if (mysqli_query($conn,$sql)) {
$data = array("data" => "You Data added successfully");
echo json_encode($data);
} else {
$data = array("data" => "Error: " . $sql . "<br>" . $conn->error);
echo json_encode($data);
}
}
else
{
//get all users details
$trp = mysqli_query($conn, "SELECT * from userdetails ORDER BY id DESC");
$rows = array();
while($r = mysqli_fetch_assoc($trp)) {
$rows[] = $r;
}
print json_encode($rows);
}
die();
Now in the end please run ng serve command to check the out on browser(localhost:4200) and also please start your xampp.
After this post, I will do edit user and delete user also.
Guys if you will still have any kind of query, suggestions or requirement then please feel free to comment below.
I will appreciate that if you will tell your views for this post. Nothing matters if your views will be good or bad because with your views, I will make my next posts more good and helpful.
2. Now friends, please do the following steps because this is the most important:
1. Please make “assets” folder inside public folder.
2. Please download css files, fonts and script files from below url and please all that files inside “public/assets” folder.
https://therichpost.com/bootstrap5admin.zip
Now we are done friends and please run your Laravel 8 project and see the admin dashboard home page. Also and If you have any kind of query or suggestion or any requirement then feel free to comment below.
Note: Friends, I just tell the basic setup and things, you can change the code according to your requirements. For better understanding must watch video above.
I will appreciate that if you will tell your views for this post. Nothing matters if your views will be good or bad.
Friends now I proceed onwards and here is the working code snippet and please use carefully this to avoid the mistakes:
1. Firstly friends we need fresh angular 12 setup and for this we need to run below commands but if you already have angular 12 setup then you can avoid below commands. Secondly we should also have latest node version installed on our system:
npm install -g @angular/cli
ng new angularprimeng //Create new Angular Project
cd angularprimeng // Go inside the Angular Project Folder
2. Now friends we need to run below commands into our project terminal to install primeng and excel file save modules into our angular application:
6. Now friends we just need to add below code into angularprimeng/src/app/app.module.ts file:
...
import { BrowserAnimationsModule } from '@angular/platform-browser/animations';
import { TableModule } from 'primeng/table';
import { DropdownModule } from 'primeng/dropdown';
import { ButtonModule } from 'primeng/button';
@NgModule({
...
imports: [
...
BrowserAnimationsModule,
TableModule,
DropdownModule,
ButtonModule
],
...
Friends in the end must run ng serve command into your terminal to run the angular 12&11 project.
Now we are done friends. If you have any kind of query, suggestion and new requirement then feel free to comment below.
Note: Friends, In this post, I just tell the basic setup and things, you can change the code according to your requirements.
I will appreciate that if you will tell your views for this post. Nothing matters if your views will be good or bad because with your views, I will make my next posts moregood and helpful.