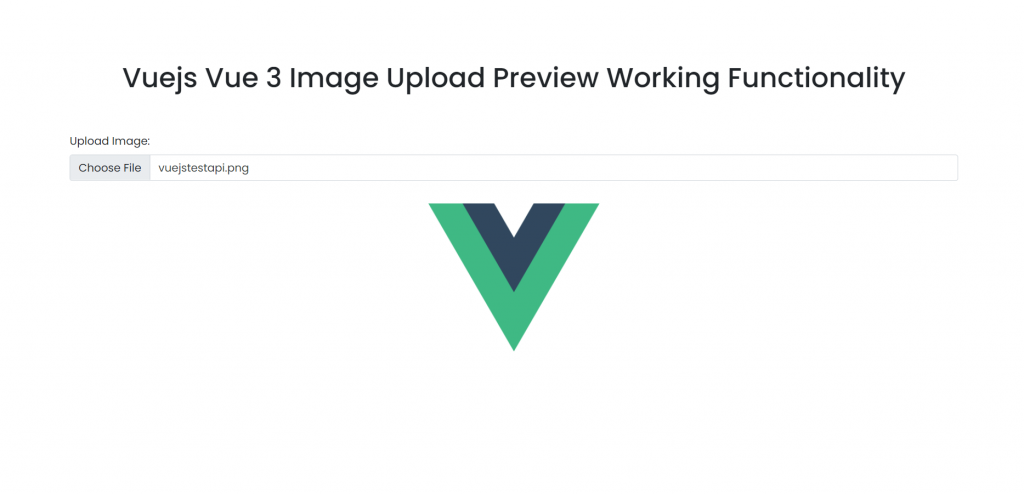
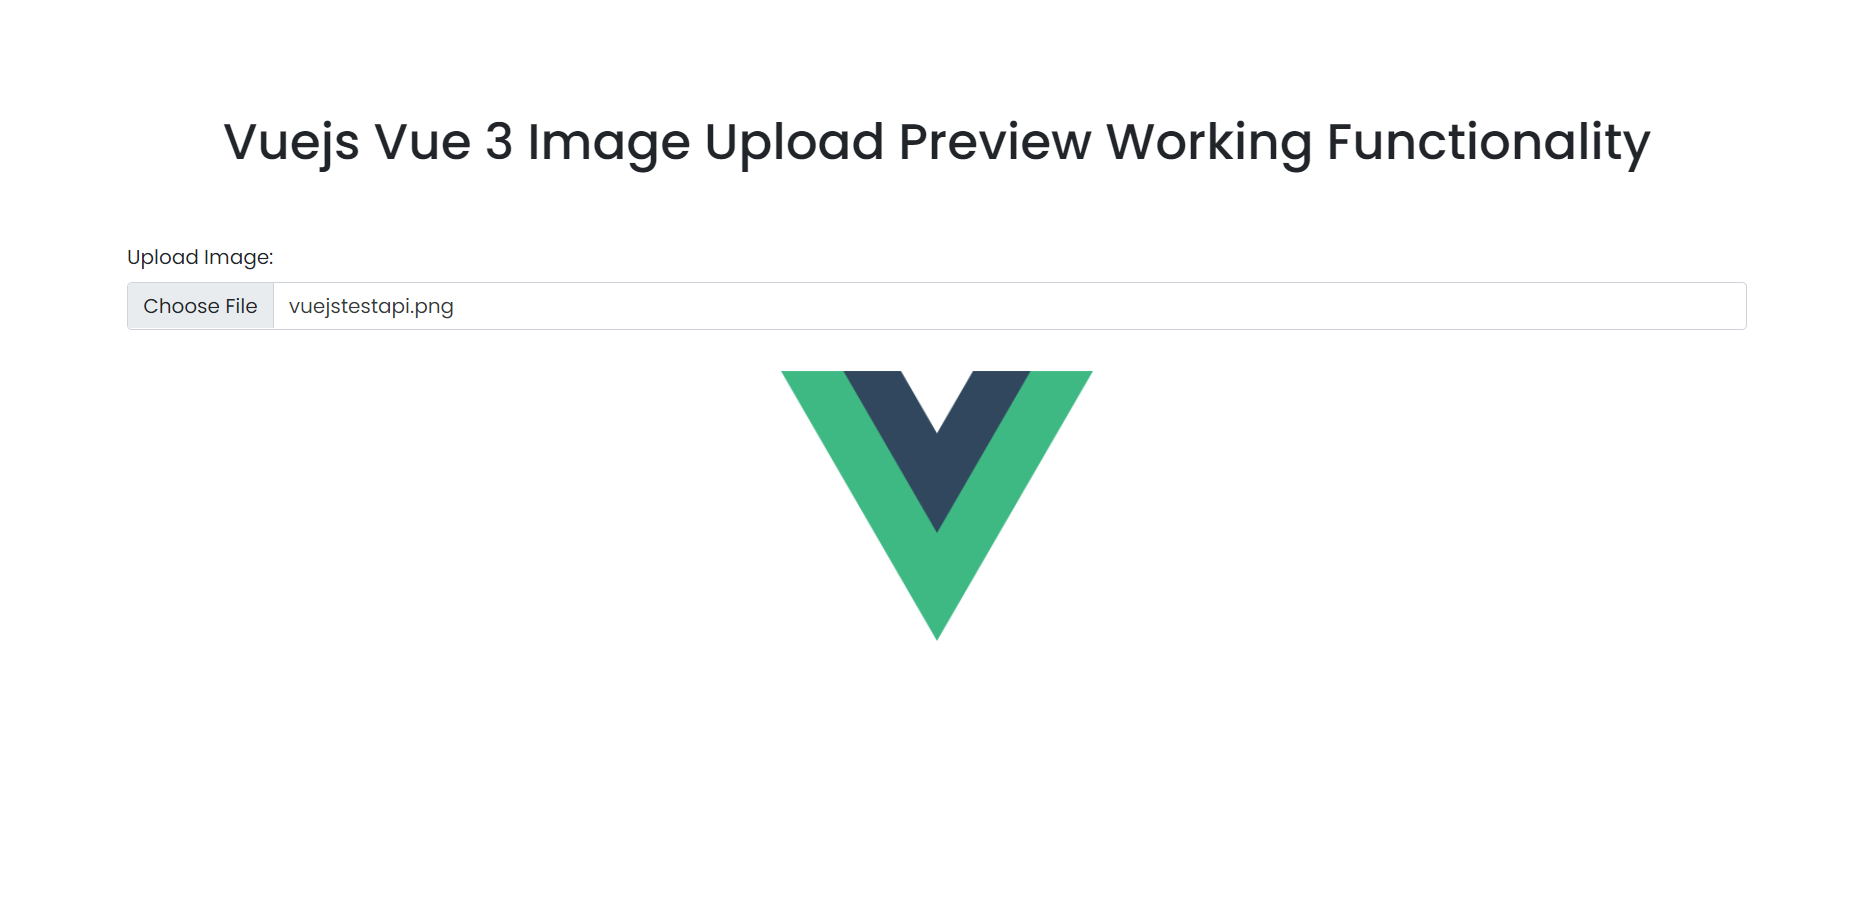
Hello friends, welcome back to my blog. Today in this blog post, I am going to show you, Vuejs Vue 3 Image Upload Preview Working Functionality.

Vue 3 and Bootstrap 5 came and if you are new then you must check below two links:
Friends now I proceed onwards and here is the working code snippet and use this carefully to avoid the mistakes:
1. Firstly friends we need fresh vue 3 setup and for this we need to run below commands . Secondly we should also have latest node version installed on our system. With below we will have bootstrap 5(for good looks) modules in our Vue 3 application:
npm install -g @vue/cli

vue create vuedemo

cd vuedemo

npm install bootstrap --save

npm run serve //http://localhost:8080/
2. Now friends we need to add below code into vuedemo/src/App.vue file to check the final output on browser:
<template>

 <div class="App container mt-5">

    <div class="mb-3">
      <label for="formFile" class="form-label">Upload Image:</label>

      <input class="form-control" ref="fileInput" type="file" @input="pickFile">
      </div>
       <div class="imagePreviewWrapper" :style="{ 'background-image': `url(${previewImage})` }" @click="selectImage"></div>
    </div>

</template>

<script>

//importing bootstrap 5 and pdf maker Modules
import "bootstrap/dist/css/bootstrap.min.css";
import "./App.css";
export default {


    methods: {

      //image upload and preview methods
        selectImage () {
          this.$refs.fileInput.click()
      },
      pickFile () {
        let input = this.$refs.fileInput
        let file = input.files
        if (file && file[0]) {
          let reader = new FileReader
          reader.onload = e => {
            this.previewImage = e.target.result
          }
          reader.readAsDataURL(file[0])
          this.$emit('input', file[0])
        }
      }
},
,
      data: function() {
  return {
     previewImage: null
  }
}
</script>
3. Now friends we need to create `App.css` file inside vuedemo/src folder add below code into vuedemo/src/App.css file:
.imagePreviewWrapper {
  background-repeat: no-repeat;
    width: 250px;
    height: 250px;
    display: block;
    cursor: pointer;
    margin: 0 auto 30px;
    background-size: contain;
    background-position: center center;
}
Now we are done friends and If you have any kind of query or suggestion or any requirement then feel free to comment below.
Note: Friends, I just tell the basic setup and things, you can change the code according to your requirements.
I will appreciate that if you will tell your views for this post. Nothing matters if your views will be good or bad.
Jassa
Thanks

Leave a Reply
You must be logged in to post a comment.