
Hello to all welcome back on my blog therichpost.com. Today in this blog post, I am going to tell you Show loader when navigating between routes in Angular 13
Guy’s Angular 13 came and if you are new in Angular 13 then please check the below link:
Guy’s here is working code snippet and please follow it carefully to avoid the mistakes:
1. Firstly friends we need fresh angular 13 setup and for this we need to run below commands but if you already have angular 13 setup then you can avoid below commands. Secondly we should also have latest node version(14.17.0) installed on our system:
npm install -g @angular/cli

ng new angularrouting //Create new Angular Project

cd angularrouting // Go inside the Angular Project Folder
2. Now guy’s, here we need to run below command into our project terminal to install bootstrap 5 module for styling and good looks into our angular application(optional):
npm install bootstrap

npm i @popperjs/core
3. Now guy’s, here we need to run below commands into our project terminal to create home and about components for routing:
ng g c home

ng g c about
4. Now guy’s, now we need to add below code into our angularrouting/angular.json file to add bootstrap style:
...
 "styles": [
              "src/styles.css",
              "node_modules/bootstrap/dist/css/bootstrap.min.css",

            ],
5. Now guy’s, now we need to add below code into our angularrouting/src/app/app-routing.module.ts file to make routes:
...
import { HomeComponent } from './home/home.component';
import { AboutComponent } from './about/about.component';
const routes: Routes = [
  { path: '', component: HomeComponent },
  { path: 'home', component: HomeComponent },
  { path: 'about/', component: AboutComponent },
];
...
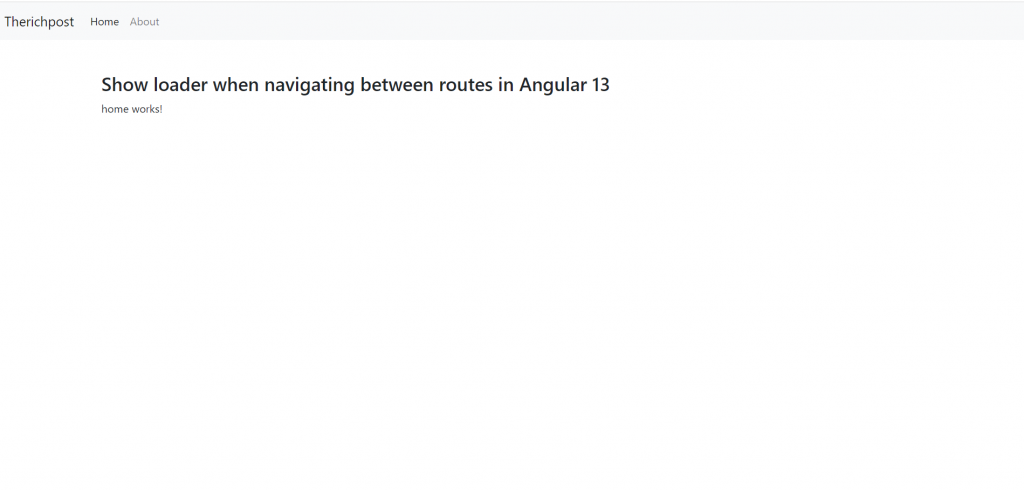
6. Now guys, now we need to add below code into our angularrouting/src/app/app.component.html file to set the angular frontend and call others components with routing:
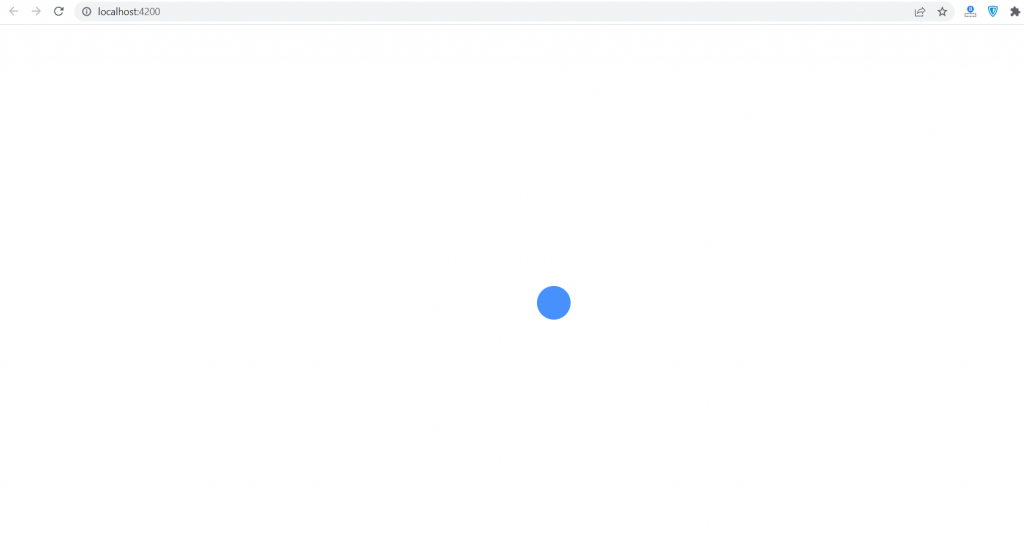
<!--Loader Div Starts-->

<div class="spinner-grow text-primary" style="width: 3rem; height: 3rem;" role="status" *ngIf="loader">
  <span class="visually-hidden">Loading...</span>
</div>

<!--Loader Div Ends-->
<nav class="navbar navbar-expand-lg navbar-light bg-light" *ngIf="!loader">
  <div class="container-fluid">
    <a class="navbar-brand" [routerLink]="['']">Therichpost</a>
    <button class="navbar-toggler" type="button" data-bs-toggle="collapse" data-bs-target="#navbarNav" aria-controls="navbarNav" aria-expanded="false" aria-label="Toggle navigation">
      <span class="navbar-toggler-icon"></span>
    </button>
    <div class="collapse navbar-collapse" id="navbarNav">
      <ul class="navbar-nav">
        <li class="nav-item">
          <a class="nav-link active" [routerLink]="['']" >Home</a>
        </li>
        <li class="nav-item">

          <!-- Routing Parameter Value -->
          <a class="nav-link" [routerLink]="['/about']" >About</a>
        </li>
      </ul>
    </div>
  </div>
</nav>
<div class="container p-5" *ngIf="!loader">
<h3>Show loader when navigating between routes in Angular 13</h3>
<!-- Calling routing components -->
<router-outlet></router-outlet>
</div>
7. Now guys, now we need to add below code into our angularrouting/src/app/app.component.ts file to set routing evets for loader:
import { Component } from '@angular/core';
import {
  Router,
  // import as RouterEvent to avoid confusion with the DOM Event
  Event as RouterEvent,
  NavigationStart,
  NavigationEnd,
  NavigationCancel,
  NavigationError
} from '@angular/router'
@Component({
  selector: 'app-root',
  templateUrl: './app.component.html',
  styleUrls: ['./app.component.css']
})
export class AppComponent {
  title = 'angular';

  //Loader variable default true before page load
  loader = true;

  constructor(private router: Router) {
    this.router.events.subscribe((e : RouterEvent) => {
      this.navigationInterceptor(e);
    })
  }
  // Shows and hides the loading spinner during RouterEvent changes
  navigationInterceptor(event: RouterEvent): void {
    if (event instanceof NavigationStart) {

        this.loader = true;

    }
    if (event instanceof NavigationEnd) {
      setTimeout(()=>{
        this.loader = false;
    }, 2000);
    }
    // Set loading state to false in both of the below events to hide the spinner in case a request fails
    if (event instanceof NavigationCancel) {
      setTimeout(()=>{
        this.loader = true;
    }, 2000);
    }
    if (event instanceof NavigationError) {
      setTimeout(()=>{
          this.loader = true;
      }, 2000);
    }

  }
}
8. Now guys we need to add below code inside scr/app/app.component.css file to set loader styles:
.spinner-border, .spinner-grow
{
  position: absolute;
  left: 50%;
  top: 50%;
}
Guy’s in the end please run ng serve command to check the out on browser(localhost:4200) and if you will have any query then feel free to comment below.
Guy’s I will appreciate that if you will tell your views for this post. Nothing matters if your views will be good or bad because with your views, I will make my next posts more good and helpful.
Jassa
Thanks.
Leave a Reply