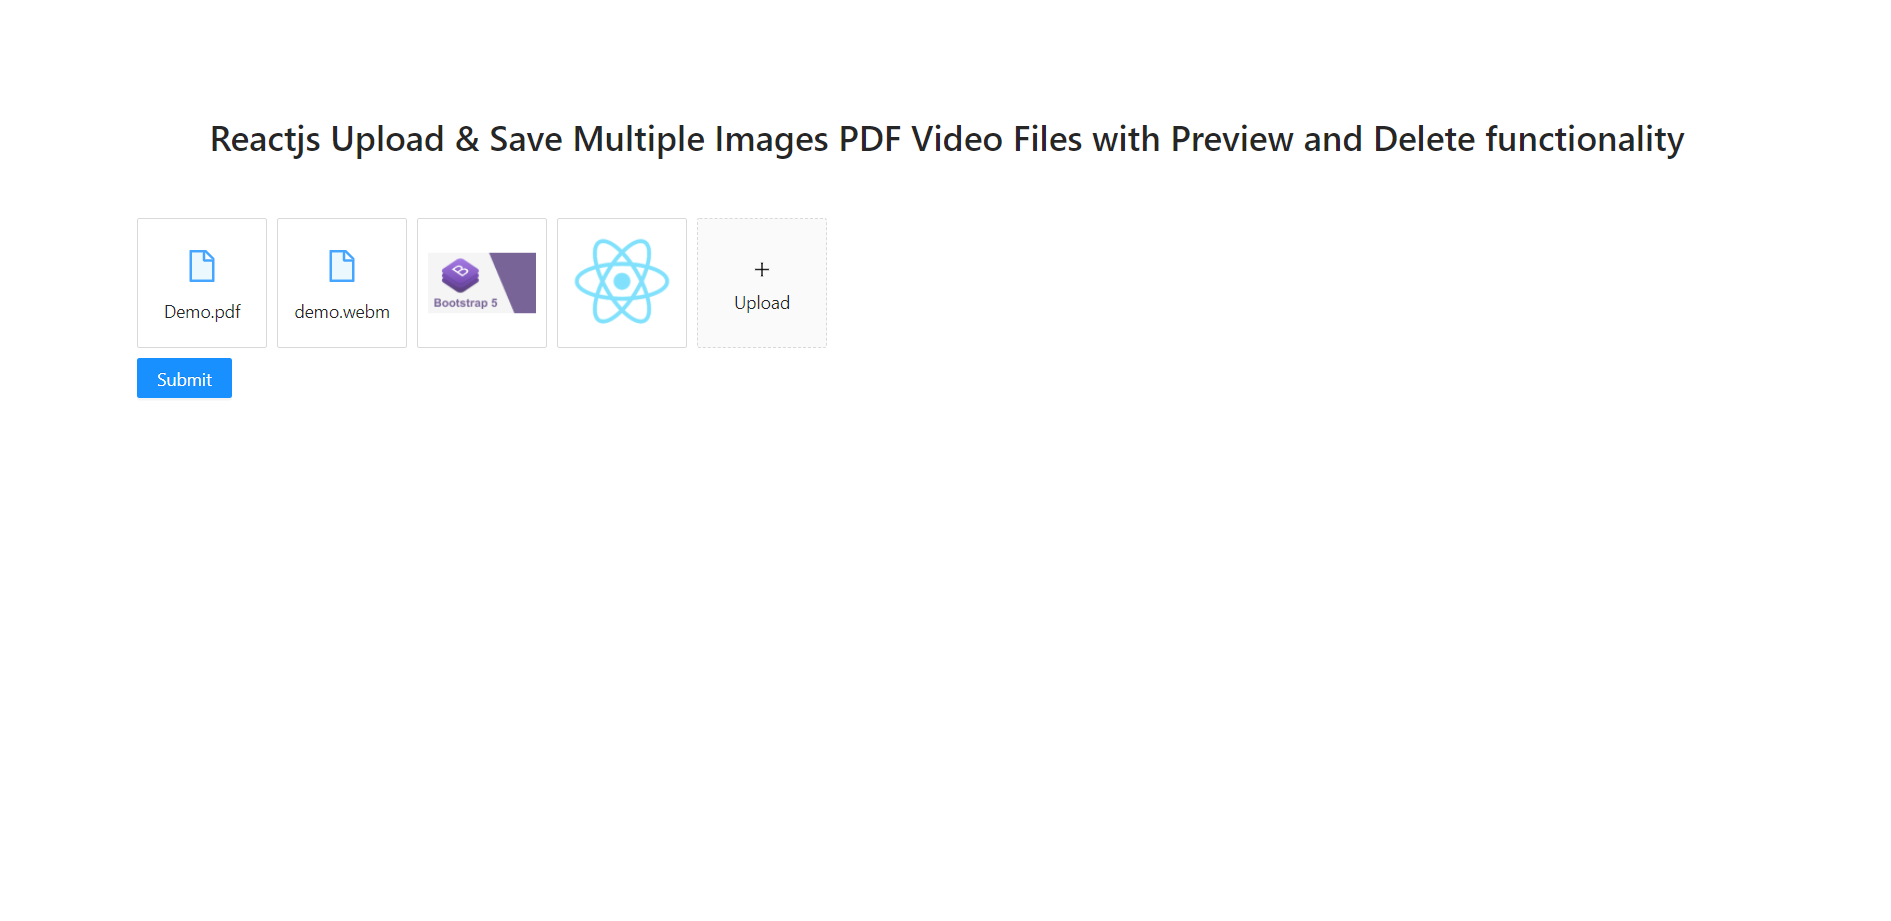
Hello to all, welcome back to my blog. Today in this blog post, I am going to tell you, Reactjs Upload & Save Multiple Images PDF Video Files with Preview and Delete functionality.

Post Code Benefits, this post code will provide below things:
- Multiple Image, pdf, video files uploading.
- Uploaded image will preview in modal popup.
- Uploaded image can be delete.
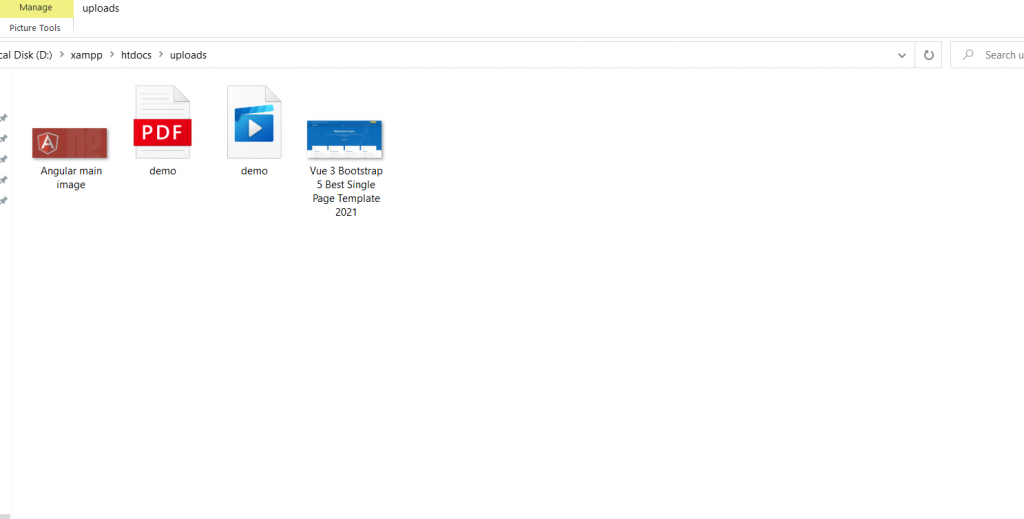
- All the files will be save inside folder with php.
For reactjs new comers, please check the below link:
Friends now I proceed onwards and here is the working code snippet and please use this carefully to avoid the mistakes:
1. Firstly friends we need fresh reactjs setup and for that we need to run below commands into our terminal and also w should have latest node version installed on our system:
npx create-react-app reactimageupload

cd reactimageupload

npm start // run the project
2. Now we need to run below commands to get bootstrap(for good layout), antdmodules into our react js app:
npm install antd

npm install bootstrap --save

npm start
3. Now friends, after are done with commands, now please open reactimageupload/src/App.js file and add below code inside it:
import React from 'react';

import './App.css';

//Bootstrap and jQuery libraries
import 'bootstrap/dist/css/bootstrap.min.css';


//Image upload modules
import { Upload, Modal, Button } from 'antd';
import { PlusOutlined } from '@ant-design/icons';
import axios from 'axios';

import "antd/dist/antd.css";

class App extends React.Component {


  render(){

    //Uploaded url
    function getBase64(file) {
      return new Promise((resolve, reject) => {
        const reader = new FileReader();
        reader.readAsDataURL(file);
        reader.onload = () => resolve(reader.result);
        //reader.onerror = error => reject(error);
      });
    }


    class PicturesWall extends React.Component {
      state = {
        previewVisible: false,
        previewImage: '',
        previewTitle: '',
        fileList: [

        ],
      };

      handleCancel = () => this.setState({ previewVisible: false });


      //Image Preview
      handlePreview = async file => {
        if (!file.url && !file.preview) {
          file.preview = await getBase64(file.originFileObj);
        }

        this.setState({
          previewImage: file.url || file.preview,
          previewVisible: true,
          previewTitle: file.name || file.url.substring(file.url.lastIndexOf('/') + 1),
        });
      };

      handleChange = ({ fileList }) => this.setState({ fileList });

      handleSubmit = event => {
        event.preventDefault();

        let formData = new FormData();
        // add one or more of your files in FormData
        // again, the original file is located at the `originFileObj` key

        //Files Storage Looping
        for(var a = 0; a<this.state.fileList.length; a++)
        {
          formData.append("file[]", this.state.fileList[a].originFileObj);

        }

        //File saving API call
        axios
          .post("http://localhost/save.php", formData)
          .then(res => {
            alert("Files uploaded.");

          })
          .catch(err => {
            console.log("err", err);
          });
      }

      render() {
        const { previewVisible, previewImage, fileList, previewTitle } = this.state;
        const uploadButton = (
          <div>
            <PlusOutlined />
            <div style={{ marginTop: 8 }}>Upload</div>
          </div>
        );
        return (
          <>
            <Upload

              listType="picture-card"
              fileList={fileList}
              onPreview={this.handlePreview}
              onChange={this.handleChange}
              beforeUpload={() => false}
            >
              {fileList.length >= 8 ? null : uploadButton}
            </Upload>
            <Modal
              visible={previewVisible}
              title={previewTitle}
              footer={null}
              onCancel={this.handleCancel}
            >

              <img alt="example" style={{ width: '100%' }} src={previewImage} />
            </Modal>
            <Button type="primary" onClick={this.handleSubmit} // this button click will trigger the manual upload
        >
            Submit
        </Button>
          </>
        );
      }
    }


    return (
    <div className="MainDiv">
      <div className="jumbotron text-center pt-5">
          <h3 className="mt-5 mb-5">Therichpost.com</h3>

      </div>

      <div className="container">

          <PicturesWall />
        </div>
      </div>
  );
}
}

export default App;
4. Now friends, we need to create save.php file inside our xamp/htdocs folder and add below code inside it:
<?php
//Multiple Files Uploading
for($a=0; $a<count($_FILES["file"]["name"]); $a++)
{
$target_dir = "uploads/"; //image upload folder name
    $target_file = $target_dir . basename($_FILES["file"]["name"][$a]);
    //moving multiple images inside folder

    if (move_uploaded_file($_FILES["file"]["tmp_name"][$a], $target_file)) {

      $data = array("data" => "Files are valid and successfully uploaded.");

    }

  }
  print json_encode($data);
    die();

?>
5. Also guy’s we need to create `uploads` folder inside xamp/htdocs folder to save the files.
Now we are done friends. If you have any kind of query or suggestion or any requirement then feel free to comment below.
Note: Friends, I just tell the basic setup and things, you can change the code according to your requirements. For better understanding and live working must watch video above.
I will appreciate that if you will tell your views for this post. Nothing matters if your views will good or bad.
Jassa
Thanks
Leave a Reply
You must be logged in to post a comment.