Hello my friends, welcome back to my blog. Today in this blog post, I am going to show you, Reactjs Image Gallery Lightbox with Next Prev Button.
For react js new comers, please check the below link:
React js Basic Tutorials
Friends now I proceed onwards and here is the working code snippet for Reactjs Image Gallery Lightbox with Next Prev Button and please use this carefully to avoid the mistakes:
1. Firstly friends we need fresh reactjs setup and for that we need to run below commands into our terminal and also w should have latest node version installed on our system:
Guys you can skip this first step if you already have reactjs fresh setup:
npx create-react-app reactimagegallery

cd reactimagegallery

npm start // run the project
2. Finally friends we need to add below code into our src/App.js file to get final output on web browser:
import './App.css';
function App() {
return (
<div>
<h1>Therichpost.com</h1>
<div class="gallery-wrapper">
<div class="image-wrapper">
<a href="#lightbox-image-1">
<img src="assets/photo1small.jfif" alt="" />
<div class="image-title">Cat staring at me</div>
</a>
</div>
<div class="image-wrapper">
<a href="#lightbox-image-2">
<img src="assets/photo2small.jfif" alt="" />
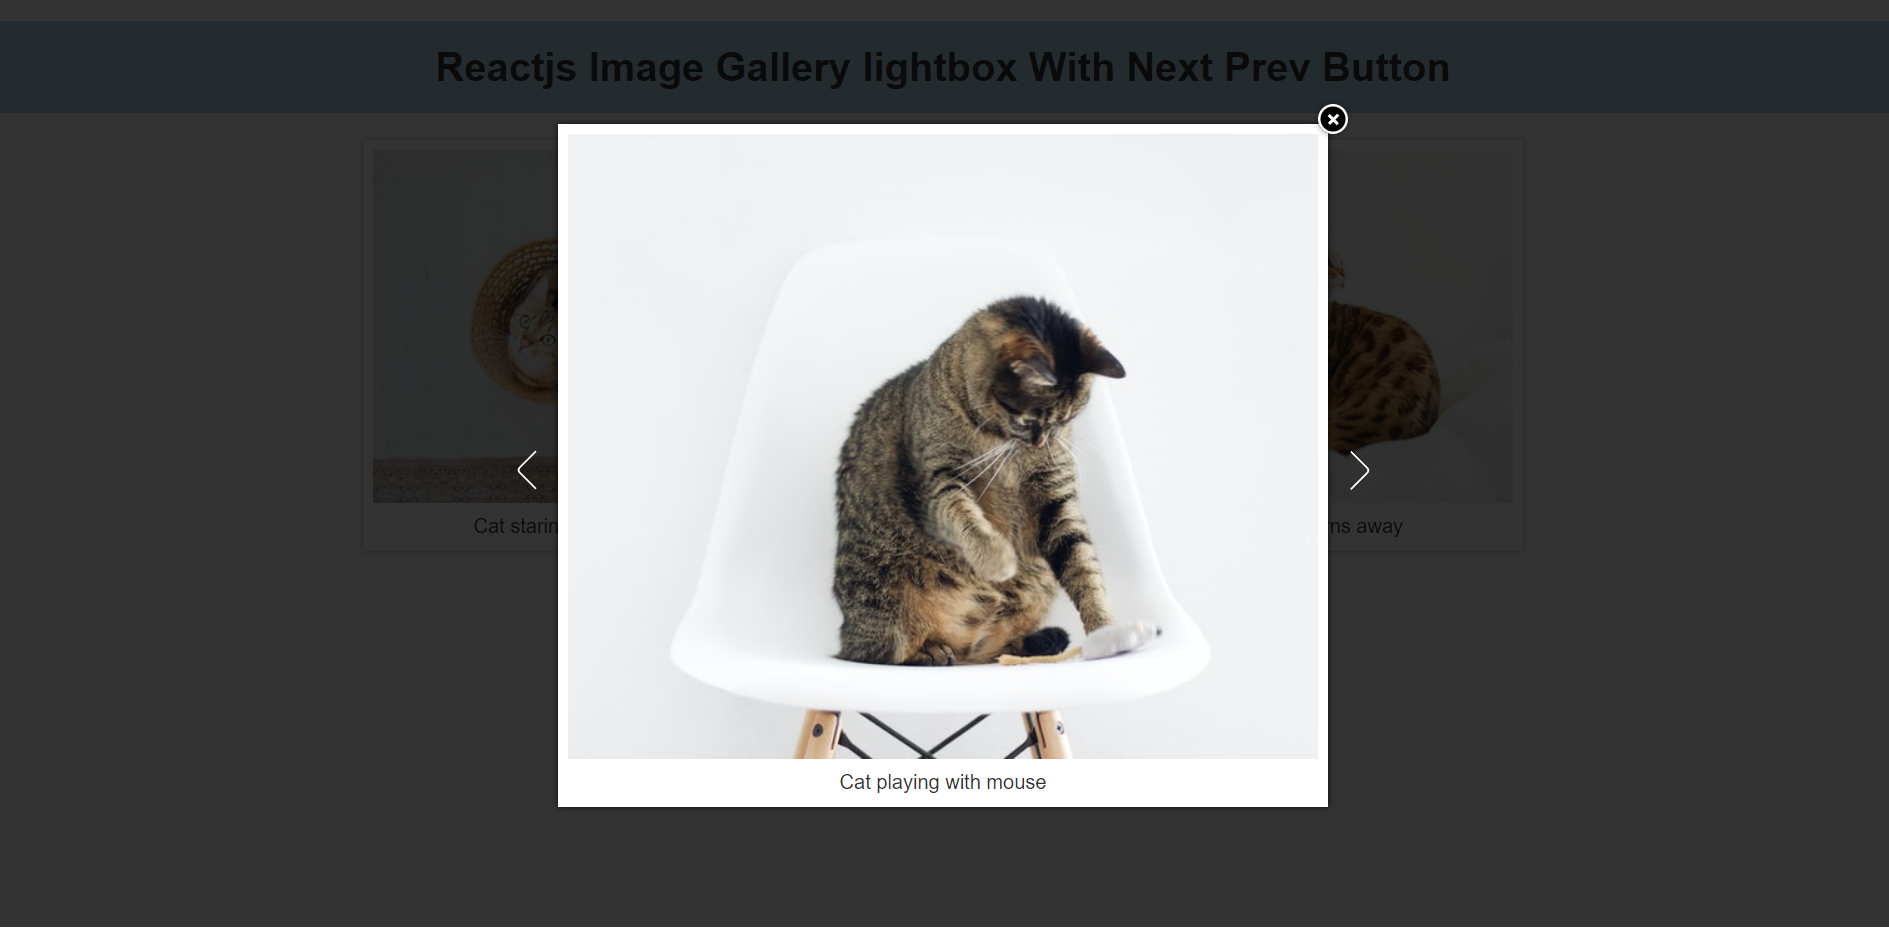
<div class="image-title">Cat playing with mouse</div>
</a>
</div>
<div class="image-wrapper">
<a href="#lightbox-image-3">
<img src="assets/photo3small.jfif" alt="" />
<div class="image-title">Cat turns away</div>
</a>
</div>
</div>
<div class="gallery-lightboxes">
<div class="image-lightbox" id="lightbox-image-1">
<div class="image-lightbox-wrapper">
<a href="#" class="close"></a>
<a href="#lightbox-image-3" class="arrow-left"></a>
<a href="#lightbox-image-2" class="arrow-right"></a>
<img src="assets/photo1big.jfif" alt="" />
<div class="image-title">Cat staring at me</div>
</div>
</div>
<div class="image-lightbox" id="lightbox-image-2">
<div class="image-lightbox-wrapper">
<a href="#" class="close"></a>
<a href="#lightbox-image-1" class="arrow-left"></a>
<a href="#lightbox-image-3" class="arrow-right"></a>
<img src="assets/photo2big.jfif" alt="" />
<div class="image-title">Cat playing with mouse</div>
</div>
</div>
<div class="image-lightbox" id="lightbox-image-3">
<div class="image-lightbox-wrapper">
<a href="#" class="close"></a>
<a href="#lightbox-image-2" class="arrow-left"></a>
<a href="#lightbox-image-1" class="arrow-right"></a>
<img src="assets/photo3big.jfif" alt="" />
<div class="image-title">Cat turns away</div>
</div>
</div>
</div>
</div>
);
}
export default App;
3. In the end friends we need to add below code into our src/App.csc file:
body {
  margin: 1em 0 0 0;
  font-family: sans-serif;
  font-size: 16px;
  line-height: 24px;
  color: #333;
}

* {
  box-sizing: border-box;
}

img {
  max-width: 100%;
}

.gallery-wrapper {
  max-width: 960px;
  width: 100%;
  margin: 0 auto;
  padding: 0 1em;
  display: grid;
  grid-template-columns: repeat(auto-fill, minmax(230px, 1fr));
  grid-gap: 1em;
}
.gallery-wrapper .image-wrapper a {
  padding: 0.5em;
  display: block;
  width: 100%;
  text-decoration: none;
  color: #333;
  box-shadow: 0 0 5px rgba(0, 0, 0, 0.3);
  transition: all 200ms ease-in-out;
  text-align: center;
}
.image-title{text-align: center;}
.gallery-wrapper .image-wrapper a:hover {
  box-shadow: 0 2px 5px rgba(0, 0, 0, 0.5);
}
.gallery-wrapper .image-wrapper a img {
  width: 100%;
}

.gallery-lightboxes .image-lightbox {
  position: fixed;
  top: 0;
  left: 0;
  width: 100vw;
  height: 100vh;
  background: rgba(0, 0, 0, 0.8);
  display: flex;
  align-items: center;
  justify-content: center;
  opacity: 0;
  visibility: hidden;
  transition: opacity 0ms ease-in-out;
}
.gallery-lightboxes .image-lightbox:target {
  opacity: 1;
  visibility: visible;
}
.gallery-lightboxes .image-lightbox:target .image-lightbox-wrapper {
  opacity: 1;
  transform: scale(1, 1) translateY(0);
}
.gallery-lightboxes .image-lightbox .image-lightbox-wrapper {
  transform: scale(0.95, 0.95) translateY(-30px);
  transition: opacity 500ms ease-in-out, transform 500ms ease-in-out;
  opacity: 0;
  margin: 1em auto;
  max-width: 75%;
  padding: 0.5em;
  display: inline-block;
  background: #fff;
  box-shadow: 0 0 5px rgba(0, 0, 0, 0.8);
  position: relative;
}
.gallery-lightboxes .image-lightbox .image-lightbox-wrapper .close {
  width: 1.5em;
  height: 1.5em;
  background: #000;
  color: #fff;
  font-weight: bold;
  text-decoration: none;
  border-radius: 50%;
  box-shadow: 0 0 0 2px white inset, 0 0 5px rgba(0, 0, 0, 0.5);
  position: absolute;
  right: -1em;
  top: -1em;
}
.gallery-lightboxes .image-lightbox .image-lightbox-wrapper .close:before {
  content: "";
  display: block;
  width: 10px;
  height: 2px;
  background: #fff;
  margin: 0;
  position: absolute;
  top: 50%;
  left: 50%;
  margin: -1px 0 0 -5px;
  transform: rotate(-45deg);
}
.gallery-lightboxes .image-lightbox .image-lightbox-wrapper .close:after {
  content: "";
  display: block;
  width: 10px;
  height: 2px;
  background: #fff;
  margin: 0;
  position: absolute;
  top: 50%;
  left: 50%;
  margin: -1px 0 0 -5px;
  transform: rotate(45deg);
}
.gallery-lightboxes .image-lightbox .image-lightbox-wrapper .arrow-left {
  position: absolute;
  top: 0;
  right: 50%;
  bottom: 0;
  left: 0;
}
.gallery-lightboxes .image-lightbox .image-lightbox-wrapper .arrow-left:before {
  content: "";
  display: inline-block;
  width: 20px;
  height: 20px;
  border: 2px solid #fff;
  border-bottom: 0;
  border-right: 0;
  border-radius: 4px 0 0 0;
  position: absolute;
  top: 50%;
  right: 100%;
  cursor: pointer;
  transform: rotate(-45deg) translateY(-50%);
}
.gallery-lightboxes .image-lightbox .image-lightbox-wrapper .arrow-right {
  position: absolute;
  top: 0;
  right: 0;
  bottom: 0;
  left: 50%;
}
.gallery-lightboxes .image-lightbox .image-lightbox-wrapper .arrow-right:before {
  content: "";
  display: block;
  width: 20px;
  height: 20px;
  border: 2px solid #fff;
  border-bottom: 0;
  border-left: 0;
  border-radius: 0 4px 0 0;
  position: absolute;
  top: 50%;
  left: 100%;
  cursor: pointer;
  transform: rotate(45deg) translateY(-50%);
}
.gallery-lightboxes .image-lightbox .image-lightbox-wrapper img {
  margin: 0 auto;
  max-height: 70vh;
}
h1{text-align: center; padding: 25px; background: lightblue;}
Now we are done friends and please add the images to see the lightbox effect like I do and also and If you have any kind of query or suggestion or any requirement then feel free to comment below.
Note: Friends, I just tell the basic setup and things, you can change the code according to your requirements. For better understanding must watch video above.
I will appreciate that if you will tell your views for this post. Nothing matters if your views will be good or bad.
Jassa
Thanks
Leave a Reply
You must be logged in to post a comment.