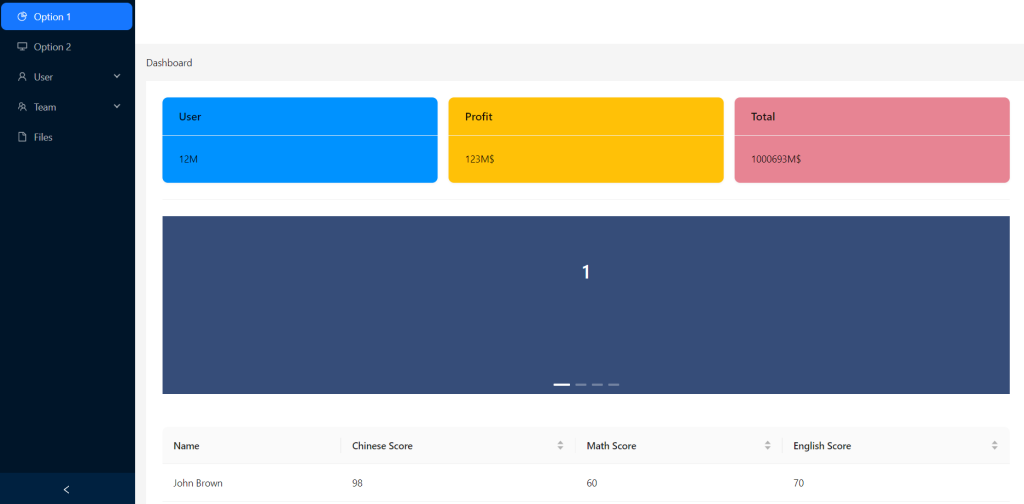
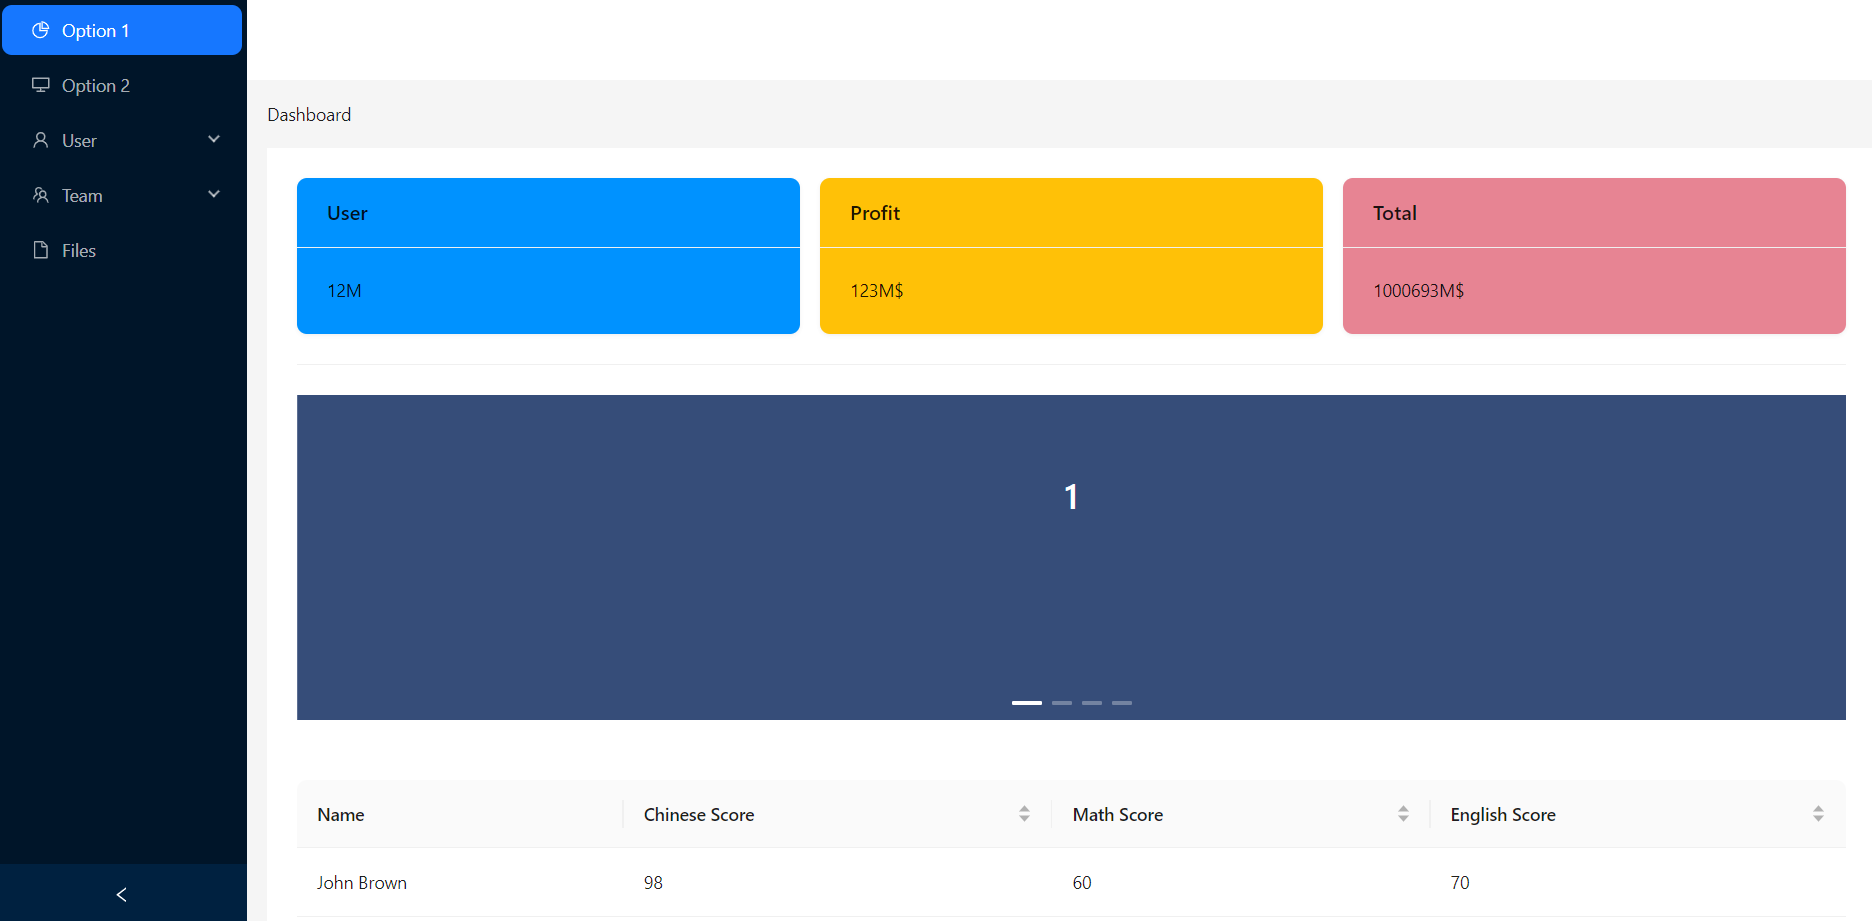
Hello friends, welcome back to my blog. Today in this blog post, I am going to tell you, Reactjs Free Admin Dashboard using ANT Design(ANTD).
For reactjs new comers, please check the below link:

Friends here is the code snippet for Reactjs Free Admin Dashboard using ANT Design(ANTD) and please use this code snippet carefully to avoid the mistakes:
1. Firstly friends we need fresh reactjs setup and for that we need to run below commands into our terminal and also w should have latest node version installed on our system:
npx create-react-app reactdemo

cd reactdemo

npm install antd --save

npm start // run the project
2. Finally friends we need to add below code into our src/App.js file to get final output on web browser:
import React, { useState } from 'react';
import {
  DesktopOutlined,
  FileOutlined,
  PieChartOutlined,
  TeamOutlined,
  UserOutlined,
} from '@ant-design/icons';
import { Breadcrumb, Layout, Menu, theme, Carousel, Table, Col, Divider, Row, Card } from 'antd';
const { Header, Content, Footer, Sider } = Layout;

//table data

const columns = [
  {
    title: 'Name',
    dataIndex: 'name',
  },
  {
    title: 'Chinese Score',
    dataIndex: 'chinese',
    sorter: {
      compare: (a, b) => a.chinese - b.chinese,
      multiple: 3,
    },
  },
  {
    title: 'Math Score',
    dataIndex: 'math',
    sorter: {
      compare: (a, b) => a.math - b.math,
      multiple: 2,
    },
  },
  {
    title: 'English Score',
    dataIndex: 'english',
    sorter: {
      compare: (a, b) => a.english - b.english,
      multiple: 1,
    },
  },
];
const data = [
  {
    key: '1',
    name: 'John Brown',
    chinese: 98,
    math: 60,
    english: 70,
  },
  {
    key: '2',
    name: 'Jim Green',
    chinese: 98,
    math: 66,
    english: 89,
  },
  {
    key: '3',
    name: 'Joe Black',
    chinese: 98,
    math: 90,
    english: 70,
  },
  {
    key: '4',
    name: 'Jim Red',
    chinese: 88,
    math: 99,
    english: 89,
  },
];
function getItem(label, key, icon, children) {
  return {
    key,
    icon,
    children,
    label,
  };
}
const contentStyle = {
  margin: 0,
  height: '260px',
  color: '#fff',
  lineHeight: '160px',
  textAlign: 'center',
  background: '#364d79',
};
const items = [
  getItem('Option 1', '1', <PieChartOutlined />),
  getItem('Option 2', '2', <DesktopOutlined />),
  getItem('User', 'sub1', <UserOutlined />, [
    getItem('Tom', '3'),
    getItem('Bill', '4'),
    getItem('Alex', '5'),
  ]),
  getItem('Team', 'sub2', <TeamOutlined />, [getItem('Team 1', '6'), getItem('Team 2', '8')]),
  getItem('Files', '9', <FileOutlined />),
];
const style: React.CSSProperties = { background: '#0092ff', padding: '8px 0' };
const App = () => {
  const [collapsed, setCollapsed] = useState(false);
  const {
    token: { colorBgContainer },
  } = theme.useToken();
  return (
    <Layout
      style={{
        minHeight: '100vh',
      }}
    >


      <Sider collapsible collapsed={collapsed} onCollapse={(value) => setCollapsed(value)}>
        <div className="demo-logo-vertical" />
        <Menu theme="dark" defaultSelectedKeys={['1']} mode="inline" items={items} />
      </Sider>
      <Layout>
        <Header
          style={{
            padding: 0,
            background: colorBgContainer,
          }}
        />
        <Content
          style={{
            margin: '0 16px',
          }}
        >
          <Breadcrumb
            style={{
              margin: '16px 0',
            }}
          >
            <Breadcrumb.Item>Dashboard</Breadcrumb.Item>
          </Breadcrumb>
          <div
            style={{
              padding: 24,
              minHeight: 360,
              background: colorBgContainer,
            }}
          >
              <Row justify="start" gutter={16}>
              <Col span={8}> <Card style={{background: "#0092ff"}} title="User" bordered={false}>
                12M
              </Card></Col>
              <Col span={8}> <Card style={{background: "#ffc107"}} title="Profit" bordered={false}>
                123M$
              </Card></Col>
              <Col span={8}> <Card style={{background: "#e78493"}} title="Total" bordered={false}>
                1000693M$
              </Card></Col>
            </Row>
            <Divider orientation="left"></Divider>
            <Carousel>
              <div>
                <h3 style={contentStyle}>1</h3>
              </div>
              <div>
                <h3 style={contentStyle}>2</h3>
              </div>
              <div>
                <h3 style={contentStyle}>3</h3>
              </div>
              <div>
                <h3 style={contentStyle}>4</h3>
              </div>
            </Carousel>
          </div>
          <div  style={{
              padding: 24,
              minHeight: 360,
              background: colorBgContainer,
            }}s>
          <Table columns={columns} dataSource={data} />
          </div>
        </Content>
        <Footer
          style={{
            textAlign: 'center',
          }}
        >
           ©2023 Jassa
        </Footer>
      </Layout>
    </Layout>
  );
};
export default App;
Now we are done friends. If you have any kind of query or suggestion or any requirement then feel free to comment below.
Note: Friends, I just tell the basic setup and things, you can change the code according to your requirements. For better understanding must watch video above.
I will appreciate that if you will tell your views for this post.Nothing matters if your views will good or bad.
Jassa
Thanks

Leave a Reply
You must be logged in to post a comment.