Hello friends, welcome back to my blog. Today in this blog post, I am going to tell you, Reactjs Dynamic Routing Working Tutorial.
For react js new comers, please check the below link:
React js Basic Tutorials
Friends now I proceed onwards and here is the working code snippet for Reactjs Dynamic Routing Working Tutorial and please use this carefully to avoid the mistakes:
1. Firstly friends we need fresh reactjs setup and for that we need to run below commands into our terminal and also w should have latest node version installed on our system:
Guys you can skip this first step if you already have reactjs fresh setup:
npx create-react-app dynamicroute

cd dynamicroute

npm start // run the project
2. Now friends, we need to run below commands into our reactjs project to install bootstrap(for good looks), react router for dynamic routing modules:
Guys you can skip this first step if you already have these modules:
npm install bootstrap --save

npm install --save react-router-dom

npm start
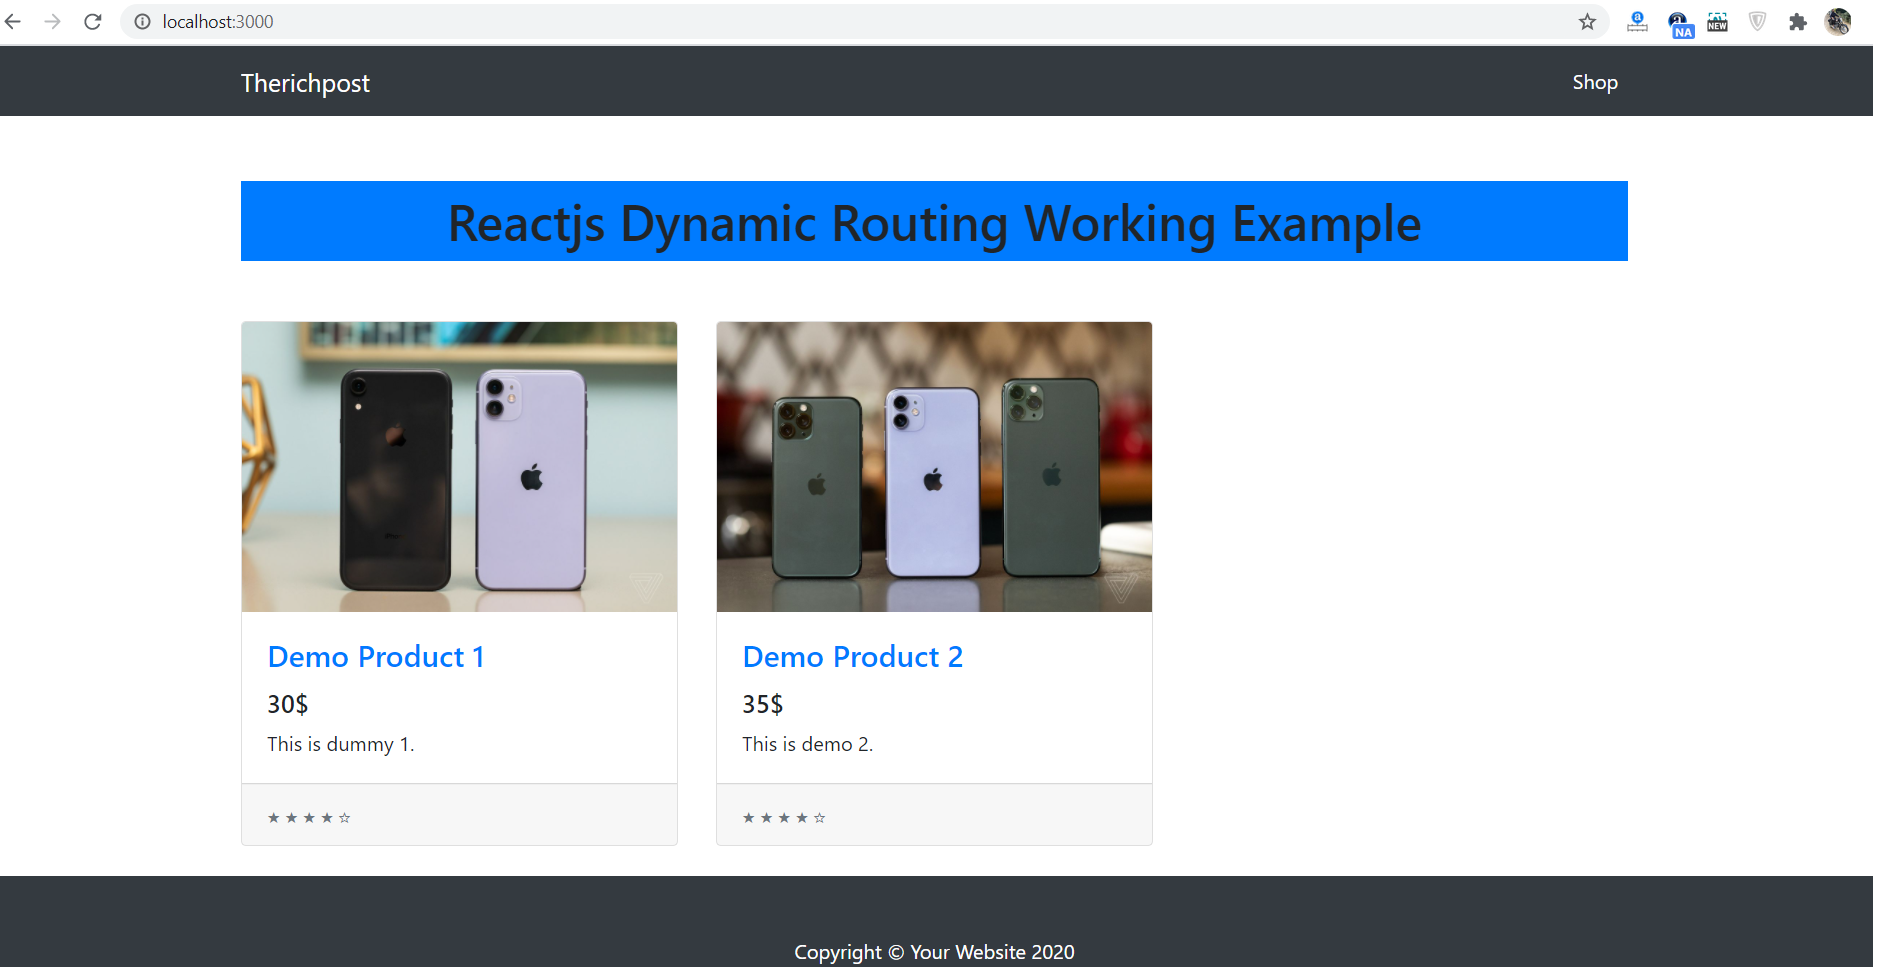
3. Now friends, we need to create new Shop.js file inside src folder and add below code in that file:
import React from 'react';
import 'bootstrap/dist/css/bootstrap.min.css';
//Import react routes and its other modules
import {BrowserRouter as Router, Switch, Route, Link} from 'react-router-dom';
class Shop extends React.Component
{
render()
{
return (
<div className="shop">
<div class="row">
<div class="col-lg-4 col-md-6 mb-4">
<div class="card h-100">
<a href="#">Product Image</a>
<div class="card-body">
<h4 class="card-title">
<a href="#">Product Title</a>
</h4>
<h5>20</h5>
<p class="card-text">Demo 1</p> </div>
<div class="card-footer">
<small class="text-muted">★ ★ ★ ★ ☆</small> </div> <div class="overlay"></div>
<div class="button"> <Link to='/product/1'>View Product</Link>
</div>
</div>
</div>
<div class="col-lg-4 col-md-6 mb-4">
<div class="card h-100"> <a href="#">Product Image</a>
<div class="card-body"> <h4 class="card-title">
<a href="#">Product Title</a> </h4>
<h5>20</h5>
<p class="card-text">Demo 1</p>
</div> <div class="card-footer">
<small class="text-muted">★ ★ ★ ★ ☆</small> </div> <div class="overlay"></div>
<div class="button"> <Link to='/product/2'>View Product</Link>
</div>
</div>
</div>
</div>
</div>
) } }
export default Shop;
4. Friends now, we need to create new Product.js file inside src folder and add below code in that file:
import React from 'react';
import 'bootstrap/dist/css/bootstrap.min.css';

class Product extends React.Component
{
   //Declare state varible to store id
    state = { productID: "" };
    componentDidMount()
    {
        //Get Product ID from URL
        var productid = window.location.pathname;
        productid = productid.split("product/");

         this.setState({ productID: productid[1] });
    }
  render()
  {
    return (
       <div className="mt-3 mb-3">
         <h1>Product ID : {this.state.productID}</h1>

       </div>
    )
  }
}
export default Product;
5. Finally friends we need to add below code into our src/App.js file to get final output on web browser:
import React from 'react';

import './App.css';
//Bootstrap4.5
import 'bootstrap/dist/css/bootstrap.min.css';
//All components
import Shop from './Shop';
import Product from './Product';

//Import react routes and its other modules
import {BrowserRouter as Router, Switch, Route, Link} from 'react-router-dom';


class App extends React.Component {


  render() {
    return (
      <Router>
      <div className="MainDiv">


        <div class="container">

          <div class="row">

            <div class="col-lg-12">

            <Switch>
            <Route exact path='/' component={Shop} />
            <Route exact path='/product/:id' component={Product} />

          </Switch>


            </div>


          </div>


        </div>


      </div>
      </Router>
    );
  }
}

export default App;
6. In the end friends we need to add below code into our src/App.css file to get custom styling:
.main-container{min-height: 500px;}


/*Hover effect*/
.card .overlay {
   position: absolute;
   top: 0;
   left: 0;
   width: 100%;
   height: 100%;
   background: rgba(0, 0, 0, 0);
   transition: background 0.5s ease;
 }

 .card:hover .overlay {
   display: block;
   background: rgba(0, 0, 0, .3);
 }


 .card .button {
   position: absolute;
   width: 100%;
   left:0;
   top: 180px;
   text-align: center;
   opacity: 0;
   transition: opacity .35s ease;
 }

 .card .button a {
   width: 200px;
   padding: 12px 48px;
   text-align: center;
   color: white;
   border: solid 2px white;
   z-index: 1;
   text-decoration: none;;
 }

 .card:hover .button {
   opacity: 1;
 }
Now we are done friends. If you have any kind of query or suggestion or any requirement then feel free to comment below.
Note: Friends, I just tell the basic setup and things, you can change the code according to your requirements. For better understanding must watch video above.
I will appreciate that if you will tell your views for this post. Nothing matters if your views will be good or bad.
Jassa
Thanks
Leave a Reply
You must be logged in to post a comment.