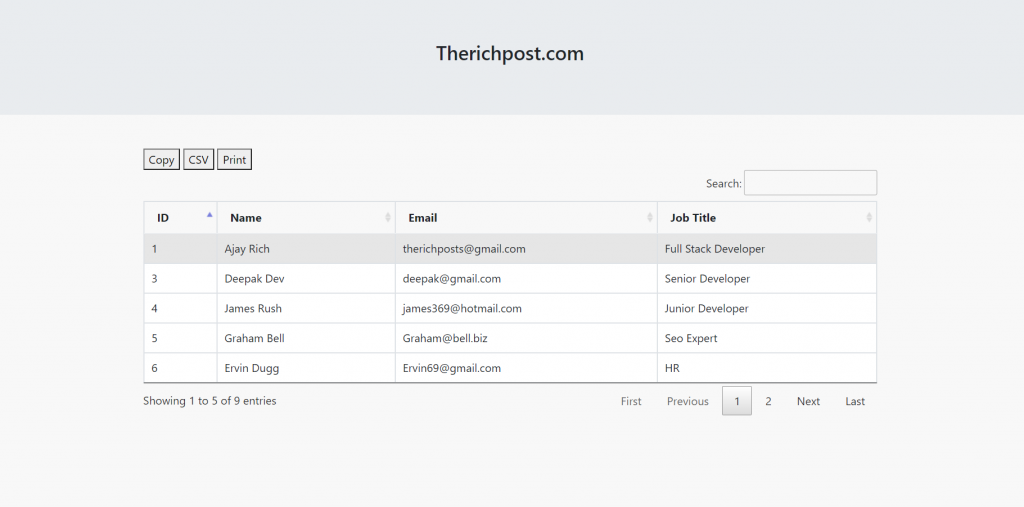
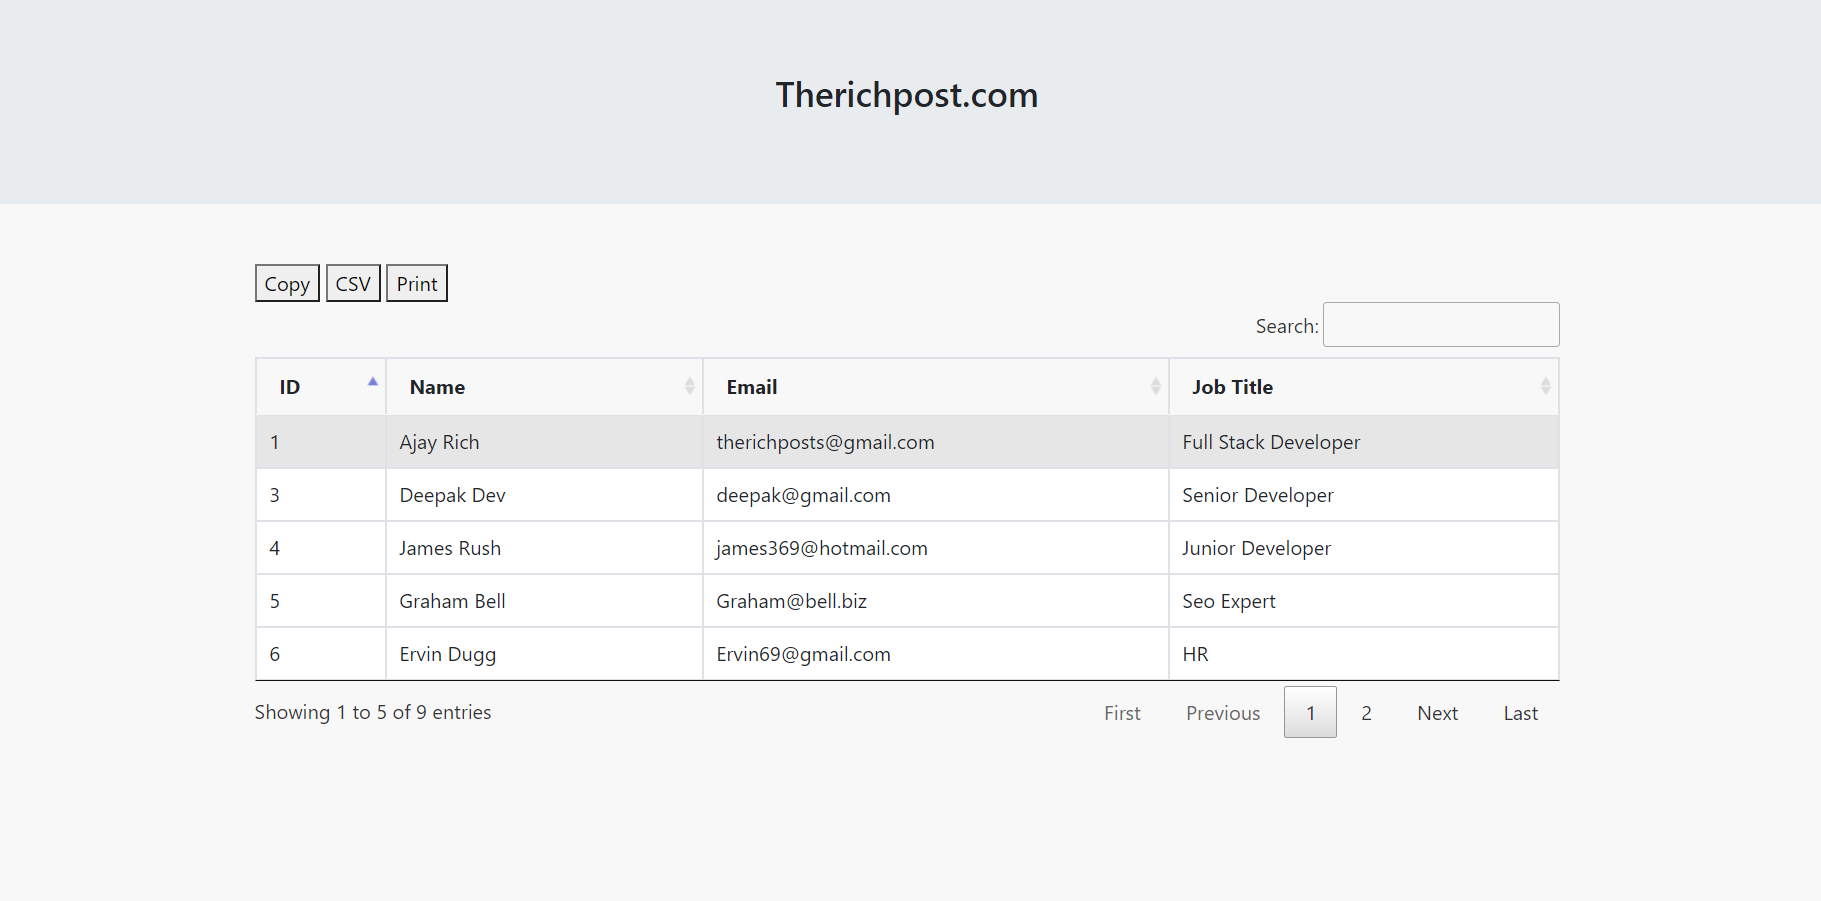
Hello friends, welcome back to my blog. Today in this blog post, I am going to show you, Reactjs Datatable with Export Buttons Print CSV Copy with Dynamic Data.
Friends with this post, we will cover with below functionalities. I am making this post because my blog viewers told me many time to make post on React js data table with export buttons.
- How to fetch and show api json data in reactjs application?
- How to use jquery datatable in reactjs application?
- Reactjs datatable with dynamic data.
- React js datatable with export buttons.

For reactjs new comers, please check the below link:
Friends now I proceed onwards and here is the working code snippet please use this carefully to avoid the mistakes:
1. Firstly friends we need fresh reactjs setup and for that we need to run below commands into our terminal and also w should have latest node version installed on our system:
npx create-react-app reactdatatable

cd reactdatatable

npm start // run the project
2. Now we need to run below commands to get bootstrap(for good layout), datatable and axios(to post data request to web api) modules into our react js app:
npm install datatables.net --save

npm install datatables.net-dt --save

npm install datatables.net-buttons --save

npm install datatables.net-buttons-dt --save

npm install @types/datatables.net-buttons --save-dev

npm install bootstrap --save

npm install axios --save

npm install jquery --save

npm start
3. Now friends, after are done with commands, now please open reactdatatable/src/App.js file and add below code inside it:
import React from 'react';
//Bootstrap and jQuery libraries
import 'bootstrap/dist/css/bootstrap.min.css';
import 'jquery/dist/jquery.min.js';

//Datatable Modules
import "datatables.net-dt/js/dataTables.dataTables"
import "datatables.net-dt/css/jquery.dataTables.min.css"
import "datatables.net-buttons/js/dataTables.buttons.js"
import "datatables.net-buttons/js/buttons.colVis.js"
import "datatables.net-buttons/js/buttons.flash.js"
import "datatables.net-buttons/js/buttons.html5.js"
import "datatables.net-buttons/js/buttons.print.js"
import "datatables.net-dt/css/jquery.dataTables.min.css"
import $ from 'jquery';

//For API Requests
import axios from 'axios';

class App extends React.Component {

  // State array variable to save and show data
  constructor(props) {
    super(props)
      this.state = {
        data: [],

      }}
  componentDidMount() {
       //Get all users details in bootstrap table
        axios.get('https://www.testjsonapi.com/users/').then(res =>
        {
          //Storing users detail in state array object
          this.setState({data: res.data});

        });
    //initialize datatable
    $(document).ready(function () {
        setTimeout(function(){
        $('#example').DataTable(
            {
                pagingType: 'full_numbers',
                  pageLength: 5,
                  processing: true,
                  dom: 'Bfrtip',
                      buttons: ['copy', 'csv', 'print'
                      ]
            }
        );
        } ,
        1000
        );
    });
 }
  render(){
    //Datatable HTML
  return (
    <div className="MainDiv">

          <h3>Therichpost.com</h3>


      <div className="container p-5">

          <table id="example" class="table table-hover table-bordered">
          <thead>
            <tr>
              <th>ID</th>
              <th>Name</th>
              <th>Email</th>
              <th>Job Title</th>
            </tr>
          </thead>
          <tbody>
          {this.state.data.map((result) => {
            return (

                 <tr>
                  <td>{result.id}</td>
                  <td>{result.name}</td>
                  <td>{result.email}</td>
                  <td>{result.job_title}</td>
                </tr>

            )
          })}


          </tbody>
        </table>

        </div>
      </div>
  );
}
}
export default App;
Now we are done friends. If you have any kind of query or suggestion or any requirement then feel free to comment below.
Note: Friends, I just tell the basic setup and things, you can change the code according to your requirements. For better understanding must watch video above.
I will appreciate that if you will tell your views for this post. Nothing matters if your views will good or bad.
Jassa
Thanks

Leave a Reply
You must be logged in to post a comment.