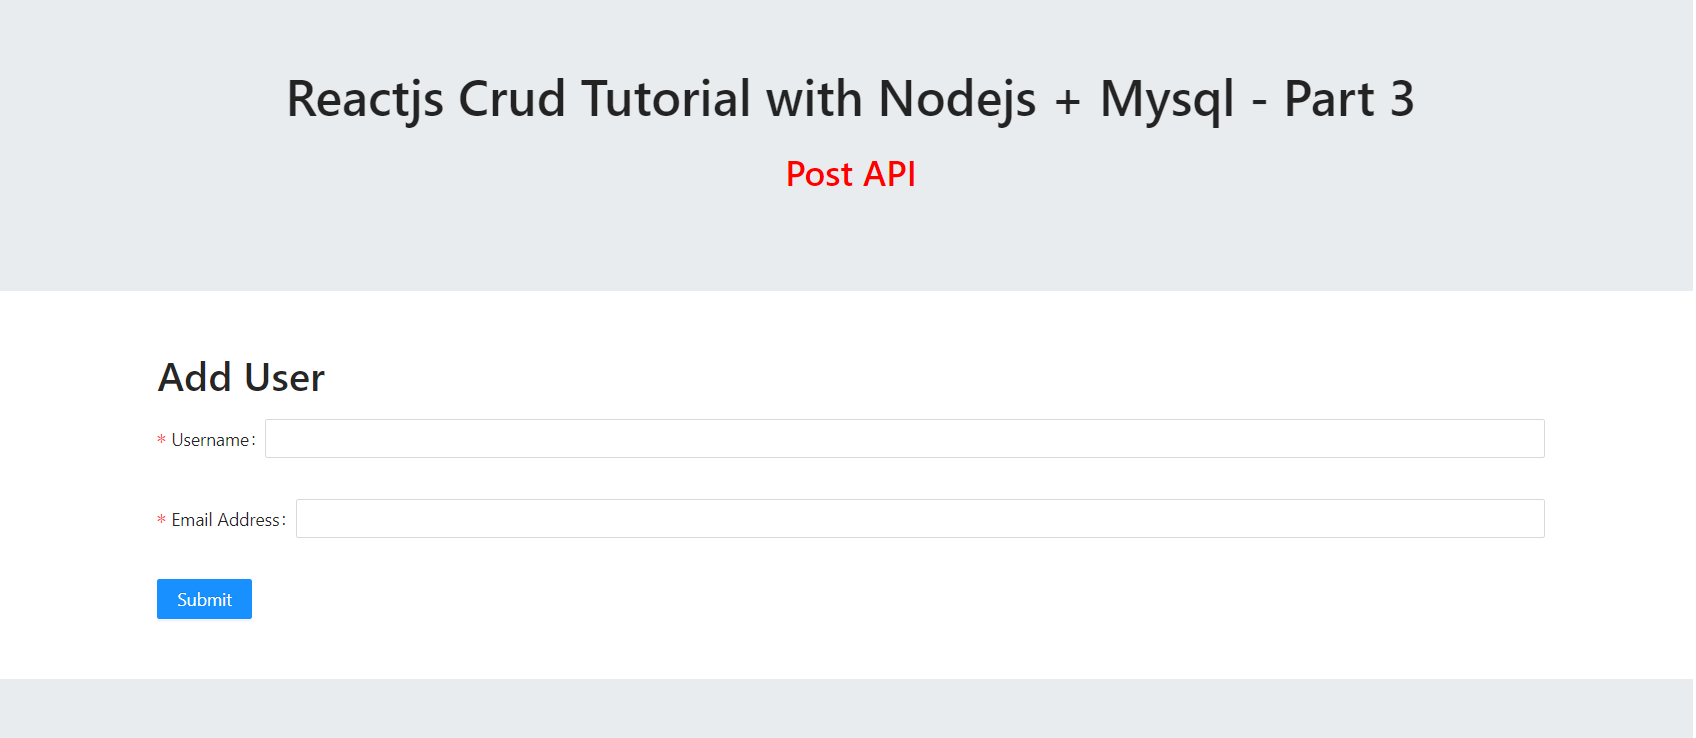
Hello to all, welcome back to my blog. Today in this blog post, I am going to tell you, Reactjs Crud Tutorial with Nodejs + Mysql – Part 3.
In this part, we will make post api.
For reactjs new comers, please check the below link:
Friends now I proceed onwards and here is the working code snippet for Reactjs Crud Tutorial with Nodejs + Mysql – Part 2 and please use this carefully to avoid the mistakes:
1. Firstly friends we need fresh reactjs setup and for that we need to run below commands into our terminal and also w should have latest node version installed on our system:
npx create-react-app reactcrud

cd reactcrud

npm start // run the project
2. Now we need to run below commands to get bootstrap(for good layout), antd modules into our react js app:
npm install antd

npm install bootstrap --save

npm install axios --save

npm start
3. Now friends, after are done with commands, now please open reactcrud/src/App.js file and add below code inside it:
import React from 'react';
import './App.css';
//bootstrap
import 'bootstrap/dist/css/bootstrap.min.css';

//Adding antd modules and style
import { Button, Form, Input } from 'antd';
import "antd/dist/antd.css";

//axios for api request
import axios from 'axios';

class App extends React.Component {


  render() {

    // Add user form with functionality
    const AddUser = () => {
      const [form] = Form.useForm();
      const onFinish = (values) => {

        //Post API
        axios.post('NodejsAPIURL', values
      ).then(res=>
      {
        //Success message

        }
        );

      };


      return (
        <Form
          form={form}
          name="basic"
          initialValues={{
            remember: true,
          }}
          onFinish={onFinish}

        >
          <Form.Item
            label="Username"
            name="username"
            rules={[
              {
                required: true,
                message: 'Please input your username!',
              },
            ]}
          >
            <Input />
          </Form.Item>

          <Form.Item
            label="Email Address"
            name="email"
            rules={[
              {
                required: true,
                type: 'email',
                message: 'Please input your email address!',
              },
            ]}
          >
            <Input />
          </Form.Item>


          <Form.Item>
            <Button type="primary" htmlType="submit">
              Submit
            </Button>
          </Form.Item>
        </Form>
      );
    };
    return (

      <div className="maincontainer">


        <div className="container mb-5 mt-5 text-left">
        <h2 className="mb-5mt-5 text-left">Add User</h2>
        <AddUser />


      </div>


      </div>

)
};
}

export default App;
Now we are done friends. If you have any kind of query or suggestion or any requirement then feel free to comment below.
Guys in next video, I will show you, how to save this form data into MySQL database via NodeJS.
Note: Friends, I just tell the basic setup and things, you can change the code according to your requirements. For better understanding and live working must watch video above.
I will appreciate that if you will tell your views for this post. Nothing matters if your views will good or bad.
Jassa
Thanks

Leave a Reply
You must be logged in to post a comment.