
Hello buddies, welcome to therichpost.com. In this post, I will tell you, Laravel Vuejs template Best Practices.
In this post, I came with fresh topic Laravel Vuejs template Best Practices.
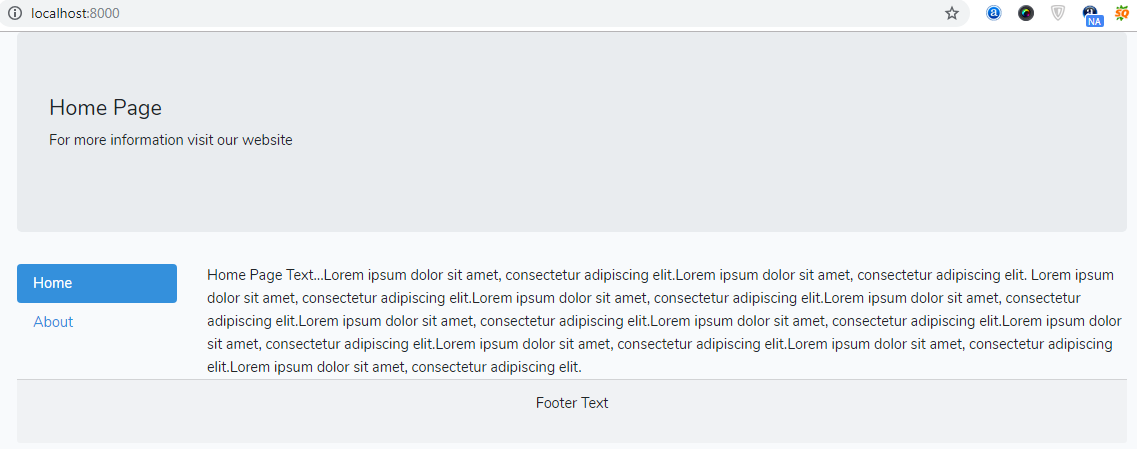
Here I am showing the working example picture:
While working with Vuejs in laravel, I enjoyed a lot and everything went fast and I have also got experience of single page application.
I am sharing the template structure for Vuejs like header, footer etc. We will differentiate the template structure in vuejs according to need vise like in header file we will add header code, in footer file, we will add footer code and so on.

Here is the coding structure you need follow:
1. Very first, you need to install fresh laravel project into your system:
To installing laravel, you need to follow below link:
https://therichpost.com/how-to-install-laravel
2. Now come to vue part and laravel give us default vue set up and here you can see:
3. Now we need to run below command into our terminal to install bootstrap vue
package in our laravel vue application:
npm i bootstrap-vue
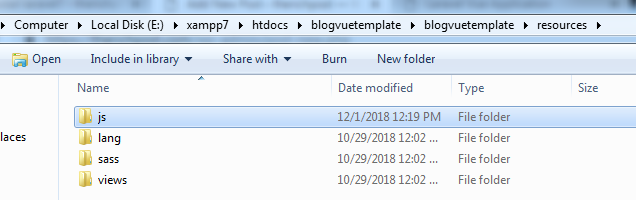
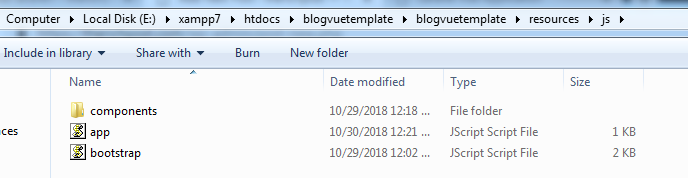
4. Now we need to create some new folders and files into resources/js/components
folder:
a. First create layouts folder inside resources\js\components:
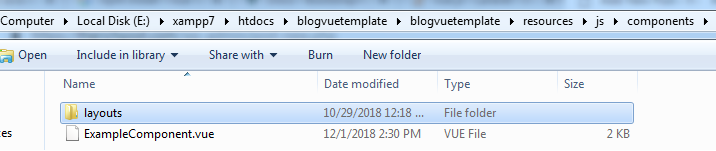
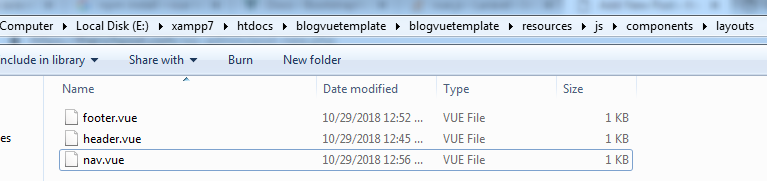
b). Now create footer.vue, header.vue, nav.vue files into resources/js/components/layouts folders:
5. Now come to coding point and very first add below code
into resources/js/components/layouts/header.vue file:
<!-- header -->
<template>
        <h4>Home Page</h4>
</template>
<!-- header -->
6. Now add below code into resources/js/components/layouts/footer.vue file:
<!-- footer -->
<template>
        <p>Footer Text</p>
</template>
<!-- footer -->
7. Now add below code into resources/js/components/layouts/nav.vue file:
<!-- navbar -->
<template>
  <b-nav vertical pills>
  <b-nav-item active>Home</b-nav-item>
  <b-nav-item>About</b-nav-item>
</b-nav>
</template>
<!-- navbar -->
8. Now add below code into resources/js/components/ExampleComponent.vue file:
<template>
        <b-container>
        <b-jumbotron >
          <Header></Header>
          <p>For more information visit our website</p>
        </b-jumbotron>
            <b-row>
                <b-col md="2">
                    <navbar></navbar>
                </b-col>
                <b-col md="10" class="content">
                    Home Page Text...Lorem ipsum dolor sit amet, consectetur adipiscing elit.Lorem ipsum dolor sit amet, consectetur adipiscing elit.
                    Lorem ipsum dolor sit amet, consectetur adipiscing elit.Lorem ipsum dolor sit amet, consectetur adipiscing elit.Lorem ipsum dolor sit amet, consectetur adipiscing elit.Lorem ipsum dolor sit amet, consectetur adipiscing elit.Lorem ipsum dolor sit amet, consectetur adipiscing elit.Lorem ipsum dolor sit amet, consectetur adipiscing elit.Lorem ipsum dolor sit amet, consectetur adipiscing elit.Lorem ipsum dolor sit amet, consectetur adipiscing elit.Lorem ipsum dolor sit amet, consectetur adipiscing elit.
                </b-col>
            </b-row>
            <b-card-footer class="text-center"><Footer></Footer></b-card-footer>

        </b-container>
</template>

<script>
    import Nav from './layouts/nav.vue';
    import Header from './layouts/header.vue';
    import Footer from './layouts/footer.vue';
    export default{
        components: {
            navbar: Nav,
            Header: Header,
            Footer: Footer
        }
    }
</script>
9. Add below code into resources/js/app.js file:
In this file, we will declare the vue dependencies and components:
/**
 * First we will load all of this project's JavaScript dependencies which
 * includes Vue and other libraries. It is a great starting point when
 * building robust, powerful web applications using Vue and Laravel.
 */
import Vue from 'vue'
import BootstrapVue from 'bootstrap-vue'
Vue.use(BootstrapVue);


/**
 * Next, we will create a fresh Vue application instance and attach it to
 * the page. Then, you may begin adding components to this application
 * or customize the JavaScript scaffolding to fit your unique needs.
 */

Vue.component('example-component', require('./components/ExampleComponent.vue'));

const app = new Vue({
    el: '#app'
});
10. finally add below code into resources/views/welcome.blade.php file:
This file, we will call vue templates codes:
<!doctype html>
<html lang="{{ app()->getLocale() }}">
    <head>
        <meta charset="utf-8">
        <meta http-equiv="X-UA-Compatible" content="IE=edge">
        <meta name="viewport" content="width=device-width, initial-scale=1">
        <title>Laravel Vue Application</title>
        <link href="{{asset('css/app.css')}}" rel="stylesheet" type="text/css">
        </head>
        <body>
            <div id="app">
            <example-component></example-component>
        </div>

        <script src="{{asset('js/app.js')}}"></script>
    </body>
</html>
11. Now run below command into your terminal and enjoy the Laravel Vuejs template
Best Practices:
php artisan serve
This is it. If you have any query related to this post then please do comment below or ask question.
Thank you,
Jatt,
TheRichPost
Notes: The main purpose of this post is just give simple introduction Vue template structure. I just made this my requirement and share your views on this.
Leave a Reply
You must be logged in to post a comment.