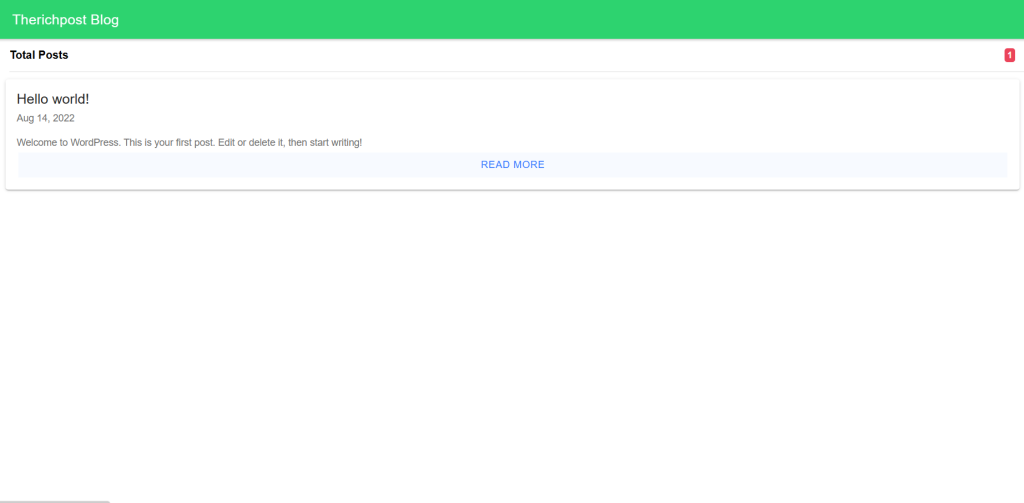
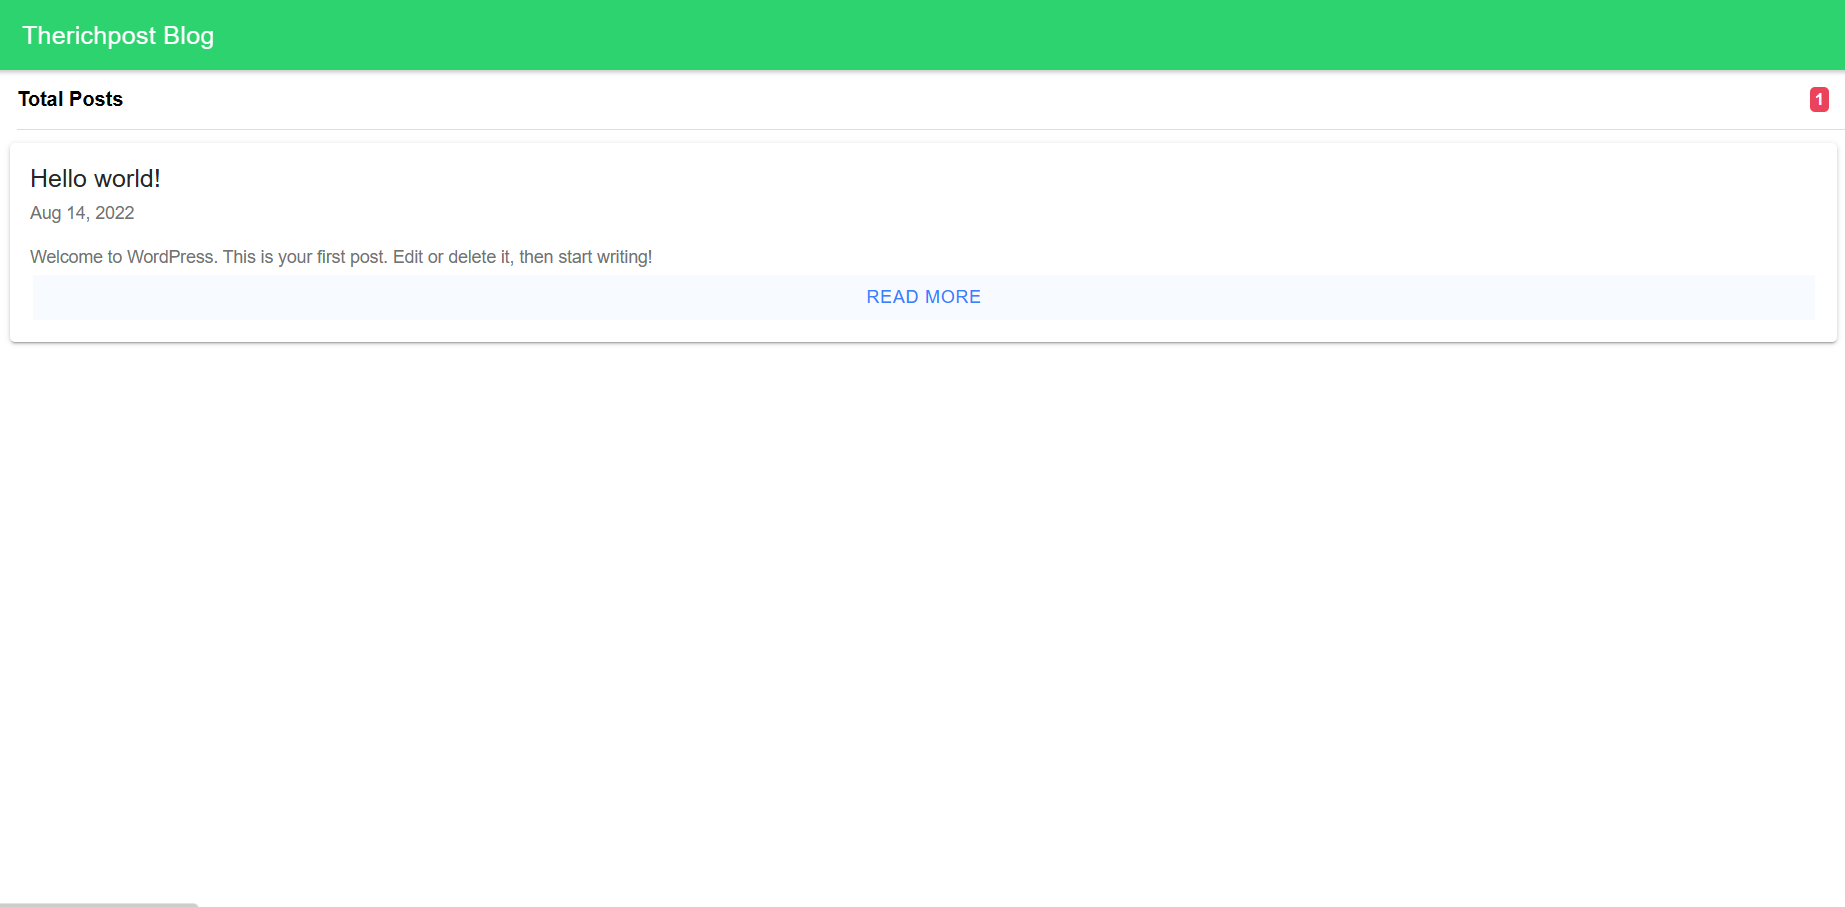
Hello friends, welcome back to my blog. Today this blog post will tell you, Ionic 7 Angular 16 Blog Application with WordPress Rest API Posts Data.

Angular 16 came and Ionic 7 also. If you are new then you must check below two links:
Friends now I proceed onwards and here is the working code snippet and please use carefully this to avoid the mistakes:
1. Firstly friends we need fresh Ionic 7 and angular 16 setup and for this we need to run below commands but if you already have Ionic 7 and angular 16 setup then you can avoid below commands. Secondly we should also have latest node version installed on our system:
npm install -g @ionic/cli

ionic start ionic-wordpress-rest-api blank --type=angular

cd ionic-wordpress-rest-api

ionic g page posts

ionic g page post-detail

ionic generate service shared/wpIonic
2. Now friends we just need to add below code into ionic-wordpress-rest-api/src/app/app.module.ts file:
...
import { HttpClientModule } from '@angular/common/http';
@NgModule({
...
  imports: [...
    HttpClientModule],
    ...
3. Now friends we just need to add below code into ionic-wordpress-rest-api/src/app/app.routing.module.ts file:
import { NgModule } from '@angular/core';
import { PreloadAllModules, RouterModule, Routes } from '@angular/router';
const routes: Routes = [
  {
    path: '',
    redirectTo: 'posts',
    pathMatch: 'full'
  },
  {
    path: 'posts',
    loadChildren: () => import('./posts/posts.module').then( m => m.PostsPageModule)
  },
  {
    path: 'post-detail/:id',
    loadChildren: () => import('./post-detail/post-detail.module').then( m => m.PostDetailPageModule)
  },
];
@NgModule({
  imports: [
    RouterModule.forRoot(routes, { preloadingStrategy: PreloadAllModules })
  ],
  exports: [RouterModule]
})
export class AppRoutingModule { }
4. Now friends we just need to add below code into ionic-wordpress-rest-api/src/app/posts/posts.page.ts file:
import { Component, OnInit } from '@angular/core';
import { WpIonicService } from '../shared/wp-ionic.service';
import { LoadingController } from '@ionic/angular';

@Component({
  selector: 'app-posts',
  templateUrl: './posts.page.html',
  styleUrls: ['./posts.page.scss'],
})
export class PostsPage implements OnInit {

  Posts: any = [];
  postCount = null;
  page = 1;

  constructor(
    private wpService: WpIonicService,
    private loadingController: LoadingController
  ) { }

  ngOnInit() {
    this.initPosts();
  }

  async initPosts() {
    let loading = await this.loadingController.create({
      message: 'Loading ...'
    });

    await loading.present();

    this.wpService.getAllPosts().subscribe((data) => {
      this.postCount = this.wpService.allPosts;
      this.Posts = data;
      loading.dismiss();
    });
  }

  infiniteLoad(e: any) {
    this.page++;

    this.wpService.getAllPosts(this.page).subscribe((data) => {
      this.Posts = [...this.Posts, ...data];
      e.target.complete();

      // Disable loading when reached last
      if (this.page == this.wpService.pages) {
        e.target.disabled = true;
      }
    });
  }

}
5. Now friends we just need to add below code into ionic-wordpress-rest-api/src/app/posts/posts.page.html file:
<ion-header>
  <ion-toolbar color="success">
    <ion-title>Therichpost Blog</ion-title>
  </ion-toolbar>
</ion-header>
<ion-content padding>
  <ion-item>
    <ion-label>
      <strong>Total Posts</strong>
    </ion-label>
    <ion-badge color="danger" *ngIf="postCount">{{ postCount }}</ion-badge>
  </ion-item>
  <ion-card *ngFor="let post of Posts">
    <ion-card-header>
      <ion-card-title [innerHTML]="post.title.rendered"></ion-card-title>
      <ion-card-subtitle>{{ post.date_gmt | date }}</ion-card-subtitle>
    </ion-card-header>
    <ion-card-content>
      <div [innerHTML]="post.excerpt.rendered"></div>
      <ion-button expand="full" fill="clear" [routerLink]="['/', 'post-detail', post.id]">Read More</ion-button>
    </ion-card-content>
  </ion-card>
  <ion-infinite-scroll threshold="120px" (ionInfinite)="infiniteLoad($event)">
    <ion-infinite-scroll-content loadingText="Fetching Posts">
    </ion-infinite-scroll-content>
  </ion-infinite-scroll>
</ion-content>
6. Now friends we just need to add below code into ionic-wordpress-rest-api/src/app/post-detail/post-details.page.ts file:
import { Component, OnInit } from '@angular/core';
import { ActivatedRoute } from '@angular/router';
import { WpIonicService } from '../shared/wp-ionic.service';
@Component({
  selector: 'app-post-detail',
  templateUrl: './post-detail.page.html',
  styleUrls: ['./post-detail.page.scss'],
})
export class PostDetailPage implements OnInit {
  postDetial: any;
  constructor(
    private activatedRoute: ActivatedRoute,
    private wpService: WpIonicService
  ) {}
  ngOnInit() {
    let id = this.activatedRoute.snapshot.paramMap.get('id');
    this.wpService.postDetails(id).subscribe((data) => {
      this.postDetial = data;
    });
  }
  goToOrgPost() {
    window.open(this.postDetial.link, '_blank');
  }
}
7. Now friends we just need to add below code into ionic-wordpress-rest-api/src/app/post-detail/post-details.page.html file:
<ion-header>
  <ion-toolbar color="danger">
    <ion-buttons slot="start">
      <ion-back-button defaultHref="/posts"></ion-back-button>
    </ion-buttons>
    <ion-title>{{ postDetial?.title.rendered }}</ion-title>
  </ion-toolbar>
</ion-header>
<ion-content padding>
  <div *ngIf="postDetial">
    <div [innerHTML]="postDetial.content.rendered" padding></div>
  </div>
</ion-content>
<ion-footer color="secondary">
  <ion-toolbar>
    <ion-button expand="full" fill="clear" (click)="goToOrgPost()">
      Check Original Post
    </ion-button>
  </ion-toolbar>
</ion-footer>
8. Now friends we just need to add below code into ionic-wordpress-rest-api/src/app/shared/wp-ionic.service.ts file:
import { Injectable } from '@angular/core';
import { Observable } from 'rxjs';
import { map } from 'rxjs/operators';
import { HttpClient } from '@angular/common/http';
@Injectable({
  providedIn: 'root'
})
export class WpIonicService {
  endpoint = `https://therichpost.com/woocommerce_tricks/wp-json/wp/v2/`;
  allPosts = null;
  pages: any;

  constructor( private httpClient: HttpClient ) { }

  getAllPosts(page = 1): Observable<any[]> {
    let options = {
      observe: "response" as 'body',
      params: {
        per_page: '6',
        page: ''+page
      }
    };

    return this.httpClient.get<any[]>(`${this.endpoint}posts?_embed`, options)
    .pipe(
      map((res: any) => {
        this.pages = res['headers'].get('x-wp-totalpages');
        this.allPosts = res['headers'].get('x-wp-total');
        return res['body'];
      })
    )
  }

  postDetails(id: any) {
    return this.httpClient.get(`${this.endpoint}posts/${id}?_embed`)
    .pipe(
      map((post) => {
        return post;
      })
    )
  }
}
8. Now friends we just need to add or set below code into ionic-wordpress-rest-api/tsconfig.json file:
...
"compilerOptions": {
    ...
    "strictPropertyInitialization": false,
    "skipLibCheck": true
    ...
},
"angularCompilerOptions": {
     ...
    "strictTemplates": false,

}
...
Friends in the end must run ionic serve -l command into your terminal to run the ionic 7 project(localhost:8100).
Now we are done friends. If you have any kind of query, suggestion and new requirement then feel free to comment below.
Note: Friends, In this post, I just tell the basic setup and things, you can change the code according to your requirements.
I will appreciate that if you will tell your views for this post. Nothing matters if your views will be good or bad because with your views, I will make my next posts more good and helpful.
Jassa Rich
Thank you

Leave a Reply
You must be logged in to post a comment.