Hello friends, welcome back to my blog. Today in this blog post, I am going to tell you, How to upload, preview and save image inside folder in react js?
For reactjs new comers, please check the below link:
Friends here is the code snippet for How to upload, preview and save image inside folder in react js? and please use this code snippet carefully to avoid the mistakes:
1. Firstly friends we need fresh reactjs setup and for that we need to run below commands into our terminal and also w should have latest node version installed on our system:
npx create-react-app reactimageupload

cd reactimageupload

npm start // run the project
2. Now we need to run below commands to get bootstrap(for good layout), react image uploading(for image upload ) and axios(to post image request to php) modules into our react js app:
npm install bootstrap --save

npm install --save react-images-uploading

npm install axios --save

npm start
3. Finally friends we need to add below code into our src/App.js file to get final output on web browser:
import React from 'react';
import './App.css';

//bootstrap
import 'bootstrap/dist/css/bootstrap.min.css';

//For Image Save
import axios from 'axios';

//For Image Upload
import ImageUploading from "react-images-uploading";


class App extends React.Component {
  onChange = (imageList) => {
    // data for submit

    // Create an object of formData
    const formData = new FormData();

    // Update the formData object
    formData.append(
      "myFile",
      imageList[0].file,
      imageList[0].file.name
    );

    // Details of the uploaded file
    console.log(imageList[0].file);

    // Request made to the backend api
    // Send formData object to my php file for save in folder
    axios.post("http://localhost/reactimageupload.php", formData);
  };


  render() {

    return (

      <div className="maincontainer">

        <h1 className="mr-5 ml-5 mt-5">TheRichPost</h1>
        <div className="container mb-5 mt-5">

        <ImageUploading
        onChange={this.onChange}
      >
        {({ imageList, onImageUpload }) => (
          // write your building UI
          <div className="imageuploader">

            <div className="mainBtns">
            <button className="btn btn-primary mr-1" onClick={onImageUpload}>Upload Image</button>

            </div>
            {imageList.map((image) => (
              <div className="imagecontainer" key={image.key}>
                <img src={image.dataURL} />

              </div>
            ))}
          </div>
        )}
      </ImageUploading>


      </div>


      </div>

)
};
}

export default App;
4. In the end friends we need to add below code into our src/App.css file to style the things:
.imagecontainer {
  float: left;
  width: 215px;
  height: auto;
  margin: 10px 0;
}
.imagecontainer img{width: 150px; margin:10px 0;}
.imageuploader{width: 800px; height: 400px; background-color:#cbeefc;padding: 10px;}
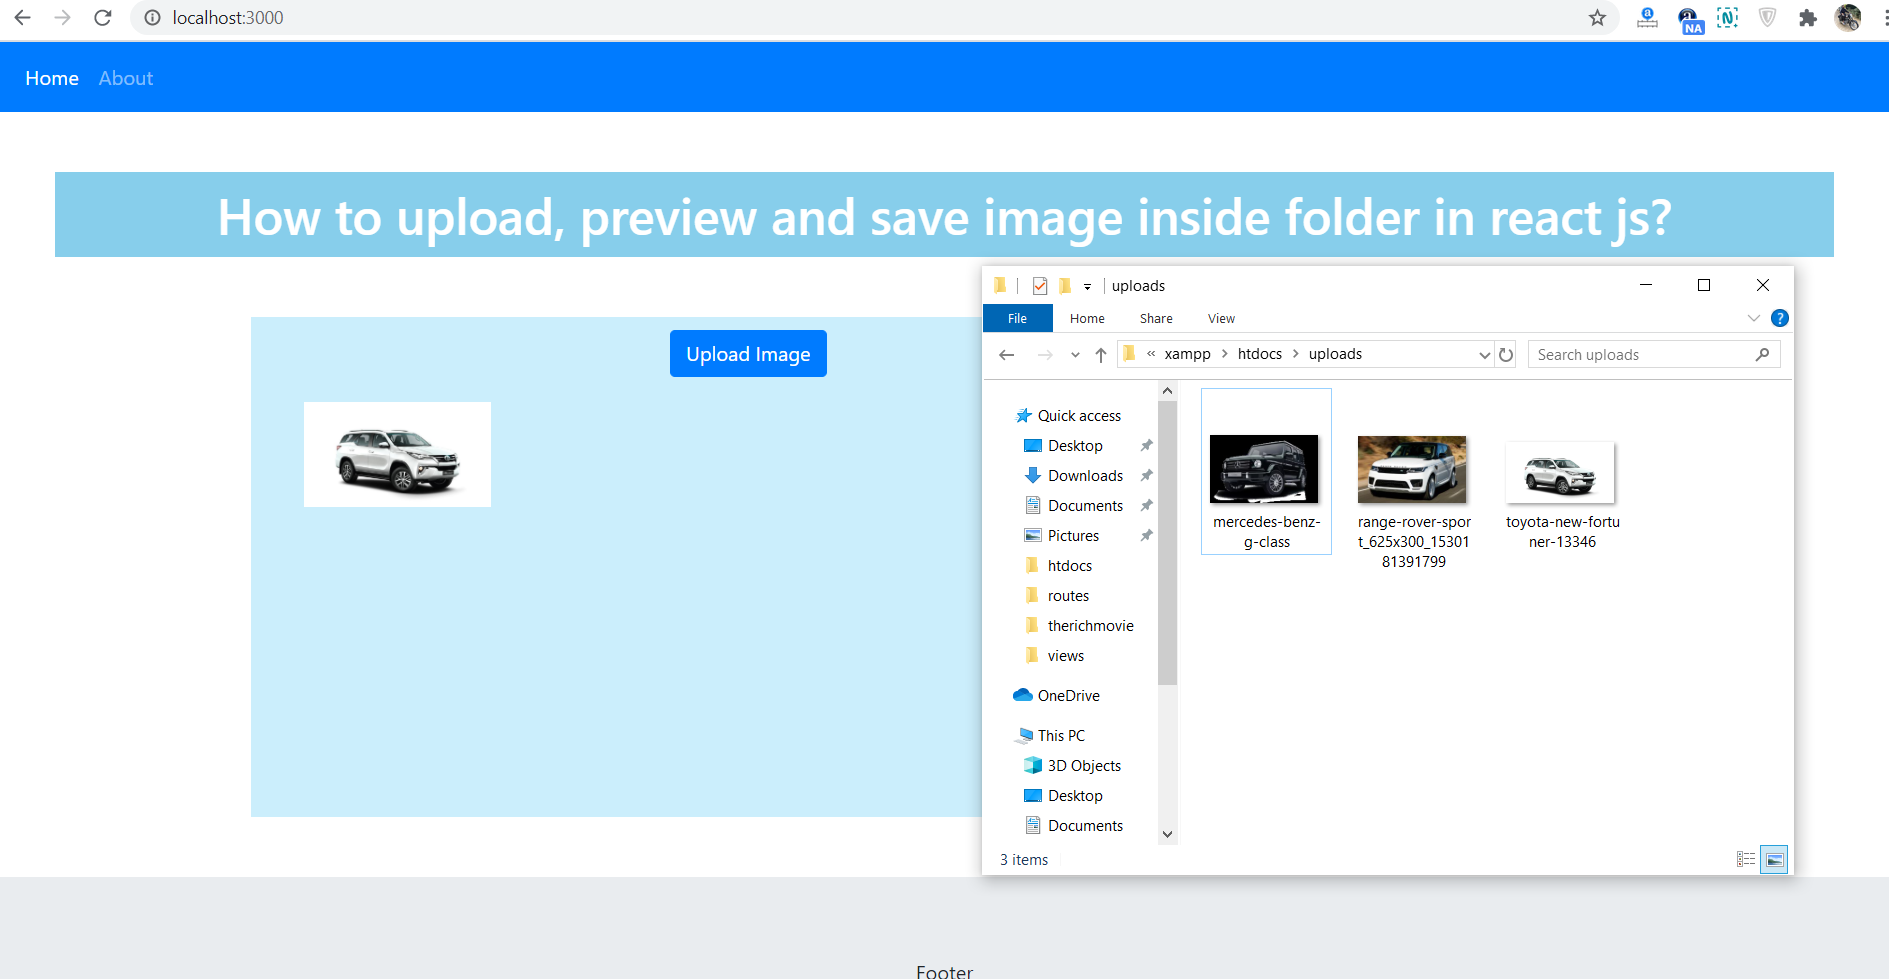
5. For moving image inside folder, friends here is my php file reactimageupload.php code, which I have used in reactjs. I have put this file inside my xampp/htdocs folder and I have also made uploads folder into my xampp/htdocs folder:
Guys I have used php to move image inside the folder
<?php

//Upload folder
$target_dir = "uploads/";
$target_file = $target_dir . basename($_FILES["myFile"]["name"]);
$imageFileType = strtolower(pathinfo($target_file,PATHINFO_EXTENSION));
// Check if image file is a actual image or fake image

  $check = getimagesize($_FILES["myFile"]["tmp_name"]);
  if($check !== false) {

  //Move File To Uploads Folder
    if (move_uploaded_file($_FILES["myFile"]["tmp_name"], $target_file)) {
    echo "The file ". basename( $_FILES["myFile"]["name"]). " has been uploaded.";
    } else {
    echo "Sorry, there was an error uploading your file.";
    }

  } else {
    echo "File is not an image.";

  }


?>
Now we are done friends. If you have any kind of query or suggestion or any requirement then feel free to comment below.
Guys in my next post, I will tell you, how to upload and save multiple images in react js in folder?
Note: Friends, I just tell the basic setup and things, you can change the code according to your requirements. For better understanding must watch video above.
I will appreciate that if you will tell your views for this post.Nothing matters if your views will good or bad.
Jassa
Thanks
Leave a Reply
You must be logged in to post a comment.