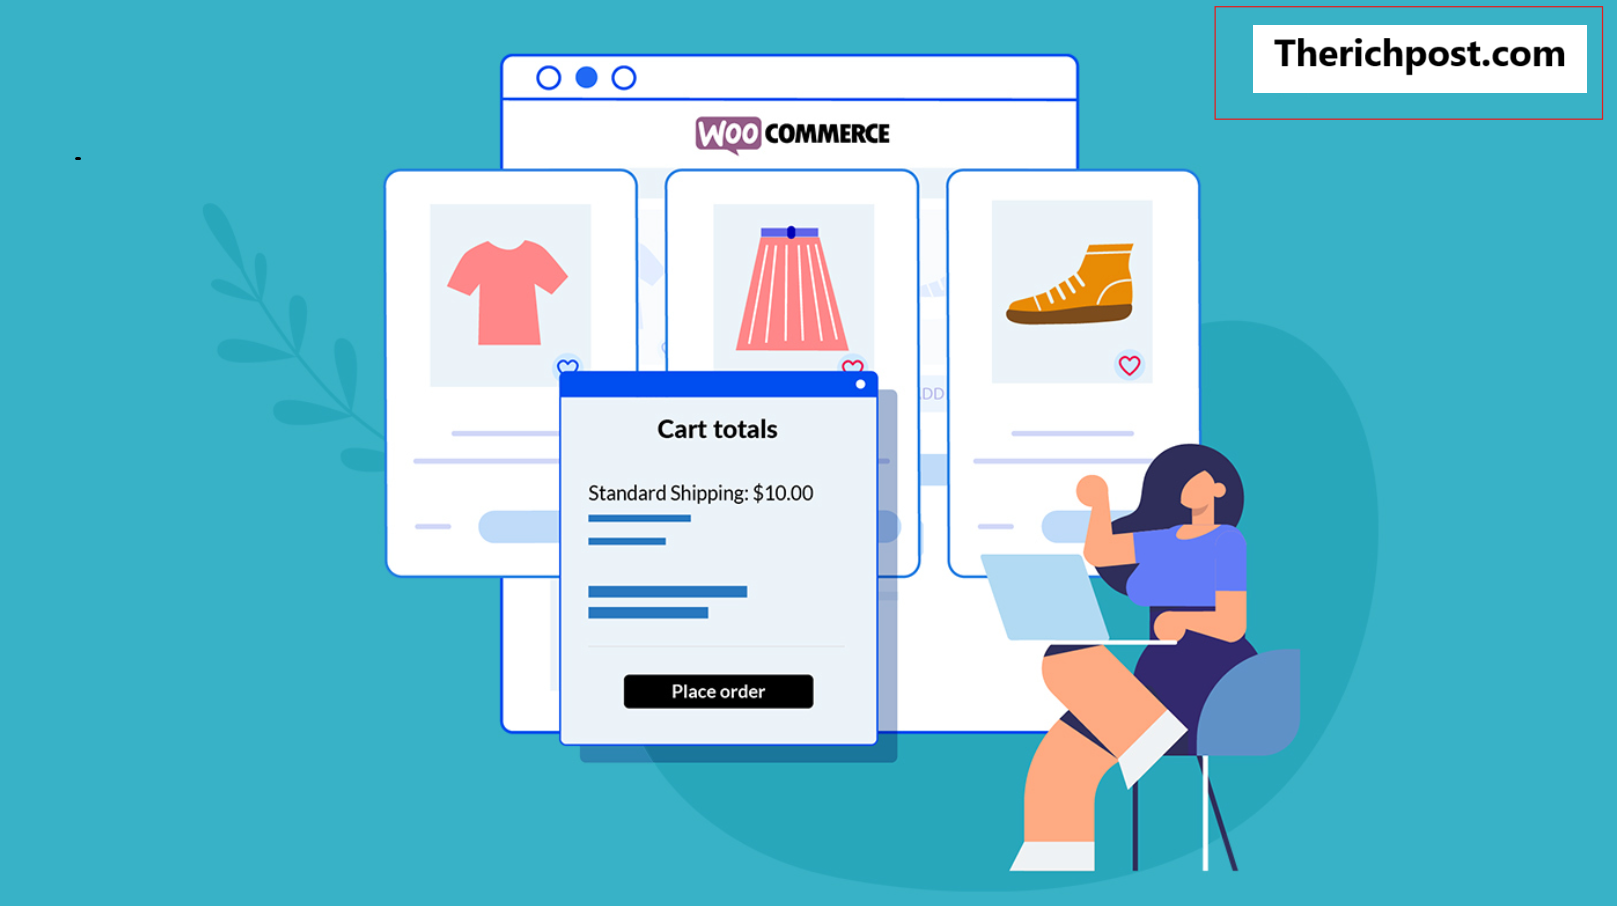
Hello guys how are you? Welcome back to my blog therichpost.com. Guys today in this post, I will tell you How to get live shipping rates in WooCommerce their shopping carts?
Guys if you are new in WordPress or in WooCommerce then please check the below links for some good tutorials:
Guys here is the working steps and please follow carefully:
Guys WooCommerce allows store owners to integrate live shipping rates directly into their shopping carts by using plugins and shipping services. This feature provides real-time shipping costs to customers based on their location, order weight, dimensions, and chosen carrier.
Steps to Enable Live Shipping Rates in WooCommerce
- Set Up WooCommerce Shipping Zones
- Log in to the WordPress Admin Dashboard.
- Navigate to WooCommerce > Settings > Shipping.
- Define shipping zones based on geographical regions.
- Install a Live Shipping Rate Plugin
WooCommerce doesn’t offer live shipping rates out of the box, but there are plugins and extensions you can use to enable this feature. Popular choices include:
- WooCommerce Shipping (built-in with some functionality for USPS and DHL).
- Table Rate Shipping plugins (to customize rates).
- Carrier-specific plugins like:
- UPS Live Rates and Access Points
- FedEx Shipping Method for WooCommerce
- USPS Shipping Method for WooCommerce
- DHL WooCommerce Plugin
- Multi-carrier plugins like:
- Configure the Plugin
- Once installed, go to the plugin’s settings (usually under WooCommerce > Settings > Shipping).
- Enter API credentials (often required from the carrier, such as FedEx, UPS, or USPS).
- Configure shipping methods, services, and rates.
- Enable Live Rates on the Cart Page
- Ensure the plugin allows live rates to appear during checkout.
- Test this feature by adding products to your cart and verifying that rates update based on location, weight, and size.
- Optional: Use WooCommerce Shipping Integration
- WooCommerce offers its built-in WooCommerce Shipping service, which supports USPS and DHL for live rates, label printing, and tracking.
- Go to WooCommerce > Shipping & Payments to enable and configure.
Key Benefits of Live Shipping Rates
- Accuracy: Customers are charged exactly what shipping costs, reducing discrepancies.
- Transparency: Real-time calculations build trust with customers.
- Convenience: Eliminates manual rate setup for each shipping zone or product.
With the right plugin and setup, WooCommerce can effectively manage live shipping rates, enhancing the shopping experience and reducing shipping-related issues.
Guys here is demo with custom code setup:
Steps to Add Live Shipping Rates with Custom Code
1. Understand WooCommerce’s Shipping Framework
WooCommerce uses shipping zones and methods. To add a custom shipping method:
- Create a custom shipping class.
- Register it with WooCommerce.
2. Set Up API Access with the Carrier
Sign up for a developer account with the carrier you want to use (e.g., UPS, FedEx, USPS).
- Obtain API credentials (API key, secret, account number, etc.).
- Refer to the carrier’s API documentation to understand the required endpoints for rate calculations.
3. Create a Custom Plugin
Creating a custom plugin is a clean way to add custom functionality without modifying core WooCommerce files.
Example:
- Create a folder named
custom-live-shipping. - Inside it, create a file named
custom-live-shipping.phpand add the plugin header:
<?php
/*
Plugin Name: Custom Live Shipping Rates
Description: Fetch live shipping rates from carriers and display them in the WooCommerce cart and checkout.
Version: 1.0
Author: Your Name
*/

if (!defined('ABSPATH')) {
    exit; // Exit if accessed directly
}
4. Add a Custom Shipping Method Class
Extend the WC_Shipping_Method class to define your custom shipping method.
class WC_Custom_Live_Shipping_Method extends WC_Shipping_Method {
    public function __construct() {
        $this->id = 'custom_live_shipping';
        $this->method_title = __('Custom Live Shipping');
        $this->method_description = __('Fetch live rates from carriers.');
        $this->enabled = "yes";
        $this->init();
    }

    public function init() {
        $this->init_form_fields();
        $this->init_settings();

        add_action('woocommerce_update_options_shipping_' . $this->id, [$this, 'process_admin_options']);
    }

    public function calculate_shipping($package = []) {
        $rates = $this->get_live_rates($package);
        foreach ($rates as $rate) {
            $this->add_rate($rate);
        }
    }

    private function get_live_rates($package) {
        // Example: Fetch rates from a carrier API
        $response = $this->fetch_carrier_api($package);
        $rates = [];

        if ($response && isset($response['rates'])) {
            foreach ($response['rates'] as $rate) {
                $rates[] = [
                    'id' => $rate['service'],
                    'label' => $rate['service_name'],
                    'cost' => $rate['price'],
                    'package' => $package,
                ];
            }
        }

        return $rates;
    }

    private function fetch_carrier_api($package) {
        // Example API call (replace with carrier-specific logic)
        $api_url = 'https://example-carrier.com/rates';
        $body = [
            'origin' => 'your-origin-zipcode',
            'destination' => $package['destination']['postcode'],
            'weight' => $package['contents_weight'],
            'dimensions' => [10, 10, 10], // Placeholder
        ];

        $response = wp_remote_post($api_url, [
            'body' => json_encode($body),
            'headers' => ['Content-Type' => 'application/json'],
        ]);

        return json_decode(wp_remote_retrieve_body($response), true);
    }
}
5. Register the Shipping Method
Hook your custom shipping method into WooCommerce.
function add_custom_live_shipping_method($methods) {
    $methods['custom_live_shipping'] = 'WC_Custom_Live_Shipping_Method';
    return $methods;
}
add_filter('woocommerce_shipping_methods', 'add_custom_live_shipping_method');
6. Activate Your Plugin
- Zip the
custom-live-shippingfolder. - Upload and activate it from the Plugins section of WordPress.
Notes
- Error Handling:
- Validate API responses to handle errors gracefully.
- Caching:
- Cache API responses to improve performance and reduce repeated API calls.
- Testing:
- Test thoroughly with different locations, weights, and cart scenarios.
This approach requires familiarity with PHP, WordPress, WooCommerce, and the carrier’s API. If you need assistance with specific integrations, feel free to ask!
Ajay
Thanks

Leave a Reply
You must be logged in to post a comment.