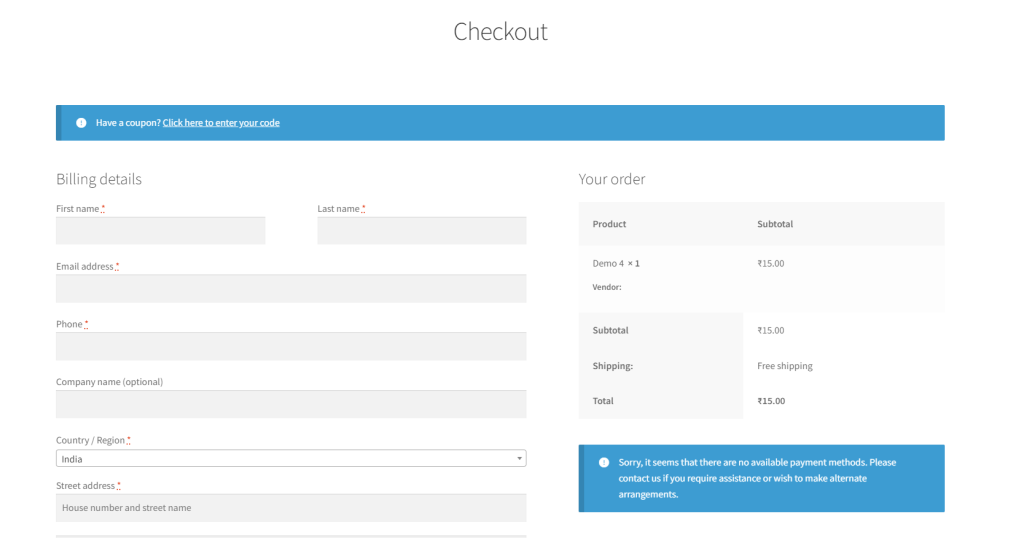
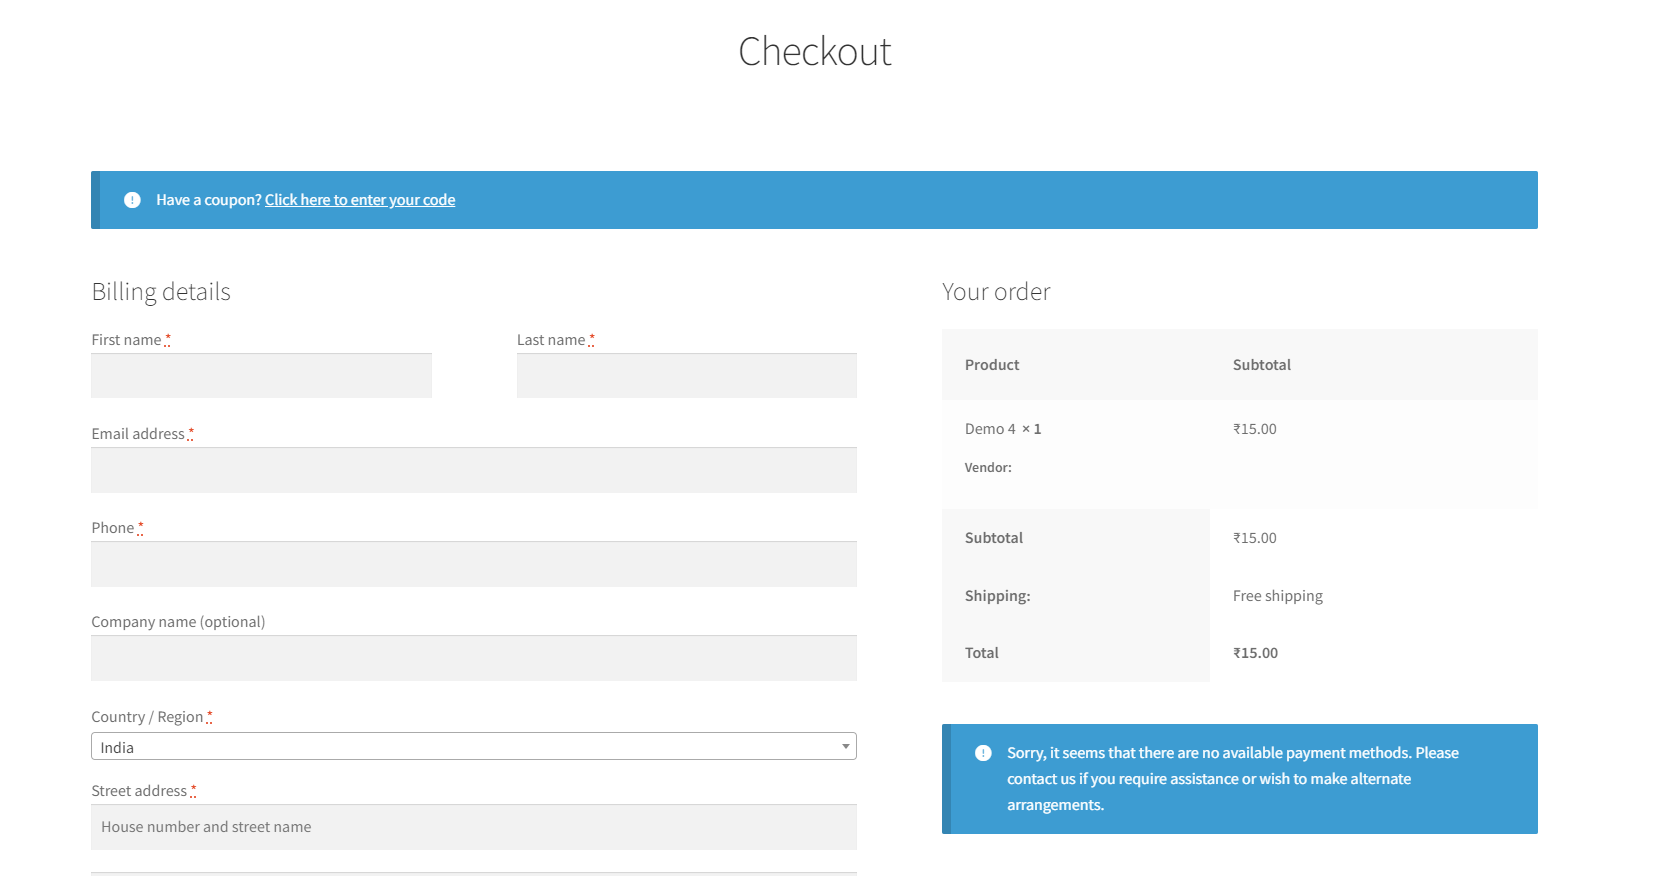
Creating custom fields in the checkout process of a WooCommerce store can enhance the user experience by collecting additional, relevant information from customers. Here’s a step-by-step guide on how to do this using hooks in WooCommerce, without a plugin. If you prefer a plugin, I can guide you through that process as well.

Step 1: Add the Custom Fields to Checkout Page
You need to add the custom fields to the WooCommerce checkout page. This can be done by hooking into WooCommerce’s actions. Add the following code to your theme’s functions.php file or a custom plugin:
add_action('woocommerce_after_order_notes', 'custom_checkout_field');

function custom_checkout_field($checkout) {
    echo '<div id="custom_checkout_field"><h2>' . __('My Custom Field') . '</h2>';

    woocommerce_form_field('my_custom_field', array(
        'type'          => 'text',
        'class'         => array('my-custom-field-class form-row-wide'),
        'label'         => __('Enter your data'),
        'placeholder'   => __('Enter something'),
        'required'      => true,
        ), $checkout->get_value('my_custom_field'));

    echo '</div>';
}
Step 2: Validate the Custom Field
You should ensure that the data entered into the custom fields is valid. Add the following code to handle validation:
add_action('woocommerce_checkout_process', 'custom_checkout_field_process');

function custom_checkout_field_process() {
    // Check if set, if its not set add an error.
    if (!$_POST['my_custom_field'] || trim($_POST['my_custom_field']) == '') {
        wc_add_notice(__('My Custom Field is a required field.'), 'error');
    }
}
Step 3: Save the Custom Field Value
Once the field is validated, you need to save the custom field value. This value can be saved in the order meta:
add_action('woocommerce_checkout_update_order_meta', 'custom_checkout_field_update_order_meta');

function custom_checkout_field_update_order_meta($order_id) {
    if (!empty($_POST['my_custom_field'])) {
        update_post_meta($order_id, 'My Custom Field', sanitize_text_field($_POST['my_custom_field']));
    }
}
Step 4: Display the Custom Field Value in the Admin Order Panel
To view this custom field in the order edit pages in the admin panel, add the following code:
add_action('woocommerce_admin_order_data_after_billing_address', 'my_custom_checkout_field_display_admin_order_meta', 10, 1);

function my_custom_checkout_field_display_admin_order_meta($order) {
    echo '<p><strong>' . __('My Custom Field') . ':</strong> ' . get_post_meta($order->get_id(), 'My Custom Field', true) . '</p>';
}
Additional Customizations
- You can change the type of the field (
text,checkbox,select, etc.) in thewoocommerce_form_fieldfunction call. - Modify the placement of the field by hooking into different actions.
- Use CSS to style the fields as needed.
This example covers adding a simple text field. You can extend this by adding multiple fields, different types of fields, and more complex validation logic. Always test changes on a development site before applying them to your live store to avoid disrupting the shopping experience.
Jassa
Thanks

Leave a Reply
You must be logged in to post a comment.