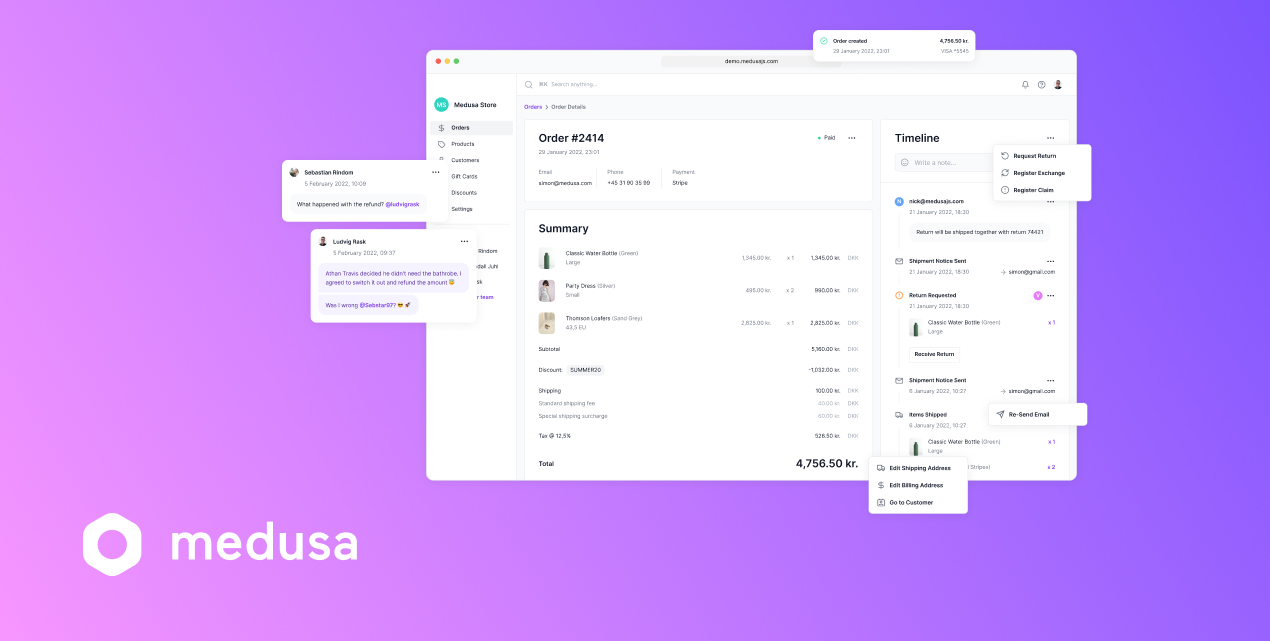
Hello guys how are you? Welcome back to my blog therichpost.com. Guys today in this blog post I am going to show, How to create a new plugin and publish it as a standalone module in medusajs?
Guys here is the for more medusajs posts:
Guys is the code snippet link and please use it carefully:
Creating and publishing a standalone plugin for MedusaJS involves several steps. Below is a comprehensive guide to help you achieve this:
Steps to Create and Publish a New Plugin in MedusaJS
1. Set Up the Environment
Ensure you have the necessary tools installed:
- Node.js (>=16.x)
- npm or yarn
- A MedusaJS project for testing the plugin
2. Create a New Plugin Project
- Initialize a new Node.js project:
   mkdir medusa-plugin-my-plugin
   cd medusa-plugin-my-plugin
   npm init -y
Replace medusa-plugin-my-plugin with your plugin name.
- Install Medusa dependencies:
npm install @medusajs/medusa
- Add a plugin structure:
Create the necessary files for your plugin:
index.js: The entry point for your plugin.src: Directory for core plugin logic.package.json: Contains metadata about your plugin.
3. Implement Plugin Logic
- Define the plugin interface:
Medusa plugins are initialized through theregisterfunction and can use hooks to extend or modify Medusa functionality. - Example
index.jsfile:
   class MyPlugin {
     constructor({ options }) {
       this.options = options;
     }

     load(container, options) {
       console.log("MyPlugin loaded with options:", options);
       // Add custom logic here
     }
   }

   module.exports = MyPlugin;
- Export the plugin in
package.json:
   {
     "name": "medusa-plugin-my-plugin",
     "version": "1.0.0",
     "main": "index.js",
     "medusa-plugin": true,
     "description": "A custom MedusaJS plugin.",
     "dependencies": {
       "@medusajs/medusa": "^1.8.0"
     }
   }
4. Test Your Plugin Locally
- Link your plugin (to test in an existing Medusa project):
npm link
In your Medusa project, link the plugin:
npm link medusa-plugin-my-plugin
- Add the plugin to the Medusa config:
In your Medusa project’smedusa-config.js:
   const plugins = [
     {
       resolve: "medusa-plugin-my-plugin",
       options: {
         // Plugin-specific options
       },
     },
   ];

   module.exports = { plugins };
- Run the server:
npm run develop
Confirm your plugin’s functionality is working.
5. Publish the Plugin to npm
- Update the
package.jsonfor publishing:
Ensure you have a unique package name, a meaningful description, and a validauthorfield. - Login to npm:
npm login
- Publish your plugin:
npm publish --access public
6. Share the Plugin
- Once published, developers can install your plugin via:
npm install medusa-plugin-my-plugin
- Add a README file to your repository to document how to install and use your plugin.
7. (Optional) Open Source on GitHub
- Create a GitHub repository for your plugin.
- Add your plugin’s source code and include documentation.
- Add a license to your repository.
8. Submit to Medusa Plugin Directory
Medusa has a plugin directory for sharing community plugins. Follow the Medusa guidelines to submit your plugin.
By following these steps, you’ll create a reusable, standalone plugin for MedusaJS that can be published to npm and shared with the community.
This is it guys and if you will have any kind of query then feel free to comment below:
Jassa
Thanks

Leave a Reply
You must be logged in to post a comment.