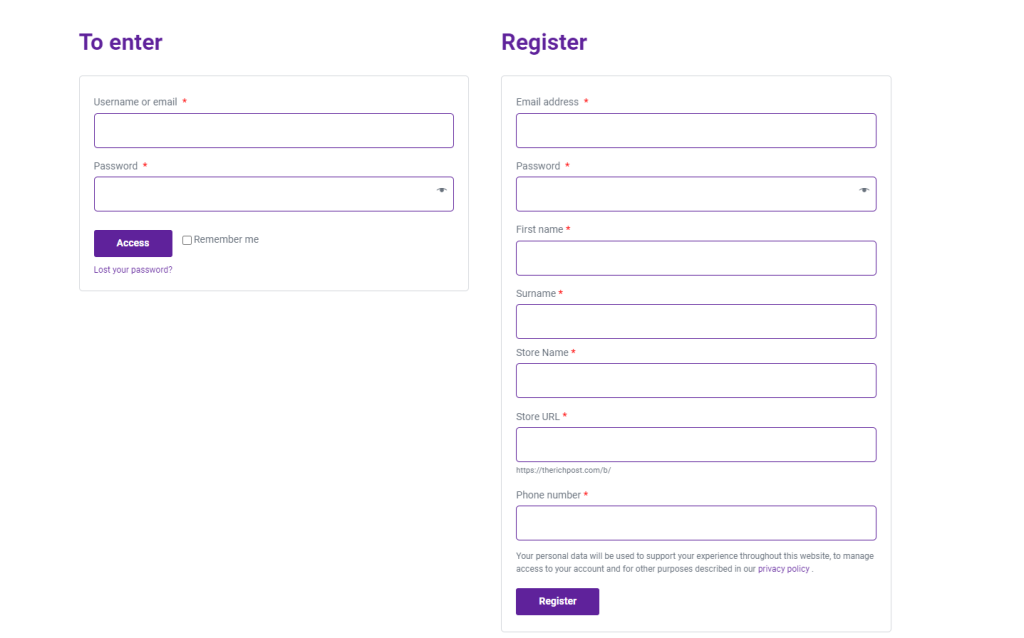
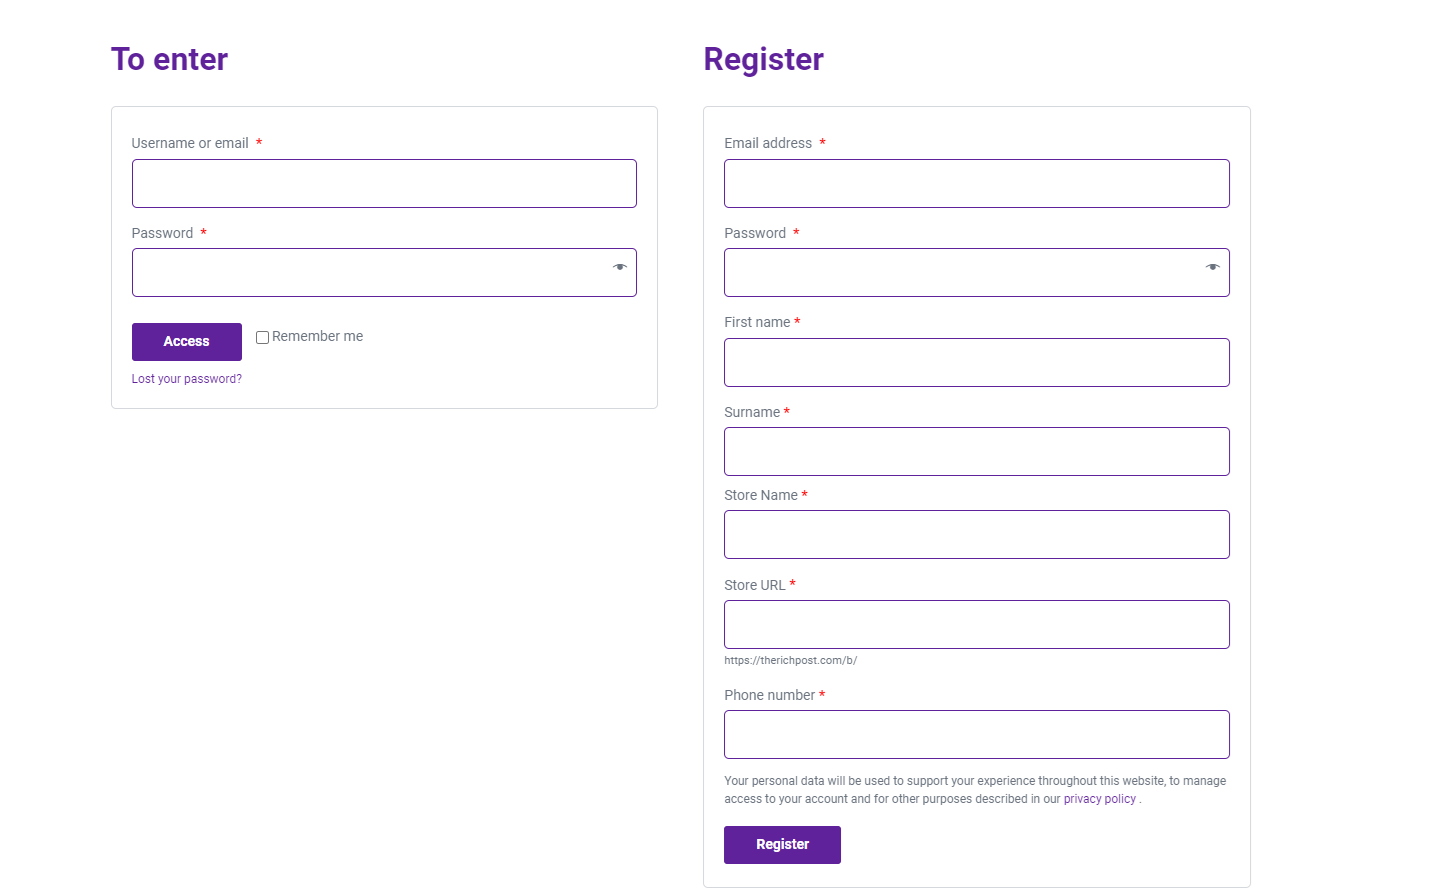
Hello guys, how are you? Welcome back to my blog. Guys Today in this blog post we will do Dokan Multi Vendor select Register as Vendor by default (a popular multi-vendor marketplace plugin for WordPress) can be done through various methods. Here is a step-by-step guide to achieve this:

Guys if you are new in WordPress or in WooCommerce then please check the below links for some good tutorials:
Guys here is the code snippet and please add this into your theme’s functions.php file:
remove_action( 'woocommerce_register_form', 'dokan_seller_reg_form_fields' );

add_action( 'woocommerce_register_form', 'dokan_custom_reg_vendor_selected', 12 );
function dokan_custom_reg_vendor_selected() {
    $postdata = wc_clean( $_POST ); // WPCS: CSRF ok, input var ok.
    $role = isset( $postdata['role'] ) ? $postdata['role'] : 'seller';
    $role_style = ( $role == 'customer' ) ? 'display:none' : '';
    dokan_get_template_part( 'global/seller-registration-form', '', array(
        'postdata' => $postdata,
        'role' => $role,
        'role_style' => $role_style
    ) );
}
Second way via using jquery:
//Using jquery
function add_custom_script_to_footer() {
    ?>
    <script type="text/javascript">
        // Your custom JavaScript code here

        jQuery(document).ready(function($){
             $(".vendor-customer-registration input:radio[name=role][value=customer]").prop('checked', false);
             $(".vendor-customer-registration input:radio[name=role][value=seller]").prop('checked', true);

        });
    </script>
    <?php
}
CONCLUSION
By following these steps, you can streamline the process and ensure your product data is accurate and complete. If you encounter any issues, refer to the Dokan documentation or seek support then please comment below or contact me.
Jassa
Thanks

Leave a Reply
You must be logged in to post a comment.