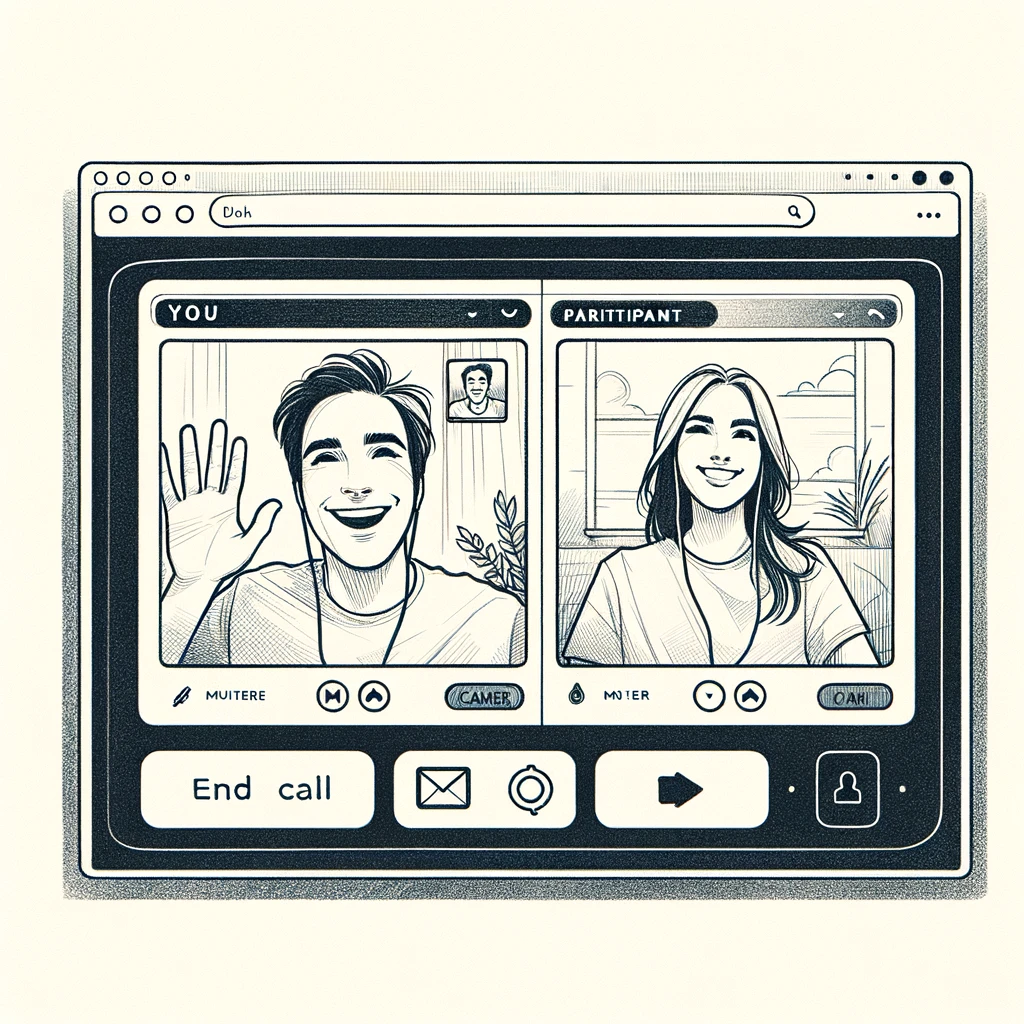
Creating a video chat application in ReactJS involves several steps, including setting up the React app, integrating a video chat API like WebRTC, and implementing UI components for the video chat features. Here’s a simplified guide to get you started:
1. Setting up the React Application
First, ensure you have Node.js installed on your machine. Then, create a new React app by running:
npx create-react-app video-chat-app
cd video-chat-app
npm start
2. Installing Dependencies
For a basic video chat app, you might need some additional libraries, such as socket.io for real-time communication and simple-peer for WebRTC abstraction. Install them using npm:
npm install socket.io-client simple-peer
3. Setting up the Server
You’ll need a server to handle signaling between clients. A simple Node.js server using Express and socket.io can be set up as follows:
- Initialize a new Node.js project in a separate directory.
- Install Express and socket.io:
npm install express socket.io
- Create a server file (e.g.,
server.js) and set up a basic server:
  const express = require('express');
  const http = require('http');
  const socketIo = require('socket.io');

  const app = express();
  const server = http.createServer(app);
  const io = socketIo(server);

  io.on('connection', (socket) => {
    console.log('a user connected');

    // Handle signaling
    socket.on('signal', (data) => {
      socket.broadcast.emit('signal', data);
    });

    socket.on('disconnect', () => {
      console.log('user disconnected');
    });
  });

  const PORT = process.env.PORT || 5000;
  server.listen(PORT, () => console.log(`Server running on port ${PORT}`));
4. Implementing the Video Chat in React
In your React app, you need to create components for the video display and handle the WebRTC logic. A simplified example might look like this:
- VideoComponent.js: A component to display video streams.
- App.js: The main component where you initialize the peer connections and handle the signaling logic.
Here’s a very simplified version of what the App.js could contain:
import React, { useEffect, useRef, useState } from 'react';
import io from 'socket.io-client';
import Peer from 'simple-peer';

const App = () => {
  const [peers, setPeers] = useState([]);
  const socketRef = useRef();
  const peersRef = useRef([]);

  useEffect(() => {
    socketRef.current = io.connect("/");
    navigator.mediaDevices.getUserMedia({ video: true, audio: true }).then(stream => {
      // Display your own video...

      socketRef.current.emit("join room", YOUR_ROOM_ID);
      socketRef.current.on("all users", users => {
        const peers = [];
        users.forEach(userID => {
          const peer = createPeer(userID, socketRef.current.id, stream);
          peersRef.current.push({
            peerID: userID,
            peer,
          })
          peers.push(peer);
        });
        setPeers(peers);
      });

      socketRef.current.on("user joined", payload => {
        const peer = addPeer(payload.signal, payload.callerID, stream);
        peersRef.current.push({
          peerID: payload.callerID,
          peer,
        });

        setPeers(users => [...users, peer]);
      });

      socketRef.current.on("receiving returned signal", payload => {
        const item = peersRef.current.find(p => p.peerID === payload.id);
        item.peer.signal(payload.signal);
      });
    });
  }, []);

  // Function to create a peer...
  // Function to add a peer...

  return (
    <div>
      {/* Display video for each peer */}
    </div>
  );
};
This example is very basic and intended to give you a starting point. Depending on your requirements, you might need to add features like UI controls for the camera, microphone toggles, screen sharing, etc.
Remember, building a video chat app requires handling complex issues such as signaling, NAT traversal, and real-time communication. It’s a good idea to refer to detailed tutorials or documentation specific to the libraries and APIs you’re using.
Leave a Reply
You must be logged in to post a comment.