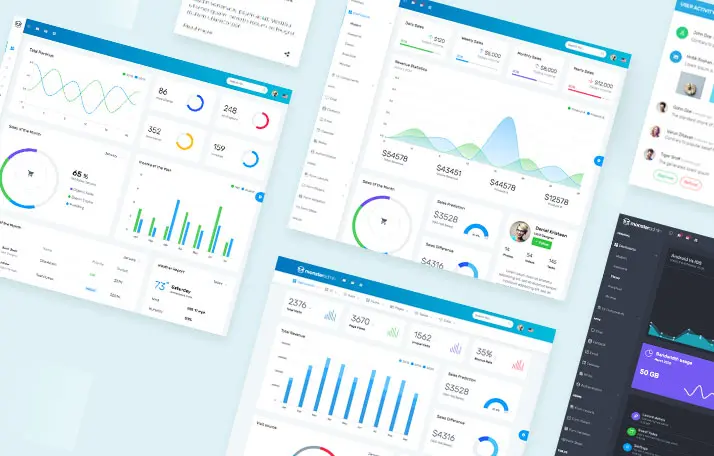
Creating an admin dashboard template in Angular involves several steps, including setting up your Angular environment, creating components, services, and integrating routing for different sections of the dashboard. Below is a simplified guide to get you started with a basic admin dashboard in Angular 17. This guide assumes you have Node.js and Angular CLI installed.
1. Setup Angular Project
First, create a new Angular project by running:
ng new admin-dashboard --style=scss --routing=true
Choose SCSS for styling (you can choose CSS if you prefer) and enable routing.
2. Generate Components
Navigate into your project directory:
cd admin-dashboard
Generate components for your dashboard. For example, a login page, dashboard home, and user profile:
ng generate component pages/login
ng generate component pages/dashboard
ng generate component pages/user-profile
3. Setup Routing
Edit your app-routing.module.ts to define routes for the dashboard. Here’s an example setup:
import { NgModule } from '@angular/core';
import { RouterModule, Routes } from '@angular/router';
import { LoginComponent } from './pages/login/login.component';
import { DashboardComponent } from './pages/dashboard/dashboard.component';
import { UserProfileComponent } from './pages/user-profile/user-profile.component';

const routes: Routes = [
  { path: '', redirectTo: '/login', pathMatch: 'full' },
  { path: 'login', component: LoginComponent },
  { path: 'dashboard', component: DashboardComponent },
  { path: 'user-profile', component: UserProfileComponent },
  // Add more routes here
];

@NgModule({
  imports: [RouterModule.forRoot(routes)],
  exports: [RouterModule]
})
export class AppRoutingModule { }
4. Create a Navigation Bar
You might want a navigation component for your admin dashboard:
ng generate component components/nav-bar
Then, add links to your navbar in nav-bar.component.html:
<nav>
  <ul>
    <li><a routerLink="/dashboard">Dashboard</a></li>
    <li><a routerLink="/user-profile">Profile</a></li>
    <!-- Add more navigation items here -->
  </ul>
</nav>
5. Add Angular Material
To beautify your dashboard and use pre-made components, add Angular Material:
ng add @angular/material
Choose a theme and set up global typography and animations as you like.
6. Use Angular Material Components
You can now use Angular Material components in your dashboard. For example, add a Material card in your dashboard.component.html:
<mat-card>
  <mat-card-header>
    <mat-card-title>Dashboard</mat-card-title>
  </mat-card-header>
  <mat-card-content>
    <p>Welcome to your dashboard!</p>
  </mat-card-content>
</mat-card>
7. Serve Your Application
Run your Angular application:
ng serve
Open your browser and navigate to http://localhost:4200/ to see your admin dashboard.
8. Expand and Customize
From here, you can expand your dashboard by adding more components, services for data handling, and customizing the styles. Utilize Angular Material for UI components and Angular Flex Layout for responsive designs. Also, consider integrating state management solutions like NgRx or Akita for complex state management.
This guide gives you a starting point. As you become more familiar with Angular, you can incorporate more advanced features and third-party libraries to enhance your admin dashboard.
