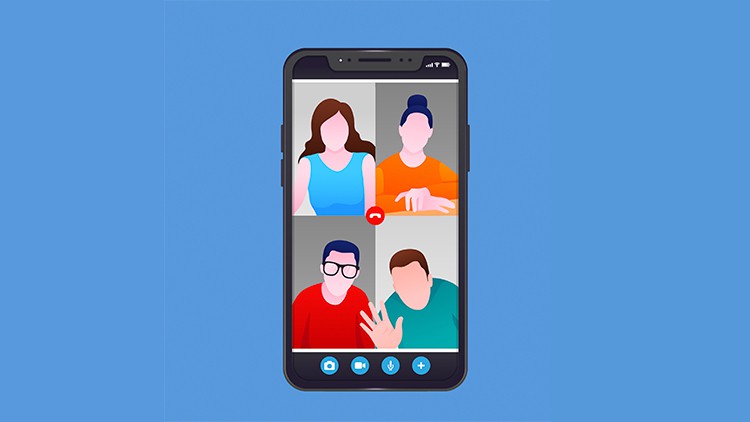
Creating a simple video call application in Ionic 8 can be a great way to learn about integrating video communication features into mobile applications. For this example, you’ll need to use Ionic for the frontend and a service like Agora or Twilio for handling the video streams, as these platforms offer robust SDKs to simplify the process.
Here’s a basic outline of how you can create a simple video call application using Ionic 8 and Agora (one of the popular choices for video communications):
Step 1: Guys here it Set Up Your Ionic Environment
Guys make sure you have Node.js installed, then install Ionic and start a new project:
npm install -g @ionic/cli
ionic start myVideoCallApp blank --type=angular
cd myVideoCallApp
Step 2: Guys Install Required Packages
Install the necessary packages for Agora:
npm install agora-rtc-sdk-ng
You might also need to install additional tools for Angular compatibility:
npm install @angular/cdk
Step 3: Guys Setup Agora Account
- Go to Agora.io, sign up, and create a new project.
- Get the App ID from your Agora dashboard.
- Optionally, for enhanced security, you can also use a token server, but for testing purposes, you can use temporary tokens generated from the Agora console.
Step 4: Guys Integrate Agora into Your Ionic App
Update your app module and component to integrate Agora. Here’s a simple setup:
app.module.ts
import { NgModule } from '@angular/core';
import { BrowserModule } from '@angular/platform-browser';
import { IonicModule } from '@ionic/angular';
import { AppComponent } from './app.component';

@NgModule({
  declarations: [AppComponent],
  imports: [BrowserModule, IonicModule.forRoot()],
  bootstrap: [AppComponent]
})
export class AppModule {}
home.page.ts
Guys now create a basic video call functionality:
import { Component, OnInit, OnDestroy } from '@angular/core';
import AgoraRTC from 'agora-rtc-sdk-ng';

@Component({
  selector: 'app-home',
  templateUrl: 'home.page.html',
  styleUrls: ['home.page.scss'],
})
export class HomePage implements OnInit, OnDestroy {
  private client = AgoraRTC.createClient({ mode: 'rtc', codec: 'vp8' });

  async ngOnInit() {
    this.client.on('user-published', async (user, mediaType) => {
      await this.client.subscribe(user, mediaType);
      if (mediaType === 'video') {
        const remoteVideoTrack = user.videoTrack;
        const playerContainer = document.createElement('div');
        document.body.append(playerContainer);
        remoteVideoTrack.play(playerContainer);
      }
    });

    await this.client.join('YOUR_AGORA_APP_ID', 'your-channel-name', null, null);
    const localTracks = await AgoraRTC.createMicrophoneAndCameraTracks();
    localTracks[1].play('local-player');
    await this.client.publish(localTracks);
  }

  ngOnDestroy() {
    this.client.leave();
  }
}
Step 5: Guys Test Your Application
Test your application in a local environment:
ionic serve
Make sure to replace 'YOUR_AGORA_APP_ID' with your actual App ID and properly handle user IDs and channel names for a real-world application. Additionally, ensure that you handle permissions for camera and microphone access, especially on mobile devices.
This basic setup helps you get started with a simple video call application using Ionic 8 and Agora. For production, you would need to handle more scenarios such as network interruptions, multiple users, UI enhancements, and permissions management more robustly.
Guys if you will have any kind of query then feel free to comment below.
Thanks
Jassa
Leave a Reply
You must be logged in to post a comment.