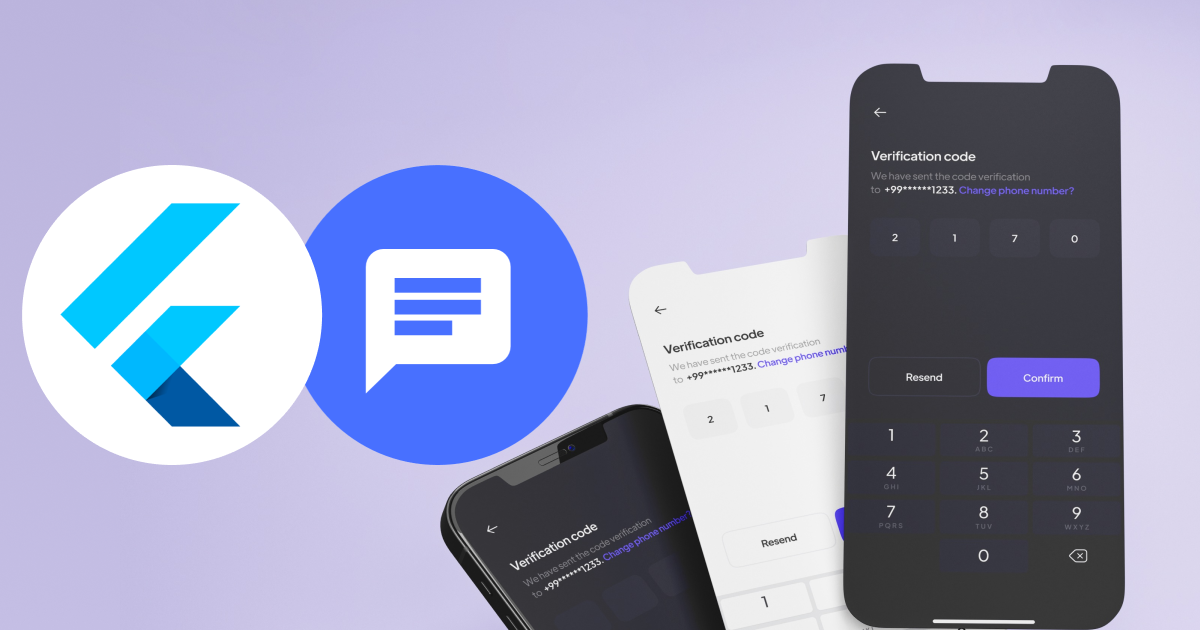
Hello guys how are you? Welcome back to my blog. Today in this blog post, I will tell you How to Create a Flutter application with SMS authentication?
Guys If you are new in Flutter then you must check below two links:
Now guys here is the complete code snippet link for Create a Flutter application with SMS authentication and please follow carefully:
Guys too create a Flutter application with SMS authentication, you can use Firebase Authentication. Firebase provides an easy way to handle SMS authentication, ensuring that users must enter the authentication code sent to their phone number to access the application.
Here’s a step-by-step guide to set this up:
Step 1: Set up Firebase Project
- Go to the Firebase Console.
- Create a new project or select an existing project.
- Add an Android app and/or iOS app to your Firebase project.
- Follow the instructions to download the
google-services.json(for Android) orGoogleService-Info.plist(for iOS) file and add it to your Flutter project.
Step 2: Add Firebase Dependencies
Update your pubspec.yaml file to include the necessary dependencies:
dependencies:
  flutter:
    sdk: flutter
  firebase_core: latest_version
  firebase_auth: latest_version
Run flutter pub get to install the dependencies.
Step 3: Initialize Firebase
Initialize Firebase in your main.dart file:
import 'package:flutter/material.dart';
import 'package:firebase_core/firebase_core.dart';
import 'package:your_app/home_screen.dart';
import 'package:your_app/login_screen.dart';

void main() async {
  WidgetsFlutterBinding.ensureInitialized();
  await Firebase.initializeApp();
  runApp(MyApp());
}

class MyApp extends StatelessWidget {
  @override
  Widget build(BuildContext context) {
    return MaterialApp(
      title: 'Flutter SMS Auth',
      theme: ThemeData(
        primarySwatch: Colors.blue,
      ),
      home: LoginScreen(),
    );
  }
}
Step 4: Create the Login Screen
Create a login_screen.dart file:
import 'package:flutter/material.dart';
import 'package:firebase_auth/firebase_auth.dart';
import 'package:your_app/verify_screen.dart';

class LoginScreen extends StatefulWidget {
  @override
  _LoginScreenState createState() => _LoginScreenState();
}

class _LoginScreenState extends State<LoginScreen> {
  final FirebaseAuth _auth = FirebaseAuth.instance;
  final TextEditingController _phoneController = TextEditingController();
  String _verificationId;

  void _verifyPhone() async {
    await _auth.verifyPhoneNumber(
      phoneNumber: _phoneController.text,
      verificationCompleted: (PhoneAuthCredential credential) async {
        await _auth.signInWithCredential(credential);
        Navigator.of(context).pushReplacement(MaterialPageRoute(builder: (context) => HomeScreen()));
      },
      verificationFailed: (FirebaseAuthException e) {
        if (e.code == 'invalid-phone-number') {
          print('The provided phone number is not valid.');
        }
      },
      codeSent: (String verificationId, int resendToken) {
        setState(() {
          _verificationId = verificationId;
        });
        Navigator.of(context).push(MaterialPageRoute(builder: (context) => VerifyScreen(verificationId: verificationId)));
      },
      codeAutoRetrievalTimeout: (String verificationId) {},
    );
  }

  @override
  Widget build(BuildContext context) {
    return Scaffold(
      appBar: AppBar(
        title: Text('Login'),
      ),
      body: Padding(
        padding: const EdgeInsets.all(16.0),
        child: Column(
          children: [
            TextField(
              controller: _phoneController,
              decoration: InputDecoration(
                labelText: 'Phone Number',
              ),
            ),
            SizedBox(height: 16.0),
            ElevatedButton(
              onPressed: _verifyPhone,
              child: Text('Verify Phone Number'),
            ),
          ],
        ),
      ),
    );
  }
}
Step 5: Create the Verification Screen
Create a verify_screen.dart file:
import 'package:flutter/material.dart';
import 'package:firebase_auth/firebase_auth.dart';
import 'package:your_app/home_screen.dart';

class VerifyScreen extends StatefulWidget {
  final String verificationId;
  VerifyScreen({this.verificationId});

  @override
  _VerifyScreenState createState() => _VerifyScreenState();
}

class _VerifyScreenState extends State<VerifyScreen> {
  final FirebaseAuth _auth = FirebaseAuth.instance;
  final TextEditingController _codeController = TextEditingController();

  void _signInWithPhoneNumber() async {
    PhoneAuthCredential credential = PhoneAuthProvider.credential(
      verificationId: widget.verificationId,
      smsCode: _codeController.text,
    );

    await _auth.signInWithCredential(credential);
    Navigator.of(context).pushReplacement(MaterialPageRoute(builder: (context) => HomeScreen()));
  }

  @override
  Widget build(BuildContext context) {
    return Scaffold(
      appBar: AppBar(
        title: Text('Verify Code'),
      ),
      body: Padding(
        padding: const EdgeInsets.all(16.0),
        child: Column(
          children: [
            TextField(
              controller: _codeController,
              decoration: InputDecoration(
                labelText: 'Verification Code',
              ),
            ),
            SizedBox(height: 16.0),
            ElevatedButton(
              onPressed: _signInWithPhoneNumber,
              child: Text('Sign In'),
            ),
          ],
        ),
      ),
    );
  }
}
Step 6: Create the Home Screen
Create a home_screen.dart file:
import 'package:flutter/material.dart';
import 'package:firebase_auth/firebase_auth.dart';

class HomeScreen extends StatelessWidget {
  @override
  Widget build(BuildContext context) {
    return Scaffold(
      appBar: AppBar(
        title: Text('Home'),
        actions: [
          IconButton(
            icon: Icon(Icons.logout),
            onPressed: () async {
              await FirebaseAuth.instance.signOut();
              Navigator.of(context).pushReplacement(MaterialPageRoute(builder: (context) => LoginScreen()));
            },
          ),
        ],
      ),
      body: Center(
        child: Text('Welcome!'),
      ),
    );
  }
}
Step 7: Handle Android Permissions
Ensure you have the necessary permissions in your AndroidManifest.xml:
<uses-permission android:name="android.permission.INTERNET"/>
<uses-permission android:name="android.permission.RECEIVE_SMS"/>
<uses-permission android:name="android.permission.READ_SMS"/>
<uses-permission android:name="android.permission.SEND_SMS"/>
Step 8: Run the App
Run your Flutter application. Users will be prompted to enter their phone number, receive an SMS with a verification code, and use that code to log in to the application.
This setup ensures that users cannot access the application without entering the correct authentication code sent via SMS.
Note: Friends, In this post, I just tell the basic setup and things, you can change the code according to your requirements.
I will appreciate that if you will tell your views for this post. Nothing matters if your views will be good or bad because with your views, I will make my next posts more good and helpful.
Jassa
Thanks

Leave a Reply
You must be logged in to post a comment.