
Hello friends, welcome back to my blog. Today in this blog post, I am going to tell you, Build a React Modal POP UP Login Form With Hooks and Get Values.
For reactjs new comers, please check the below link for basic understanding:
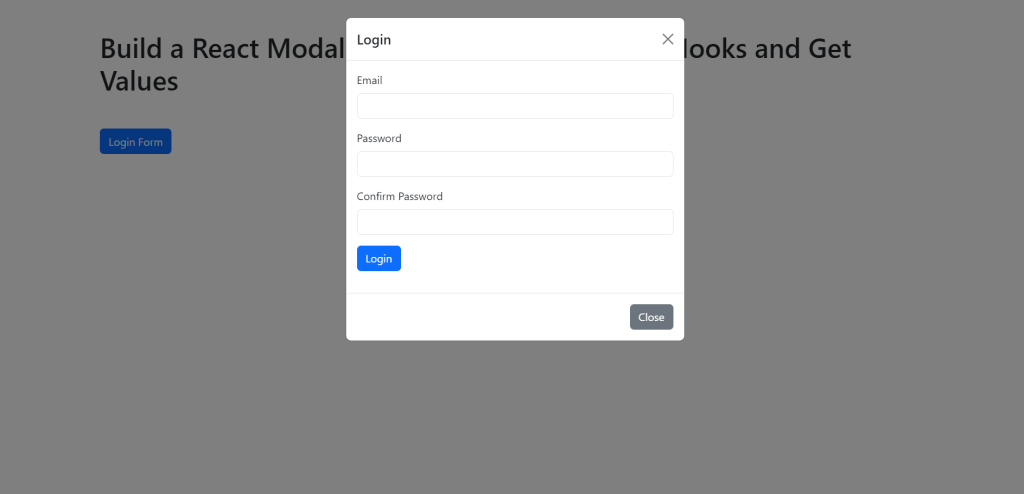
Here is the working code snippet and please use carefully and avoid mistakes:
1. Firstly friends we need reactjs fresh setup and for then we need to run below commands into our terminal and also we should have latest node version installed on our pc:
npx create-react-app reactdemo

cd reactdemo

npm install

npm i bootstrap

npm i @popperjs/core

npm start
2. Now, we need to add below code into our src/app.js file or you can replace below code with existing one that you have into your src/app.js file:
import 'bootstrap/dist/css/bootstrap.min.css';
import 'bootstrap/dist/js/bootstrap.min.js';
import LoginForm from './compoents/LoginForm';
function App() {

  return (

    <div className='App container p-5'>
      <h1 className='mb-5'>Build a React Modal POP UP Login Form With Hooks and Get Values</h1>

      <button type="button" class="btn btn-primary" data-bs-toggle="modal" data-bs-target="#exampleModal">
        Login Form
      </button>
      <div class="modal fade" id="exampleModal" tabindex="-1" aria-labelledby="exampleModalLabel" aria-hidden="true">
        <div class="modal-dialog">
          <div class="modal-content">
            <div class="modal-header">
              <h5 class="modal-title" id="exampleModalLabel">Login</h5>
              <button type="button" class="btn-close" data-bs-dismiss="modal" aria-label="Close"></button>
            </div>
            <div class="modal-body">
              <LoginForm />
            </div>
            <div class="modal-footer">
              <button type="button" class="btn btn-secondary" data-bs-dismiss="modal">Close</button>
            </div>
          </div>
        </div>
      </div>

    </div>
  );
}

export default App;
3. Guys now create components folder inside src folder and create file name:
LoginForm.jsx
4. Now, we need to add below code into our src/components/LoginForm.jsx file:
import { useState } from "react";

//The login form utilizes the useState hook to store the state for the form. The form state is an object with email, password and confirmPassword fields.
const LoginForm = props => {

  const [form, setForm] = useState({
    email: "",
    password: "",
    confirmPassword: "",
  });
//After the form state is defined, we have the onUpdateField function, which is passed to each input field as an onChange handler. Even though we have three form fields, we don’t need separate handlers for them. We can use just one function by utilizing field’s name attribute as a form key.
  const onUpdateField = e => {
    const nextFormState = {
      ...form,
      [e.target.name]: e.target.value,
    };
    setForm(nextFormState);
  };

  //Further, the onSubmitForm method will be executed when the form is submitted. At the moment, it just prevents the default form submit behavior and then shows an alert with the form’s values.

  const onSubmitForm = e => {
    e.preventDefault();
    alert(JSON.stringify(form, null, 2));
  };

  return (
    <form onSubmit={onSubmitForm}>
      <div className="mb-3">
        <label className="form-label">Email</label>
        <input
          className="form-control"
          type="text"
          aria-label="Email field"
          name="email"
          value={form.email}
          onChange={onUpdateField}
        />
      </div>
      <div className="mb-3">
        <label className="form-label">Password</label>
        <input
          className="form-control"
          type="password"
          aria-label="Password field"
          name="password"
          value={form.password}
          onChange={onUpdateField}
        />
      </div>
      <div className="mb-3">
        <label className="form-label">Confirm Password</label>
        <input
          className="form-control"
          type="password"
          aria-label="Confirm password field"
          name="confirmPassword"
          value={form.confirmPassword}
          onChange={onUpdateField}
        />
      </div>
      <div className="mb-3">
        <button className="btn btn-primary" type="submit">
          Login
        </button>
      </div>
    </form>
  );
};

export default LoginForm;
Guys in next video we will do form validation and popup form as well.
Now we are done friends. If you have any kind of query or suggestion or any requirement then feel free to comment below.
Note: Friends, I just tell the basic setup and things, you can change the code according to your requirements. For better understanding and live working must watch video above.
I will appreciate that if you will tell your views for this post. Nothing matters if your views will good or bad.
Jassa
Thanks
Leave a Reply