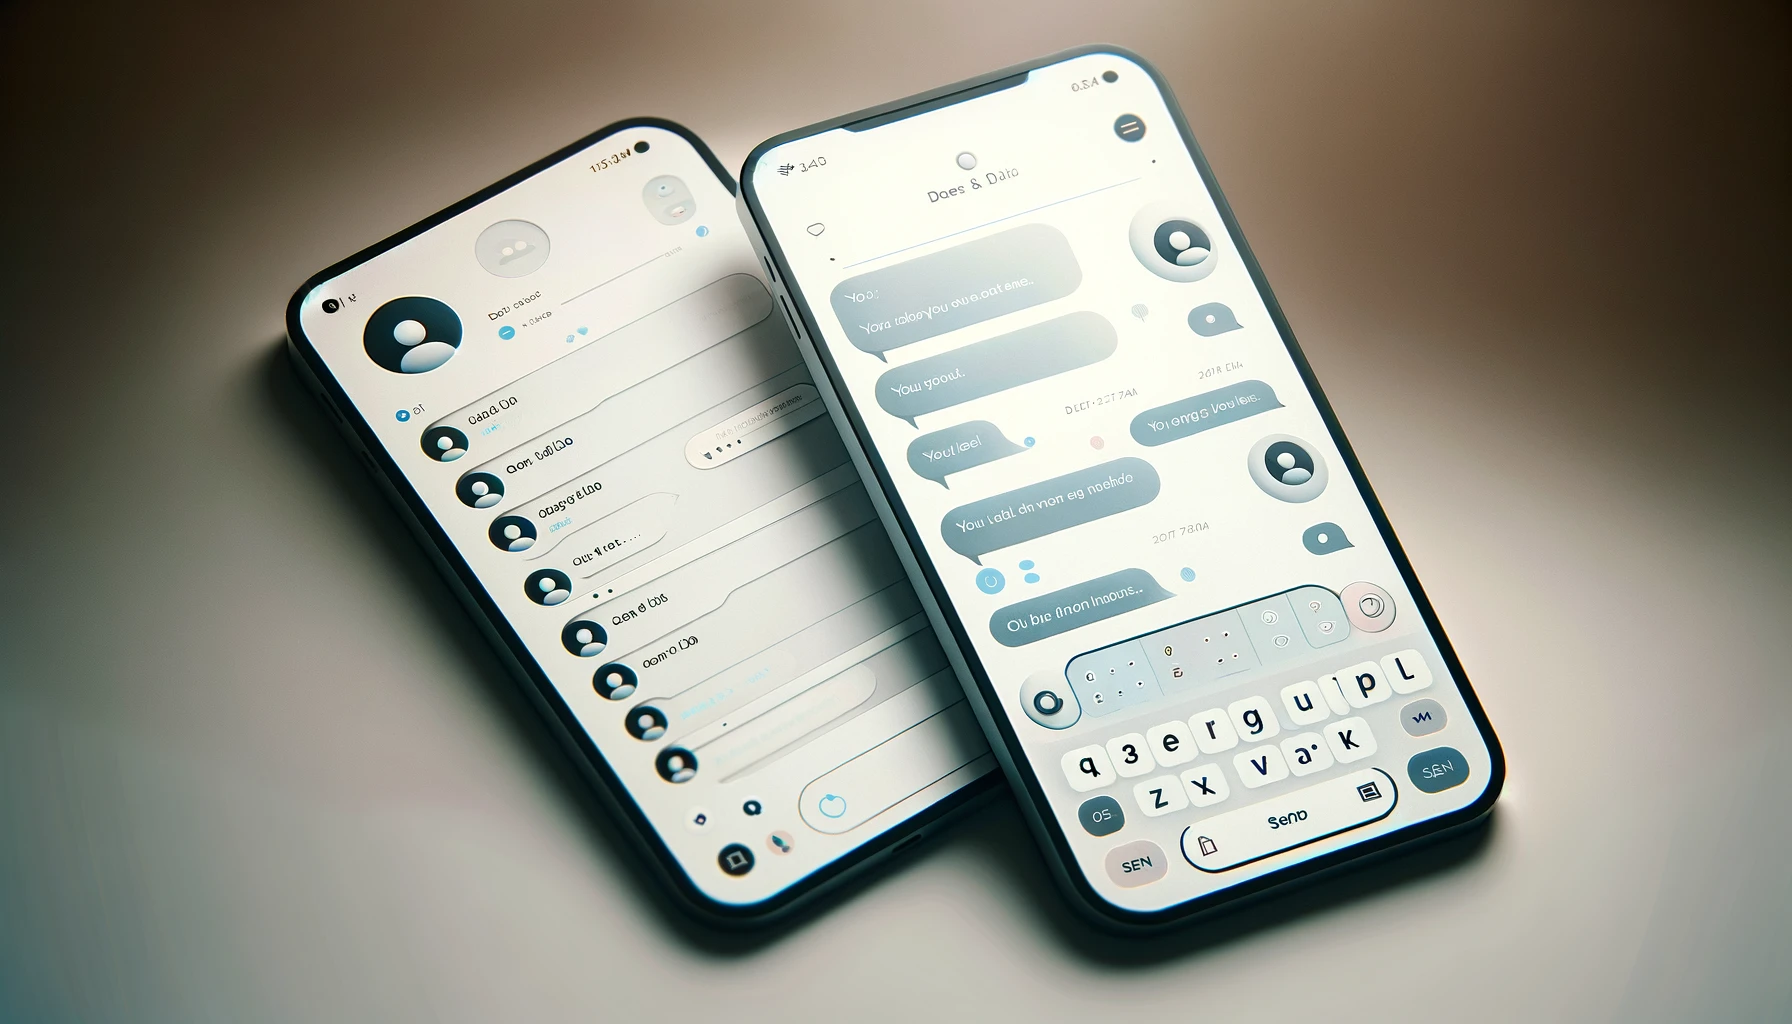
Creating a basic chat application in Angular involves several steps, from setting up your Angular project to creating the chat UI and integrating real-time messaging functionality. This example will guide you through creating a simple chat application using Angular 17 and Firebase for real-time database functionalities. Firebase is a popular choice for real-time applications due to its powerful features and ease of use.
Step 1: Setting Up Your Angular Project
First, you need to install Angular CLI if you haven’t already. Open your terminal or command prompt and run:
npm install -g @angular/cli
Next, create a new Angular project:
ng new chat-app
Navigate into your project directory:
cd chat-app
Step 2: Adding Firebase to Your Project
To use Firebase, you need to add Firebase to your project. First, install Firebase and AngularFire, the official library for Firebase and Angular:
npm install firebase @angular/fire
Next, you need to set up Firebase in your Angular project:
- Go to the Firebase console (https://console.firebase.google.com/) and create a new project.
- Add a new application and choose the web app option.
- You’ll get a configuration object. Keep it handy for the next steps.
Step 3: Configuring Firebase in Angular
Open or create the src/environments/environment.ts file and add your Firebase configuration:
export const environment = {
  production: false,
  firebaseConfig: {
    apiKey: "YOUR_API_KEY",
    authDomain: "YOUR_AUTH_DOMAIN",
    projectId: "YOUR_PROJECT_ID",
    storageBucket: "YOUR_STORAGE_BUCKET",
    messagingSenderId: "YOUR_MESSAGING_SENDER_ID",
    appId: "YOUR_APP_ID"
  }
};
In your app.module.ts, import AngularFireModule and AngularFirestoreModule from @angular/fire, and initialize them with your Firebase config:
import { BrowserModule } from '@angular/platform-browser';
import { NgModule } from '@angular/core';

import { AppComponent } from './app.component';
import { AngularFireModule } from '@angular/fire';
import { AngularFirestoreModule } from '@angular/fire/firestore';
import { environment } from '../environments/environment';

@NgModule({
  declarations: [
    AppComponent
  ],
  imports: [
    BrowserModule,
    AngularFireModule.initializeApp(environment.firebaseConfig),
    AngularFirestoreModule // imports firebase/firestore, only needed for database features
  ],
  providers: [],
  bootstrap: [AppComponent]
})
export class AppModule { }
Step 4: Creating the Chat Component
Generate a new component for the chat:
ng generate component chat
In your chat.component.html, add a simple form for sending messages and a list to display them:
<div class="chat">
  <ul>
    <li *ngFor="let message of messages">{{ message.text }}</li>
  </ul>
  <input [(ngModel)]="messageText" placeholder="Type a message..." />
  <button (click)="sendMessage()">Send</button>
</div>
In chat.component.ts, you’ll need to import AngularFirestore and set up a method to send messages:
import { Component, OnInit } from '@angular/core';
import { AngularFirestore } from '@angular/fire/firestore';
import { Observable } from 'rxjs';

@Component({
  selector: 'app-chat',
  templateUrl: './chat.component.html',
  styleUrls: ['./chat.component.css']
})
export class ChatComponent implements OnInit {
  messages: Observable<any[]>;
  messageText: string;

  constructor(private firestore: AngularFirestore) {}

  ngOnInit() {
    this.messages = this.firestore.collection('messages').valueChanges();
  }

  sendMessage() {
    this.firestore.collection('messages').add({
      text: this.messageText,
      timestamp: new Date()
    });
    this.messageText = '';
  }
}
Step 5: Displaying Messages in Real-Time
The sendMessage method adds a new message to the Firestore collection, and the ngOnInit method subscribes to message updates in real-time, displaying them in the chat component.
Step 6: Running Your Application
Finally, run your application:
ng serve
Open your browser and navigate to http://localhost:4200/ to see your chat application in action.
This basic chat application setup demonstrates how to create and configure a project in Angular 17, integrate Firebase for real-time database functionality, and implement a simple chat UI. You can extend this project with more features like authentication, message deletion, notifications, and more, depending on your needs.

Leave a Reply
You must be logged in to post a comment.