Hello guys, welcome back to my blog therichpost.com. Guys today in this post we will do Angular 19 introduced signals, a powerful feature to manage state and data in applications.
Angular 19 came. If you are new then you must check below two links:
Now guys here is the complete code snippet and please follow carefully:
Angular 19 introduced signals, a powerful feature to manage state and data in applications. Here’s a step-by-step demo of how to use signals to share data between components.
Step 1: Create an Angular Application
Ensure Angular 19 is installed:
ng new angular-signals-demo
cd angular-signals-demo
Step 2: Set Up Components
Create two components, ParentComponent and ChildComponent:
ng generate component Parent
ng generate component Child
Step 3: Create a Signal in a Shared Service
Signals allow us to create a reactive state that components can share.
shared.service.ts:
import { Injectable, signal } from '@angular/core';

@Injectable({
  providedIn: 'root',
})
export class SharedService {
  // Create a signal to hold the data
  sharedData = signal<string>('Initial data from Signal');

  // Method to update the signal's value
  updateData(newData: string) {
    this.sharedData.set(newData);
  }
}
Step 4: Use the Signal in the Parent Component
The parent component can modify the signal’s value.
parent.component.ts:
import { Component } from '@angular/core';
import { SharedService } from '../shared.service';
import { ChildComponent } from "../child/child.component";

@Component({
  selector: 'app-parent',
  imports: [ChildComponent],
  templateUrl: './parent.component.html',
  styleUrl: './parent.component.css'
})
export class ParentComponent {
  constructor(private sharedService: SharedService) {}

  // Update the signal data
  updateSharedData() {
    this.sharedService.updateData('Updated data from Parent Component yes updated!!');
  }
}
parent.component.html:
<h1>Parent Component</h1>
<button (click)="updateSharedData()">Update Data</button>
<app-child></app-child>
Step 5: Use the Signal in the Child Component
The child component reacts to changes in the signal’s value.
child.component.ts:
import { Component } from '@angular/core';
import { SharedService } from '../shared.service';

@Component({
  selector: 'app-child',
  imports: [],
  templateUrl: './child.component.html',
  styleUrl: './child.component.css'
})
export class ChildComponent {
   // Access the signal from the shared service
   sharedData = this.sharedService.sharedData;

   constructor(private sharedService: SharedService) {}
}
child.component.html:
<h1>Child Component</h1>
<p>Shared Data: {{ sharedData() }}</p>
Step 6: Add below code inside app.routes.ts file:
import { Routes } from '@angular/router';
import { ParentComponent } from './parent/parent.component';
import { ChildComponent } from './child/child.component';

export const routes: Routes = [
    { path: '', component: ParentComponent },
    { path: 'child', component: ChildComponent },
];
Step 7: Add below code inside app.component.html file:
<router-outlet></router-outlet>
Step 8: Run the Application
Start the application:
ng serve

How It Works
- The
SharedServiceholds a signal calledsharedData, which stores the shared state. - The ParentComponent updates the signal’s value by calling
updateData. - The ChildComponent reacts to changes in the signal automatically, displaying the updated data.
Expected Output
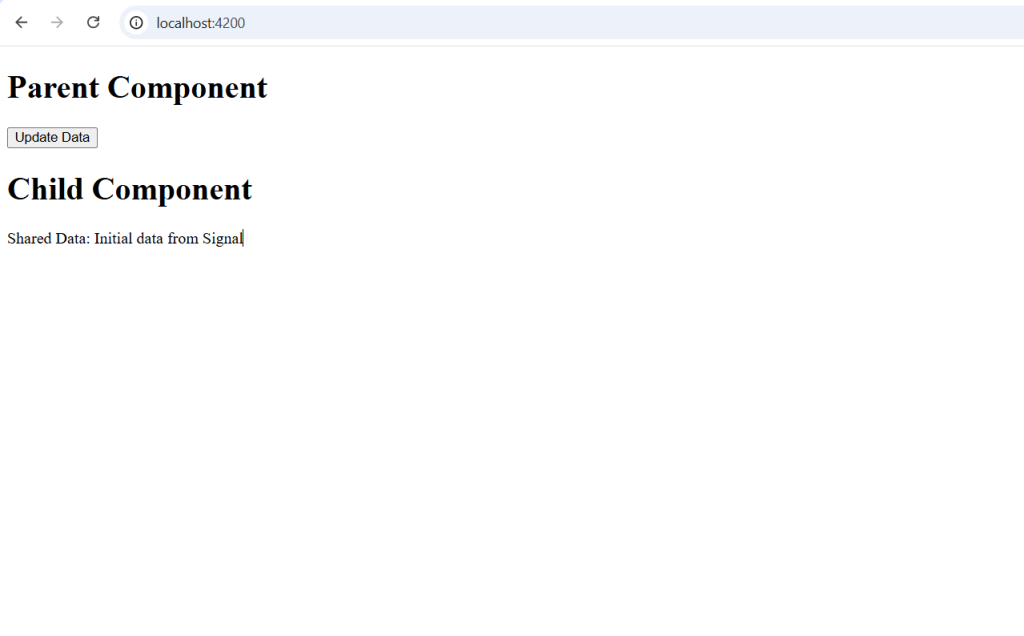
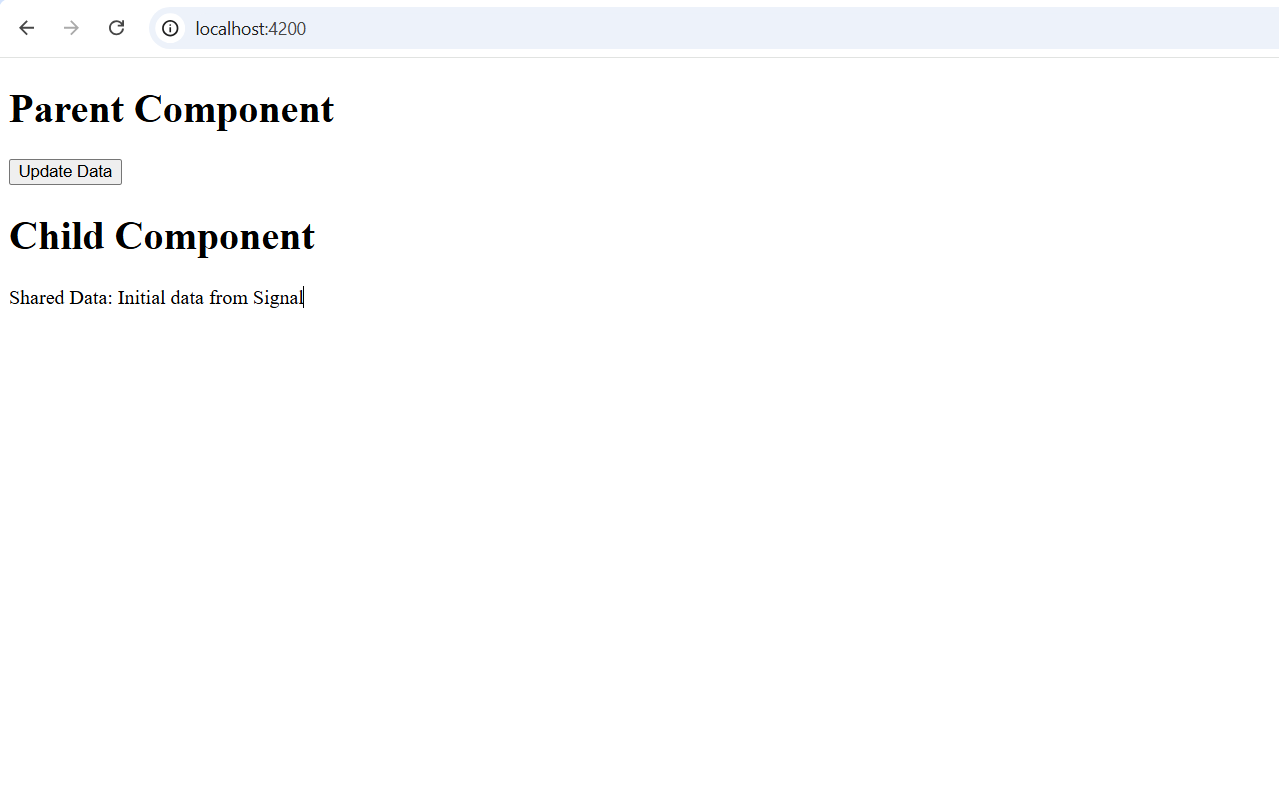
- The child component initially displays:
Shared Data: Initial data from Signal. - When you click “Update Data” in the parent component, the child component updates automatically to:
Shared Data: Updated data from Parent Component.
This demonstrates how signals can streamline state sharing and reactive updates in Angular 19.
I will appreciate that if you will tell your views for this post. Nothing matters if your views will be good or bad because with your views, I will make my next posts more good and helpful.
Jassa
Thanks

Leave a Reply
You must be logged in to post a comment.