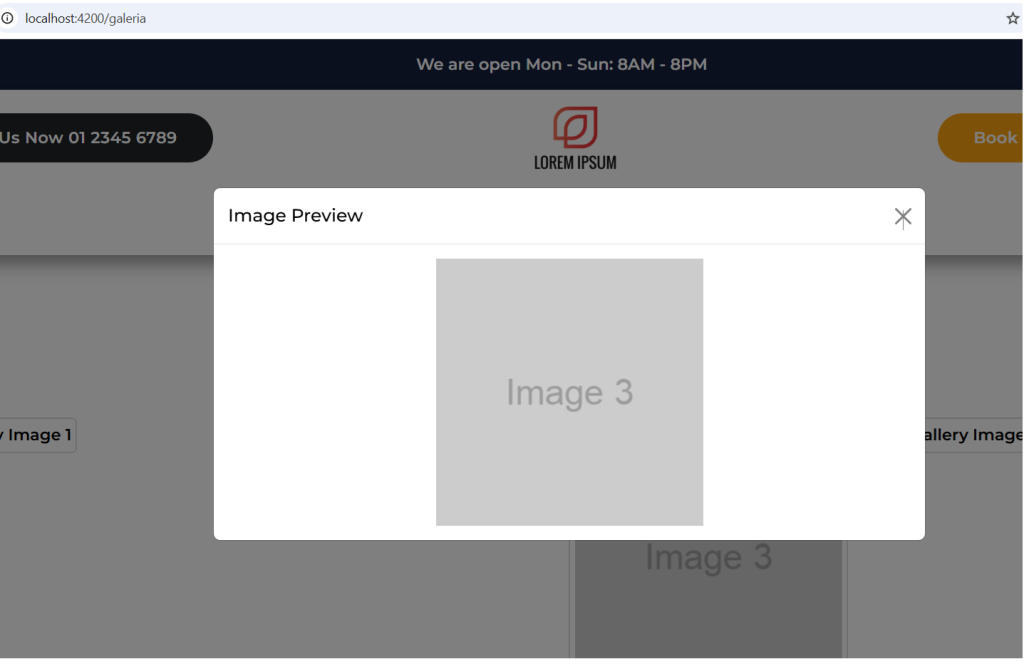
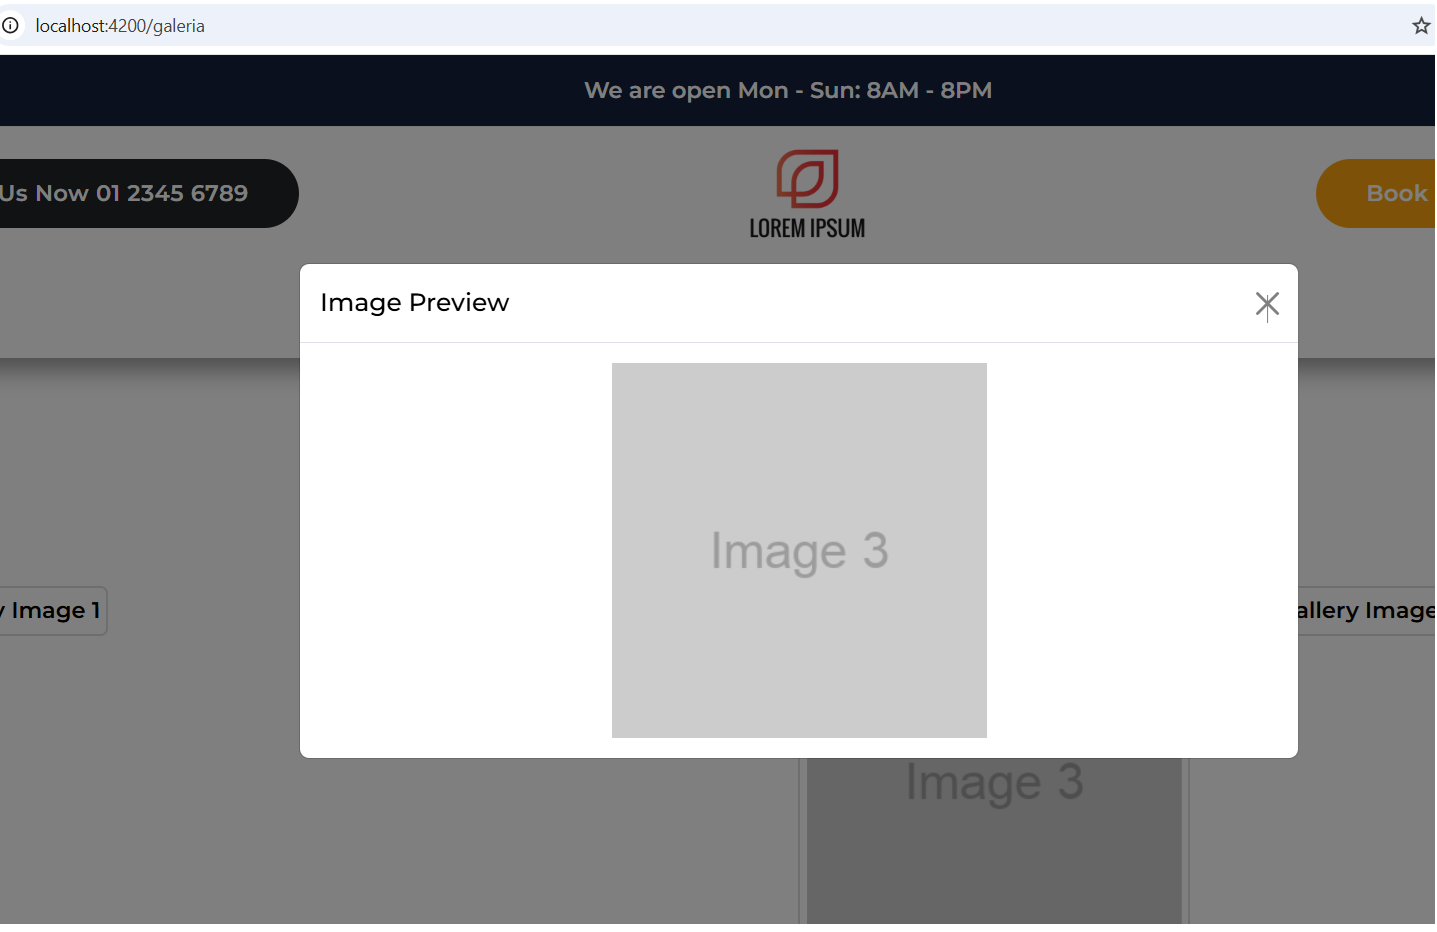
Hello guys, how are you? Welcome back on my blog therichpost.com. Today in this blog post we will be Angular 19 Bootstrap 5 Gallery Page with Dynamic Images Modal Popup.

Angular 19 came and Bootstrap 5 also. If you are new then you must check below two links:
Guys now here is the complete code snippet for Angular 19 Bootstrap 5 Gallery Page with Dynamic Images Modal Popup:
1. Firstly friends we need fresh angular 19 setup and for this we need to run below commands but if you already have angular 19 setup then you can avoid below commands. Secondly we should also have latest node version installed on our system:
npm install -g @angular/cli

ng new angularforms//Create new Angular Project

cd angularforms// Go inside the Angular Project Folder
2. First, ensure that your Angular project is set up and Bootstrap 5 is integrated. You can add Bootstrap to your project by running:
npm install bootstrap
3. Then, include Bootstrap in your project by adding it to the styles, script array in your angular.json file:
"styles": [
  "node_modules/bootstrap/dist/css/bootstrap.min.css",
  "src/styles.css"
],
"scripts": [
  "node_modules/bootstrap/dist/js/bootstrap.bundle.min.js"
]
4. Now guys we need to add below code inside app.component.ts file to define modal functionality:
...
import { Modal } from 'bootstrap';
import { CommonModule } from '@angular/common';
@Component({
  selector: 'app-galeria',
  standalone: true,
  imports: [CommonModule],
  ...
})
export class GaleriaComponent {
  images = [
    { src: 'https://via.placeholder.com/300?text=Image+1', alt: 'Gallery Image 1' },
    { src: 'https://via.placeholder.com/300?text=Image+2', alt: 'Gallery Image 2' },
    { src: 'https://via.placeholder.com/300?text=Image+3', alt: 'Gallery Image 3' },
    { src: 'https://via.placeholder.com/300?text=Image+4', alt: 'Gallery Image 4' },
    { src: 'https://via.placeholder.com/300?text=Image+5', alt: 'Gallery Image 5' },
    { src: 'https://via.placeholder.com/300?text=Image+6', alt: 'Gallery Image 6' },
    { src: 'https://via.placeholder.com/300?text=Image+7', alt: 'Gallery Image 7' },
    { src: 'https://via.placeholder.com/300?text=Image+8', alt: 'Gallery Image 8' }
  ];

  selectedImage: string | null = null;

  openModal(imageSrc: string): void {
    this.selectedImage = imageSrc;
    const modalElement = document.getElementById('imageModal')!;
    const modal = new Modal(modalElement);
    modal.show();
  }

  closeModal(): void {
    this.selectedImage = null;
  }
}
5. Guys now In your component’s template (e.g., app.component.html), create the Bootstrap modal and demo images:
<div class="container my-5">
    <h2 class="text-center mb-4">Angular Gallery</h2>
    <div class="row g-3">
      <!-- Loop through the images array -->
      <div class="col-12 col-sm-6 col-md-4 col-lg-3" *ngFor="let image of images">
        <img [src]="image.src"
             [alt]="image.alt"
             class="img-fluid rounded gallery-image"
             (click)="openModal(image.src)" />
      </div>
    </div>

    <!-- Modal -->
    <div class="modal fade" id="imageModal" tabindex="-1" aria-labelledby="imageModalLabel" aria-hidden="true">
      <div class="modal-dialog modal-dialog-centered modal-lg">
        <div class="modal-content">
          <div class="modal-header">
            <h5 class="modal-title" id="imageModalLabel">Image Preview</h5>
            <button type="button" class="btn-close" data-bs-dismiss="modal" aria-label="Close" (click)="closeModal()"></button>
          </div>
          <div class="modal-body">
            <img [src]="selectedImage" class="img-fluid" alt="Selected Image">
          </div>
        </div>
      </div>
    </div>
  </div>
6. Guys please create typings.d.ts file iside src folder and add below code inside it:
declare global {
    interface Window {
      bootstrap: any;
    }
  }
This code snippet demonstrates how to create a Bootstrap modal containing a reactive form with simple validation for a username and an email address. The form validation feedback is displayed conditionally based on the state of each form control.
Friends in the end must run ng serve command into your terminal to run the angular 19 project(localhost:4200).
Now we are done friends. If you have any kind of query, suggestion and new requirement then feel free to comment below.
Note: Friends, In this post, I just tell the basic setup and things, you can change the code according to your requirements.
I will appreciate that if you will tell your views for this post. Nothing matters if your views will be good or bad because with your views, I will make my next posts more good and helpful.
Jassa
Thanks

Leave a Reply
You must be logged in to post a comment.