
Hello guys, how are you? Welcome back on my blog. To demonstrate a web application using Angular 17 standalone components and a Java backend, I’ll walk you through the steps and provide basic examples of how you might structure such a project. The Angular standalone components feature simplifies the Angular architecture by removing the necessity for NgModules, making it more straightforward to manage and develop applications.
Angular 17 came and Bootstrap 5 also. If you are new then you must check below two links:
Project Setup
- Backend (Java) Setup:
- Framework: Spring Boot (widely used for microservices)
- Build tool: Maven or Gradle
- Dependencies: Spring Web, Spring Data JPA (for database access)
- Frontend (Angular 17) Setup:
- Framework: Angular 17
- Build tool: Angular CLI
Java Backend
Step 1: Initialize a Spring Boot Project
- Use Spring Initializr to generate a Spring Boot project with the following:
Step 2: Create a Simple REST Controller
@RestController
@RequestMapping("/api/messages")
public class MessageController {
    @GetMapping
    public ResponseEntity<List<String>> getMessages() {
        return ResponseEntity.ok(Arrays.asList("Hello", "Angular", "and", "Java"));
    }
}
Angular 17 Frontend
Angular 17 introduces standalone components, which allow you to create Angular applications without the need for an NgModule.
Step 1: Set Up Angular Project
- Install Angular CLI:
npm install -g @angular/cli - Create a new project:
ng new angular-java-demo --no-create-application - Navigate into your project and generate a standalone component:
cd angular-java-demoandng generate component Messages --standalone
Step 2: Create the Messages Component
Here’s a simple standalone component in Angular 17:
import { Component, OnInit } from '@angular/core';
import { HttpClient } from '@angular/common/http';

@Component({
  selector: 'app-messages',
  template: `
    <ul>
      <li *ngFor="let message of messages">{{ message }}</li>
    </ul>
  `,
  styleUrls: ['./messages.component.css']
})
export class MessagesComponent implements OnInit {
  messages: string[] = [];

  constructor(private http: HttpClient) {}

  ngOnInit(): void {
    this.http.get<string[]>('/api/messages').subscribe({
      next: (data) => this.messages = data,
      error: (err) => console.error(err),
    });
  }
}
Step 3: Update the app.component.html
Replace the content with:
<app-messages></app-messages>
Step 4: Serve the Angular Application
- Run
ng serveto start the Angular development server.
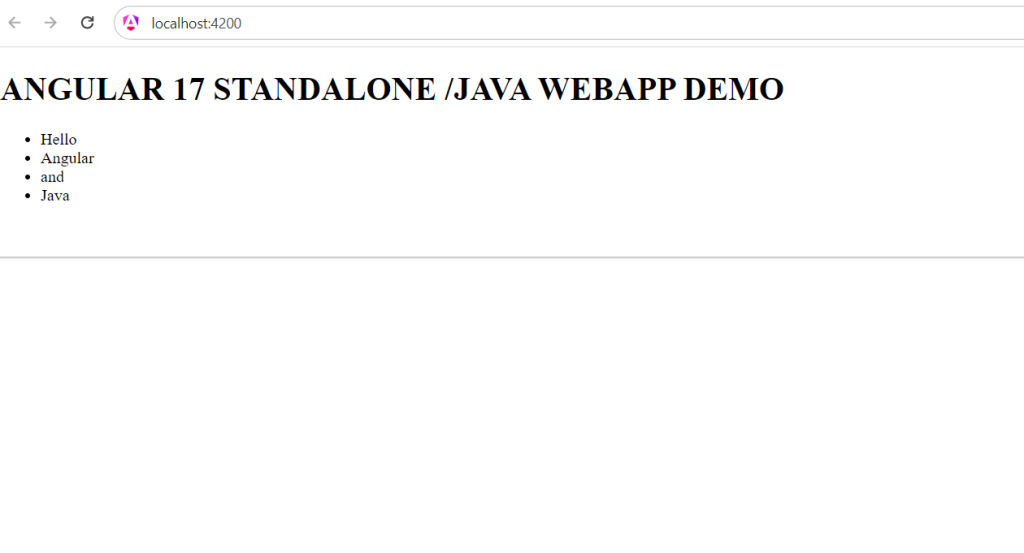
Running the Demo
- Start the Spring Boot application from your IDE or the command line (
./mvnw spring-boot:runor./gradlew bootRun). - Serve the Angular application with
ng serve. - Access the Angular app in your browser at
http://localhost:4200to see the messages fetched from the Java backend.
Guys this setup provides a simple demonstration of using Angular 17 standalone components with a Java Spring Boot backend, showcasing a lightweight, module-free Angular component interacting with a RESTful service provided by Spring Boot.
Guys if you will have any kind of query, suggestion and requirements then feel free to comment below.
Note: Friends, I just tell the basic setup and things, you can change the code according to your requirements.
Thanks
Leave a Reply